I promised I’d share the rest of our trip along the Great River Road with you guys today, so here we go.

We started out day 2 of our trip in Winona, Minnesota. Winona is quite charming and definitely has the feel of a college town. The first item on our agenda after checking out of our hotel was to find Bloedow’s.

We’d heard they had the best donuts in town. Normally when we stay in a hotel, we choose one that has a free breakfast included. We did do that this time, but due to COVID the free breakfast was pre-packaged cold cereal and milk. Not terribly appealing.
Instead we opted for donuts to go. As you can see, even the bench outside was off limits for dining at Bloedow’s. So we decided to drive up to the scenic overlook in Garvin Heights City Park to enjoy our breakfast with a view.

Even at 9 a.m. it was already turning into a sultry day, once again you can see that haze of humidity off in the distance of that photo above.
We were really just killing some time before we could head to The Watkins Co.

My sister had read that they had a museum and gift shop, and she loves to cook and bake so this was right up her alley. As a safety measure, the museum was limiting capacity to no more than 4 people at a time, so we basically had the place to ourselves. Granted, there wasn’t a line of people clamoring to get in, so we would have had it to ourselves anyway.
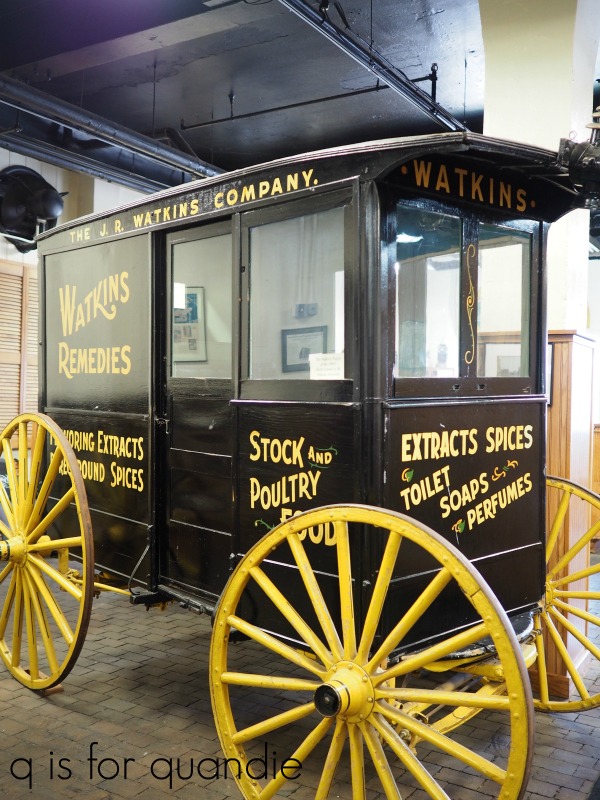
Mr. Q took a trip down memory lane because he sold Watkins Double Strength Imitation Vanilla Extract as a fund raiser when he was a boy scout. He and his friend Timmy Johnson were the top sellers for their troupe, selling over 500 bottles of the stuff!
Personally my main interest in the Watkins museum were these fantastic vintage wooden totes that the salesmen used to carry their wares from door to door.

Much like the church shaped birdhouse in Old Frontenac, this would have made a perfect souvenir for me. But alas, they were not for sale. I wonder if I could somehow replicate that look? I might see if Ken could make me one of these.
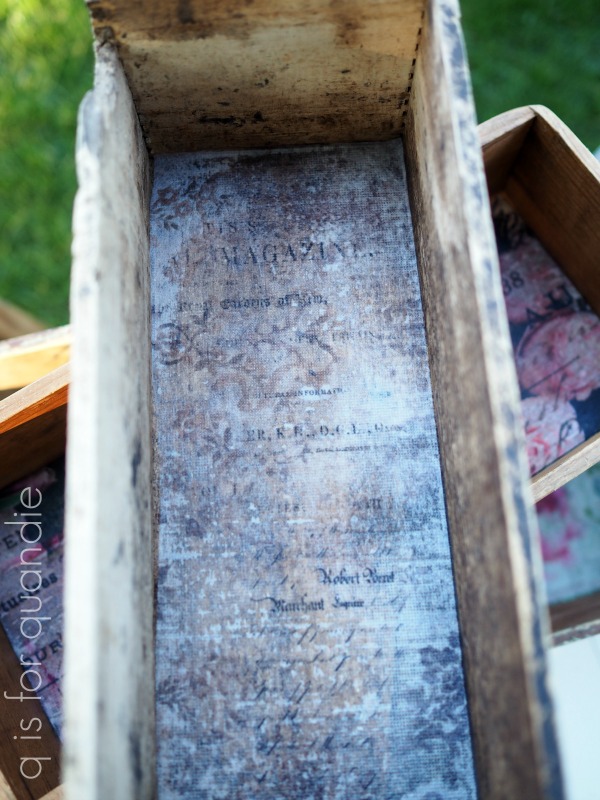
These cool old wood crates weren’t for sale either …

We did manage to score a few items in the gift shop though, including this cute little gift set that I put into the galvanized container that was one of the thrifting finds I shared last week.

The next item on our plan for the day was to check out the stained glass windows in town. According to Debbie’s guide book, Winona is the stained glass capital of the U.S. Yeah, I was skeptical too, but if you check out that link you’ll see it’s true. Well, sort of true. And sadly, I can neither confirm nor deny their claims because none of the public buildings were open due to COVID. Once again, denied.
So instead we checked out a couple of shops downtown while Mr. Q enjoyed the local coffee shop. We stopped off for a picnic lunch in a public park before hitting the road to continue south. Before we head out of Winona though, I have to share this sign …

You can’t tell from the photo, but the paddle wheel turned in the wind. It was really adorable.
Our next stop was meant to be The Bunnell House.

This gothic revival style house was built in the 1850’s. I was fascinated by the fact that it was constructed out of white pine and has never been painted. That sounds odd, but I’ve read that it wasn’t all that unusual to leave wood houses unpainted back then. Obviously I wasn’t around, or everything would have been painted!
Unfortunately, our theme for the day once again reared its ugly head.

Yep, the Bunnell House was closed. We were able to look at it through the fence, but that was about it.
So we moved on to the next stop on our itinerary, the Pickwick Mill.

But once again, you guessed it …
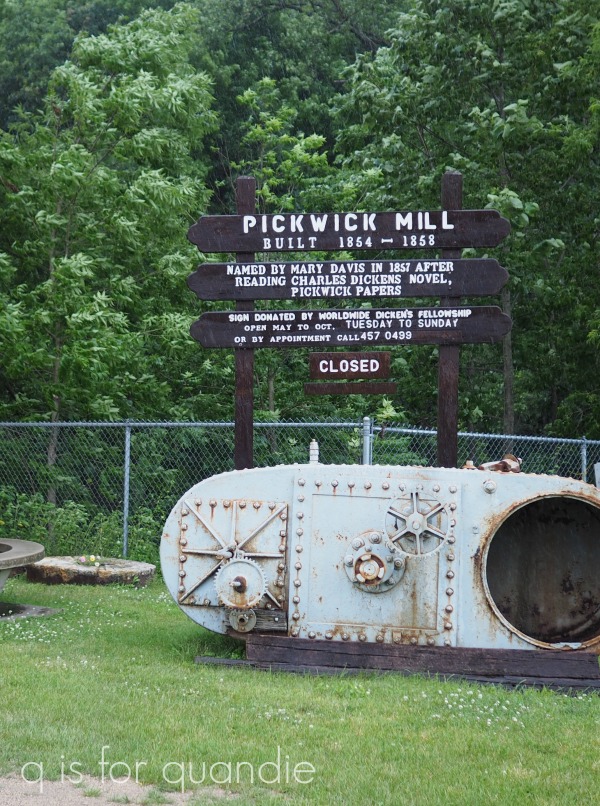
Closed.
Although we were disappointed to find both of these locations closed to visitors, I have to admit that the surrounding area was really lovely and we were traveling on some pretty scenic back roads.


We continued south to La Crescent, Minnesota where we crossed over the river to La Crosse, Wisconsin on this bridge …

Once again, there were several places we had wanted to explore in La Crosse that were closed. We’d also planned on just walking around their charming historic downtown but as you can see in the photo above, a scary storm was blowing in.

We managed to make it into one shop before we decided it was best to head back to the car to ride out the storm. Our plan after La Crosse was to head back up north on the Wisconsin side of the Mississippi. We made it as far as Trempealeau, Wisconsin where we found a cute little motel overlooking the river.
I must have misplaced my camera at this point in our trip because I didn’t take a single picture in Trempealeau. We visited the Trempealeau National Wildlife Refuge and then ended the day with dinner at a traditional Wisconsin style supper club, Sullivan’s.
Quite honestly, by day 3 of our adventure we were all fairly disillusioned. Not only were most of the places we wanted to see closed, but the weather continued hot and humid making it difficult to enjoy the outdoor activities that were available. So we decided to head to some of the nearby Rustic Roads in a last ditch effort to salvage the last day of our trip.
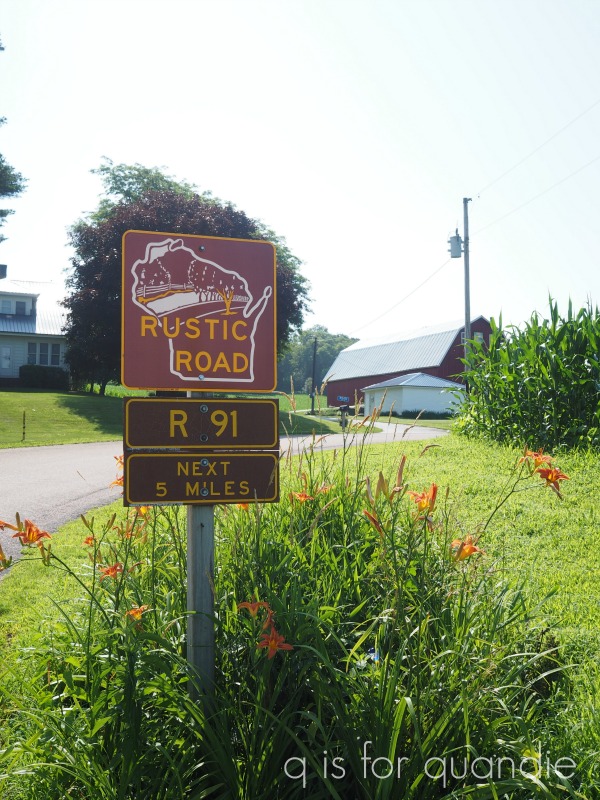 If you’ll remember, we discovered the Wisconsin Rustic Road program last summer. Since then we’ve driven on all of the ones that are within an hour or so of the Twin Cities. So it seemed like a good plan to check out some that we hadn’t seen yet.
This plan truly had us driving around in circles in what seemed like the middle of nowhere, but we sure saw a lot of the back roads of Wisconsin!
Eventually we realized we needed to head back to civilization. We ended up in Alma, Wisconsin at the Buena Vista Park overlook where we had a picnic lunch and made reluctant use of a truly disgusting outhouse.
But we also enjoyed the spectacular view from the overlook.
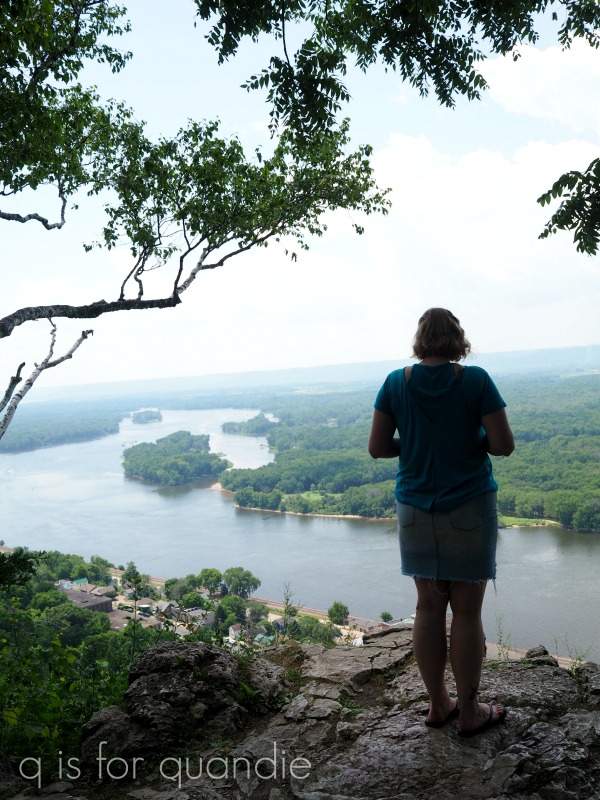
Well, maybe ‘enjoyed’ is the wrong word since both my sister and I are afraid of heights. My niece was the only one brave enough to stand at the edge that was totally free of any kind of railing! It makes my palms a little clammy just to look at that photo.
From Alma, we headed north and made our way back home to the Twin Cities.
At this point it’s probably obvious to all of you that this was not one of the greatest trips we’ve ever been on. Of course, it has some pretty fierce competition for that title (like the best day ever in Invergordon, Scotland or our visit to Flåm, Norway). We made a few mistakes in planning this one, like not checking to see what historic sites would be open (pretty much none) or making sure there would be things to do. That being said, hotel accommodations and food were fairly easy to come by. We totally enjoyed spending time with my sister and my niece, and we did see some beautiful scenery. But hopefully by the next time we travel there will be a vaccine and life will have gotten at least a little bit more normal.
How about you? Have you managed any travel this summer? Or are you playing it safe and sticking close to home for now?


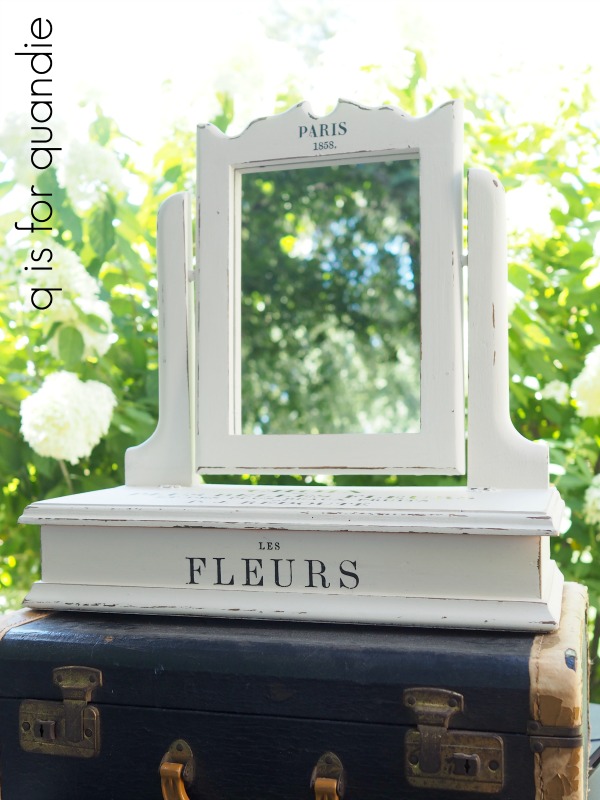


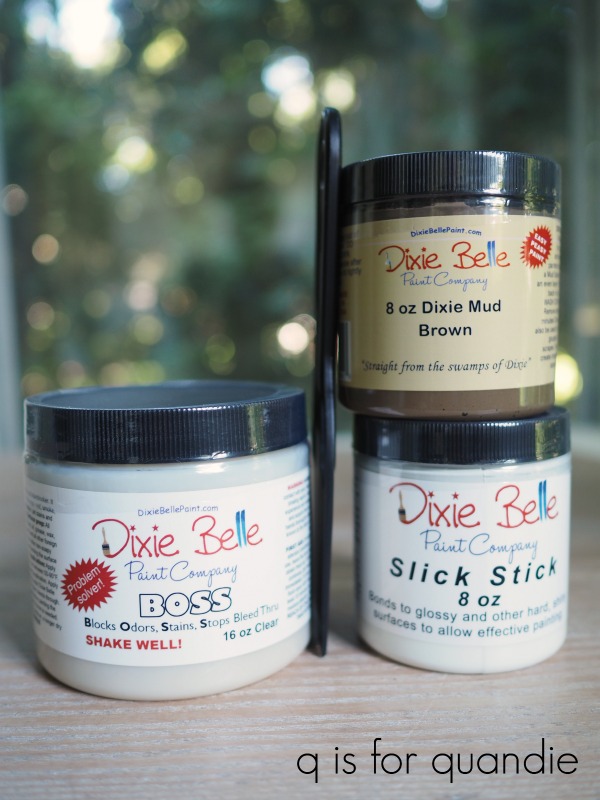


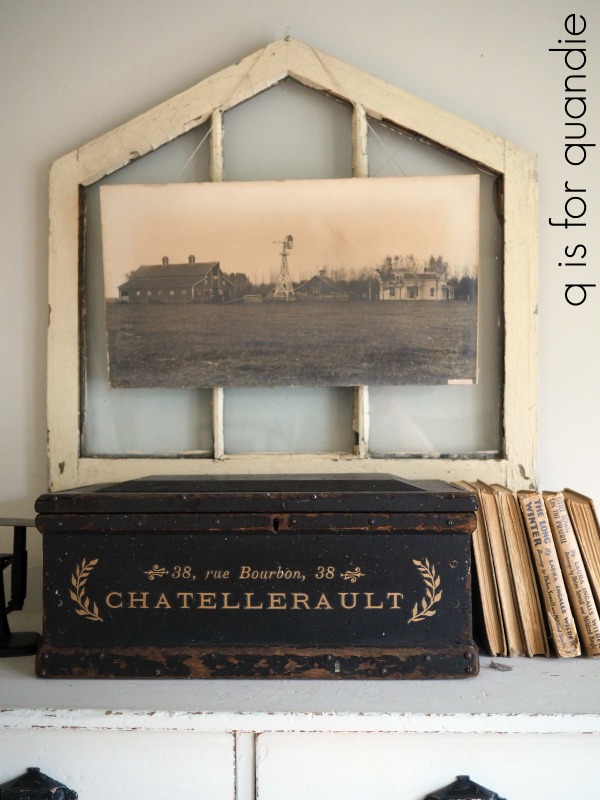


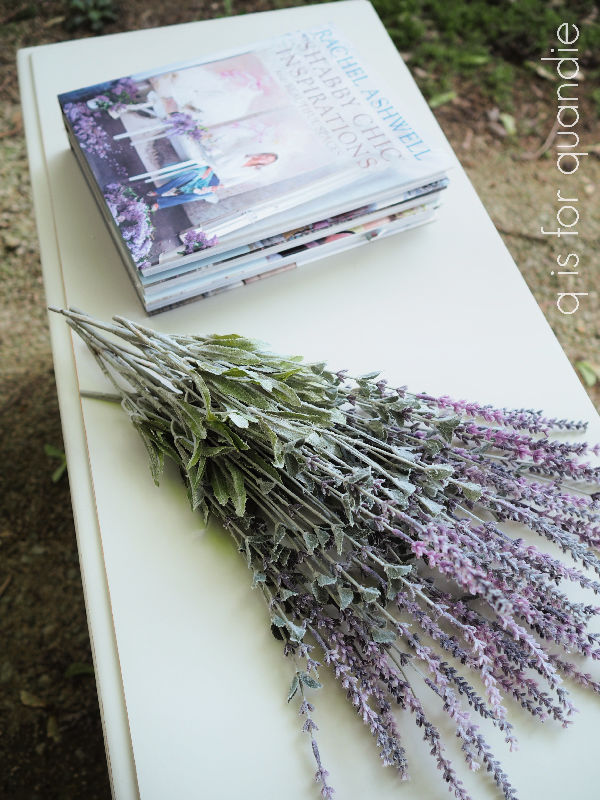

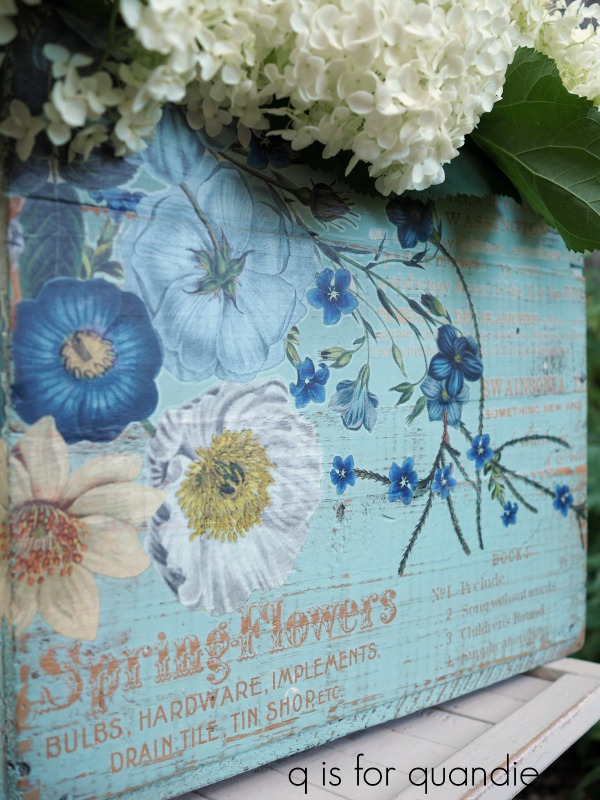


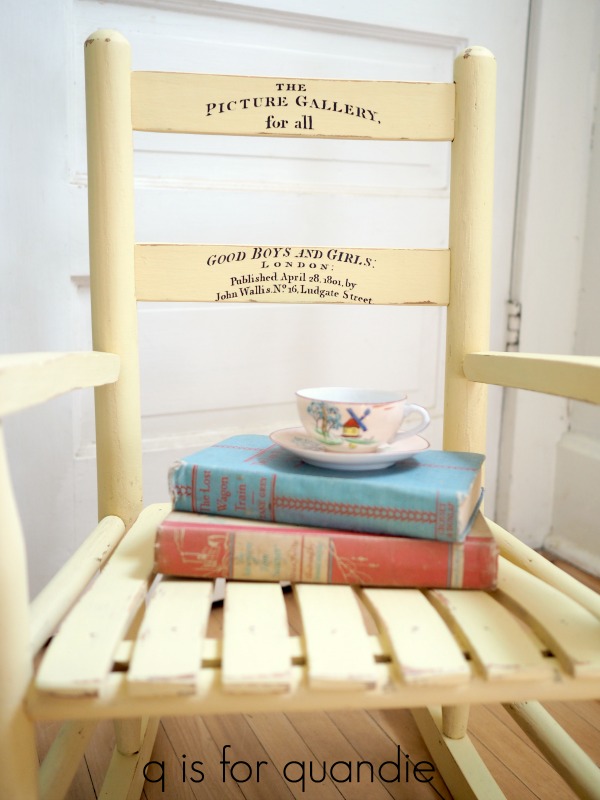
 Before I forget, I’ve got a really important q-tip for you guys today; don’t try to apply a transfer in your non-climate controlled carriage house workshop when there is a heat advisory. I had a heck of a time applying the first sheet of this transfer (it comes in a total of six sheets, I used two full sheets and two half sheets on this trunk). So much so that I gave up and had Mr. Q help me haul the trunk into the air conditioned house to complete the job.