Recently my friend Terri gifted me with a set of nesting boxes.
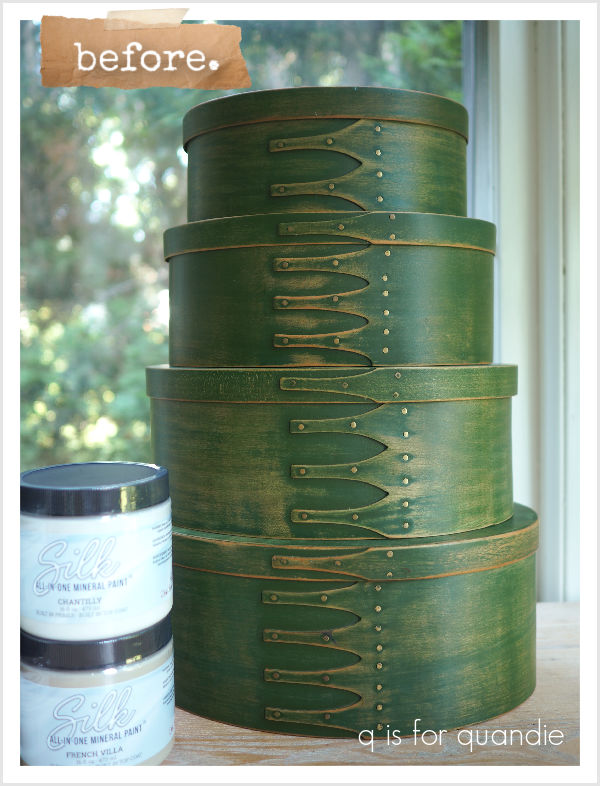
These are the real McCoy, made out of wood rather than heavy cardboard.
The green wasn’t really working for me, but not to worry, Terri knows me very well and intended for me to paint these. She won’t be offended that I didn’t like the green.
I thought this might be a good opportunity to use some of the new Countryside Collection colors from Dixie Belle, so I pulled out 4 of them that I thought would work beautifully together on the boxes.
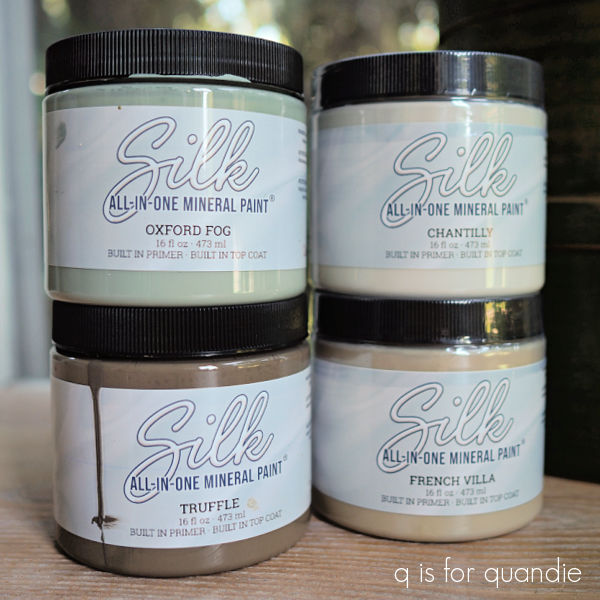
However, after painting each box in one of the colors, I decided that the Oxford Fog was out of place.
So I decided to add in a color from Dixie Belle called Gardenia instead.
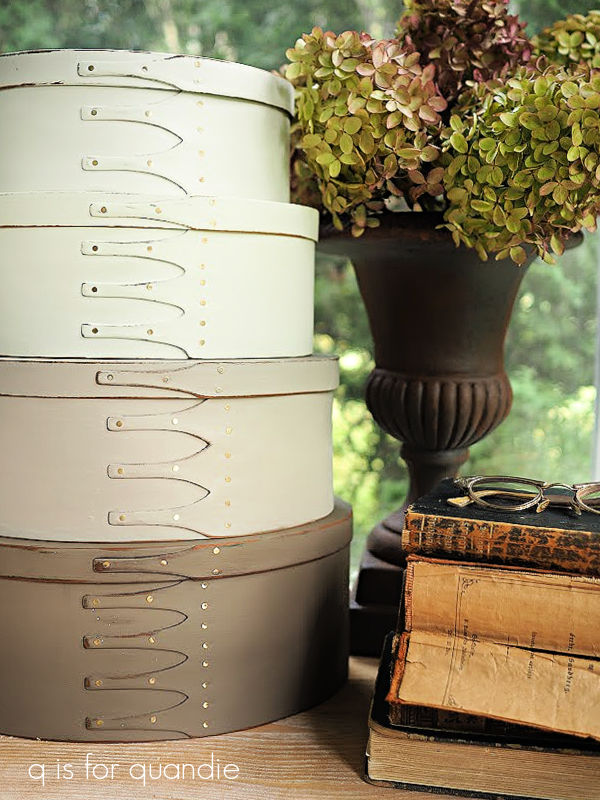
So, from top to bottom we have Gardenia, Chantilly, French Villa and Truffle.
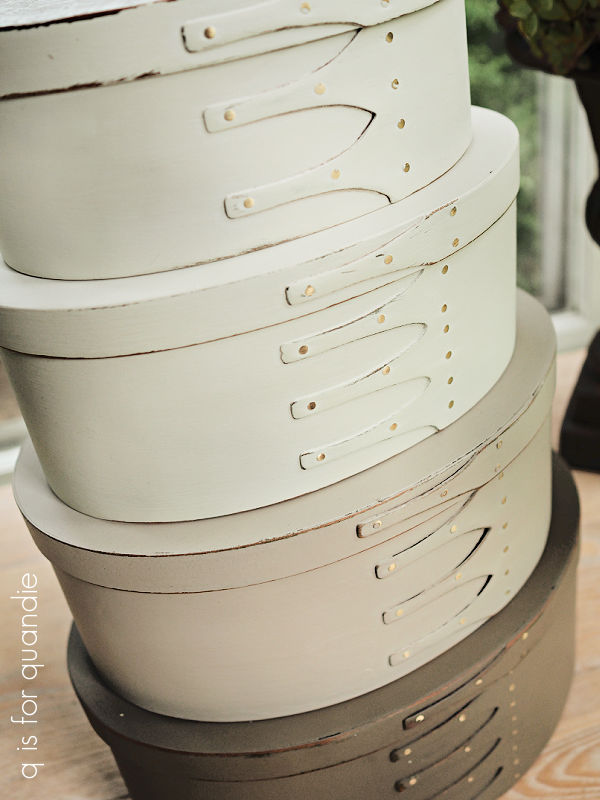
They created a lovely neutral ombré sort of look.
I don’t know, is ombré still in? Apparently it depends who you ask, some sources say it’s out, others say it’s making a come back. Either way, I’m loving it on these boxes.
After painting each box, I sanded them to distress the edges and then finished the bottom three with a mixture of Dixie Belle’s Big Mama’s Butta mixed with some of their brown wax.
Before adding a topcoat to the top box I decided to add a paint inlay from I.O.D.

This is from the Floriography set.
After letting it dry, and then spraying the inlay with some Rust-Oleum matte clear spray to seal it, I also added a coat of the butta and wax mix to this box.
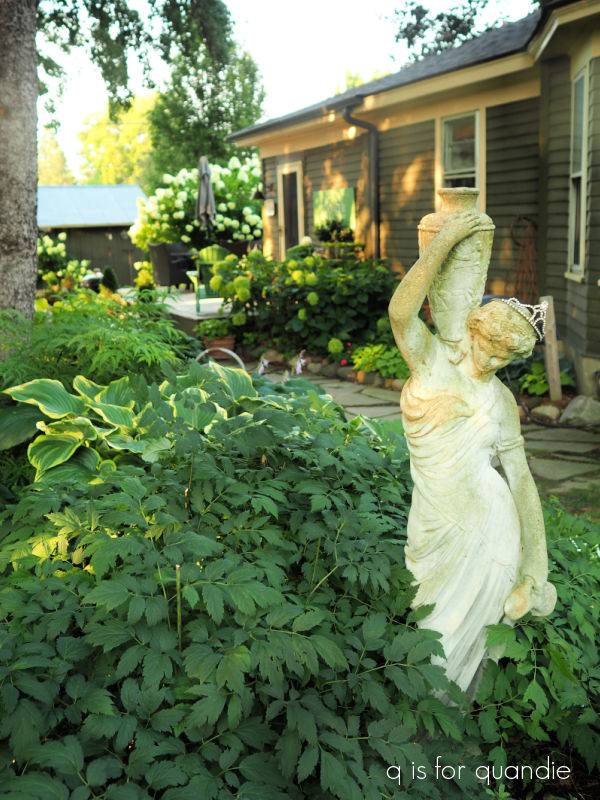
I staged my pictures using an urn that I picked up at a garage sale this summer.
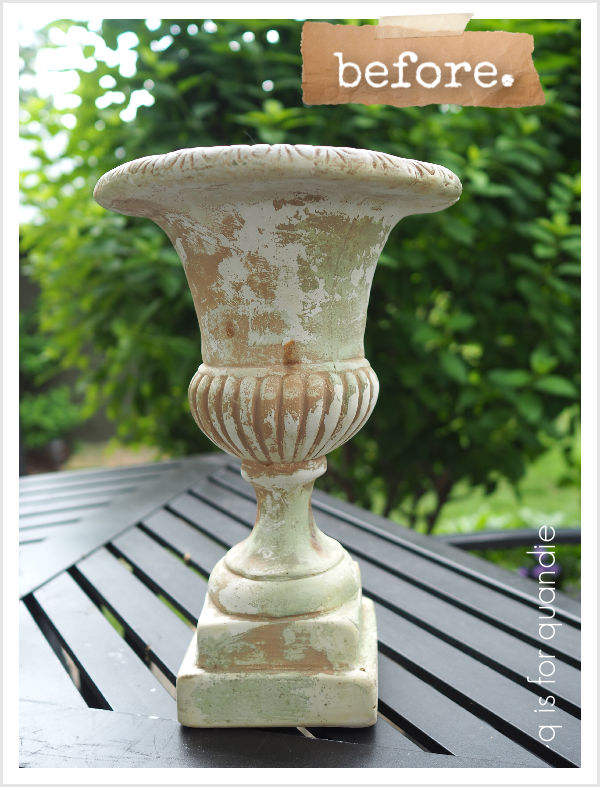
I did debate leaving it ‘as is’, but it just didn’t feel quite right with that pinkish toned terracotta coming through the faux paint job. So I gave it another kind of faux paint job using Dixie Belle’s Patina Paint in Iron paired with the Green Spray to give it a rusty look.

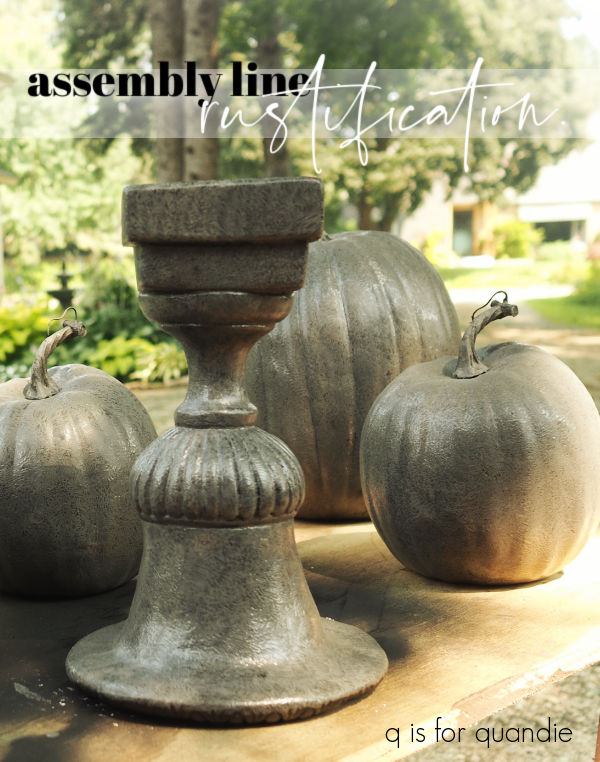
This was one of the items I did on my assembly line rustification day.
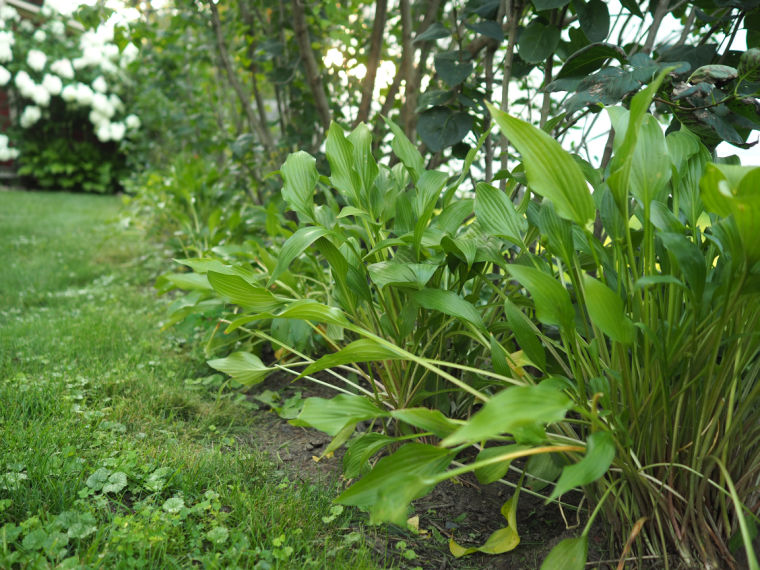
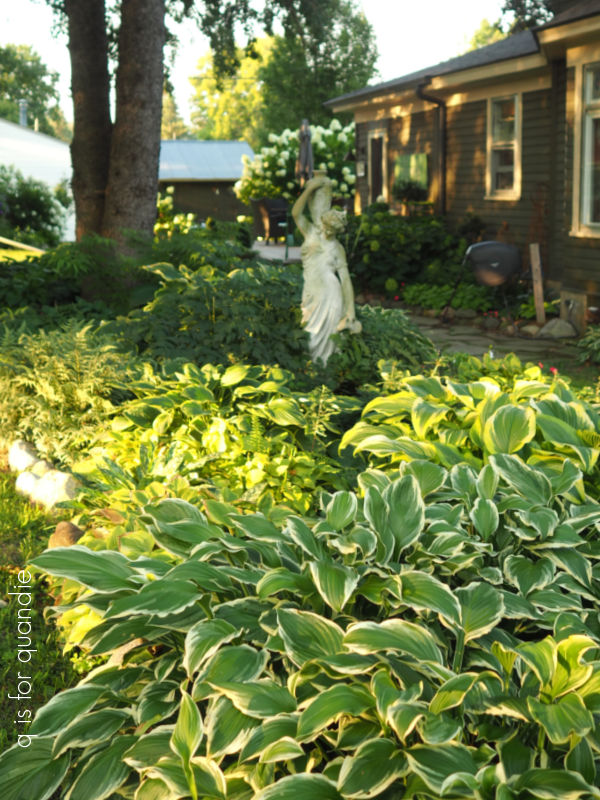
I filled it with some dried flowers from my new Quick Fire Fab hydrangea hedge.
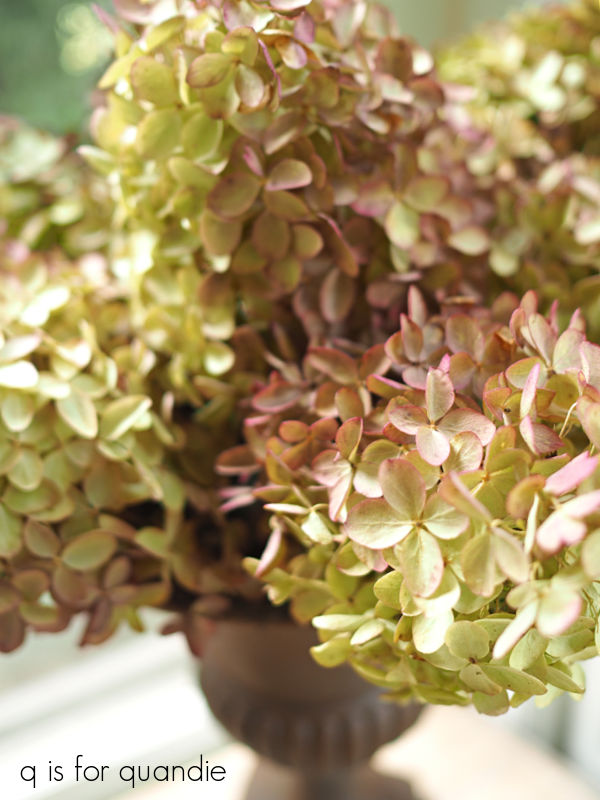
These have a darker color than my usual Limelight or Vanilla Strawberry hydrangeas.
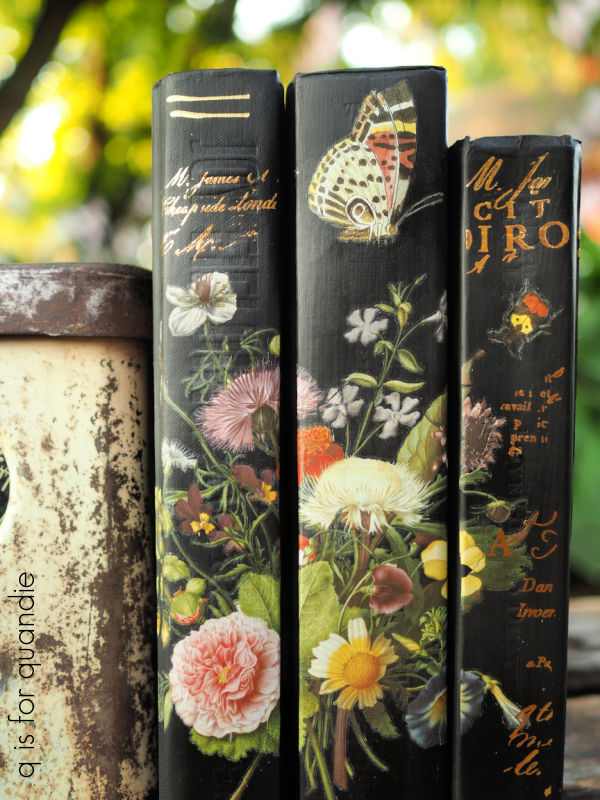
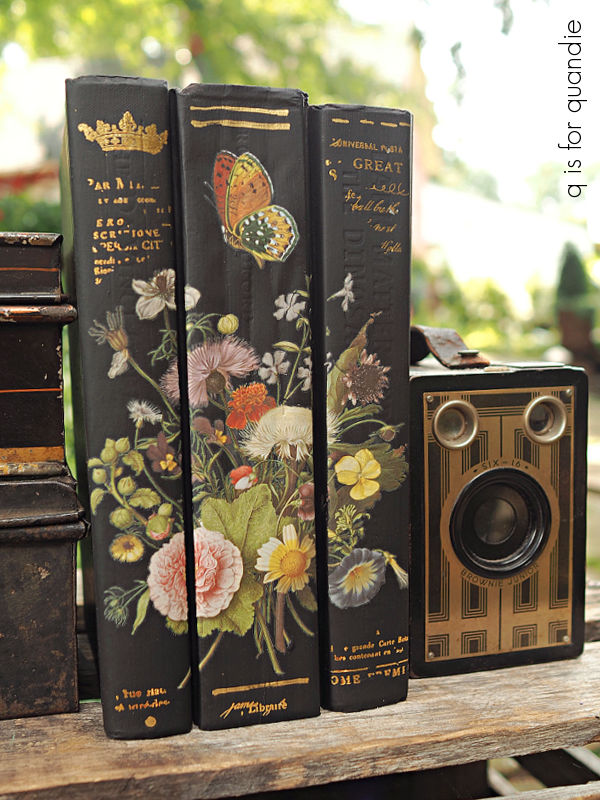
I also used a stack of old books.
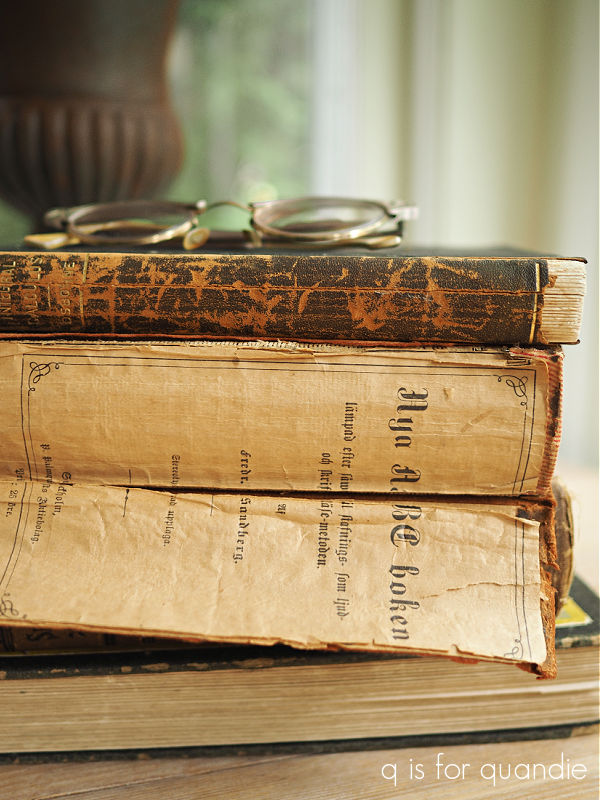
I purchased that old bible at a garage sale, and I’ve never been able to figure out why there is paper lining the spine of the book. I don’t think the spine was meant to be open, that just happened over time. By when was it lined with that paper? If any of you know when or why this technique was done, please let me know in a comment.

And also let me know what you think of the ombré nesting boxes!