

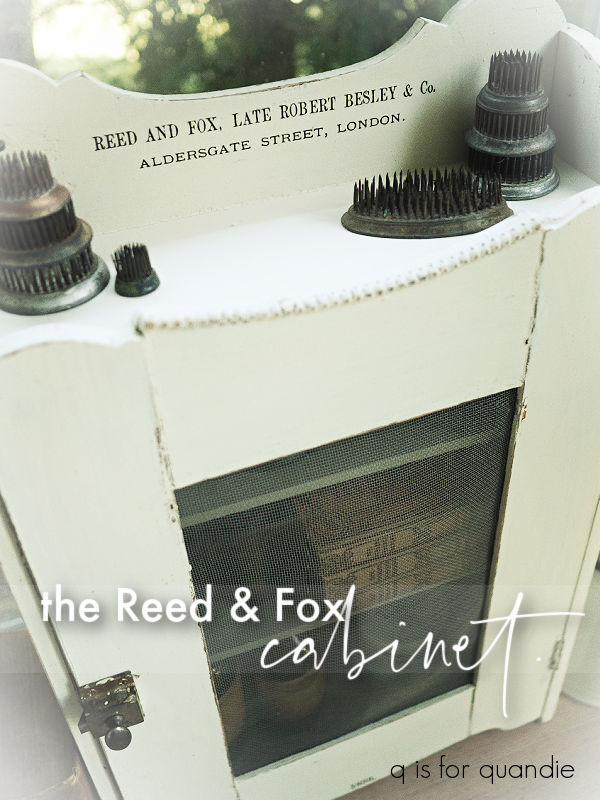
How many of you remember my humpty dumpty project from 2014?
Oh my gosh, that was 12 years ago! How crazy is that?
In case you weren’t here back then, the humpty dumpty was a dresser that I purchased that promptly fell apart when my handyman Ken accidentally knocked it off some horses (the kind you support a piece of furniture on, not the kind you ride).
Ken put it back together again without any help from all of the King’s horses or men.
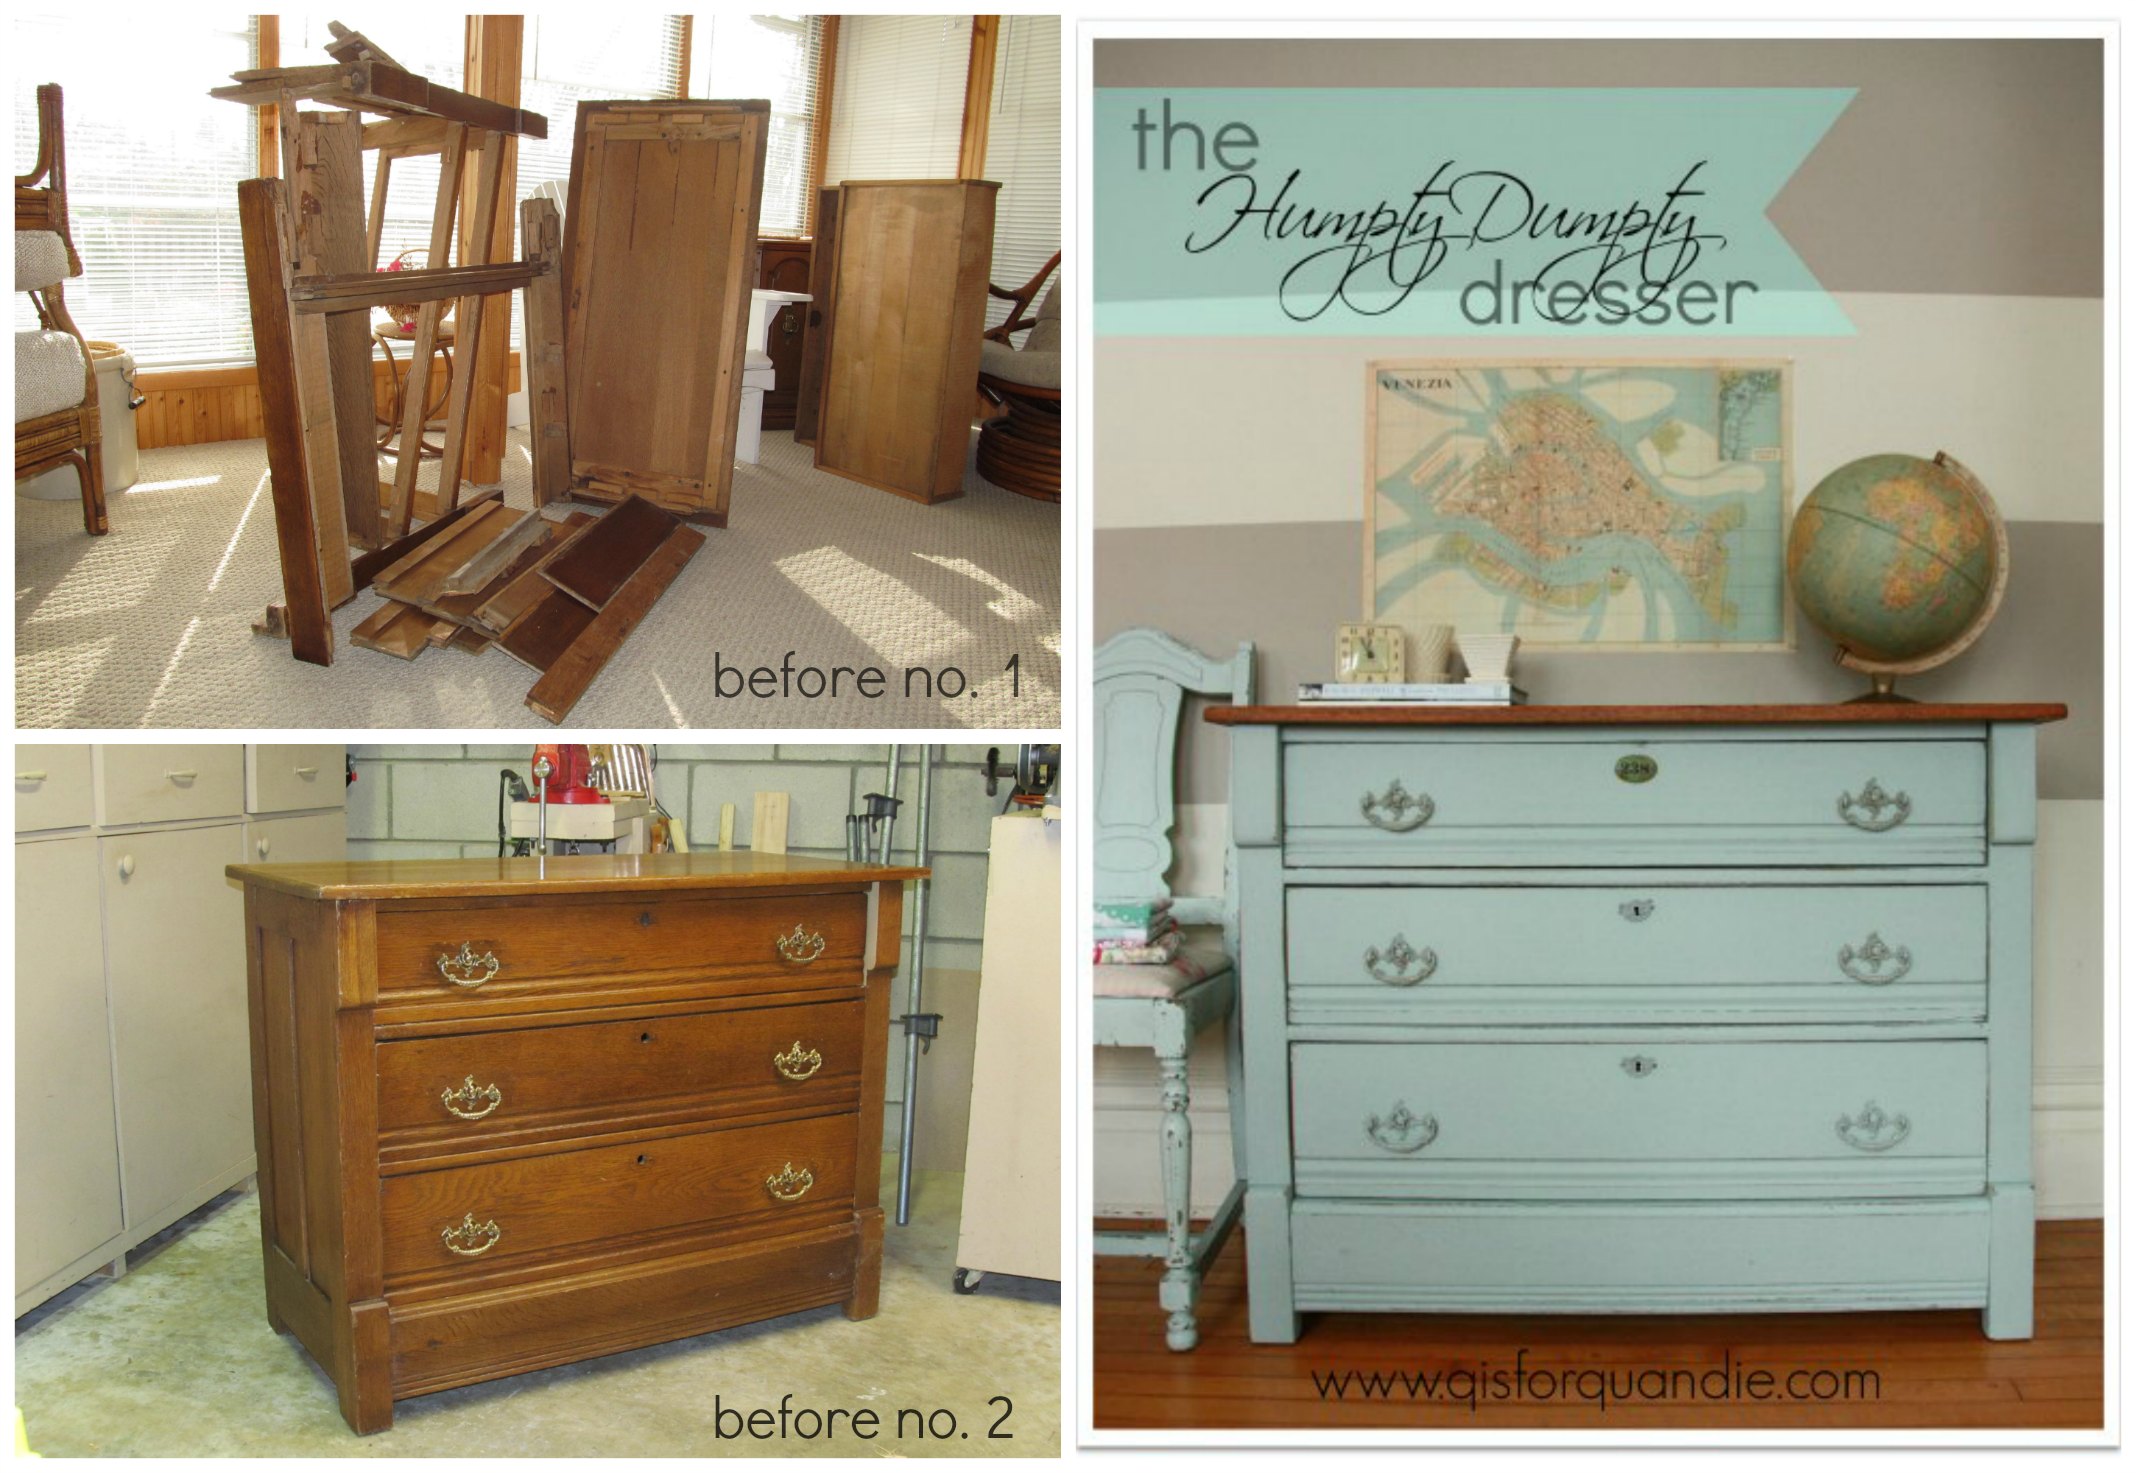
He also really enjoyed that project. So, when my neighbor nnK’s parents offered me this random pile of bits that theoretically could be assembled into a small cabinet …
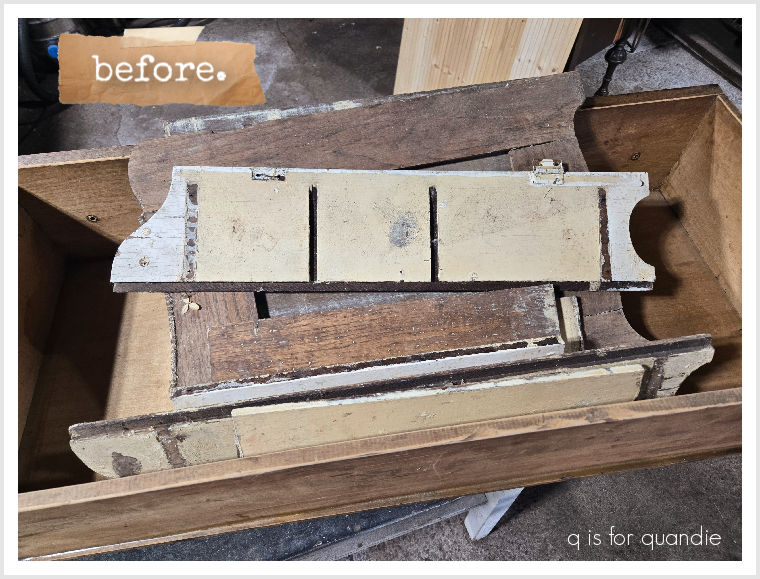
I thought, sure, let’s see what Ken can do with it.
And here’s what came back from his workshop.
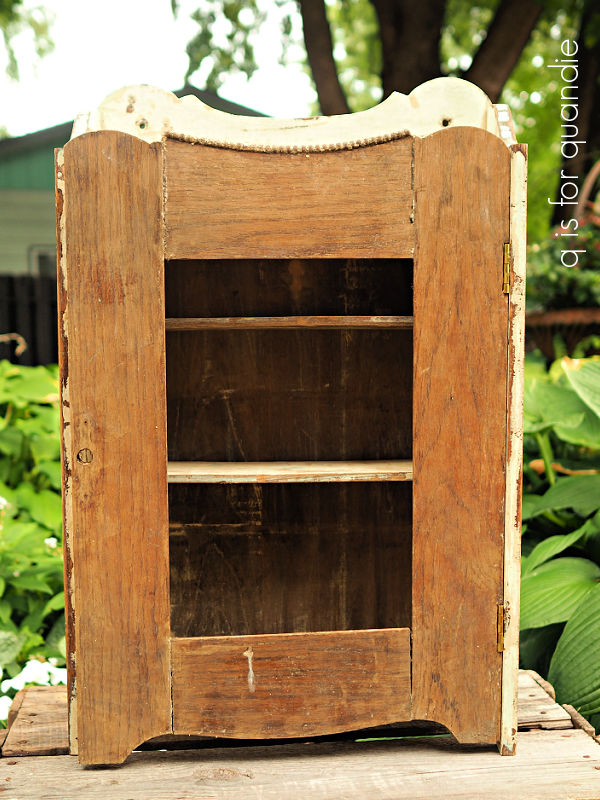
A fully formed little antique cabinet that you could hang on the wall, or place on a flat surface.
I decided that the age and areas of pre-existing chippy paint on this one dictated a makeover using milk paint. I was going for chippy and crackly. I also wanted to keep it white. I had just a small bit of two different milk paints in white on hand, so I mixed them together and hoped that I had enough paint (spoiler alert, I did, sort of).
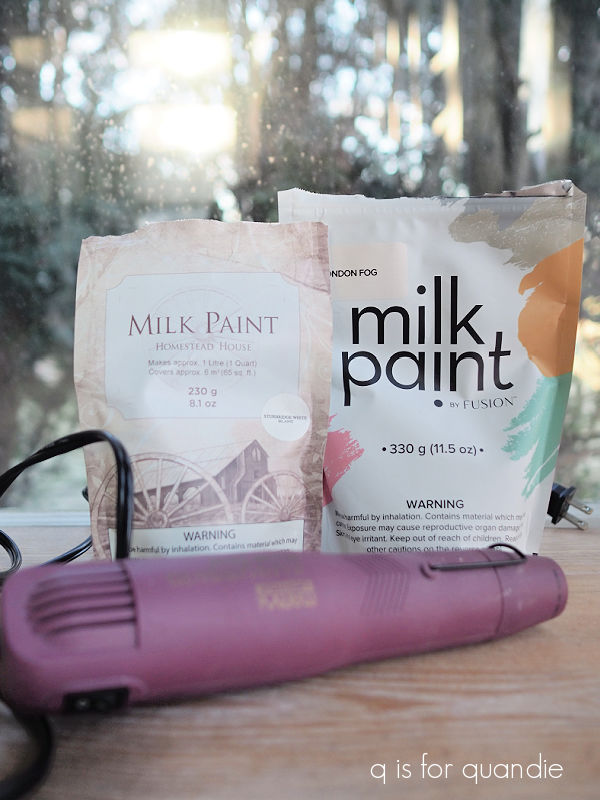
Before I got started painting, I gave the cabinet a good wipe down with warm soapy water. Once dry, I gave it a base coat using a satin clear spray sealer. I’ve seen Yvonne from Ginger Chick Rehab do this before using milk paint and she always gets a fabulous crackly finish.
Once the sealer was dry, I brushed on two coats of my milk paint inside and out. It was at that point that I realized it was going to take three coats to get good coverage, and I didn’t have enough paint left for that. So I added a third coat to the outside of the cabinet and decided to paint the inside in Dixie Belle’s French Villa.
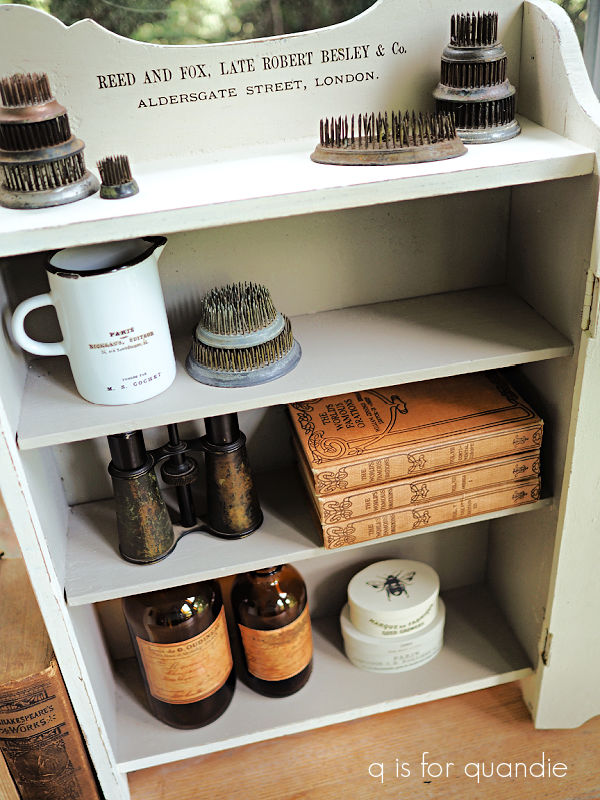
The nice thing about the French Villa is that it’s from the Silk line from Dixie Belle, and thus doesn’t require any additional topcoat.
As for the exterior of the cabinet, once the milk paint was dry I sanded it to distress the edges, but I didn’t really get any chipping. I also only got some very slight crackling. You can see it if you look closely, but only just.
That’s just the way it goes with milk paint, you never quite know what results you might get. You have to be willing to go with the flow when using it.
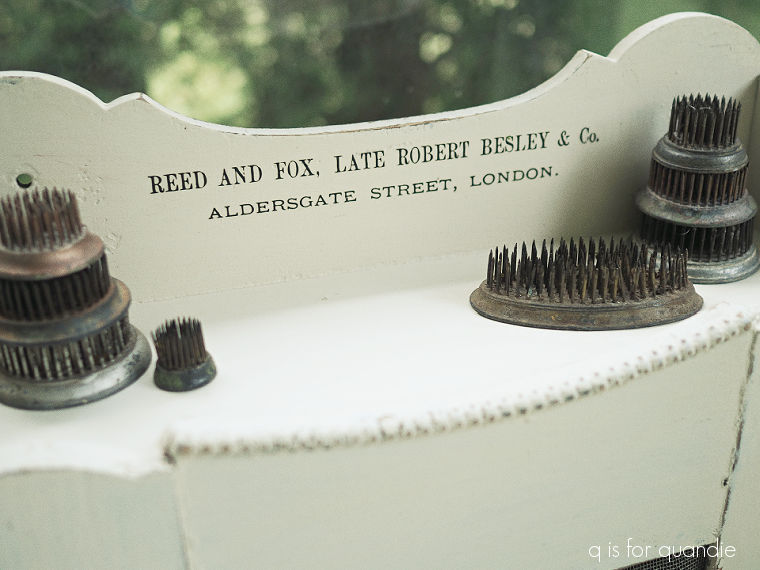
Next up I decided to add just a little bit of text to the cabinet from the I.O.D. Label Ephemera transfer (sadly, long since retired, for those of you who don’t already know that). I put some wording at the back of the top …
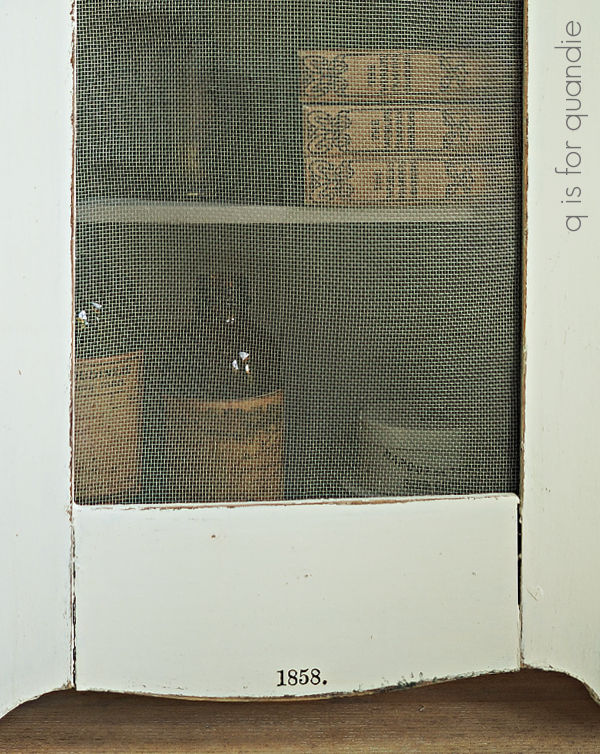
and just simply added the year 1858 at the bottom of the door.
Next up I needed to add a topcoat to protect both the milk paint and the transfers. I usually prefer to use wax over milk paint since a brush-on water based sealer can sometimes reactivate milk paint causing it to streak or even to lift back off onto your brush.
However, I was feeling a bit lazy when I got to this step so I decided to use Dixie Belle’s Easy Peasy Spray Wax.

This is a water-based Carnauba spray wax and it’s super easy to use. Simply spray it on and then wipe away any excess with a clean rag (I usually use an old t-shirt for this).
Now, you may have noticed that the door of this cabinet was missing its glass. I had a couple of options for that. Of course, I could get a piece of glass cut, but that would cost money and take time. I also could have Ken cut a thin piece of wood to give the cabinet a solid door. I definitely considered that approach. But then I thought perhaps I could add screening like I did on a small cabinet back in 2016 …
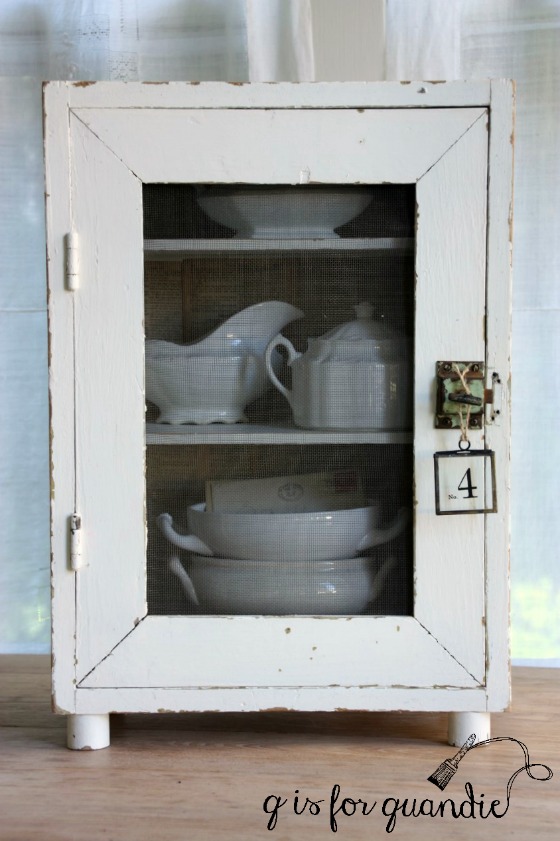
I did just happen to have some old screen on hand.
It ended up being a little bit tricky to attach the screen. I had simply used staples on that other cabinet, but it turned out that the door on this one wasn’t thick enough for staples. They popped through to the other side. So I decided to pull out my picture framing thingie a.k.a. my picture frame point driver.
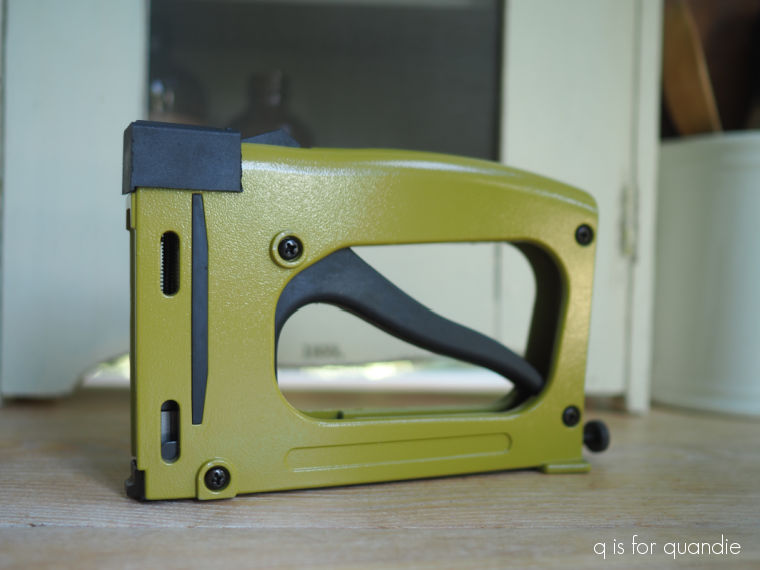
This worked out pretty well. It’s not the most subtle of looks on the inside of the door, but it does the trick.
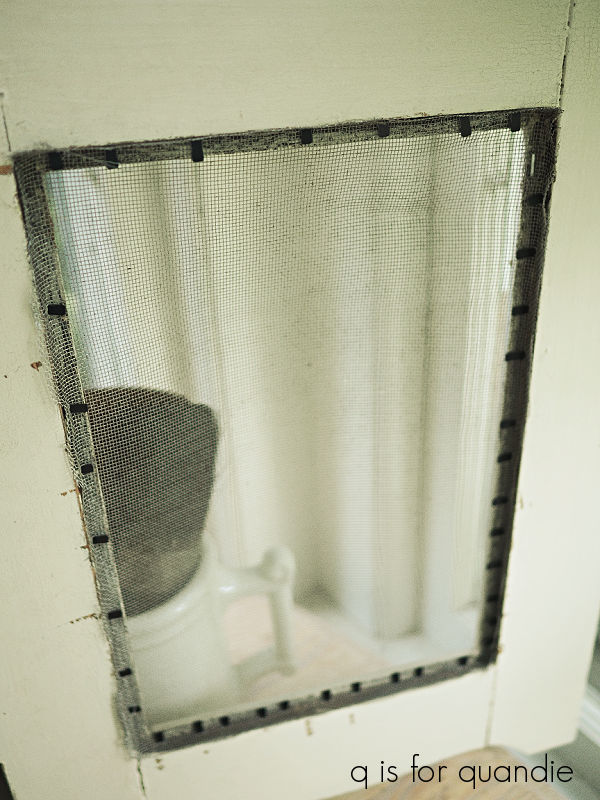
And the cabinet looks great from the outside.
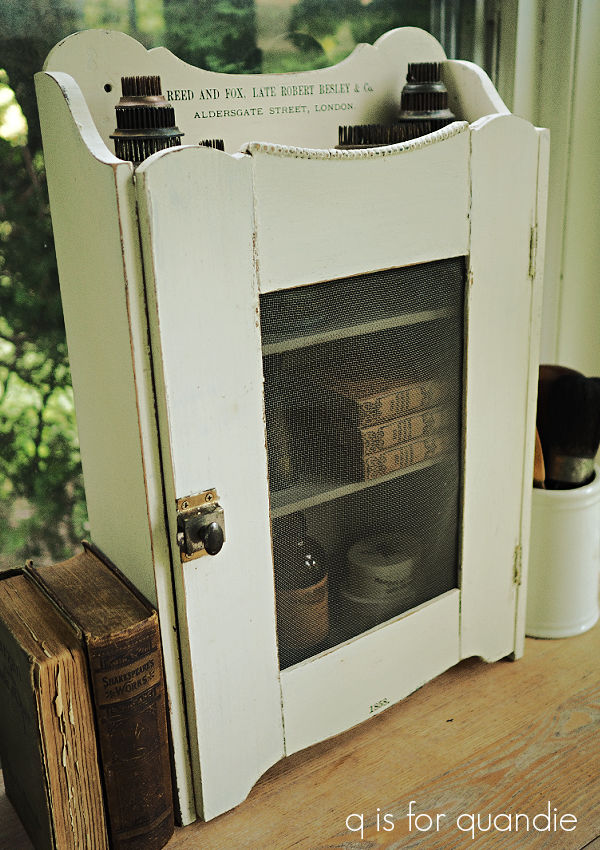
The final step was to come up with some sort of knob since the original one was long gone. There also was a sizeable hole where the handle should be, so a knob with a screw wasn’t going to work. So I dug through my stash of old hardware and found this …
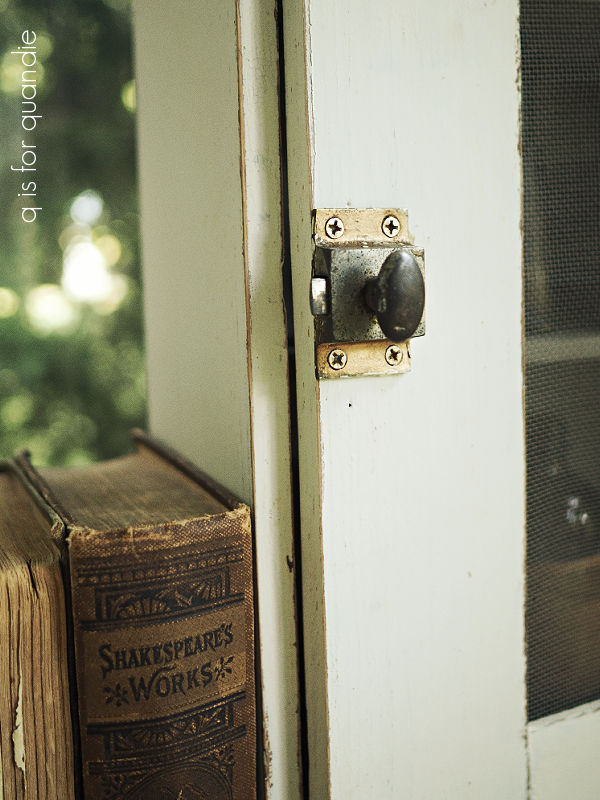
It doesn’t actually latch, but I like the way it looks and I don’t think this little cabinet really requires a latch.
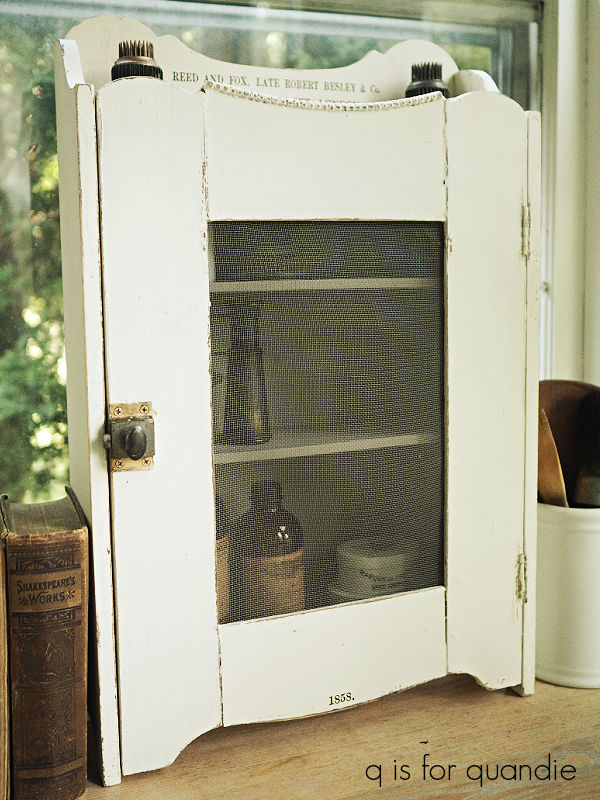
Personally, I love this sort of primitive looking cabinet with its screen door and non-functioning latch. And this little cabinet has certainly come a long way.
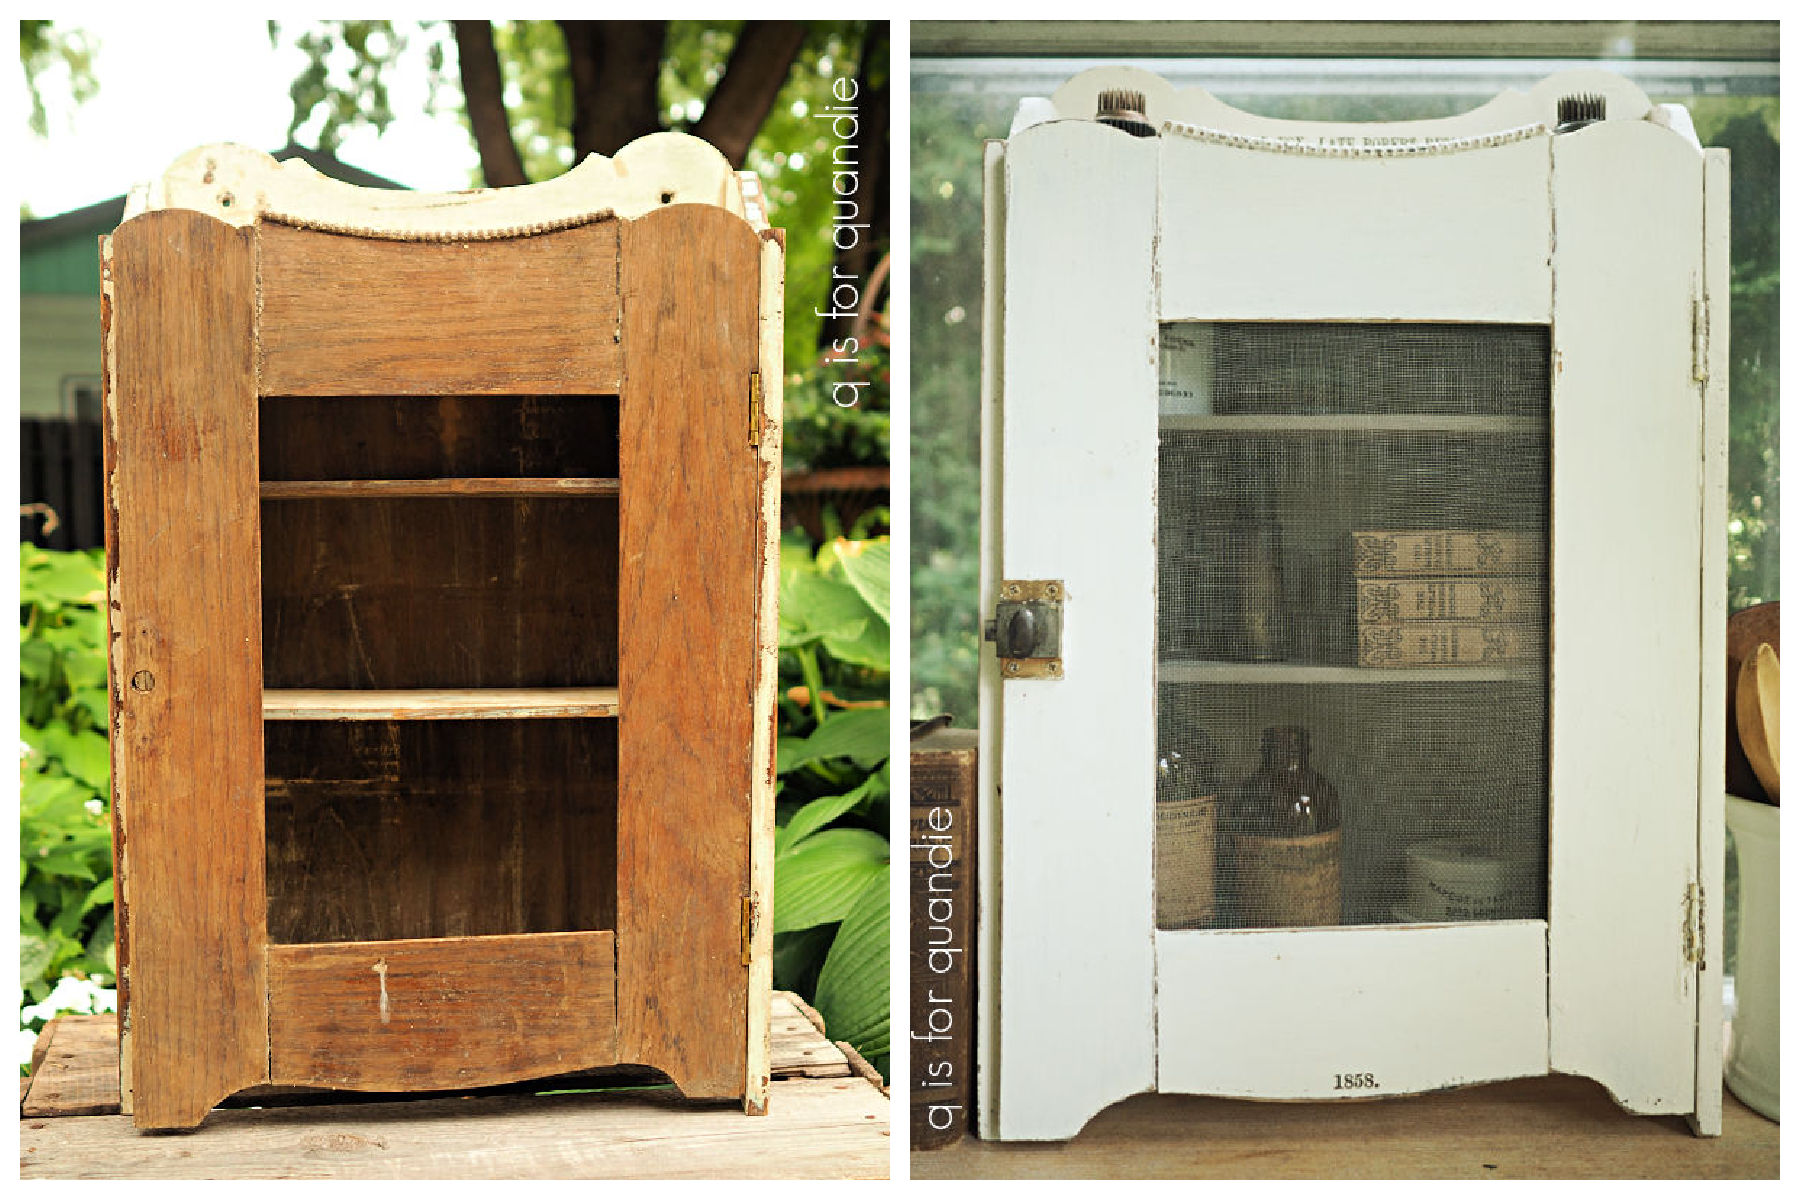
What do you think?
If you agree, perhaps you’d also enjoy re-visiting some of the other small primitive cabinets that I’ve refurbished over the years.
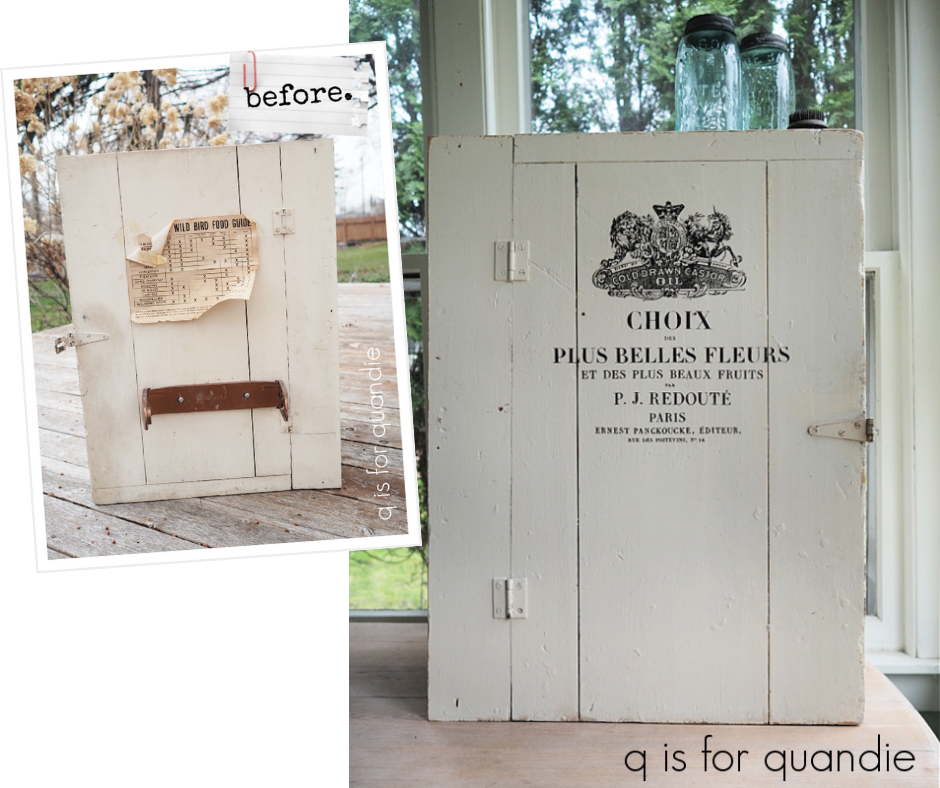
The French Country Rooster cupboard.
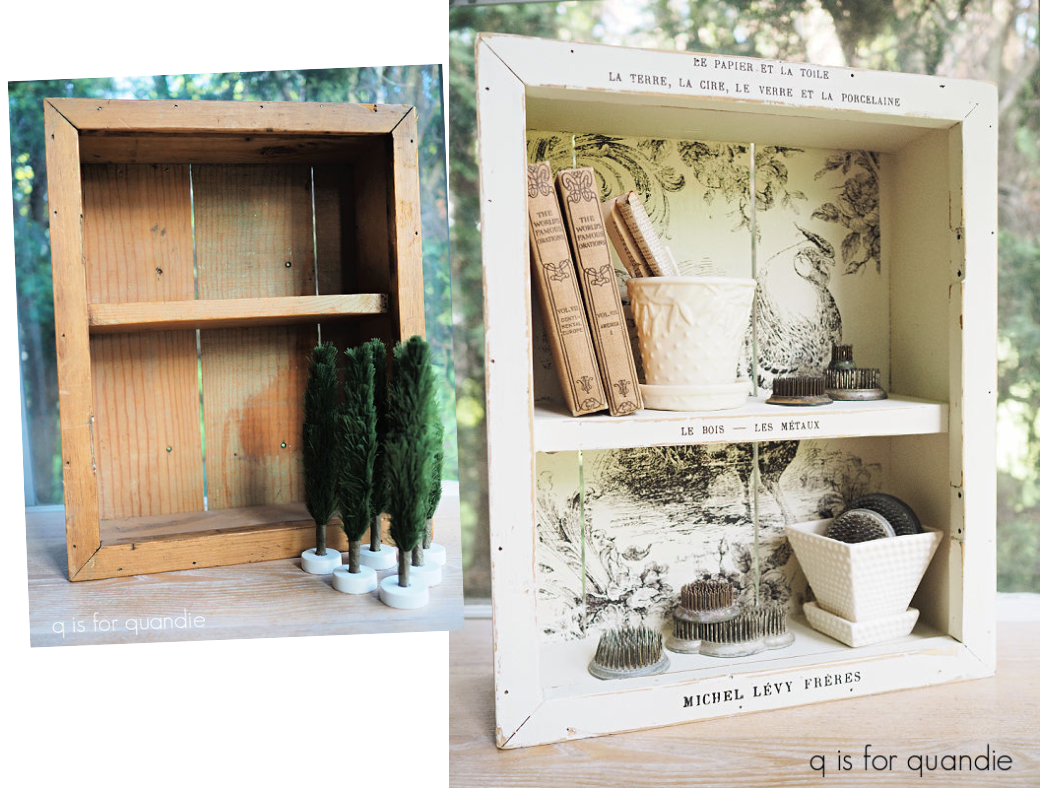

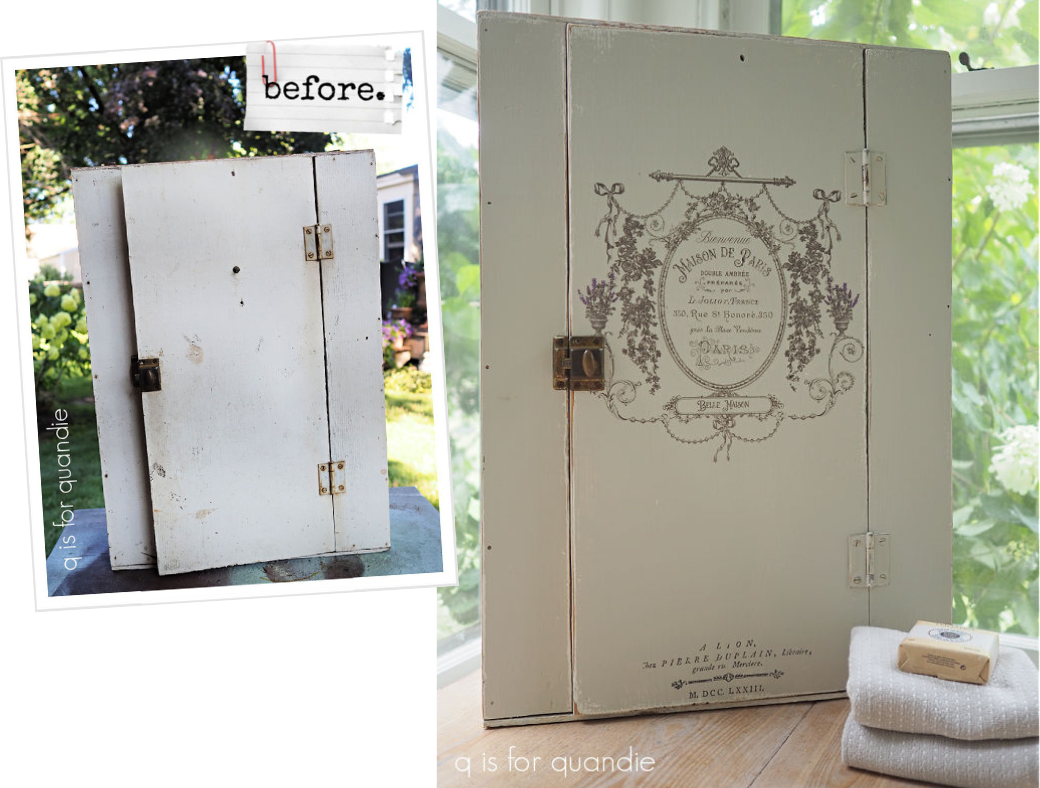
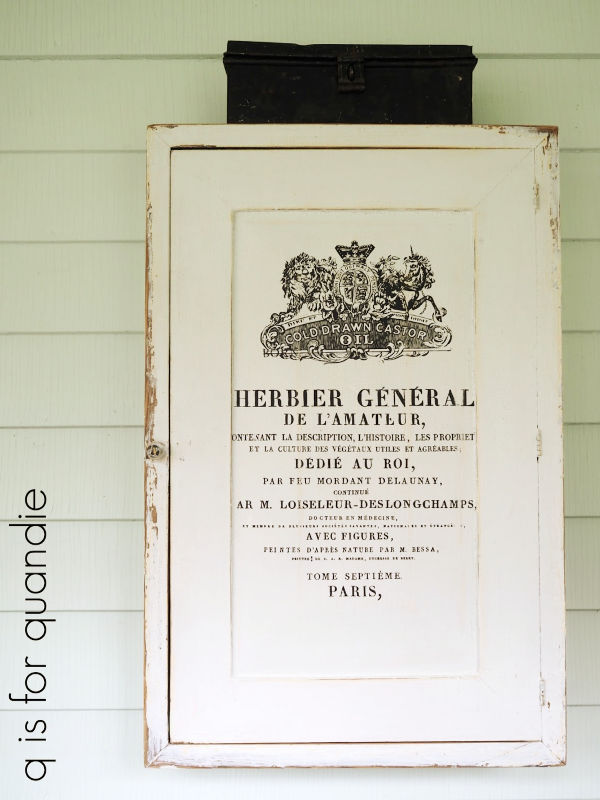
The Reed & Fox Cabinet is for sale, be sure to check out my ‘available for local sale‘ page for more details.
 q is for quandie
Love the cabinet ♡ Enjoy looking back at your previous amazing artistry ♡
LikeLike
Yes I remember the Humpty Dumpty dresser! I loved it! I found a similar one and painted it green and added the Seed transfer. It was one of my very favorite dressers. I love all of your little cabinets. I also love the screen in the door. Great job!
LikeLike
Such a great little cabinet! I love little cabinets, but I just don’t know where to put them all! Perfect styling too 🙂
LikeLike