out on the farm.


A while back I shared the adorable little washstand that I restyled using Prima Marketing’s Out on the Farm transfer …

That was a super popular piece on social media, and it also sold within 12 hours of posting it on Facebook Marketplace.  The gal who purchased it loves barns and was so excited about it, I love those kinds of sales, don’t you?  I suspect that retailers are going to have a difficult time keeping this one in stock.

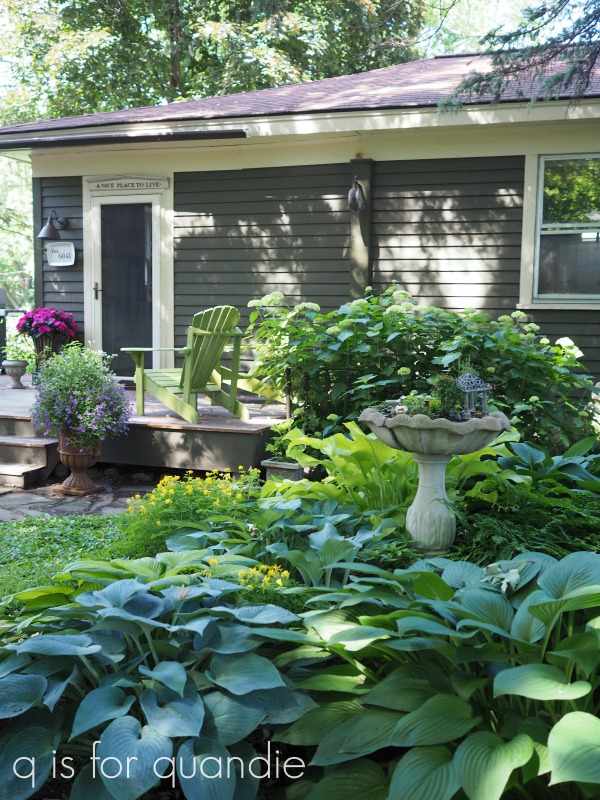
But today’s blog post isn’t really about the Out on the Farm transfer, instead it’s about literally being out on the farm.  Last week my mom, sister and I drove out to Arlington, South Dakota to the family farm for the 4th of July.

Currently my cousin Travis and his wife Deb own the farm.  They’ve recently added on to the house to have a little more space (and more bathrooms) for their six kids.

However, this is still the farm that my grandmother, Carrie Moe, was born on in 1898.

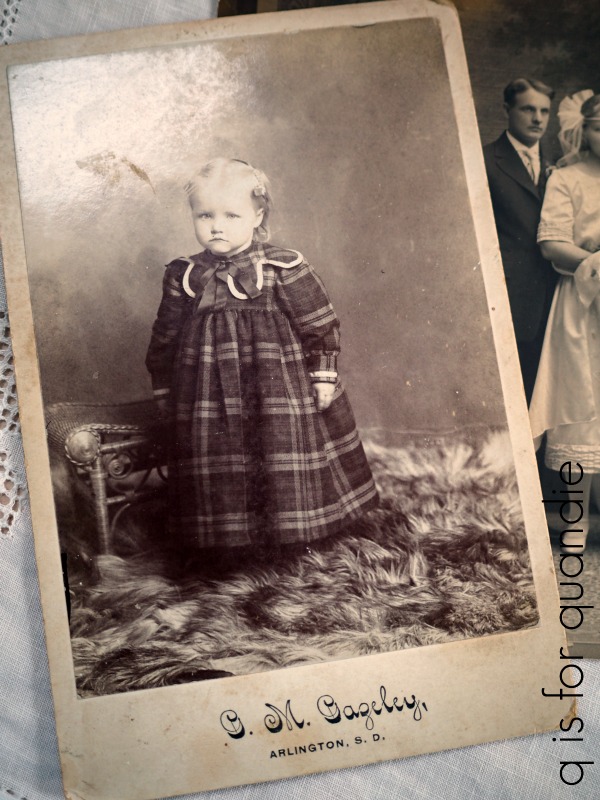
Wasn’t she a little cutie?

I always seem to come back home from these trips with a few more old photos to add to my growing pile.  This visit was no exception and I brought home the one above and this fantastic wedding photo of my grandparents.

They were married in the 1920’s and I think the style of my grandmother’s veil was particularly popular in that time period.  Check out her shoes too, some designs are just timeless (the shoes, not the veil not so much).

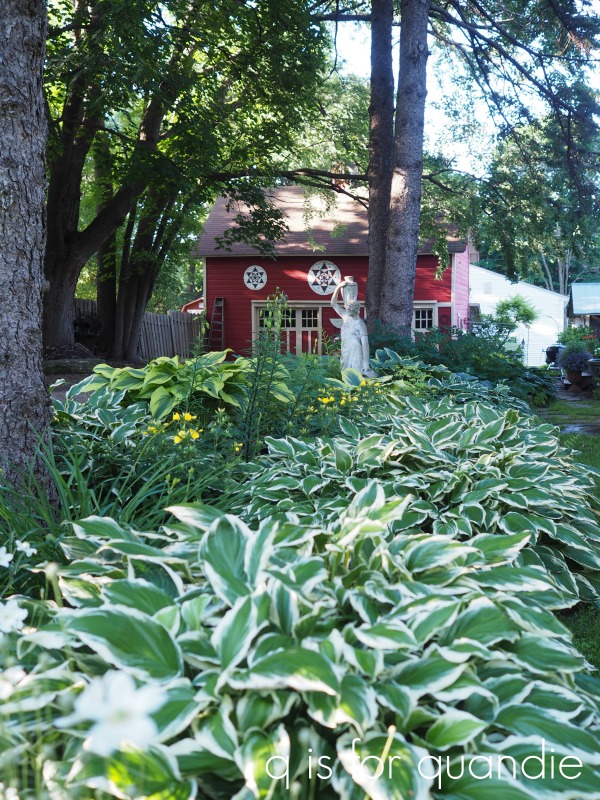
They’ve had quite a lot of rain in South Dakota this year, so everything is as green as can be.

But they also have a lot of standing water.  In fact, my cousin now has ‘lake front’ property and he even put in a dock.

Unfortunately, it also means that sections of the road he lives on are entirely underwater.  Here’s a close up of that view showing the road, or at least the markers that indicate where it is.

It was rather entertaining to watch people deciding whether or not to chance driving through the water.  Some turned around in Trav’s driveway and went back the way they came, but others made their way through creating a wake behind them.

We always have the best time visiting the cousins out on the farm.

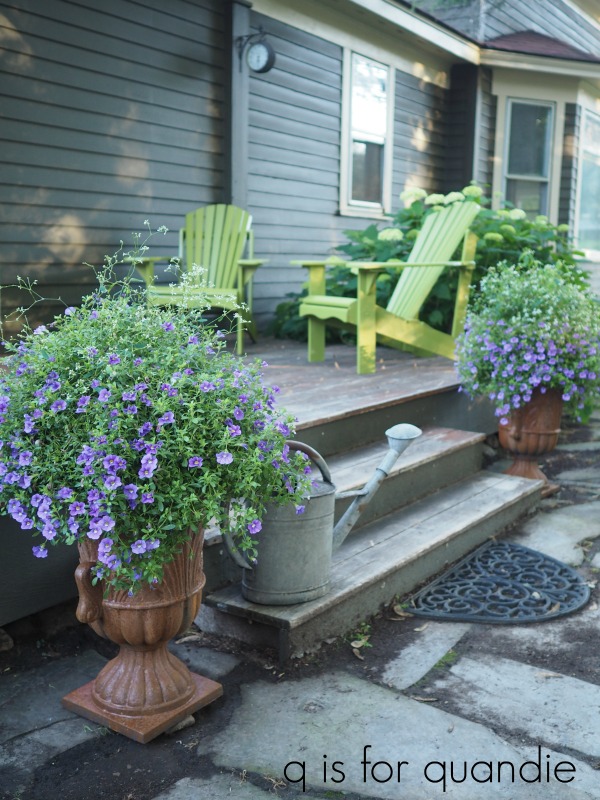
Although I consider myself a die hard city girl, there is something about those wide open spaces that really speaks to me.

When I saw a couple of farmhouse decorating magazines while doing a little shopping out there I realized I needed to continue my tradition of giving away some magazines here on the blog upon my return from traveling.

Sure, this was just a short trip to South Dakota, but why not?  And this time the magazines are in English!

To add a little bit extra while sticking with my farmhouse theme, I’m also going to throw in some Miss Mustard Seed’s milk paint in Farmhouse White.

The rules:  to be eligible to win today’s prize leave a comment on this blog post letting me know whether you are a city slicker or a country bumpkin.  Your comment must be left on the blog, not on Facebook or Instagram.  You are not required to follow my blog, although it would be awesome if you did!

I will randomly draw the name of a winner for today’s prize from all of the comments left on this post by Friday, July 12, 2019 at the stroke of midnight (U.S. Central time).

The fine print: no purchase necessary, you must be 18 years of age or older to win, void where prohibited by law, the number of eligible entries received determines the odds of winning, approximate retail value of prize is $45, if the prize is not claimed by Sunday, July 14, another name will be drawn at random to win, blah, blah, blah.

Good luck!

spring meadow life.

Pretty much everybody looked at me askance when I showed them today’s piece in its ‘before’ state.

I know they were all wondering what in the world I was thinking.  I have to admit, I’m not even sure why I purchased this one.  I even paid way too much for it at $5.  It should have been in a free pile somewhere, or maybe priced at $1.  In the end, I really just wanted to take on the challenge of bringing this sad little half chair back to life.

In case you can’t tell, it’s basically an ugly 80’s kitchen chair that is missing its back.  It originally had some kind of spindled back, but someone had removed it and left holes where the spindles were.

Ken filled the holes with dowel sticks for me and then I used some wood filler to complete the job.  I sanded them smooth once the filler was dry.

I thought this would make a pretty cute stool … maybe?  hopefully?

I started by painting it with Fusion’s Laurentien.  I hadn’t used this color in a while and I’d forgotten how much I love it.  If you are a fan of turquoise Haeger or McCoy pottery, Laurentien is about that same color.

Such a gorgeous color, right?  And by the way, I took these pictures a week or so ago when the peonies were still blooming.  They are long gone now.

Once the stool was painted, I sanded the edges lightly to distress and then I added pieces of the Spring Meadow Life transfer from Prima Marketing.

Just look at all of those fun images that you could play around with!

I only used four sprigs of flowers on the stool, so I have lots more of this transfer left for future projects too.

 I think the black drawings look great over that punch of turquoise.

This actually makes quite a comfy little stool too.

Perfect for sitting on while perusing your favorite magazine.

So what do you think?  Did I accomplish my goal of bringing this piece back to life?

I took it to Reclaiming Beautiful, the shop in Stillwater, MN where I sell on consignment.  I’m not sure if it’s still there or not.  It will be interesting to see whether or not someone buys it.

Thank you to Prima Marketing for providing the Spring Meadow Life transfer and to Fusion for providing the paint.

If you’re wondering where to purchase the transfer, check out Prima’s ‘where to buy’ page.

If you’re wondering where to buy the Fusion paint, check out their ‘where to buy’ page.

a pair of motel chairs.

I showed you guys a terribly blurry photo of my haul from the Prospect Park sales last week.

I’m afraid this will have to do for a ‘before’ photo of the pair of motel chairs that I found there because I never took a better one.  It’s a bit hard to tell, but they were painted brown.  What’s with the brown anyway?  The planters I shared on Monday were originally brown too, but from an entirely different garage sale.

Anyway, I mainly snatched these up because they were super cheap and thus too good to pass up.  Once I got them home I realized I didn’t have a spot for them and would most likely sell them.

I knew I wanted to paint them, and I thought spray paint would be the easiest option.  Since I happened to have a bunch of black spray paint on hand, I decided to go black.  I also felt black would be a neutral choice that would sell well.

This is RustOleum Canyon Black in a satin finish.  And even with the satin finish I feel like they are just a bit too shiny for my taste.  Plus the sheen isn’t perfectly even, which bothers me.

But I went ahead and moved on anyway, adding one of my favorite stencils to the backs of the chairs.

I used my normal trick of stenciling in a color called Deep Taupe, which is actually a dark greige color but reads much lighter when used over black.  This worked beautifully on my baby grand …

But I think the sheen of the spray paint is messing with that combination.  At certain angles it’s hard to even tell that these chairs have a stencil on them.

I don’t know, maybe that subtlety works for them?

Or should I spray over them and try again with a lighter color?  or maybe a different stencil entirely?

It would be simple enough to do.

Or am I just being too critical of my own work (which has been known to happen)?

Go ahead and share your thoughts on that with me in a comment.

Fair warning though, I’m on the road today with my mom and sister.  My cell connection might be a bit spotty so I may not be responding to comments right away.  We are heading to South Dakota to visit my mom’s cousins for the 4th of July holiday.

Speaking of which, my simple staging of these photos was supposed to represent the holiday in question.

I’ve got the red, white and blue colors right, plus the Country Living American Style book.  But I have to laugh because I’ve paired it with French lemonade and a German stencil on the chairs.  What can I say?  I fully embrace all nationalities.

That being said, Happy 4th of July to my U.S. readers!

a pair of rusty planters.

Have you ever priced those fabulous rusty old cast iron planters?  Like this pair …

These are available online at The Garden Vault for $850.

So gorgeous, and so totally out of my price range.  That’s why I’m really excited about the Patina Paint products from Dixie Belle.  I got nearly that same look for a fraction of the price.

Of course, in my case it helped that I first found a pair of planters at a garage sale for $30.  But you can find similar planters at Wayfair for about $35 each.

These are made out of that molded composite stuff.  Here’s a close up so you can get a better look.

It looks like concrete, but it’s not.

Their existing blah brown paint job was definitely not doing them any favors, but the moment I saw them I knew they were the perfect candidates for a rusty finish using the Patina Paint.

For this project I used the Iron paint and the Green spray.

Since my planters were already painted, I didn’t need to give them a base coat.  However, if you are starting from bare plastic, wood, plaster or glass you’ll want to start with a base coat of any color of Dixie Belle paint.  If you’re using the Patina Paint over metal you’ll want to be sure to use the Prime Start instead of paint.  The Prime Start prevents the rusty finish from actually deteriorating your metal.

But I was able to skip those steps with my composite planters.  All I had to do was clean them and then paint the Iron paint right over the existing brown paint.
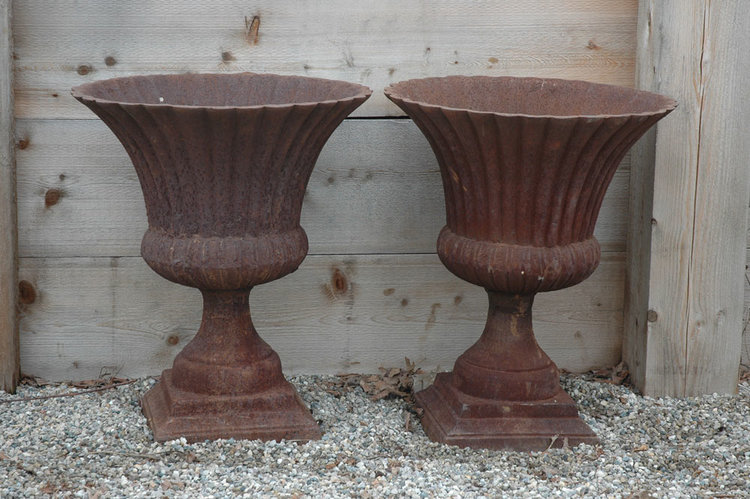
Be sure to mix the paint well before applying it.  This paint contains actual flakes of metal that create the rusty finish.  They will settle to the bottom of the jar over time, so be sure to get them mixed up before you begin.

I painted one coat, let it dry and then added a 2nd coat.  While the 2nd coat was still wet, I sprayed the planter with the Green spray.  This can be messy and a little smelly, so I prefer working with these products outside.  If that’s not an option, keep in mind that this spray will drip so protect the surface you are working on and also protect yourself with any recommended safety equipment.

The next part is easy, (unless you’re the impatient, instant gratification sort, not pointing any fingers here, except possibly at myself) just wait.  It took about two days for my planters to look like this …

Kinda hard to tell these aren’t genuinely rusty iron planters, don’t you think?

I was able to snag a pair of matching flower baskets for my planters from my local nursery (Country Sun in Stillwater in case any of you locals are wondering) at their close out sale.

This late in the season it was a bonus to find a matching pair.

The planters are perfect for either side of the steps up to our deck.

If you look closely, you can see my favorite photo bomber (my cat, Lucy) peeking out the screen door.

You can also see the Adirondack chairs that my handyman/neighbor Ken makes.  Quite a few years ago nnK had the most comfortable Adirondack chair and she wanted another one like it but a little wider and with wider arms that could easily hold a beverage, so Ken simply took her chair apart and made a pattern from it with a few adjustments.  Now he cranks these chairs out all the time.  He hates to paint though, so he sells them unfinished.  I originally painted mine with a brush, but that ended up being far too putzy with all of those slats so now I spray paint them.

This is Rust-Oleum spray paint in a color called Eden.

This color works just beautifully with my house color, and also with my nearby plantings.

Especially the bright chartreuse of the Sun Power hosta (to the left of the fairy garden bird bath in this next photo) and the Guacamole hosta (lower right corner).

Since we’re out in the garden now, let’s take a look around.

Here’s how my fairy garden is looking this year …

For protection over the winter, I bury the entire top of the birdbath in the garden near the house.  Last winter was a rough one though.  So a few things in the fairy garden didn’t make it, including a couple of miniature hostas and miniature evergreen.

My gardening style can best be described as ‘jam packed’.  I figure if I don’t leave any space for them, the weeds won’t grow.  It really does work fairly well.  Not all plants are happy this way, so when one starts looking a bit peaky I’ll dig it up and move it somewhere else.  Or just dig it up and give it away.

Over the years I’ve gotten rid of plants that are just too persnickety for me too.  If they don’t grow well with little human intervention, then they have to hit the road.

I’ve written about the window box along the front of my house before.  Every year I try different combinations in it (here and here are a couple from past years).  This year I have a medley of coleus, some white impatiens, purple oxalis, and a fun new variegated sweet potato vine.

I stuck with some old favorites in my copper boiler planter though, lemon slice petunias and daisies.

Here’s a quick update for you on my picnic basket planter.

If you’ll remember, I added a Prima Marketing transfer to it and I’m testing out how well it holds up outdoors for the season.  So far, so good.  It was getting rained on as I took that photo, and it has also spent some time baking in the sun and the transfer still looks as good as new.  The basket itself is rusting quite a bit though.

And, P.S., as you can see I found a spot for one of the plates I purchased at the Prospect Park sales 😉

So, back to my pair of rusty planters.

How about some math?  Sorry, some of you probably hate math but the accountant in me can’t resist.  I could have spent $850 for the pair of antique planters from The Garden Vault, but instead I spent $30 on my pair of garage sale planters.  Dixie Belle provided me with the Iron Patina Paint and the Green spray for free, but had I purchased them they would have cost me $16.95 each.  So for around $64 I have a pair of rusty planters that look pretty spectacular.  Plus I used less than half of the Iron paint and probably not even 1/3 of the Green spray, so I have plenty left to create more rusty garden treasures!

If you’re looking to purchase some Patina Paint, you can shop online with them here.

Normally this is the time when I say ‘if you are a local and need a pair of rusty planters …’, but I’m definitely keeping these.  So I would encourage you to try the Patina Paint on some planters yourself!