Did you know that the Canadian paint company that manufactures Miss Mustard Seed milk paint, Homestead House Paint Co., also makes Fusion paint? Not only that, but they also have a full line of milk paint that is not packaged with the Miss Mustard Seed branding. It is manufactured with the same ingredients and is pretty much the same exact stuff, except it comes in different colors (you check out those colors here). As it turns out, a lot of the Fusion paint colors started out as Homestead House milk paint colors.
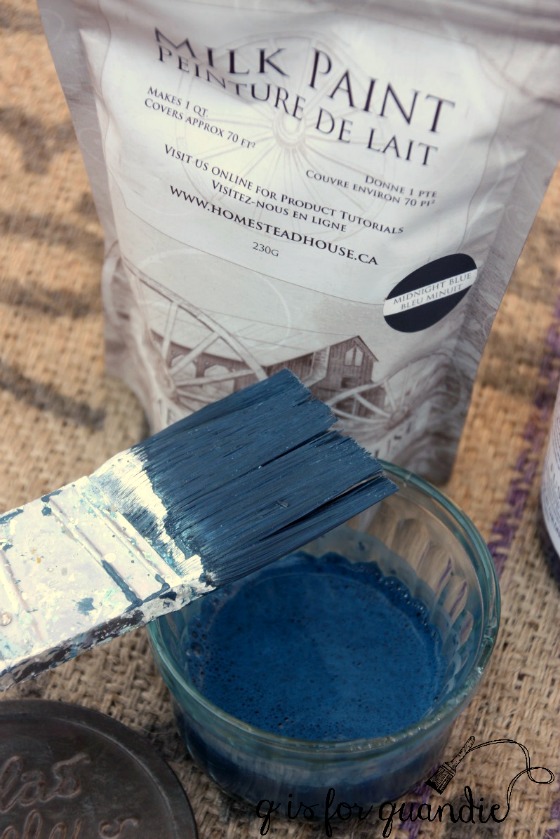
Recently the Homestead House people offered to send me some samples of their milk paint to play around with. I asked them to send me some of their Midnight Blue milk paint specifically so that I could compare it with the Midnight Blue Fusion paint. And thus, this blog post was born. A show down between milk paint and Fusion paint. Which one is better?

Before I move on with the detailed comparison, I’m going to give you the answer to that question. It’s sort of like reading the last page of the book first, but who doesn’t do that every now and then? And the answer is: ‘neither’, or ‘both’, or ‘it depends on what you like’.
So let’s compare, shall we?
I happened to have a pair of chairs that I snagged curbside for free last spring at the White Bear Lake Trash to Treasure day.

Painting one with Fusion paint and one with Homestead House milk paint is a great way to compare the qualities of these two types of paint side by side and in the same color.

Right off the bat we have a big difference between the two products. The Fusion paint is ready to go right out of the jar, the milk paint powder has to be mixed with water. I’ve spoken with some painters who don’t like having to mix milk paint themselves, but I kind of enjoy it in a ‘making mud pies’ sort of way. It feels a little like a science experiment to me. Mix powder and water and it makes paint, kinda cool, right? For the Midnight Blue I used a little more water than powder since it’s a nice dark color. With lighter colors I go with more of a one to one ratio of water to paint. I mixed my paint before starting to prep my chairs to give it some time for the color pigments to dissolve and blend well.
To keep a level playing field for this experiment, I did the same amount of prep on both chairs. Very little. I removed the seats and then I didn’t bother with sanding them, I just wiped them down with a damp cloth. This is not the recommended procedure for either paint. The recommended prep work is to sand lightly to give your surface more paint gripping power, then wipe down. I skipped the sanding because I wanted to encourage chipping on the milk painted chair, and also because I was feeling a little lazy.
I started with the Fusion chair. Painting with Fusion is fairly straightforward. Just dip your brush and paint it on. Here it is after the first coat of paint. You’ll have to excuse the purple-ish look, it was a bright sunny day when I took these photos and there was a little too much reflection coming from the wet paint. As you’ll see later, this is really a navy blue.

I almost could have gotten away with just one coat of the Fusion paint except for a few spots that didn’t quite have enough coverage.
While that dried I painted the milk paint chair (ditto the above regarding the purplish look, too much glare). Right away I noticed the difference in applying the two kinds of paint. The Fusion paint feels heavier on the brush and takes just a little more effort to brush on. The milk paint is very light and almost watery by comparison. This makes it really easy to paint on. But it also tends to get a little drippy. It’s easy to just keep an eye out for drips and wipe them away with a pass of the brush though.

Once I had the first coat of paint on the milk paint chair, I went back to add a quick second coat to the Fusion chair. Unfortunately it wasn’t quite yet dry. It does take just a bit longer for the Fusion to dry. This is another quality that I love about milk paint, it dries very quickly often allowing me to complete painting projects requiring two coats of paint in one evening after work.
Since the Fusion chair wasn’t quite dry yet, I took a quick break and dug out some fabric for recovering the chair seats. I cut the fabric to fit and ran a quick hot iron over it to smooth out any creases. In the time it took to do that, the paint was dry and it was time for a second coat on each chair.
I’ve learned that it is much easier to distress Fusion paint shortly after applying it. The longer you wait, the more the paint cures and the more durable it becomes. This is great for long term durability, but can be frustrating if you want to purposely distress your piece and you didn’t get to it right away.
So as soon as the paint was dry, I used a sanding block to lightly distress areas on the Fusion chair that would normally show some wear and tear over time such as the edges. I did not sand the flat surfaces at all. I then used a very small amount of wax on a cloth to darken up any spots of fresh wood that were revealed by the sanding. This not only protects that bare wood, but it darkens it up and makes it look more naturally distressed instead of looking freshly sanded. It just took a quick minute to do, I didn’t thoroughly wax the whole chair by any means.

Next I turned to the milk paint chair. I was really happy to see that it had some spots where the paint was already flaking up. I wanted to see some chipping and in my opinion this is where milk paint really shines. I ran some sand paper over the entire chair (including flat surfaces) and did get some paint off, but I wanted more chipping so I used one of my favorite secret tips, masking tape. Imagine using masking tape to de-lint your black dress pants, it’s the same idea. Press the tape onto the surface and then pull it off. Voila! Chipping!
Once done with that I ran my shop-vac over the chair to remove any remaining dust or paint chips.
And now we’ve come to the moment in time where I admit that there is one more step required for the milk paint chair that is not necessary with Fusion paint. A top coat.
I opted to use hemp oil as my top coat. It’s a little easier to apply than wax and I like the way it darkens up the Midnight Blue a bit more than wax would.

At this point I think the difference in the final look between the two paints is pretty obvious.
The milk paint finish looks more genuinely aged. I know this chippy look doesn’t appeal to everyone, but personally I love it. For me, nothing compares to the chippy look you can get with milk paint. But as I think I’ve pointed out, it’s just a tad more work to use milk paint rather than Fusion paint.

Is it worth the extra work? I think that depends on the piece. Some pieces really come alive with a chippy milk paint finish, while others are better off with a more solid Fusion finish.
Another thing to consider is that the Fusion finish is more durable and washable than a milk paint finish. If you’re painting kitchen cabinets, you’re definitely better off with Fusion paint.

So, which one is better? Neither. Both. Depends on what you like. For me personally I prefer the chippy milk paint finish. When I’m painting pieces to keep for myself I almost always choose milk paint.
How about you, do you have a preference?


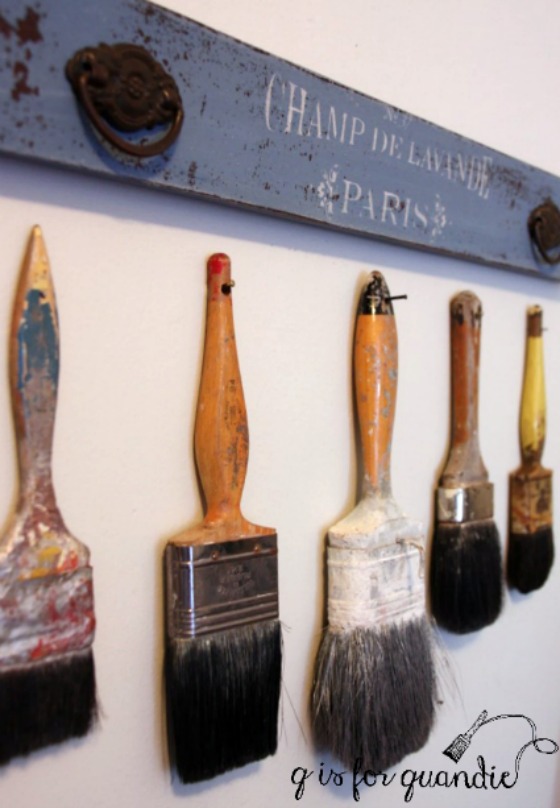


 If you happen to be someone who purchased one of my altered brushes I’d love to know what you did with it. Did you hang it on the wall?