After completing quite a few Christmas projects in a more traditional red and green, I felt the need to get out one of my favorite neutrals, Dixie Belle’s Dried Sage.
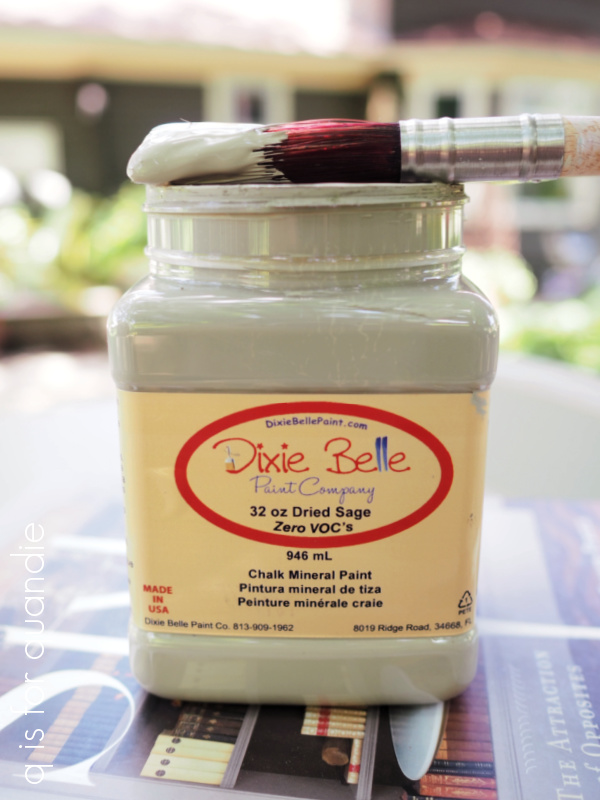
It’s such an interesting color. Is it grey? Is it green? Is it beige? I think it’s a little bit of all three.
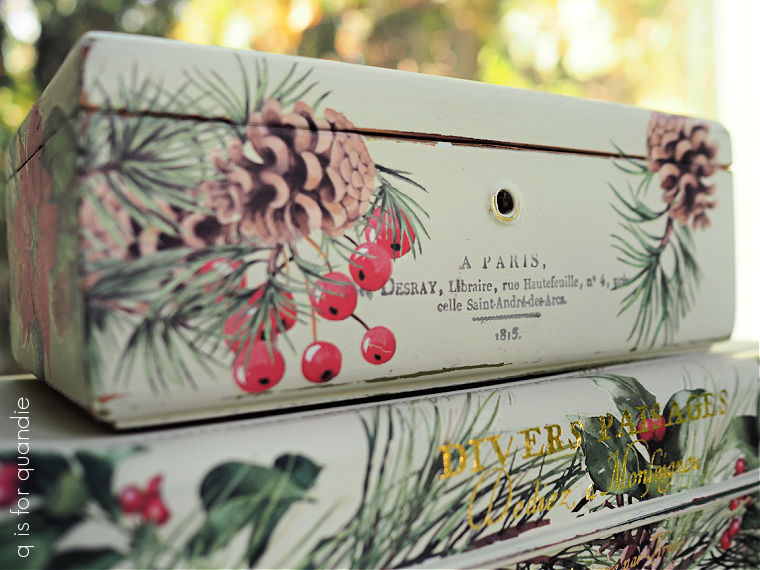
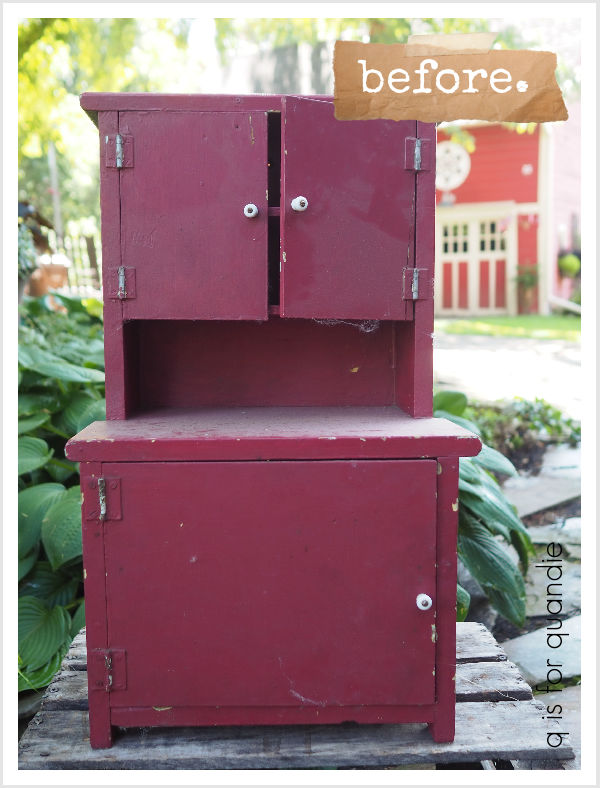
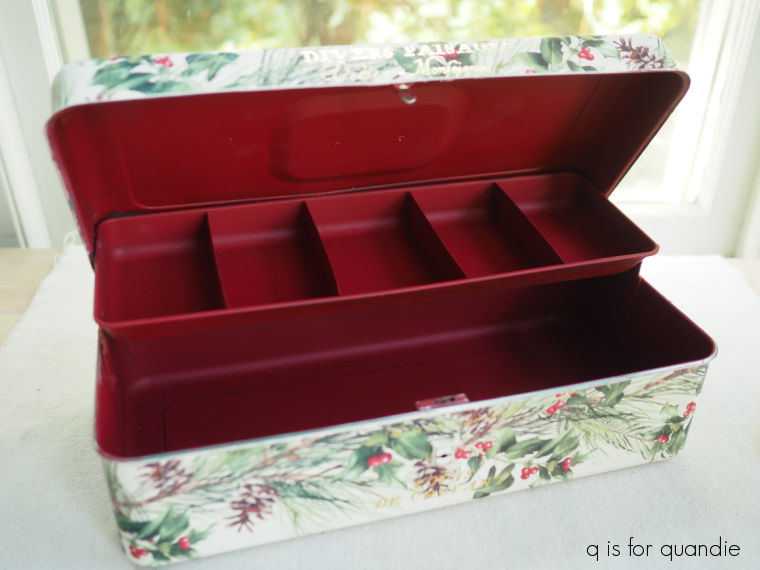
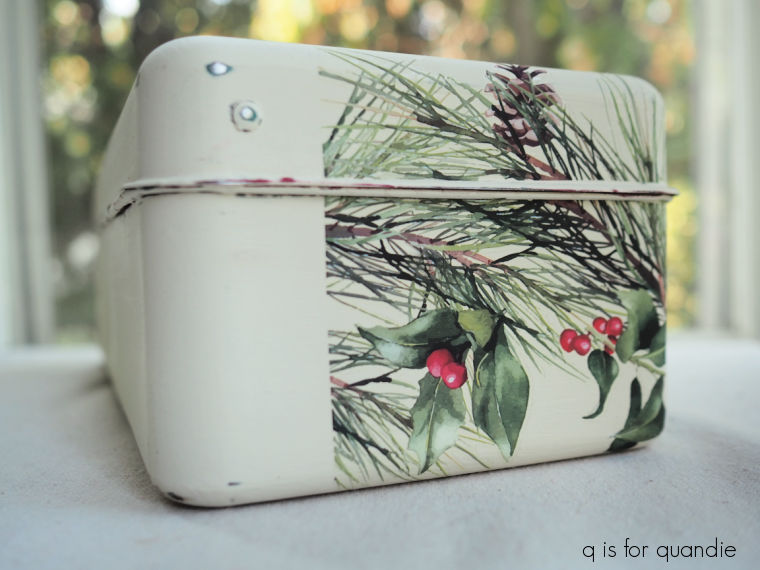
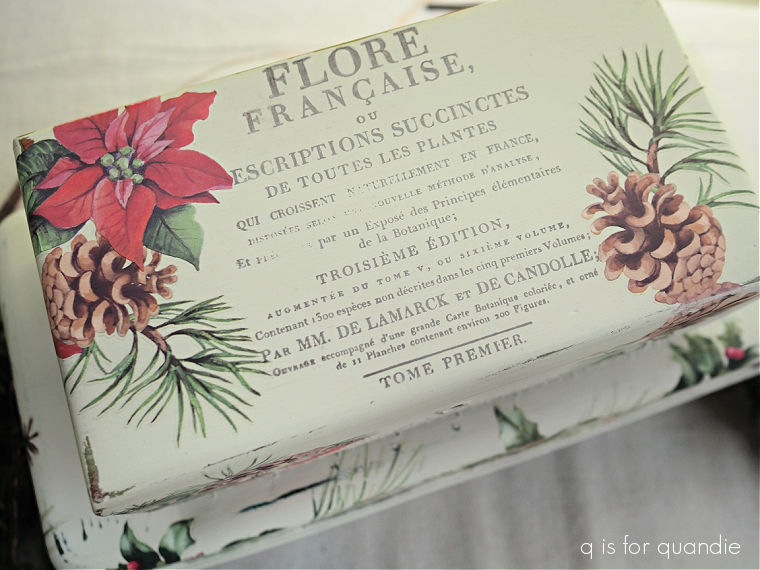
Whatever you want to call it, I think works well for creating a primitive sort of look. So when I was trying to decided what color to paint this rustic box that I found at a garage sale this summer, I decided Dried Sage would be perfect.
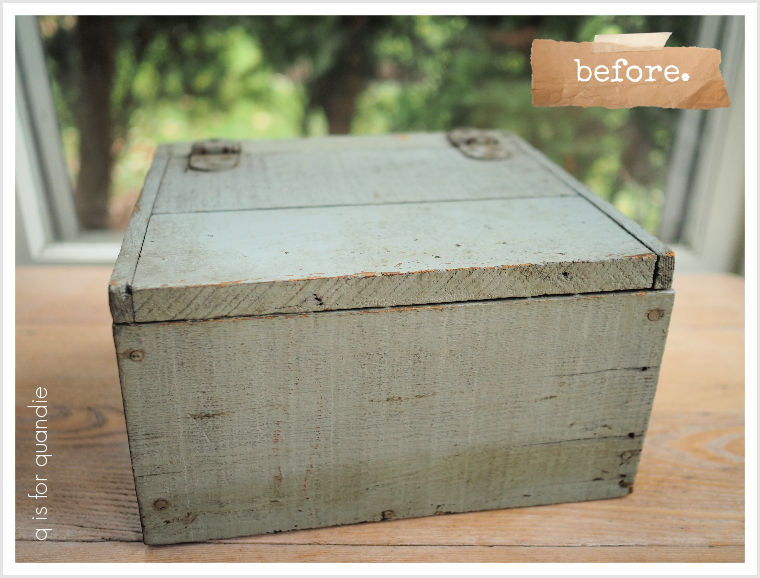
Although I love a good distressed paint finish, this box was just a tad too grungy for my taste. The Dried Sage is not too far off the original color on the box, perhaps a bit less blue.
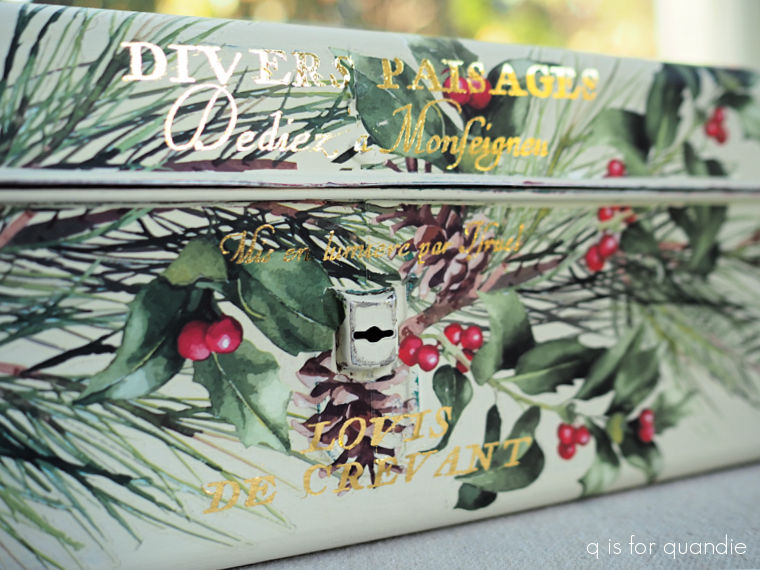
After giving it a good cleaning, I was able to get good coverage with just one coat of the Dried Sage. Once that first coat dried, I added a fresh coat to the top of the box so that I could apply one of the I.O.D. Gloria paint inlays into the wet paint.

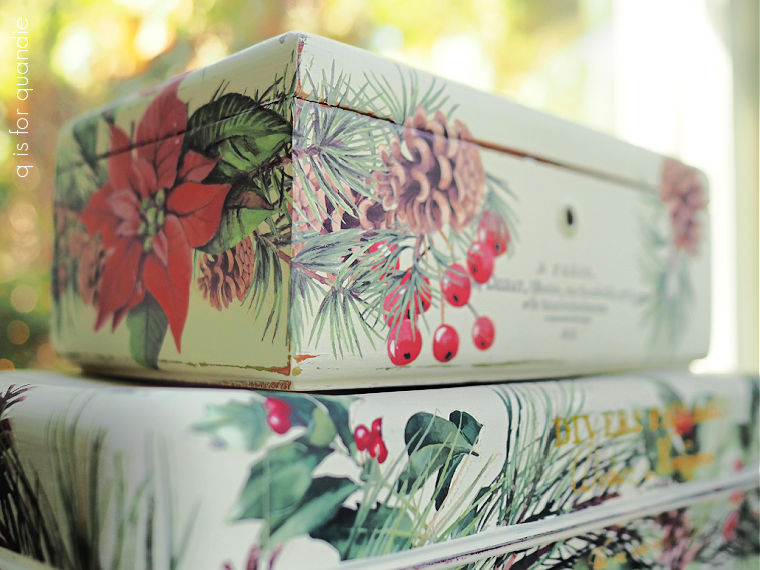
I just love the sort of old world European look of this inlay.
You can find my full step by step guide to using the paint inlays here.
Once I had the inlay applied, I immediately gave it a quick coat of Rust-Oleum’s matte spray sealer. It is so easy to smear the paint inlays before they are sealed (trust me, I’ve done it many times), so I don’t start sanding or anything before giving it a quick spray.
Once that was dry, I sanded the edges of the box to distress them and then sealed the entire thing with Dixie Belle’s flat clear coat.

Although ‘noel en famille’ means ‘Christmas with family’, I don’t think the box is in-your-face-Christmas. Except possibly for French speakers. So I rather like the idea of using it to store my old family photos.
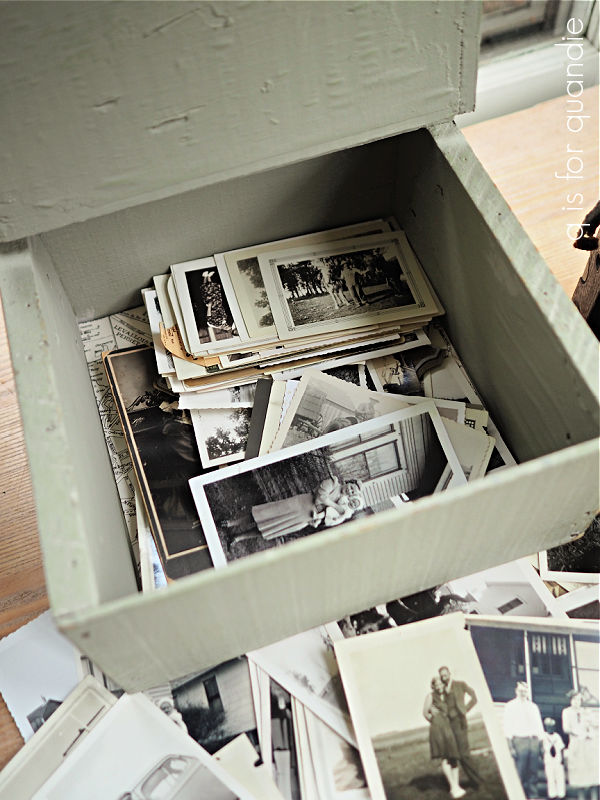
So although I had originally planned to sell it, I’m going to keep it for that purpose.
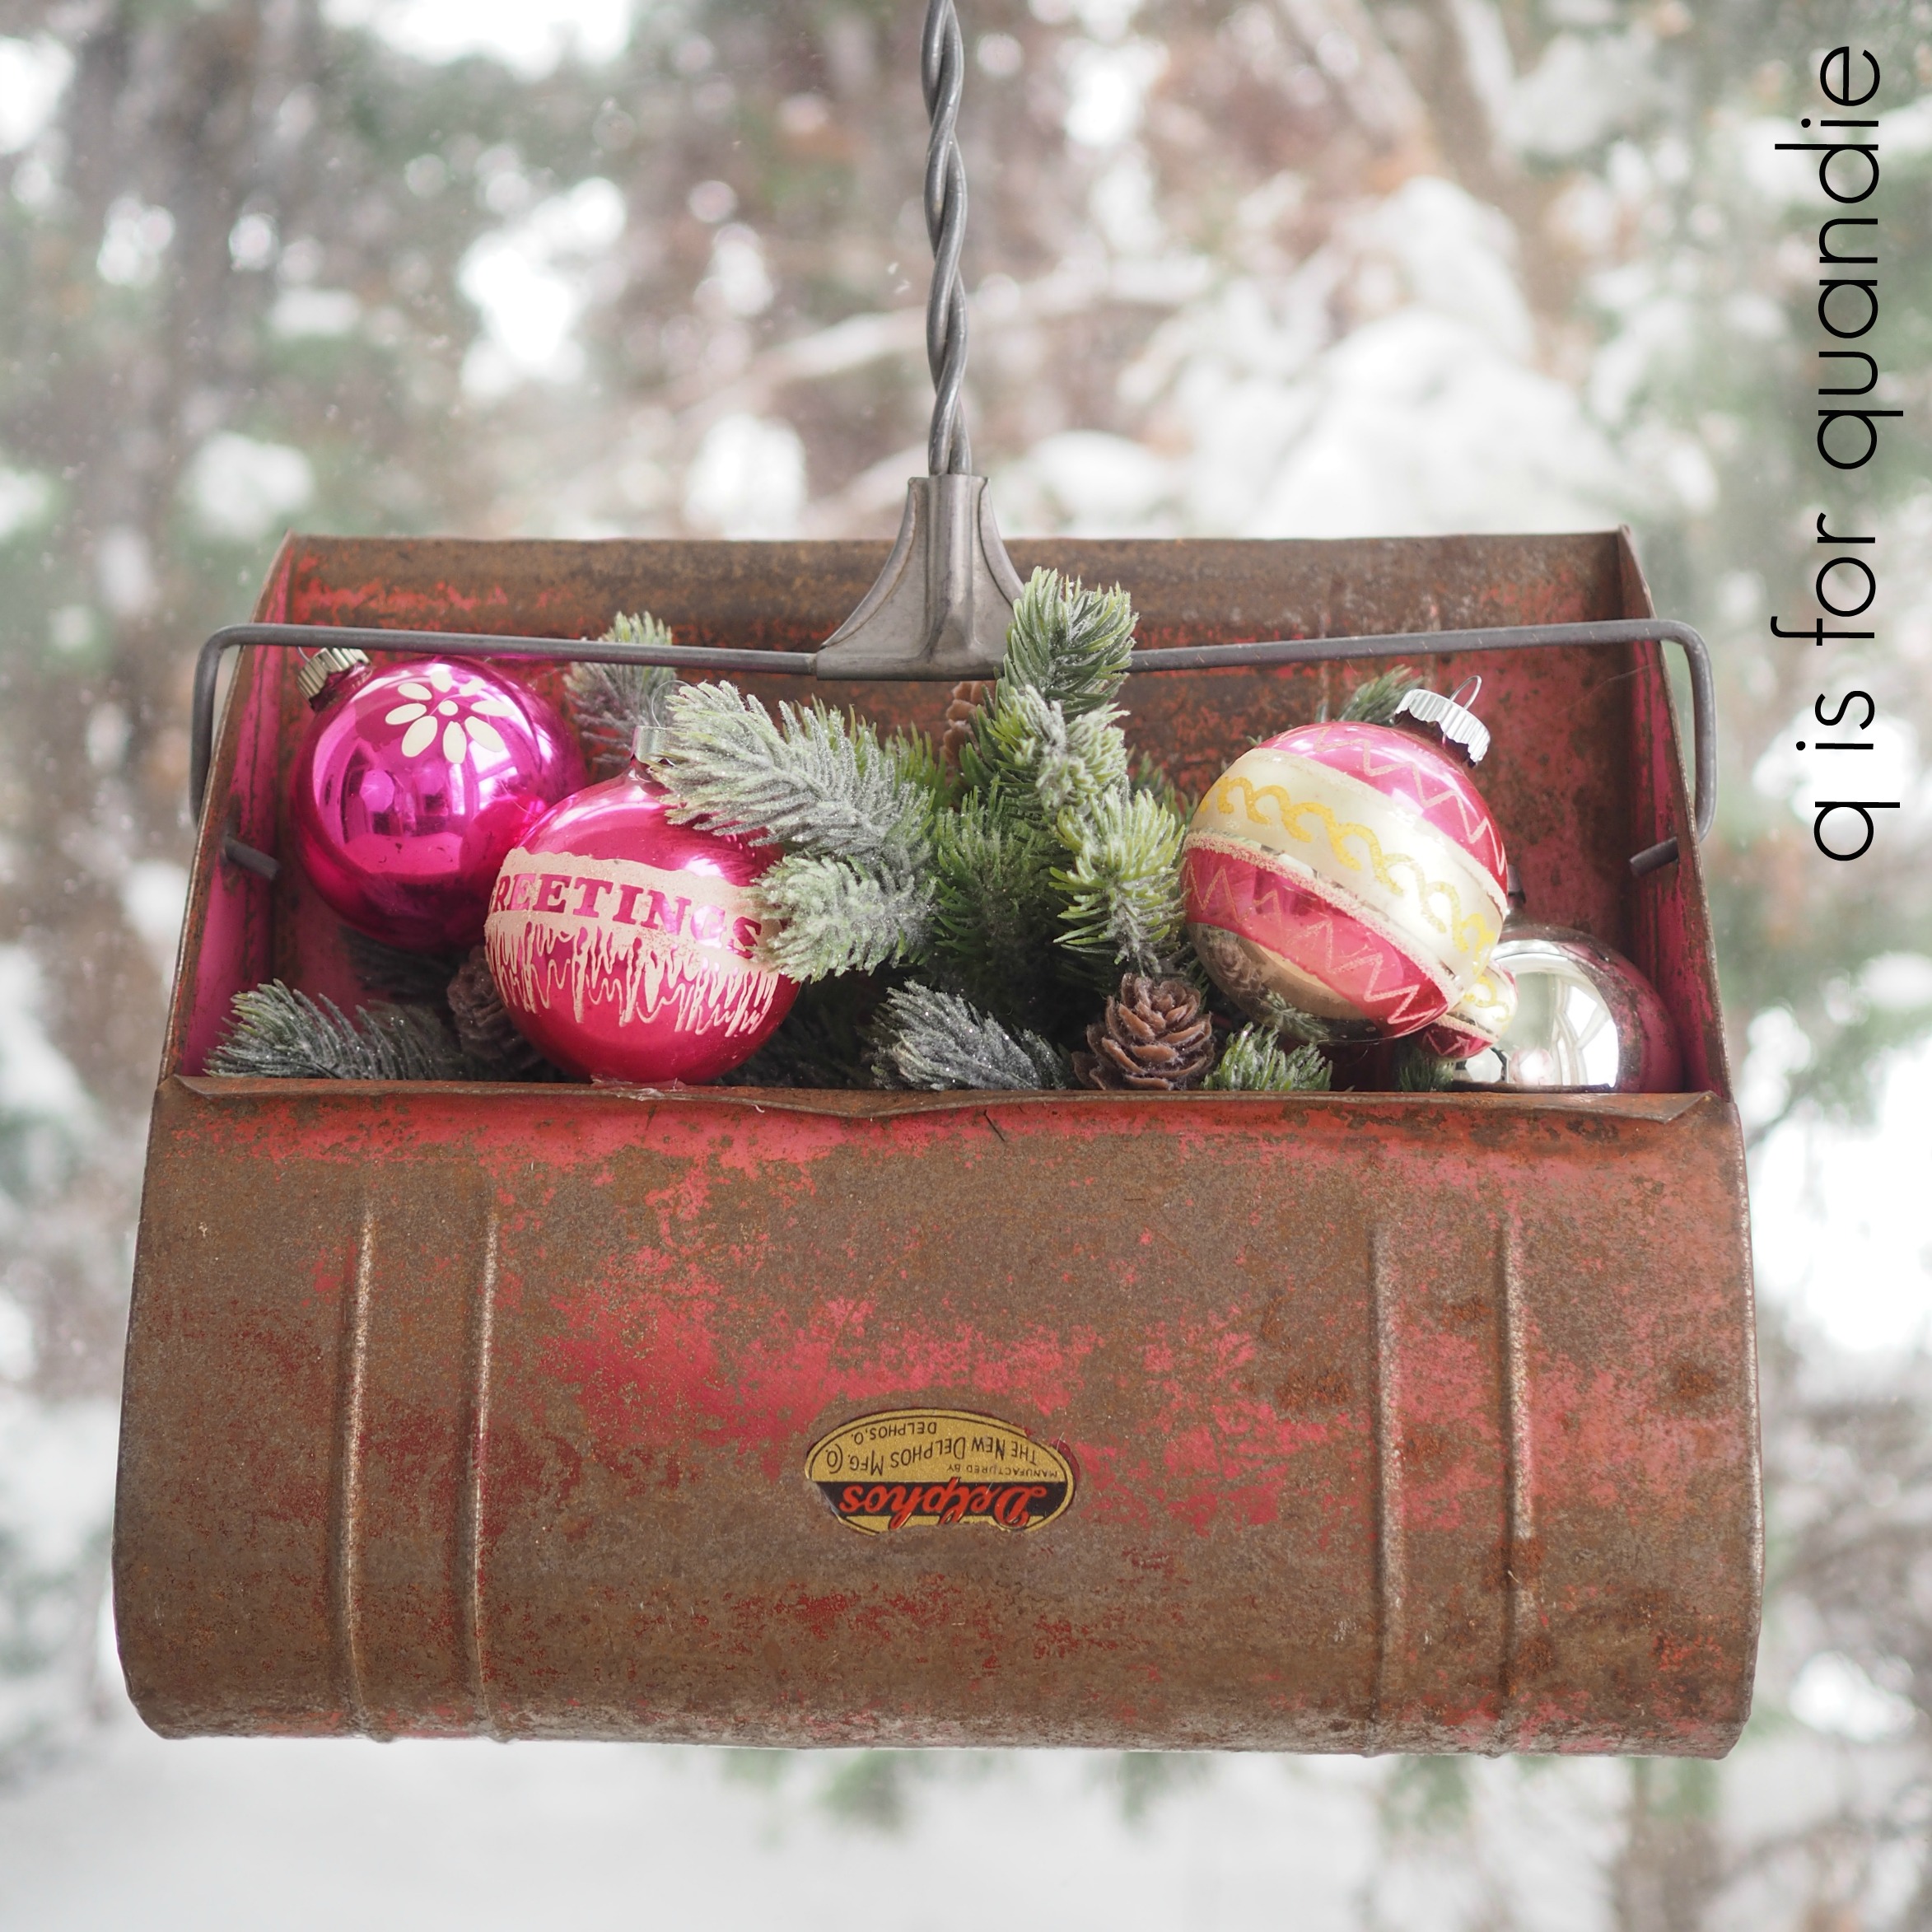
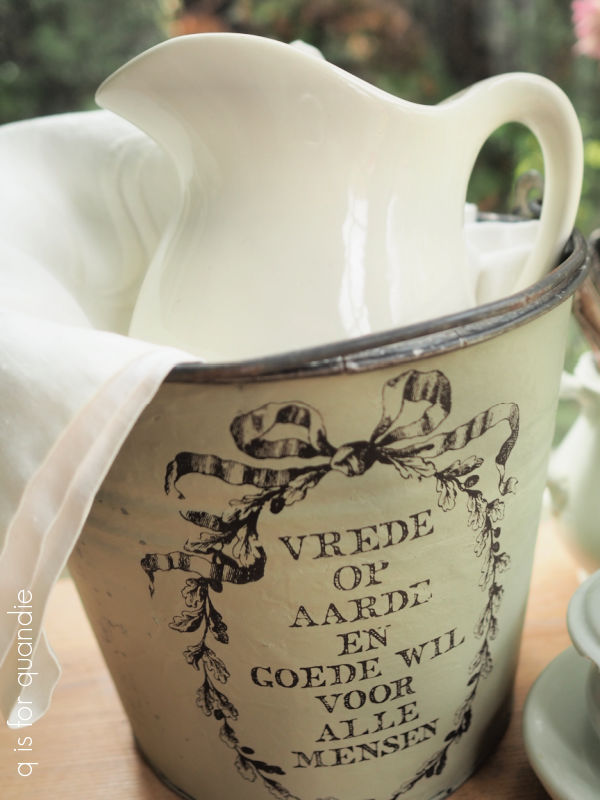
While I had both the Dried Sage and the Gloria paint inlay out, I decided to dress up this rustic old bucket as well.
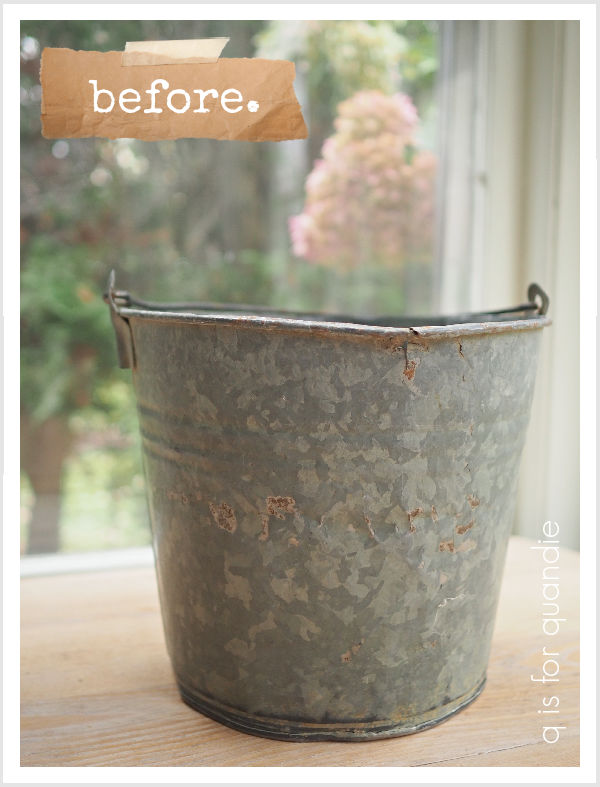
After giving the bucket a good cleaning, I painted it in the Dried Sage and then applied another section from the Gloria paint inlay to it.
![]()
By the way, that is Dutch and it says something like peace on earth and goodwill to all.
I’ve staged my bucket with some white linens, ironstone and tarnished silver.
But it would also be the perfect vessel for a small faux Christmas tree.

I also gave this one a coat of the spray sealer to avoid smearing the inlay.
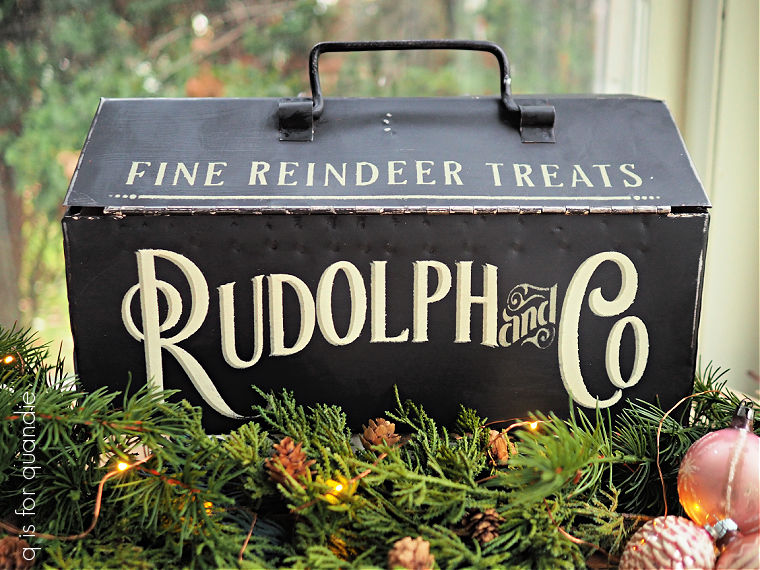
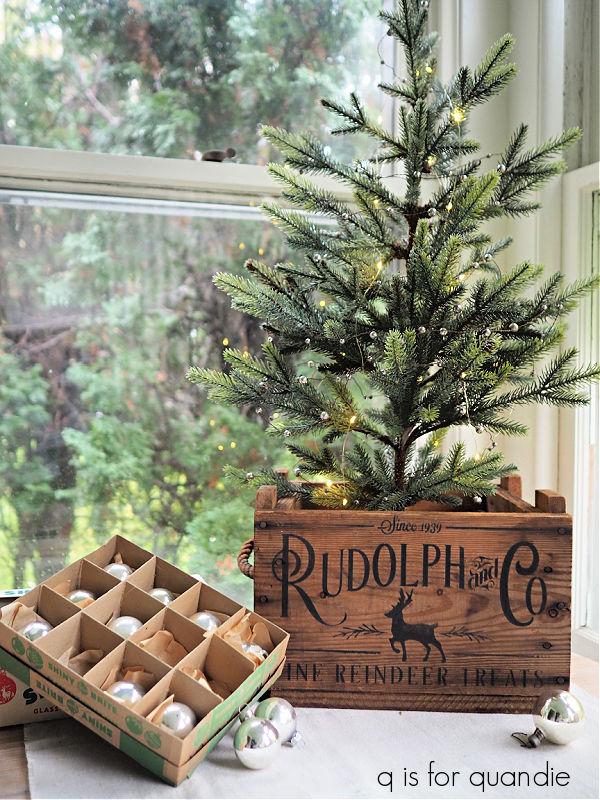
Last up in my trio of Dried Sage Christmas items is this wood tote.

I actually shared this tote back in June when I painted it in Dixie Belle’s Drop Cloth, and didn’t embellish it in any way.
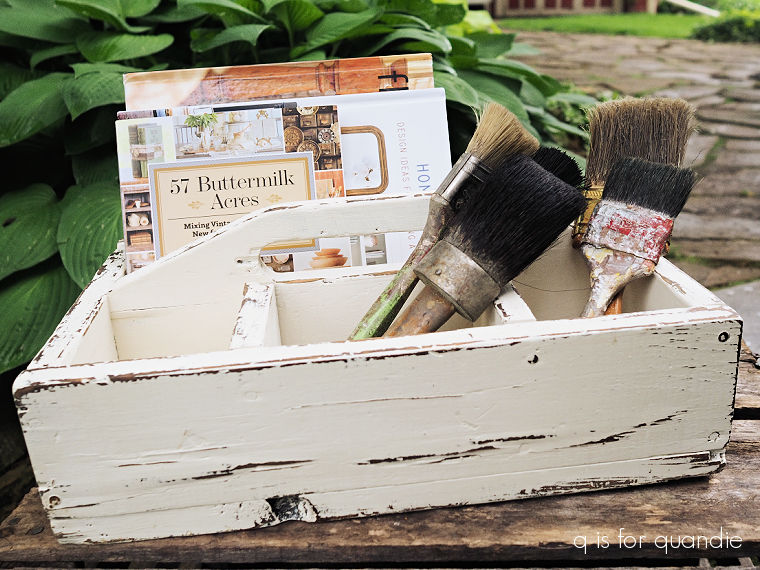
It was sort of an experiment to see if it would sell this way. Spoiler alert; it did not.
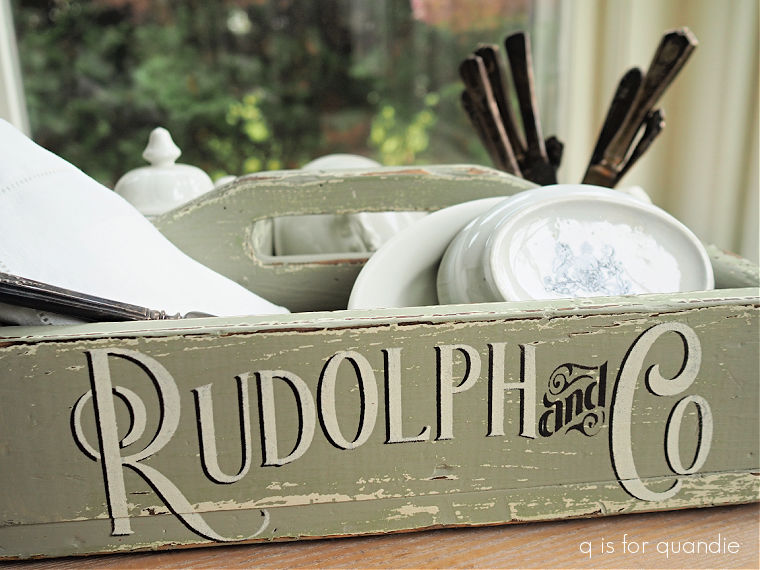
So I pulled it back out and added a couple of coats of Dried Sage. Once the paint was dry, I sanded fairly vigorously and as you can see I ended up with a very distressed look. That’s likely because I had originally waxed over the Drop Cloth back in June, so that worked as a resist for the Dried Sage.
I know this look isn’t for everybody. I love it, but if you don’t you may want to use caution when painting over a previously waxed item.
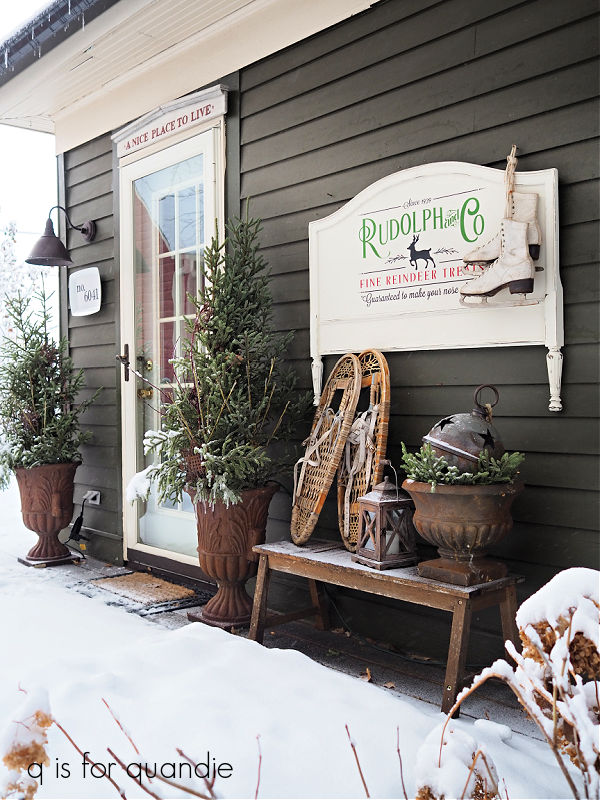
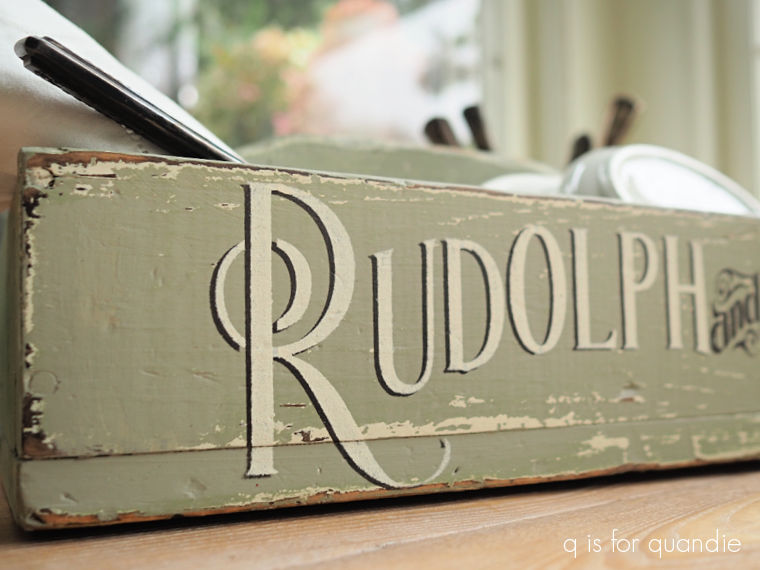
Next I added my Rudolph and Co stencil to the front of the tote using Dixie Belle’s Coffee Bean first, and then layering over ‘Rudolph’ and ‘Co’ with Drop Cloth.
That one doesn’t require any translation. Once dry, I sealed it with Dixie Belle’s flat clear coat.
Once again I staged my piece with some white linens and ironstone.
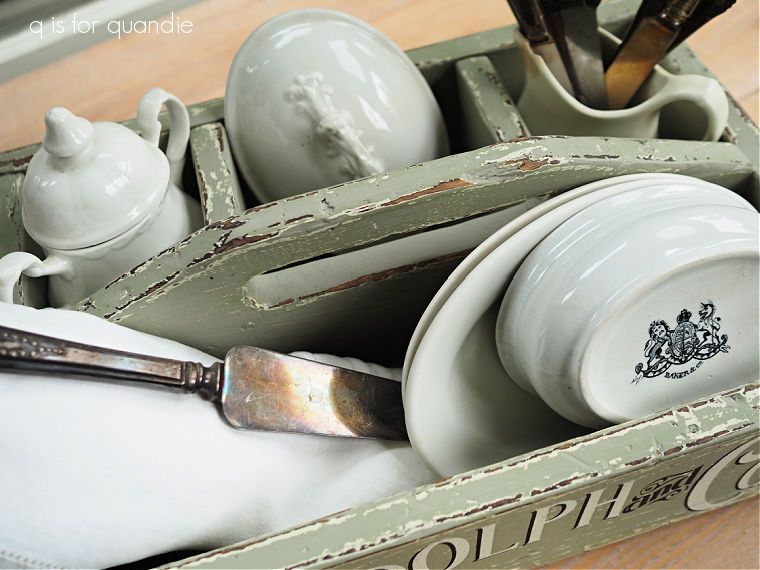
But you could use this tote to create a table centerpiece with evergreens and candles. Or use it for your Christmas buffet to hold silverware and napkins.
I took these last two items into Reclaiming Beautiful in Stillwater, MN where I sell on consignment. So if any of you locals are interested, be sure to head down there soon! They are open Thursday, Friday and Saturday from 10 a.m. to 5 p.m. Check out their Facebook page for more details.
As for the rest of you, what do you think of neutrals for Christmas? Are you a fan of the old world European look of the paint inlays I used, or do you prefer the more modern ‘Rudolph & Co’ stencil? Leave a comment and let me know.