My niece Kris salvaged several of these ladders for me from a shop she worked in briefly. They aren’t old, and they were never meant to actually function as ladders. They were used for display only.
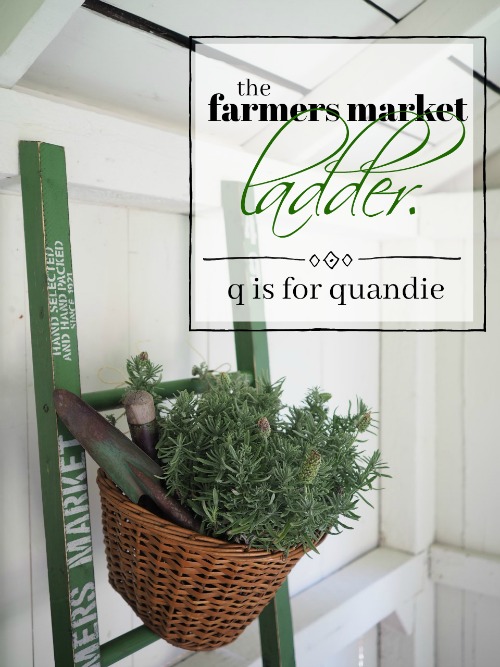
I decided to paint this one to give it a little more personality and since I seem to be on a green kick this week, I dug out one of my favorite shades of green milk paint, In A Pickle from Sweet Pickins. It only took one coat of paint to cover the ladder. Once dry, I added some farmers market stencils in an off-white craft paint.
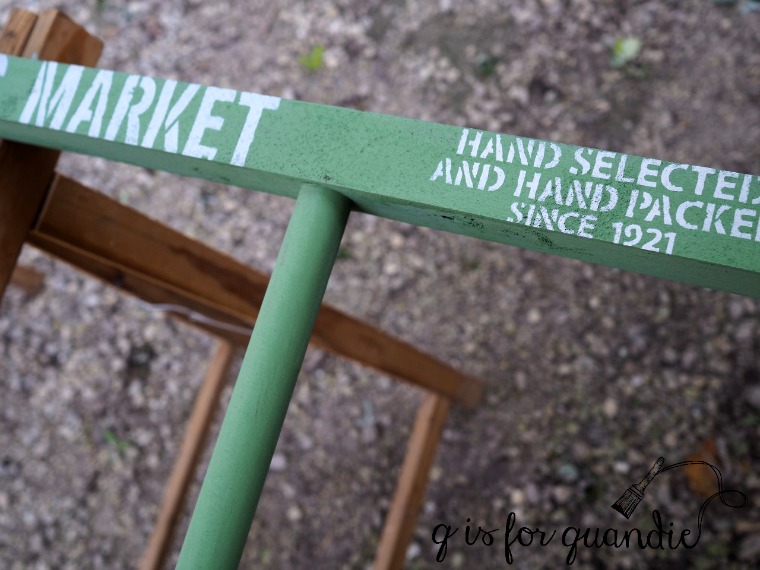
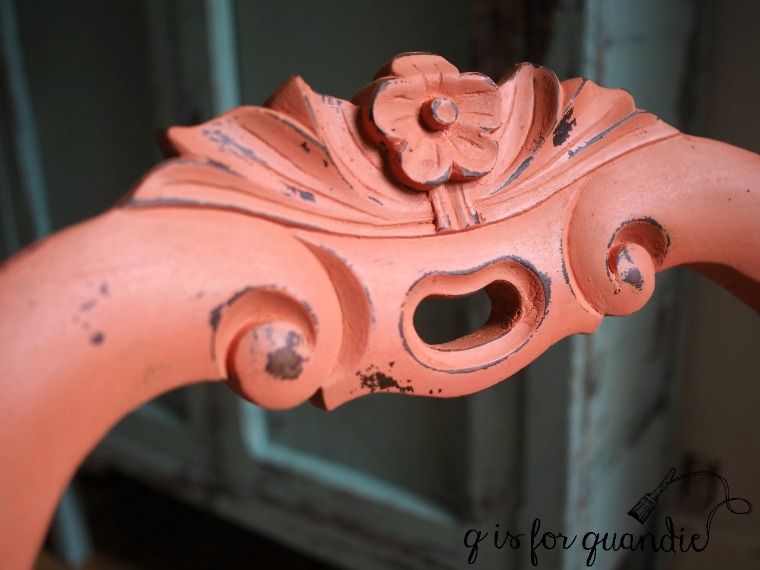
Then I sanded to distress and added a top coat of Miss Mustard Seed hemp oil. I brushed on the oil with a cheap chip brush and then wiped off the excess with an old black t-shirt (I didn’t want to leave any white fluff behind).

Hemp oil adds a bit more richness and depth to darker milk paint colors than wax does. You can really see that with this shade of green.

But here’s a tip for you, although the hemp oil changes the color of the milk paint quite a bit, it does not change the color of the acrylic craft paint. So keep that in mind when choosing your colors on a project like this.
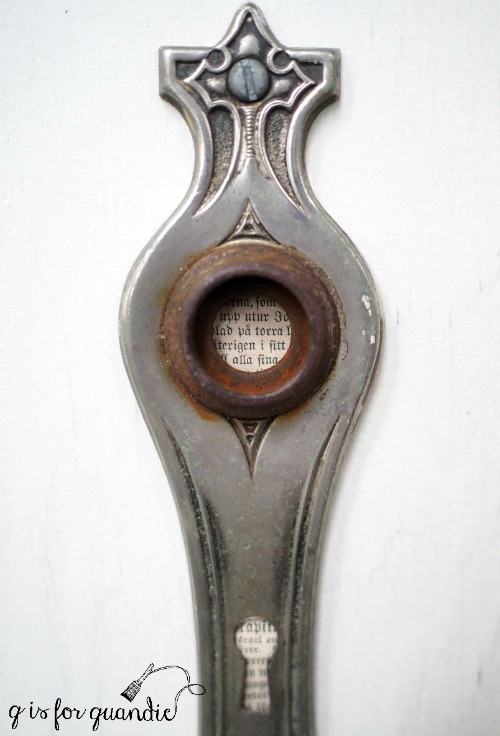
By the way, how do you like the ‘q-tip’? It was Mr. Q’s idea and I thought it was pretty clever. From now on I’ll try to remember to give you a q-tip every now and then.
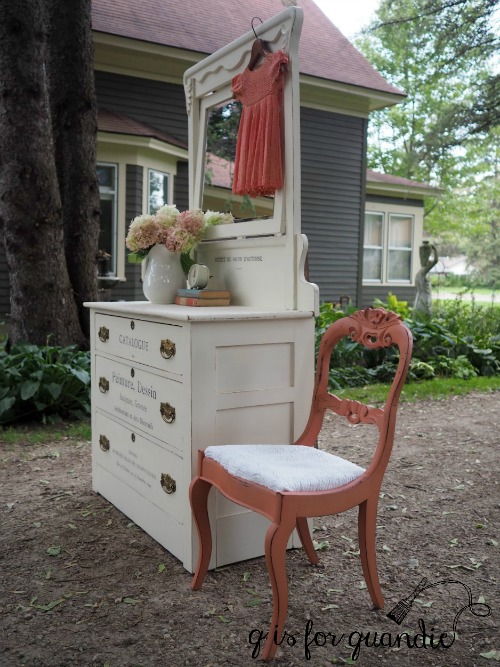
I added a basket to the ladder and put a potted lavender plant inside along with some vintage gardening tools.

Totally off-season for September I know. I’m supposed to be sharing fall themed stuff now, right?

Well, one last hurrah for summer? We’ve got two more official days of summer left, so I say let’s make the most of them.
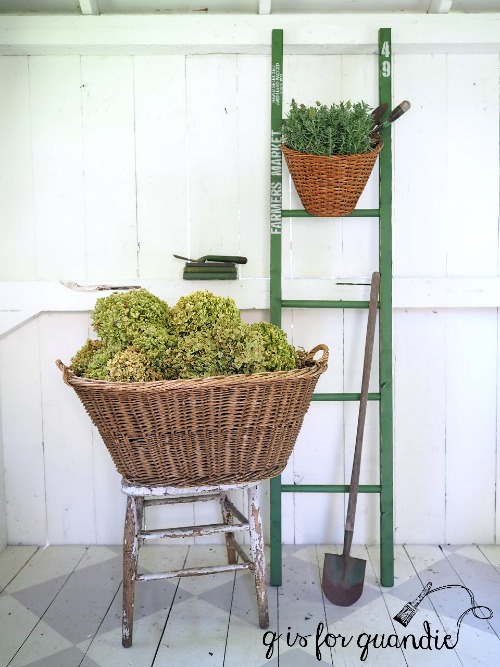
I brought this ladder to Reclaiming Beautiful last week and it sold within days, so there must be some other green lover out there!
I still had one last ladder, so I painted it in Miss Mustard Seed’s Flow Blue and added the same farmers market stencils. My sister was thinking she’d like to have this one for her house, but she really couldn’t come up with a spot for it, so I’ll most likely take it into Reclaiming Beautiful as well.
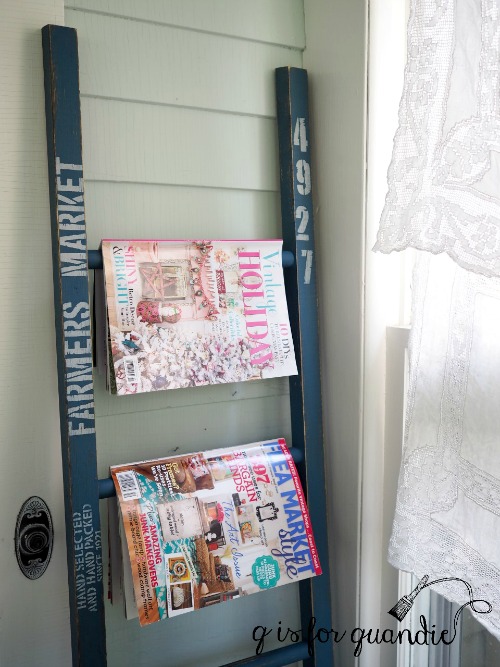
I think the ladders make great magazine racks, especially when one of the magazines displayed happens to be one that I am in!
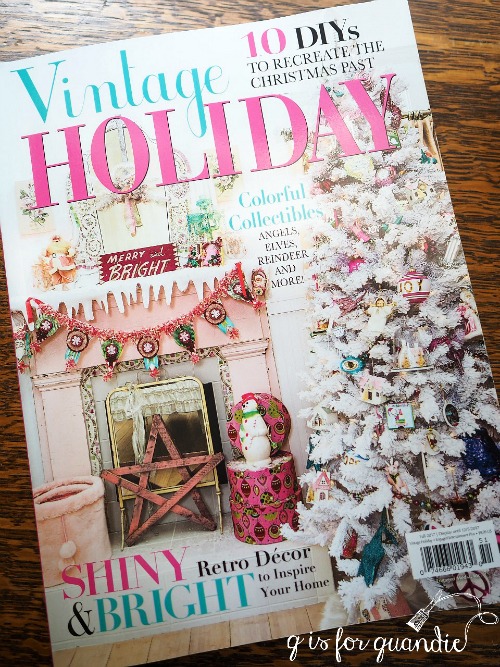
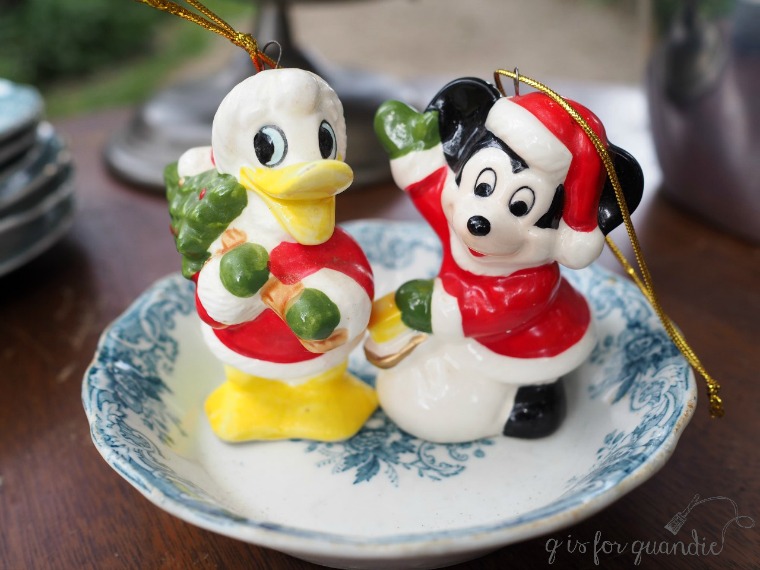
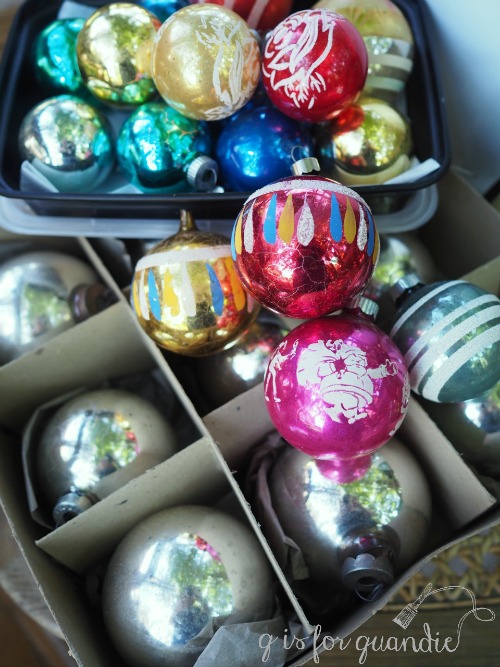
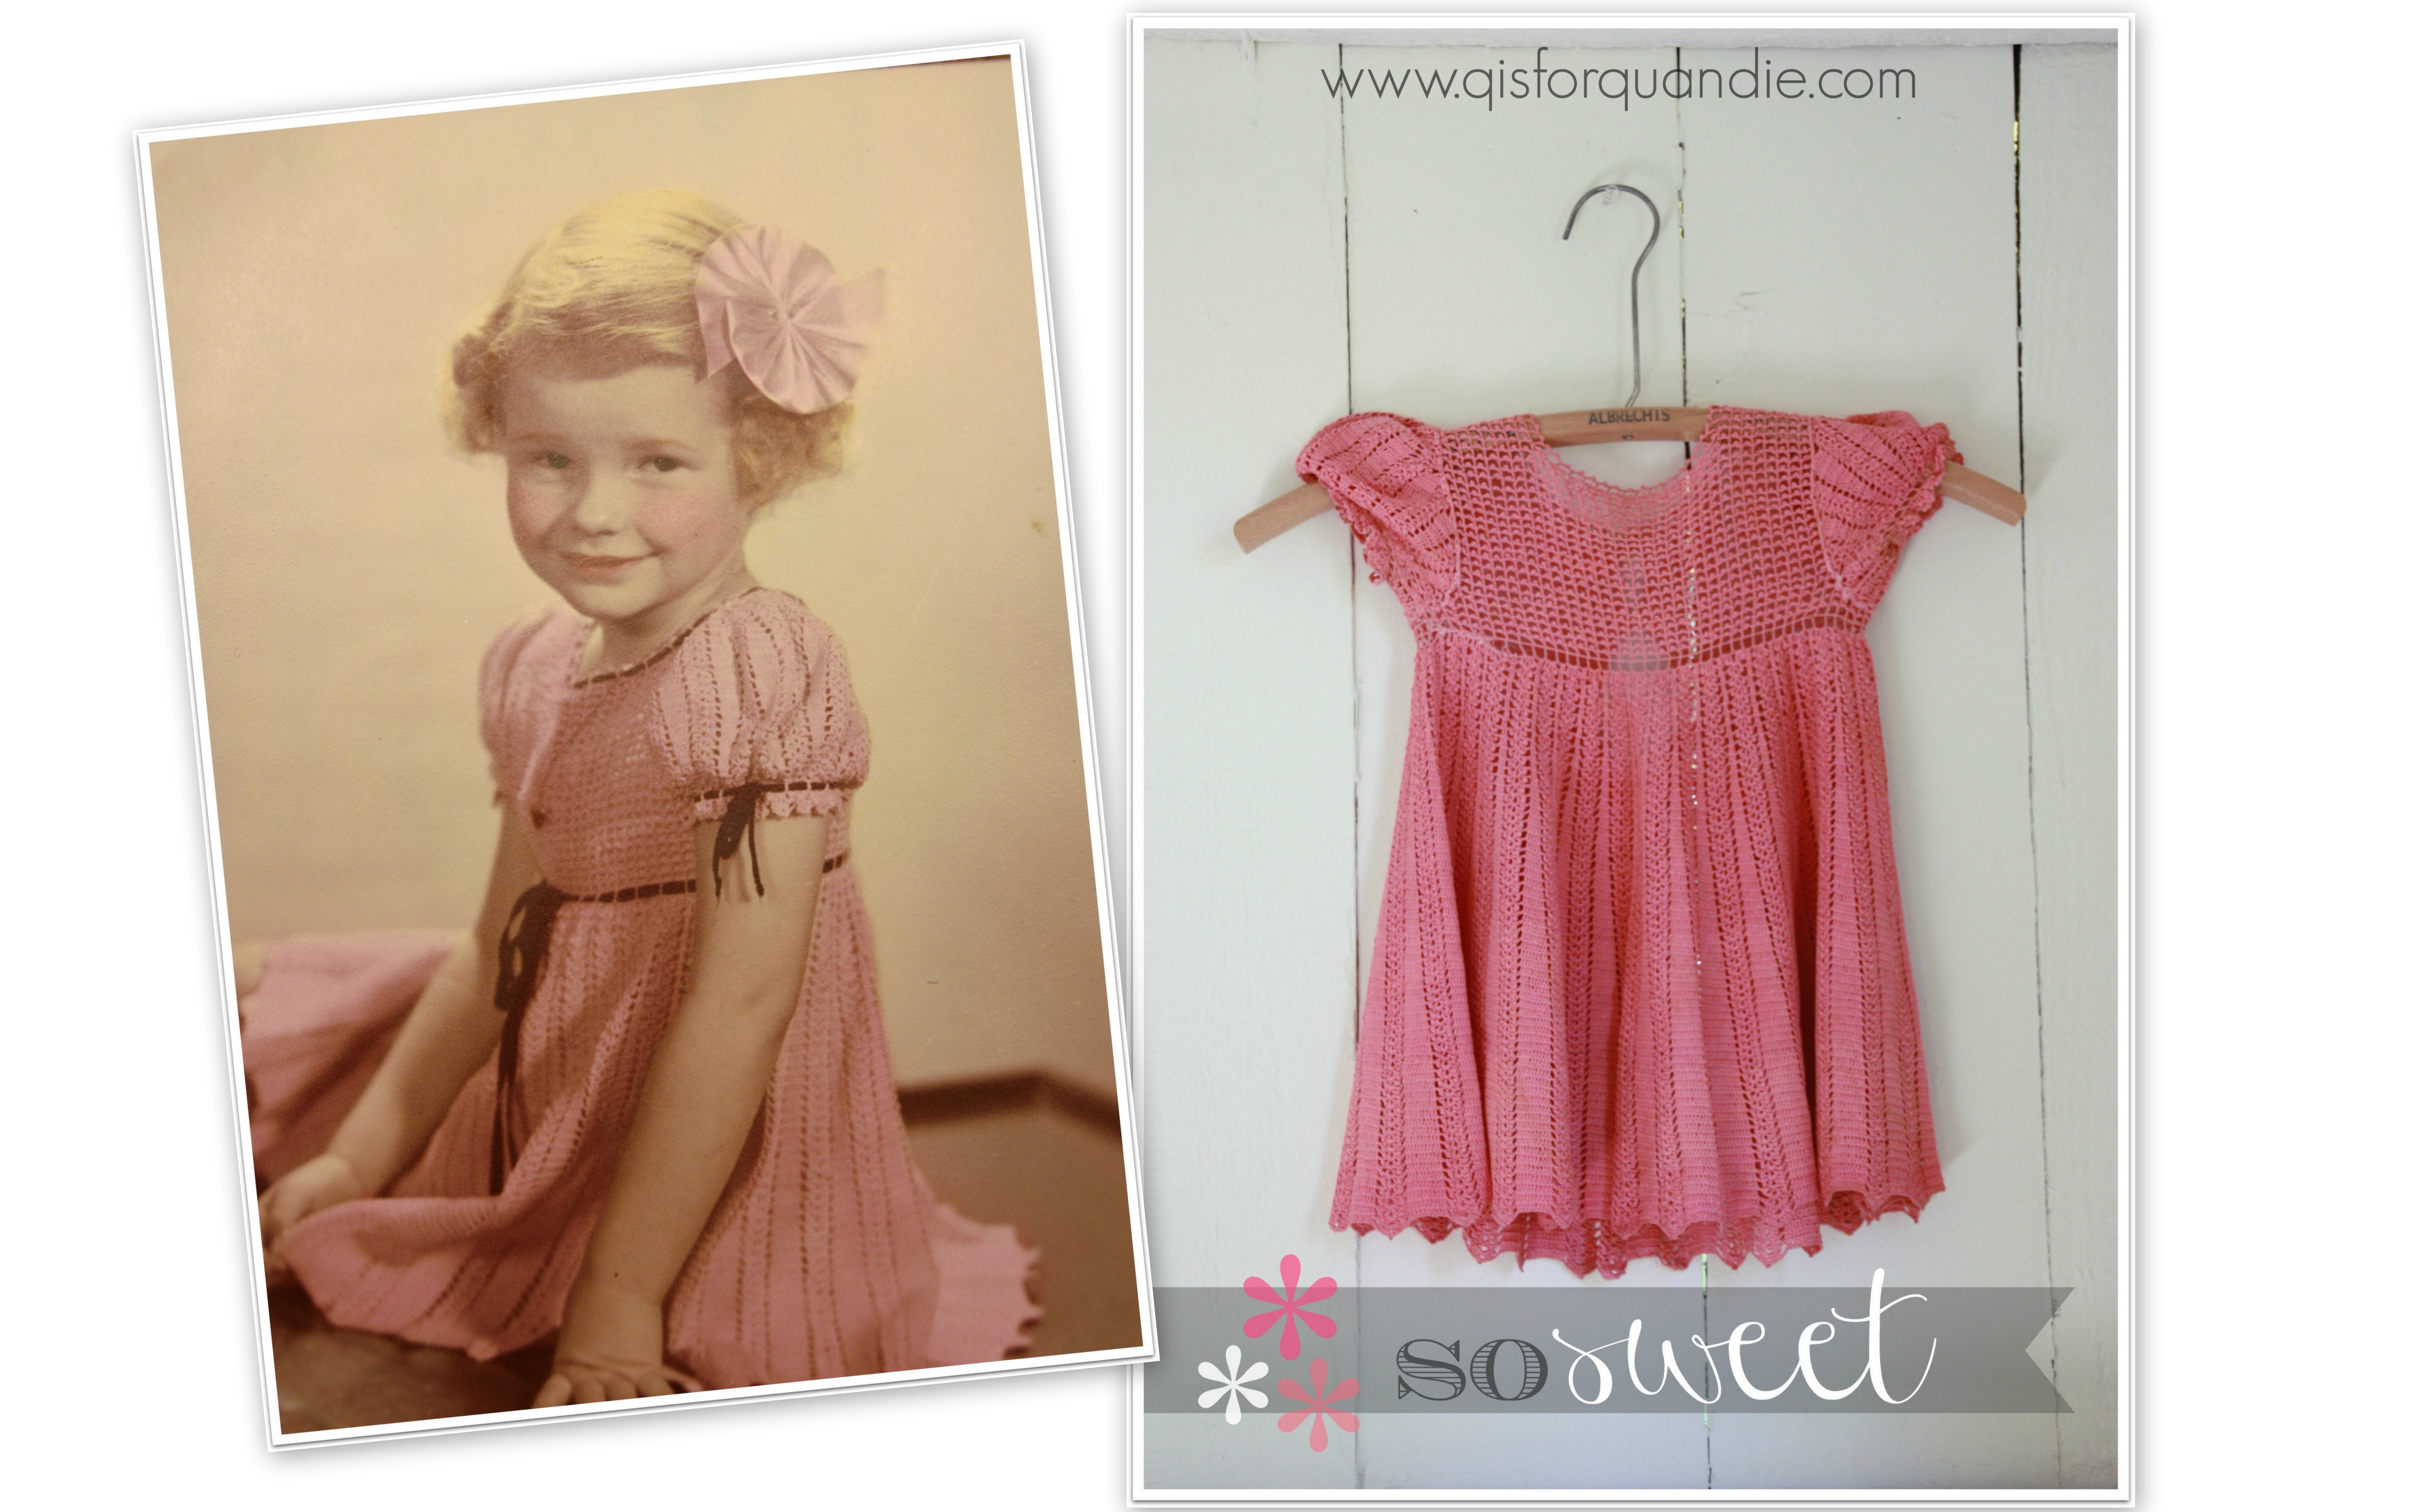
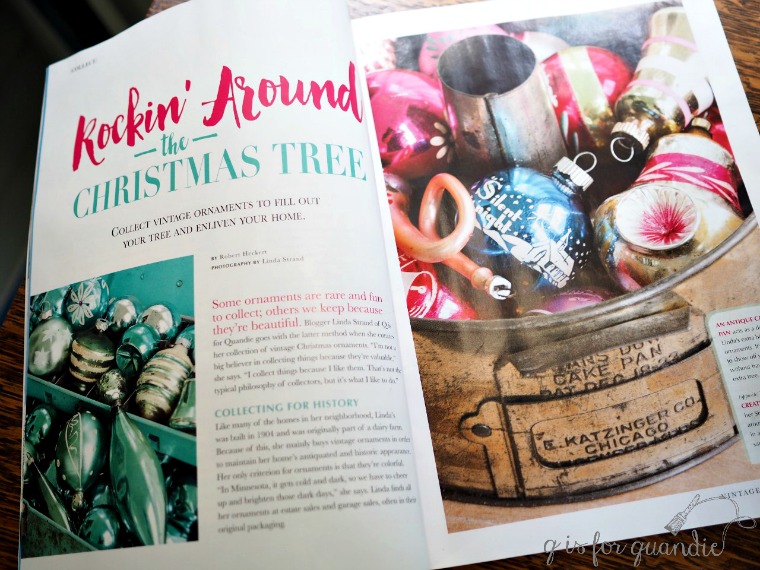
Wait, what?! Did you read that right? Yep. There is a story about my non-collection of vintage ornaments in the Fall 2017 issue of Vintage Holiday magazine!
Somehow we’ve gone straight from summer to winter today.
But seriously, my preview copy of the magazine just arrived yesterday and I couldn’t wait to share it with you guys. I’m super excited and flattered to have my work in a real magazine. The irony that it’s an article about my vintage ornament collection, despite the fact that I try so hard to deny being a collector of anything, is not lost on me.
The magazine is full of great vintage holiday decor, so be sure to watch for it on newsstands near you and pick up a copy.