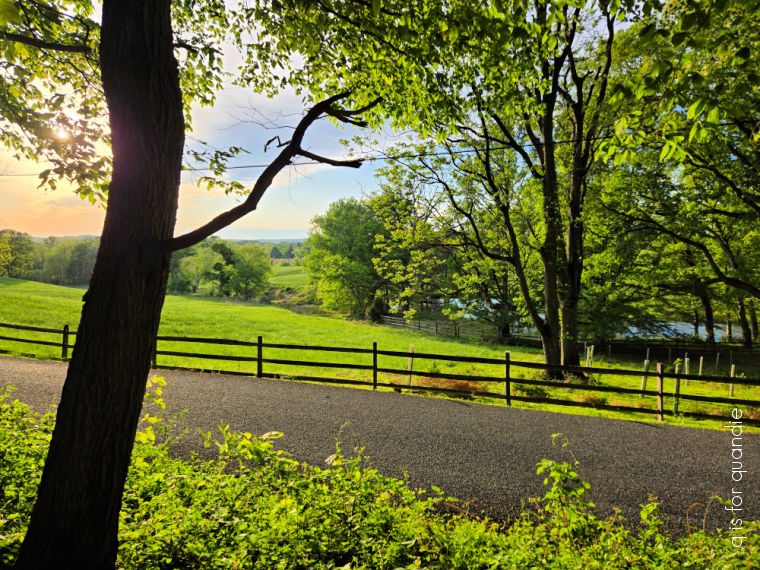
Good morning from the garden!
Are you ever plagued by indecision? Afraid of making the wrong choice, or just unable to make up your mind?
Well, I’ve gone almost 6 years without being able to decide what tree to put in our front yard, or really even whether or not I wanted to plant a tree again.
Let’s recap.
When we moved into our house 35 years ago or so, there were two trees in the front yard. A maple to the right, and a black walnut to the left. My sister was visiting the summer that the maple came down. We were sitting on the front enclosed porch watching a storm roll in when it came crashing down. Lesson learned; when the warning sirens go off, take shelter in the basement or at least an interior room.
The tree missed our house, but it was a close one.
Back then we ended up also removing the black walnut (it was not a great tree, dropping those huge walnuts all over the yard) when we had the fallen maple cleaned up.
I replaced that maple with a 2nd maple, and the walnut with a flowering pear tree. Here is a photo taken in autumn when the maple had its fall color.
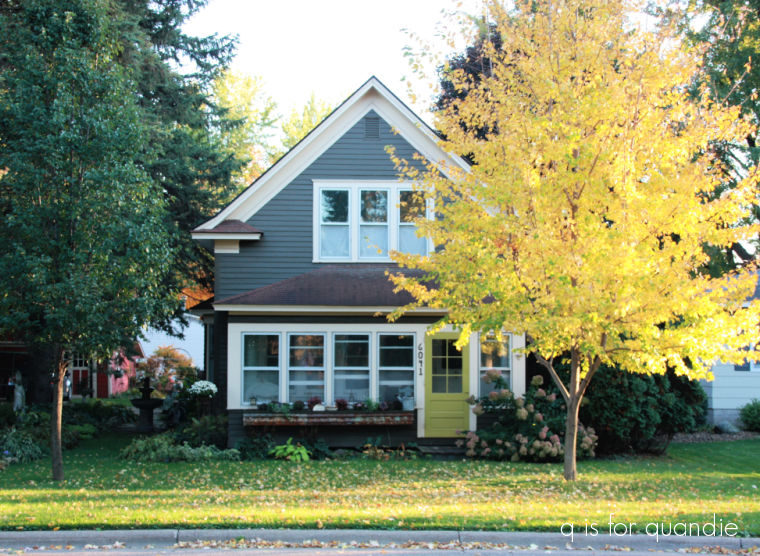
I loved that tree.
Flash forward to 2019. The maple was looking really good and finally serving its purpose of providing some shelter from both street noise and from the street light directly across from our bedroom windows.
Then another storm took out maple no. 2.

Ugh!
Once again, I chose to have the pear tree taken down when the maple got cleaned up. It had gotten rather misshapen next to the maple and it didn’t look good on its own. You can sort of see that it was mostly bare on the right side of it in the photo above.
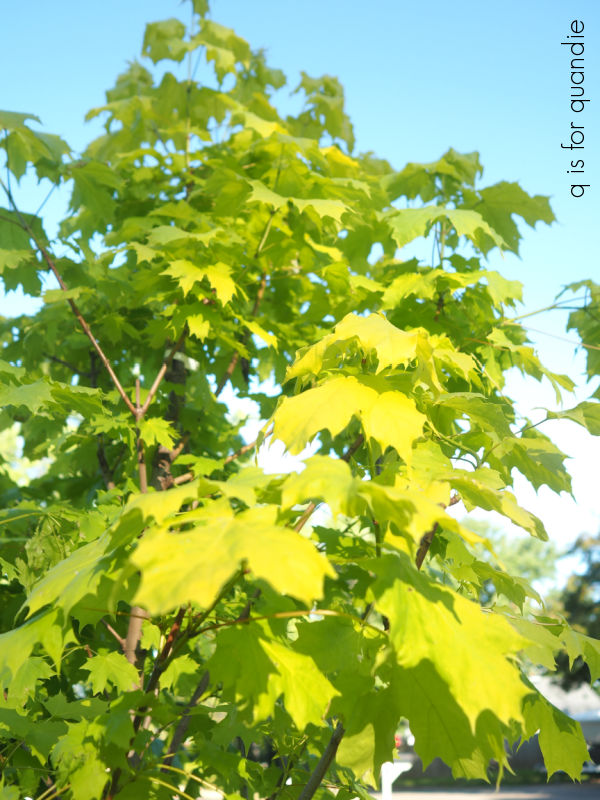
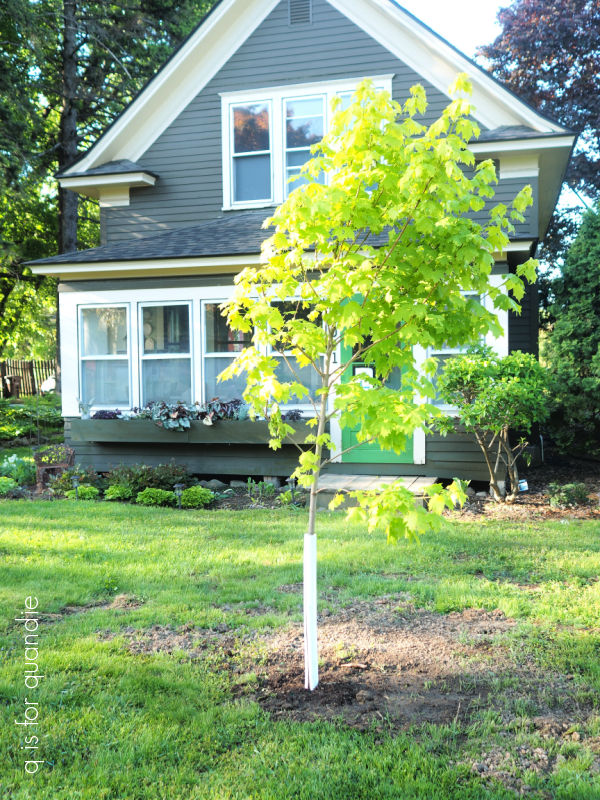
Then came five years of being unable to decide what to do next. I really wanted to plant a Princeton Gold Maple.
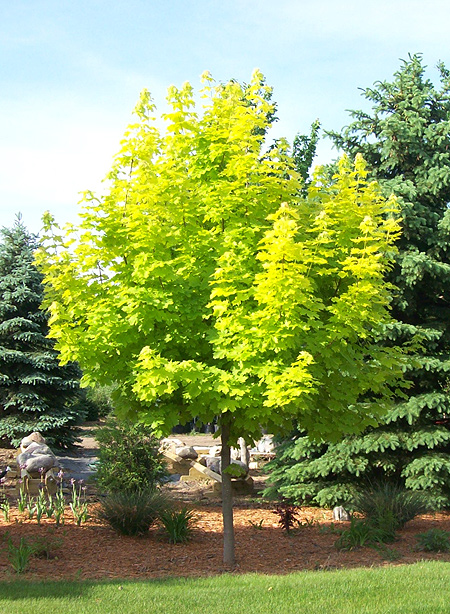
I love that bright lime green color.
But did I really want to put yet another maple in that spot?
I thought about doing a Honey Locust instead. It has a similar golden color, plus the added benefit of tiny leaves that don’t really need to be raked up in the fall. But I just couldn’t pull the trigger on it.
I finally decided that I would just take a chance on another maple, so I started looking around for the Princeton Gold. I found one at Abrahamson’s Nursery two years ago, but the price tag was $250. Yikes! That seemed a bit much for a tree.
So once again, I put off making a decision.
However, the other day I headed over to Fleet Farm to see what they had in their plant section and lo and behold, there was my Princeton Gold Maple … and only $149. I bought it on the spot, even though that meant putting the top down on my VW Bug convertible and very carefully driving home with a tree sticking up out of my car.
Will it be three time’s the charm, or three strikes and you’re out? I guess time will tell. But at least I’ve made a choice!
In other garden news, I’ve started filling in the some of the bare spots in my garden that were the result of winter kill.
I lost three brunnera next to the potting shed, and I’ve replaced them with Heucherella ‘Pink Revolution’.

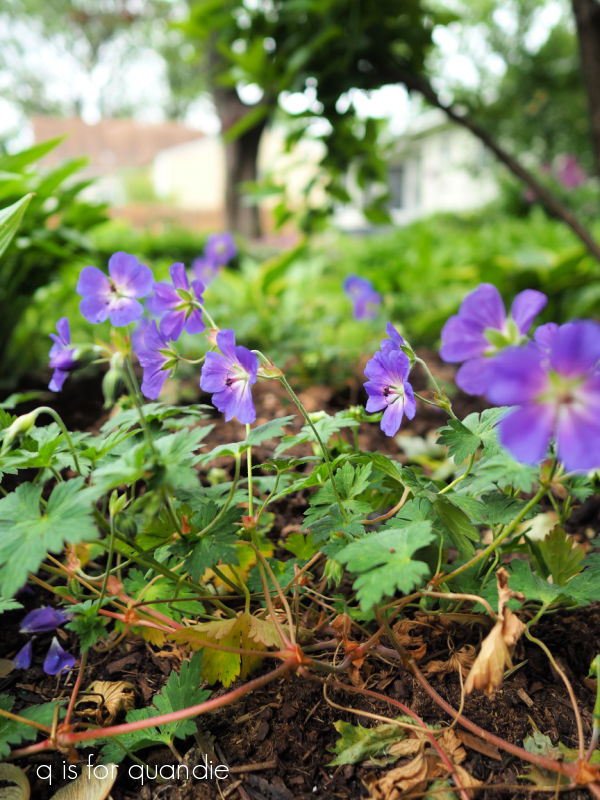
I lost my ‘Rozanne’ perennial geranium, or Cranesbill, under the ‘Limelight’ hydrangeas, and I liked those so much that I replaced them with more of the same. Last year these bloomed all summer and up until the first freeze for me.
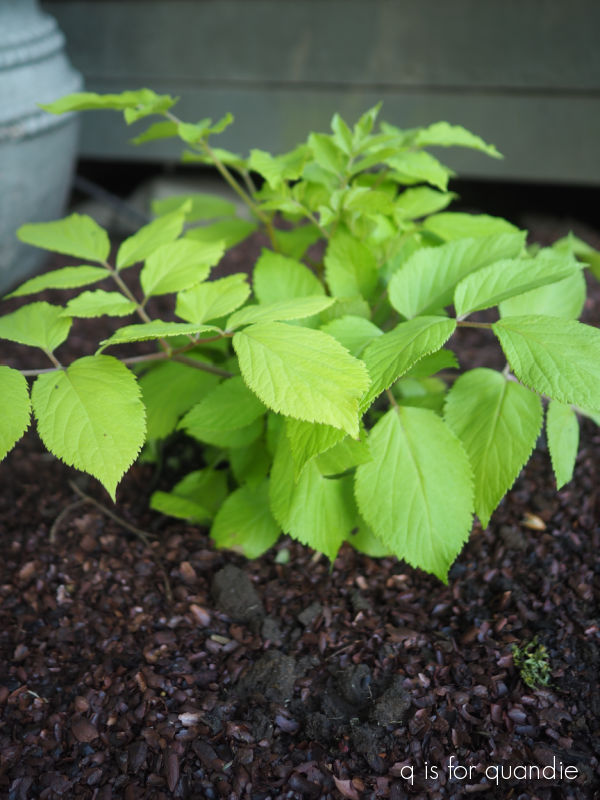
Then I addressed the large dead spot next to the front porch. I started by replacing the ‘Sun King’ Japanese Spikenard.
Then I added three ‘White Diamonds’ fern leaf bleeding hearts.

They have a lovely blue green foliage and white flowers. Fern leaf bleeding hearts like partial shade, and this spot is what I would consider full shade. But I have another fern leaf bleeding heart in this area and it has done really well in this amount of shade. It’s one of the first things to bloom in spring and then it keeps blooming all summer.
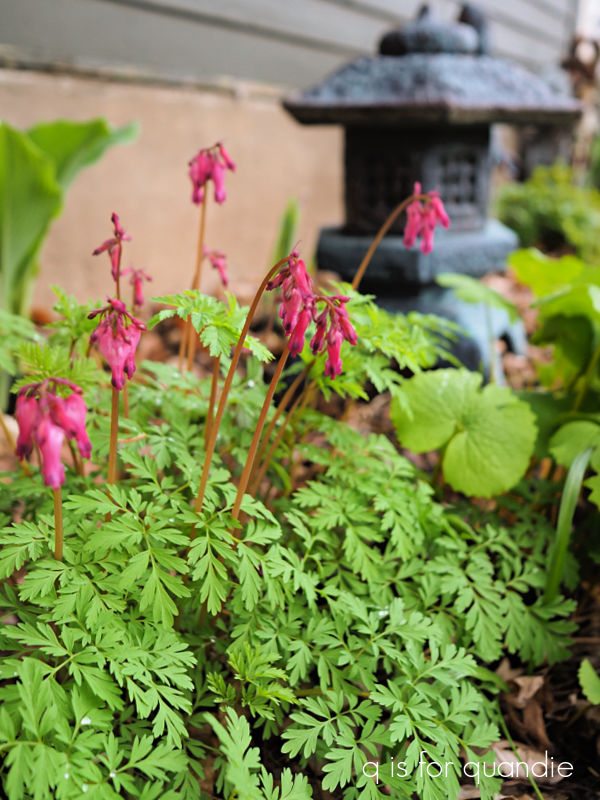
I’m hoping the white ones do as well.
I also added in some ‘Unique Ruby Red’ astilbe just behind the fern leaf bleeding heart.
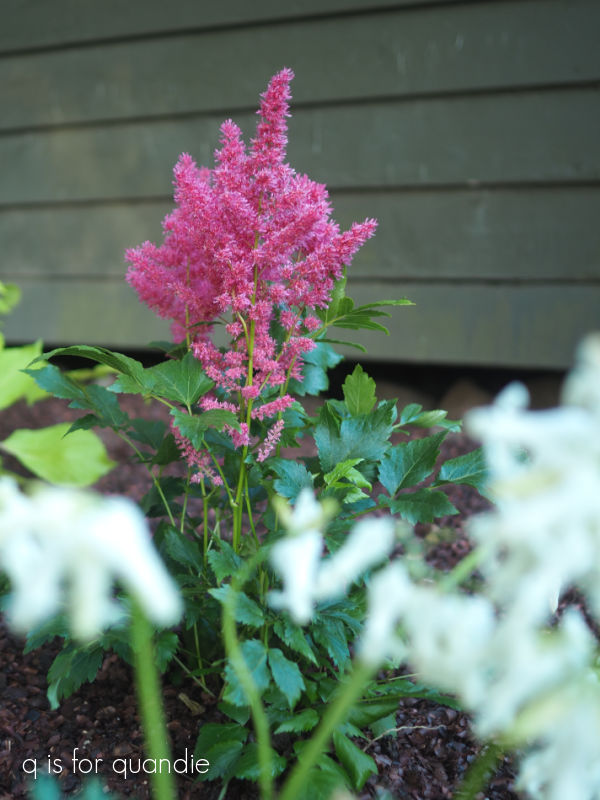
Up until this year I had a white astilbe in this spot that was loving its life. So hopefully this replacement will thrive, and hopefully we won’t have another killer winter for a few years.
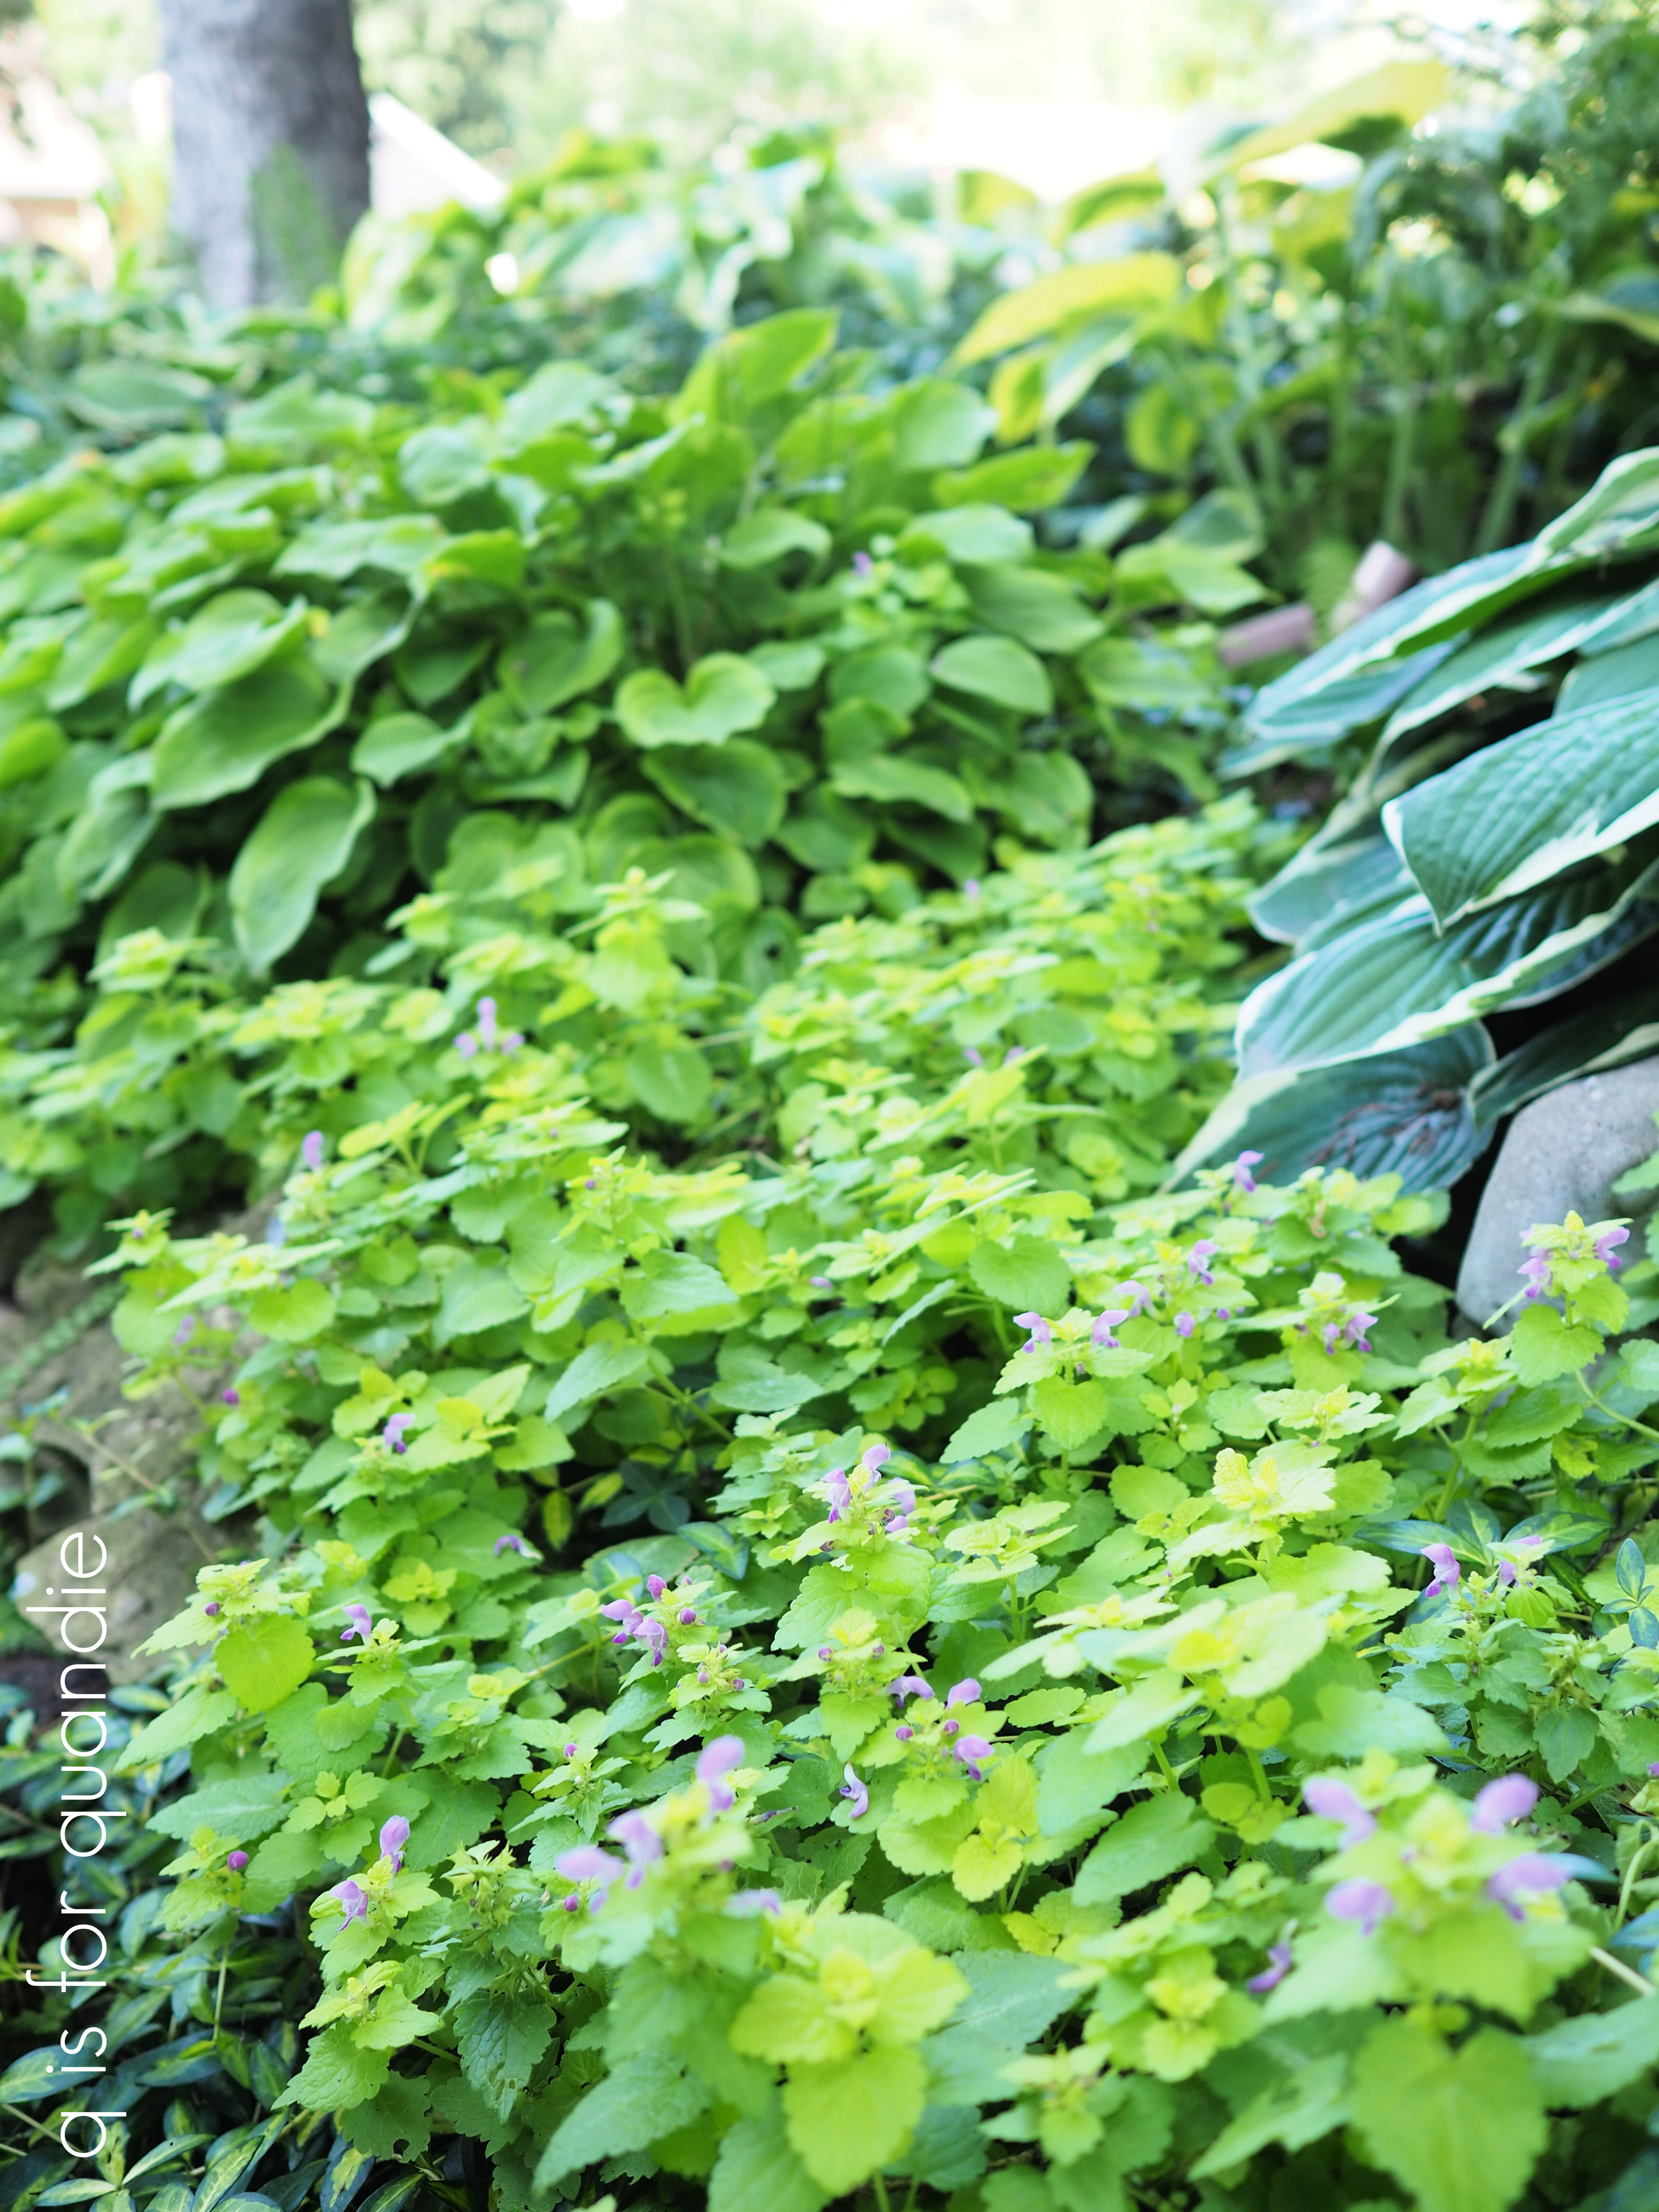
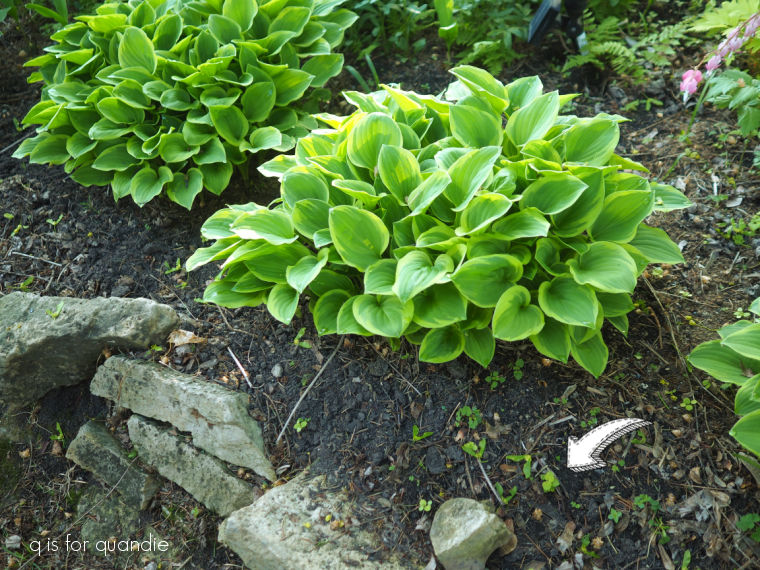
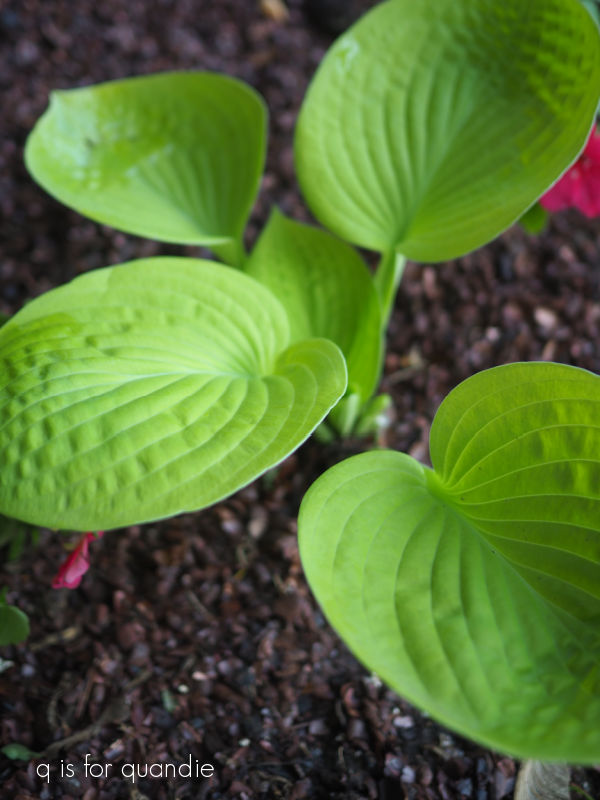
Last up, I replaced the hostas that didn’t come back with some freebies from my neighbor nnK’s mom’s garden. Judy was kind enough to tell me that I could divide any of her hostas and help myself to the divisions.
I started with this pretty little one with rounded leaves.
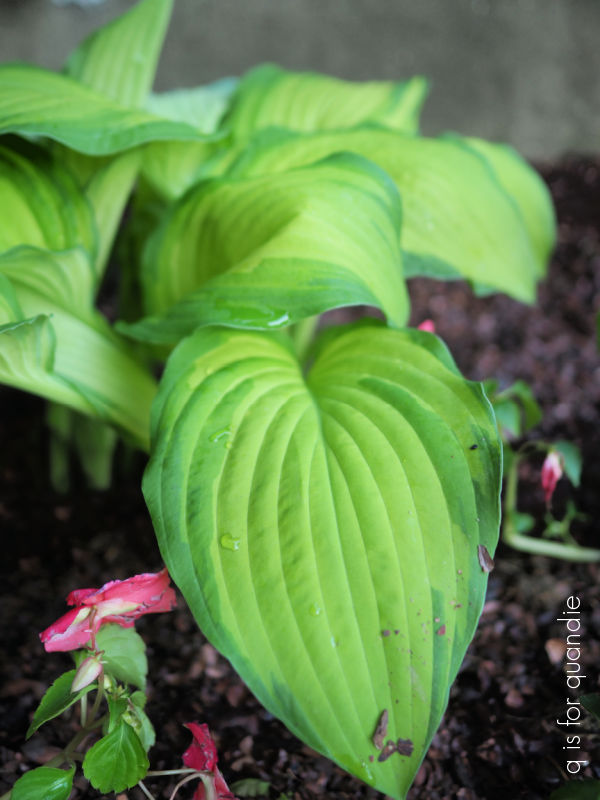
And I also chose this one that is a little bit larger and had pointed leaves and a bit more variegation.
So, how about some progression shots?
Here is how this space looked last summer.

So fab!
And then nearly every one of those plants died over the winter with the exception of the ‘Stiletto’ hosta that you can’t actually see in the photo above because it’s behind a larger hosta.
Here’s how this space looked a week or two ago.
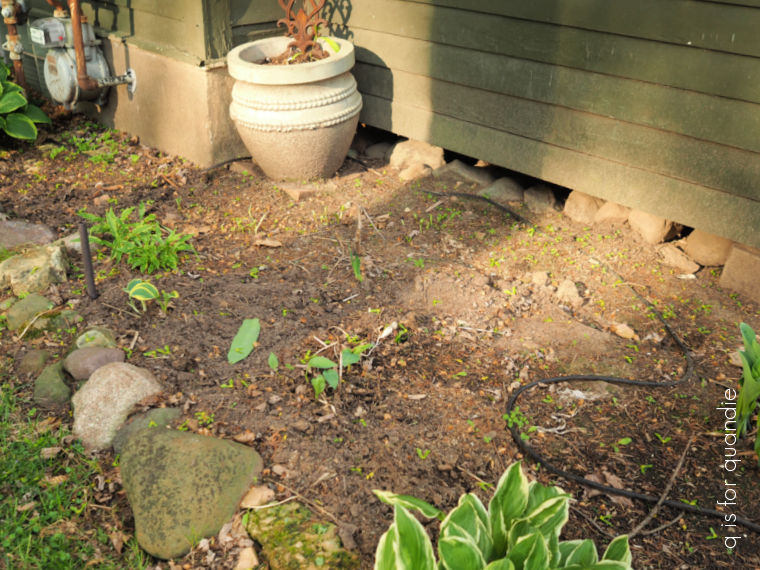
So sad!
I just don’t know what happened here. As I’ve mentioned before, I do have jumping worms in my garden. So it’s possible this is jumping worm damage. However, this spot wasn’t particularly loaded with the worms last summer. I definitely had other spots in the garden that were worse, and they are doing fine this spring. Thank god all of my gardens don’t look this bad!
And here is how it looks now.
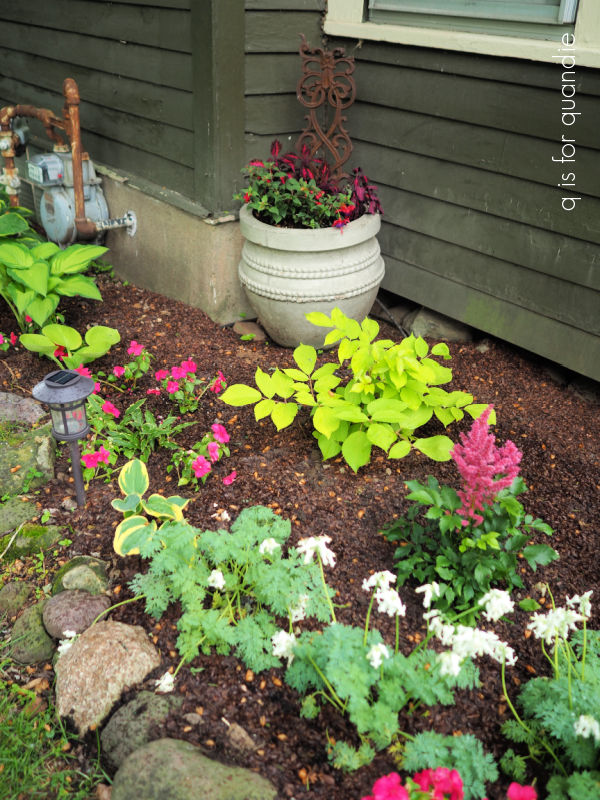
By the way, all of those extra pops of pink are impatiens. I decided to fill in with some annuals this year since the perennials are not going to fill out for at least a couple of years.
You may also have noticed that I am using cocoa bean shells as mulch here. I read that there is anecdotal evidence that jumping worms don’t like them, so I’m giving them a try. I’ll report back at the end of the summer with any results I notice.
In the meantime, today’s gardening lesson? You have to be able to roll with the punches. You just never know when Mother Nature is going to take you down. You just have to dust yourself off and start over again sometimes, right?