As I like to remind myself all the time, never say never.
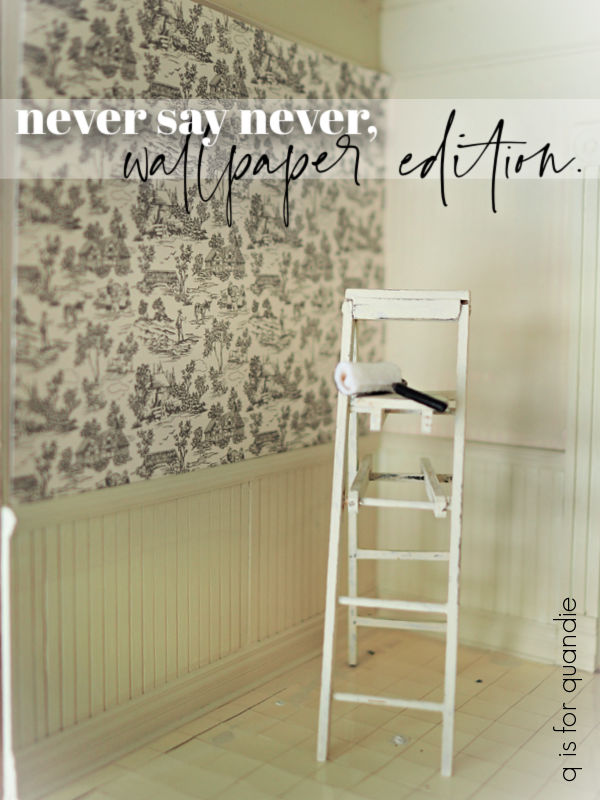
I’m pretty sure that I’ve sworn that I will never, ever wallpaper again. Yet here I am. Wallpapering.
To be fair though, this time I’m wallpapering in miniature. First it was the hallway, and now it’s the bathroom.
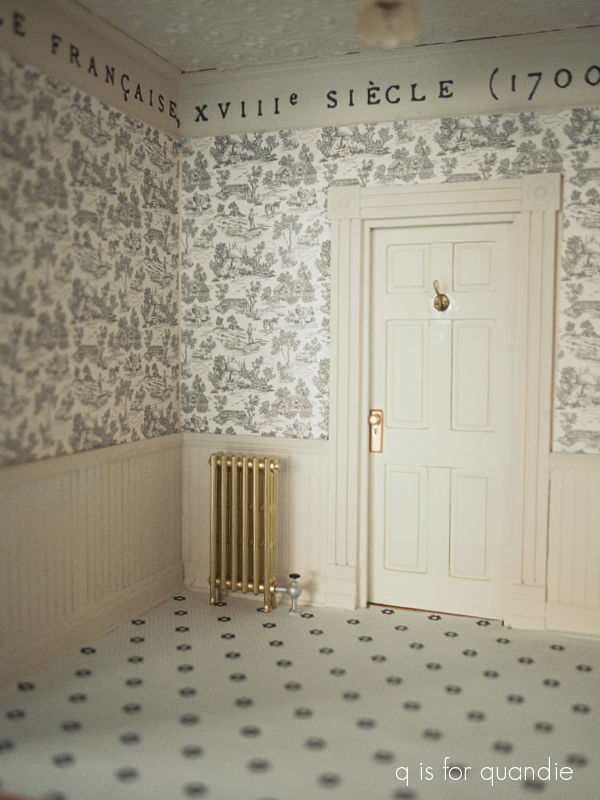
I found this fabulous mini toile wallpaper at Miniature Crush. I actually ordered enough of it to wallpaper the main bedroom of the dollhouse, but as you’ve seen, I didn’t actually use it in that room.
On the bright side, ordering too much wallpaper in miniature doesn’t break the bank like it would if it was full sized. This stuff is only $3.75 per sheet.
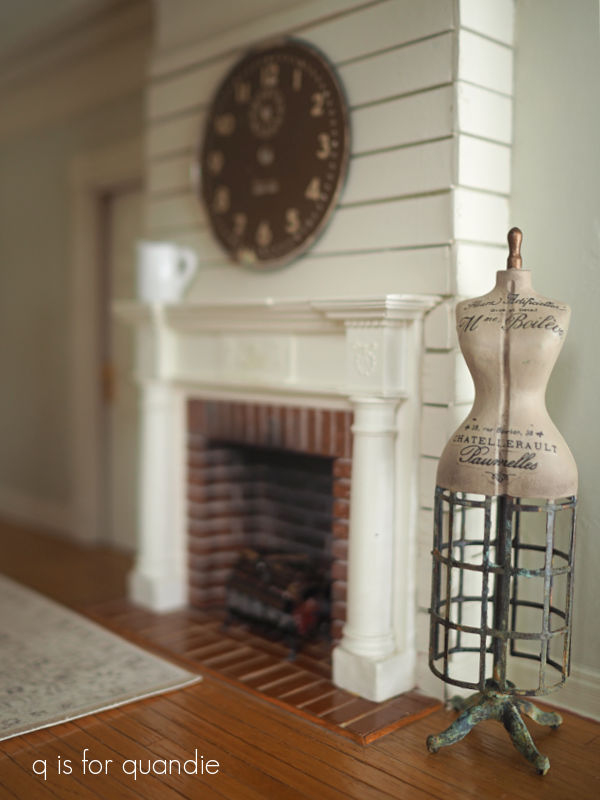
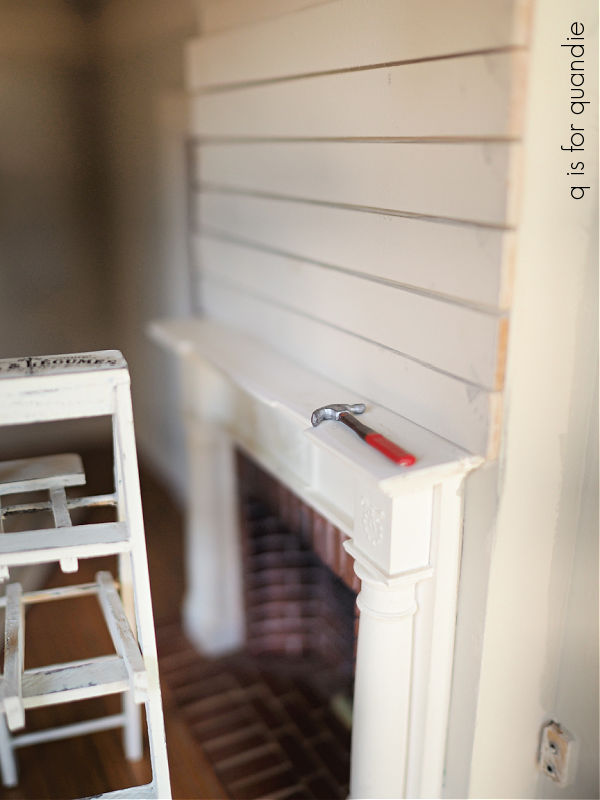
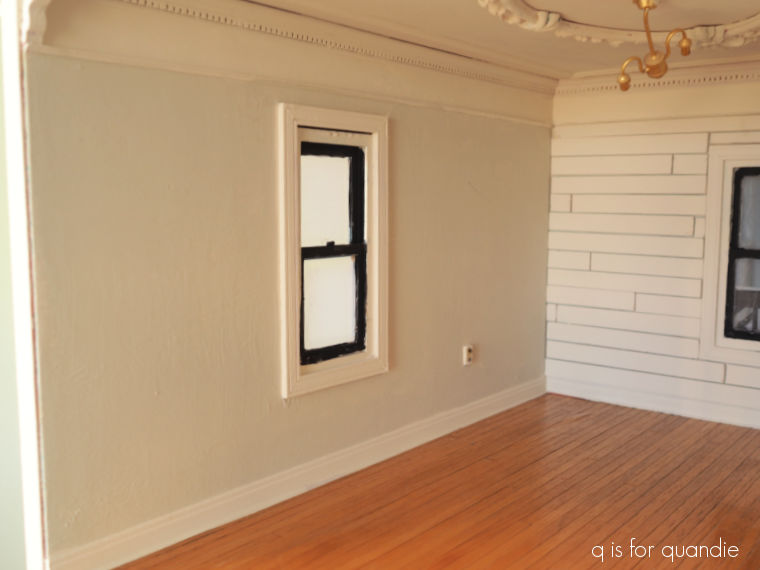
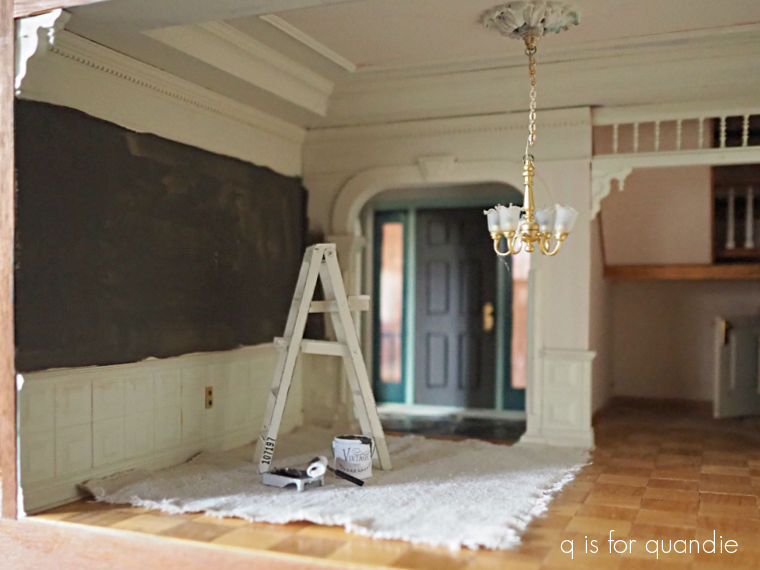
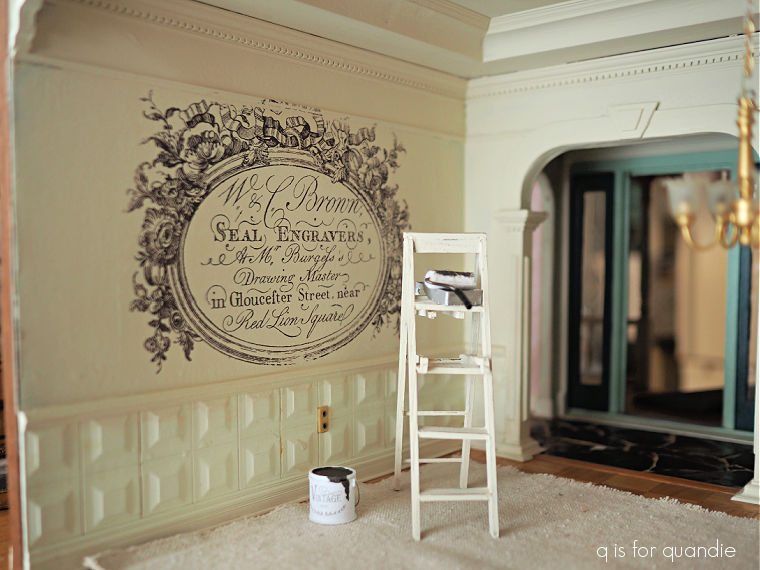
To prep for the wallpaper, I first painted the walls, trim and wainscoting in Dixie Belle’s Drop Cloth to create a blank canvas.
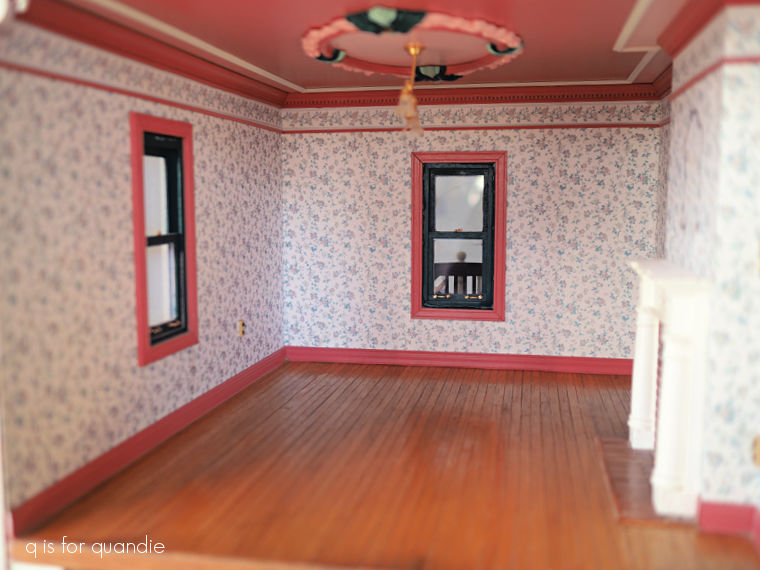
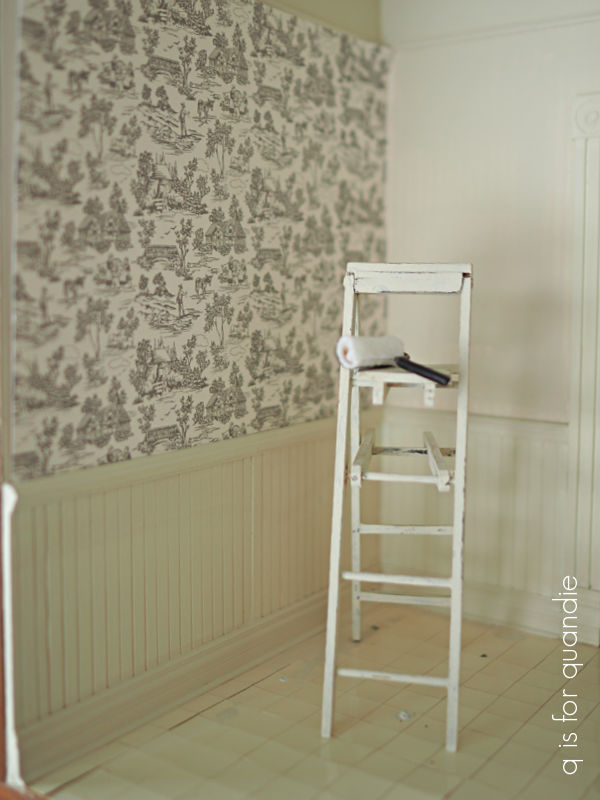
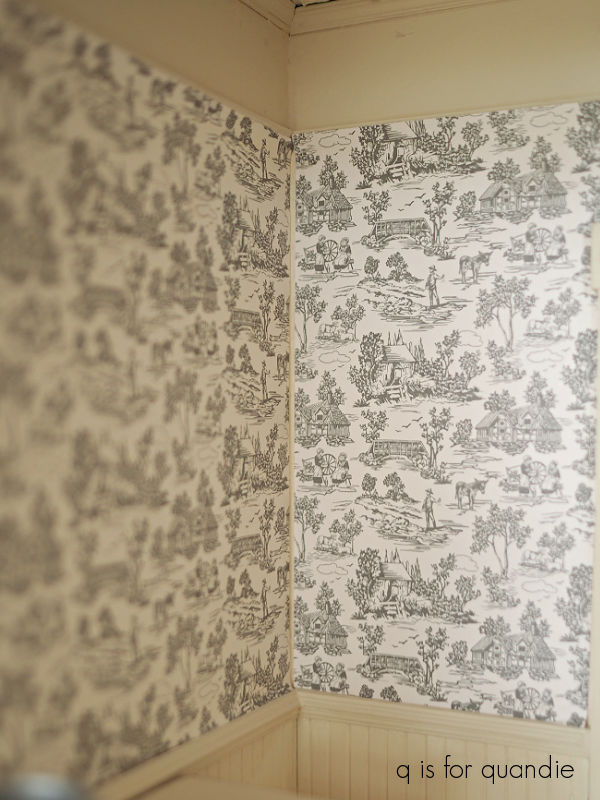
For my first wallpapering attempt, I think I did pretty good. I’ll admit, I didn’t bother to line up the pattern at the corners. That was pure laziness on my part, and truth be told I regret it. It wouldn’t have taken much more effort to line that up, and I certainly had plenty of paper.
I also left a tiny gap in one corner. Drat!
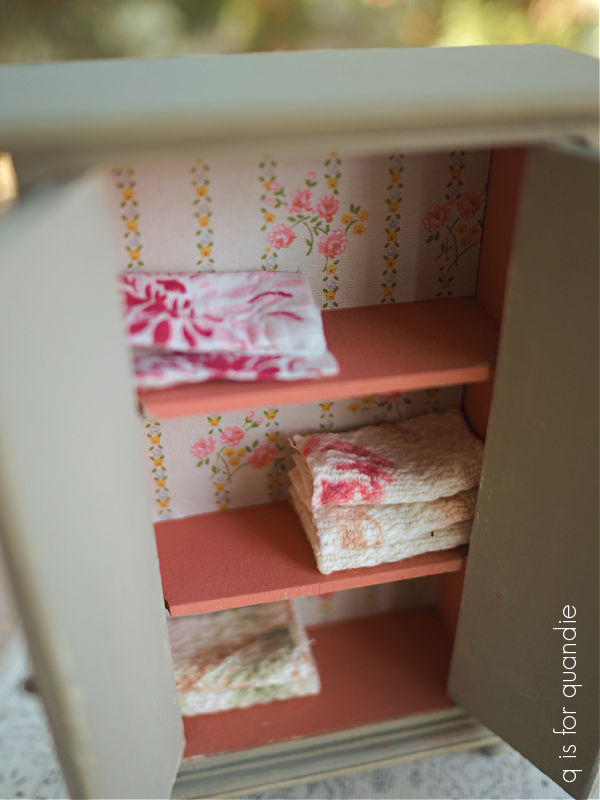
But, keep in mind, these are close up photos of a very small space. In real life these flaws aren’t nearly as noticeable. And once I get the bathroom ‘furnished’ I don’t think they’ll matter at all.
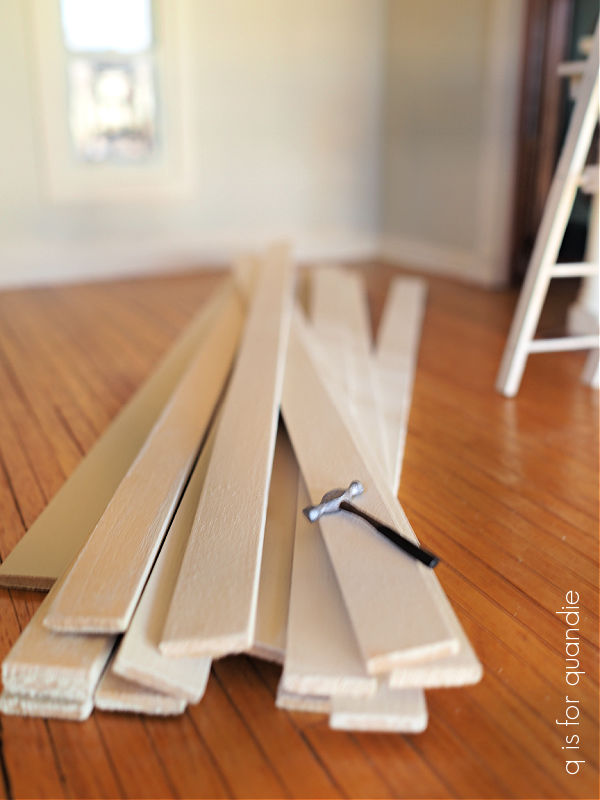
Next up I needed to do something about the floor. Unfortunately it had been damaged and needed to be replaced.

I did find a very inexpensive flooring option at Hobby Lobby.
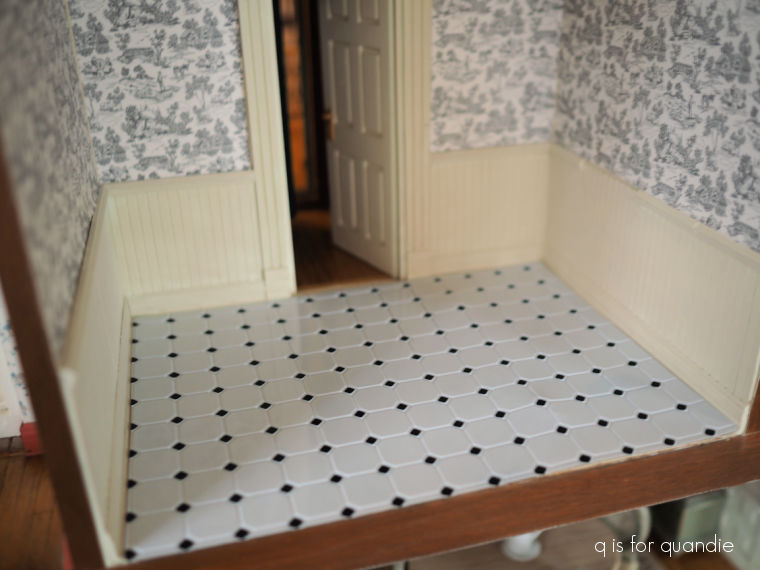
That bright white really made the Drop Cloth on the wainscoting look way too creamy though. And you know me, I’m not a fan of bright whites, I prefer a more subtle white. So I ordered another option to see if I liked it better.
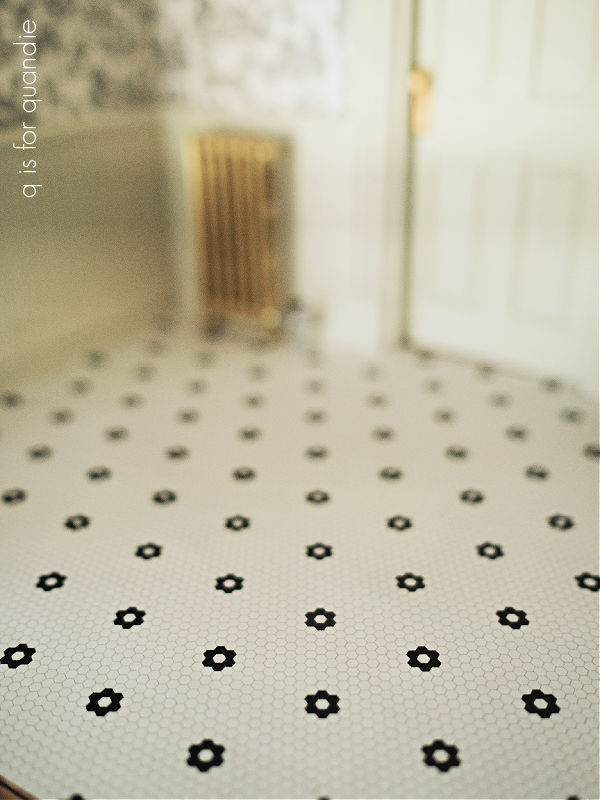
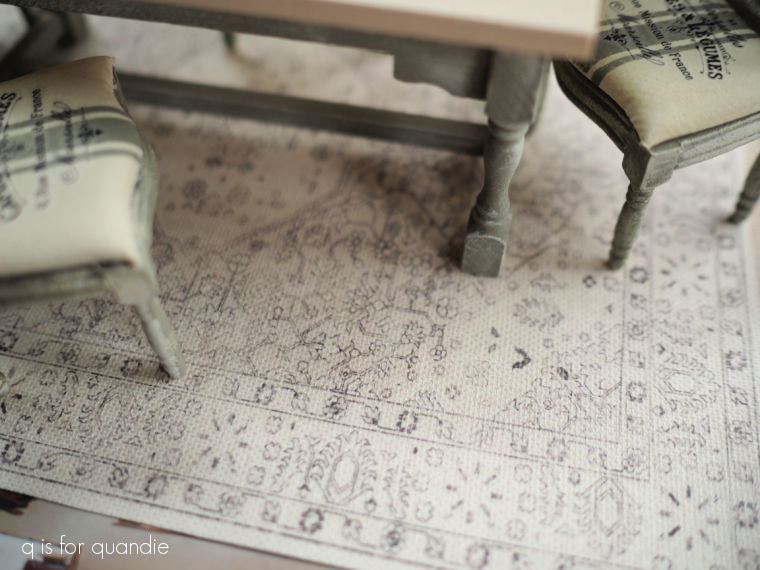
This flooring is from itsybitsymini.com. It’s a peel and stick style ‘wallpaper’ with a matte finish. Therefore it is completely flat (not embossed like the Hobby Lobby flooring), which I think is a bit less realistic looking. None the less, I prefer the look of this one over the Hobby Lobby floor.
Even with this new flooring, the Drop Cloth on the wainscoting was still a bit too warm. So I got out Dixie Belle’s Saltwater Silk paint and painted a test swatch on the wainscoting, but it was way too bright of a white for me. Then I got out the Fluff from the chalk paint line, still too bright. Finally, I pulled out the Endless Shore from the Silk paint line, and I decided that was just right. It’s really just a tiny bit brighter than Drop Cloth, but that was just what I needed.
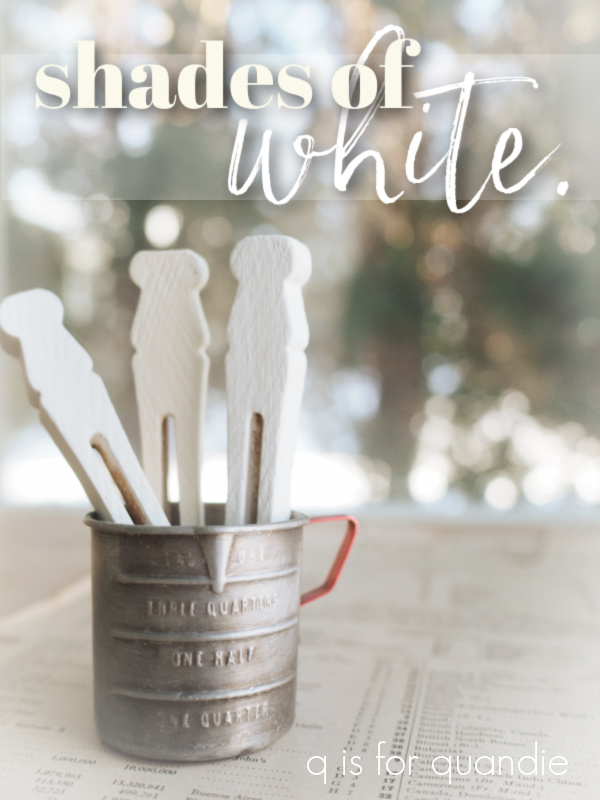
By the way, I’ve written a blog post comparing the Dixie Belle chalk style whites …
and also another comparing the Silk line whites …
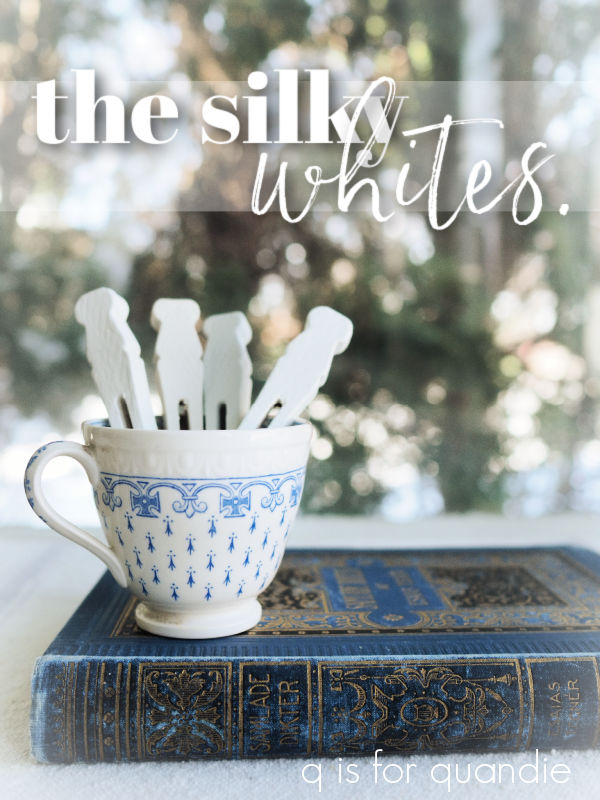
so check those out if you are wondering how all of these shades of white measure up.
Once I had the paint color and the flooring figured out, I decided that I needed a little something in the area between the wallpaper and the ceiling. The original bathroom had a wallpaper border there, but I decided to do something a little bit more unique this time around.
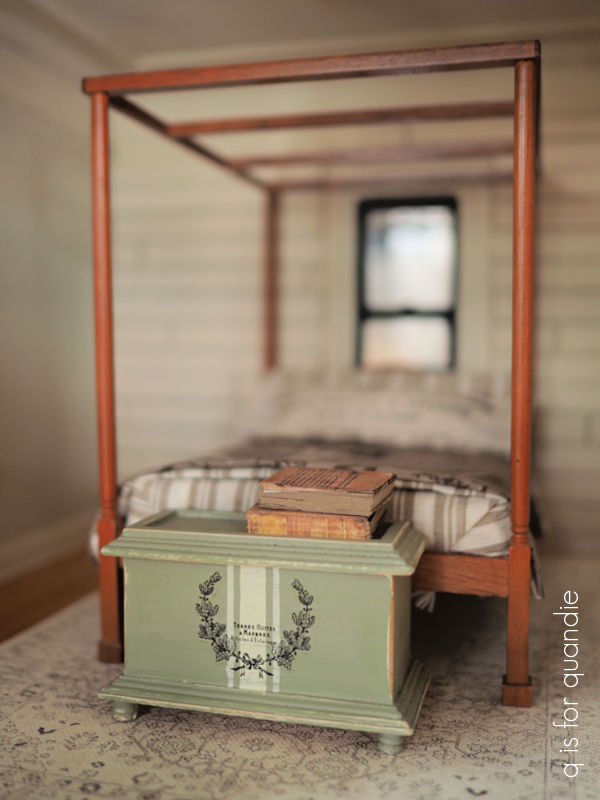
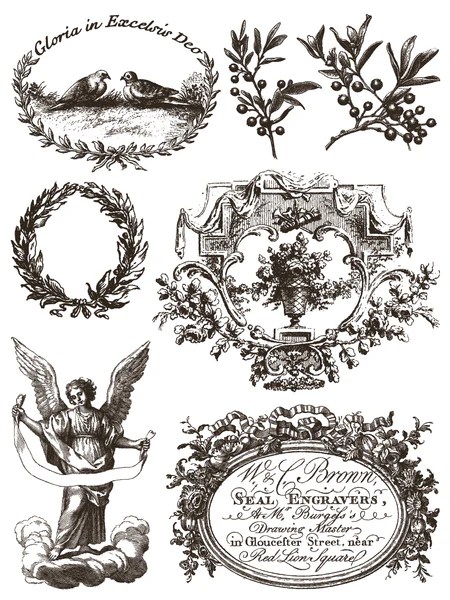
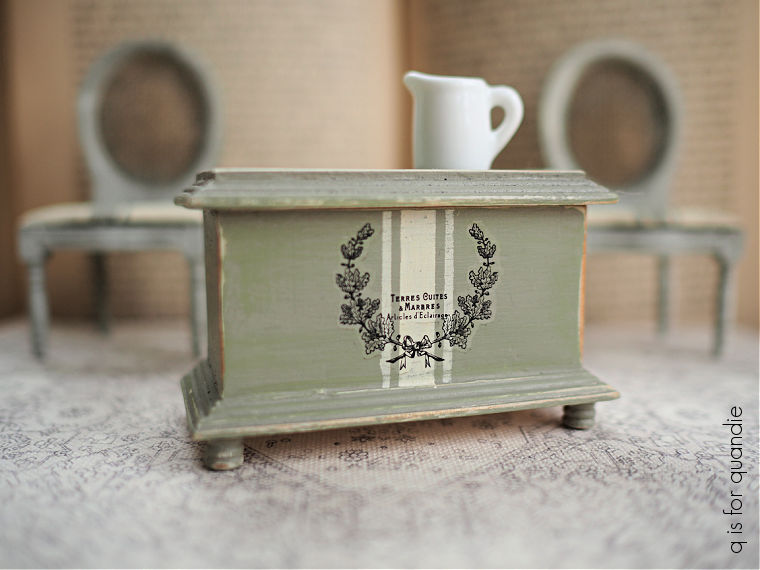
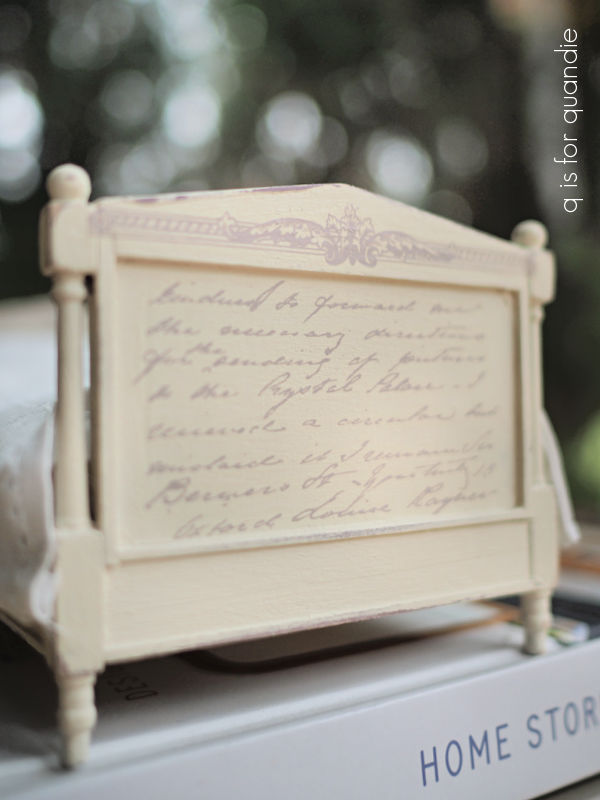
I dug through my transfer stash and pulled out the Cosette transfer from I.O.D.

You may remember that I’ve only used the inner circle of text from this transfer (I used it on that Christmas toolbox).
So I still had those lines of text from both the top and bottom of the transfer. And the 2nd line from the top was just about a perfect fit for the border area of my dollhouse bathroom.

And I absolutely love it there. It works beautifully with my toile wallpaper and my French Country vibe.
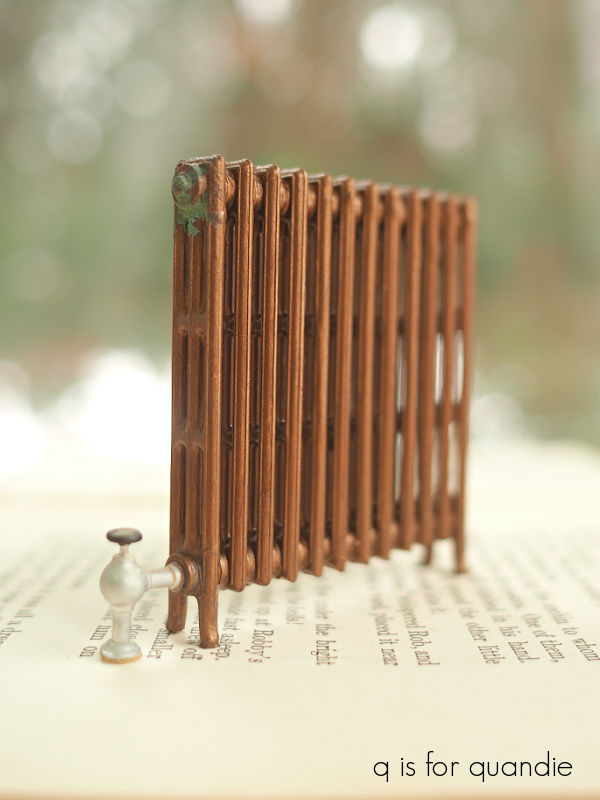
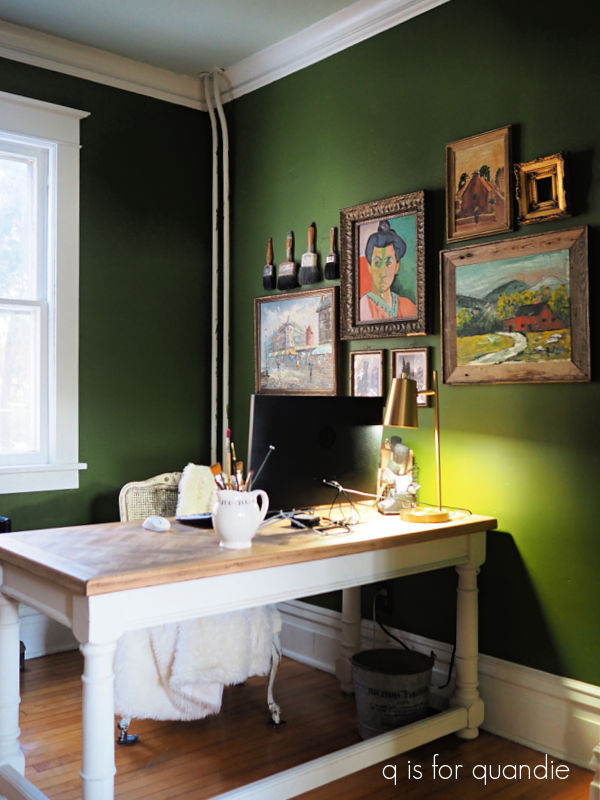
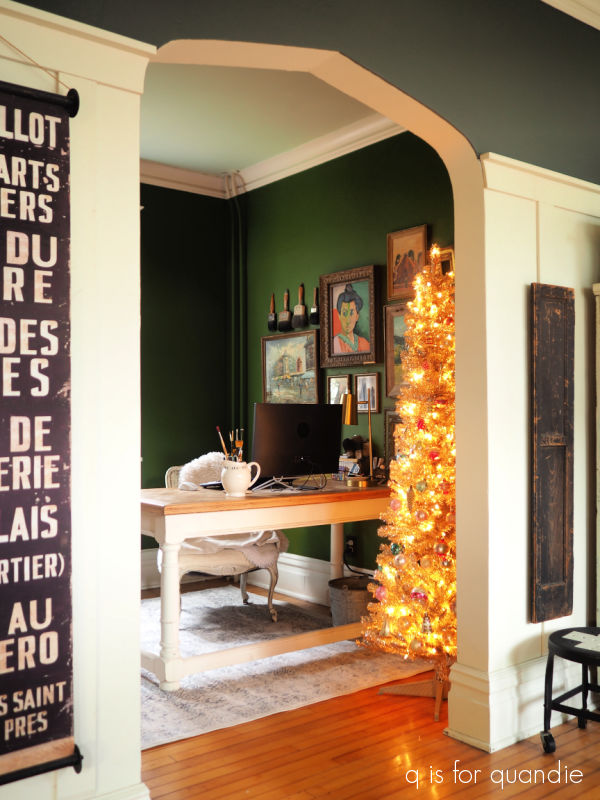
And that brings me to the radiator. A while back I mentioned that I want to paint the radiator in the q branch (a.k.a. my home office) gold. Naturally, that will have to wait for summer because I can’t paint it while it’s hot. But how about a gold radiator for the dollhouse? That I can do now.
The radiator is plastic, and honestly a little cheap looking up close. The white plastic had really yellowed over time.

So I gave it a good scrub with hot water and Dawn dish soap. Once dry I taped off the silver and black piping, and then gave it a quick spray with Rust-Oleum gold spray paint.
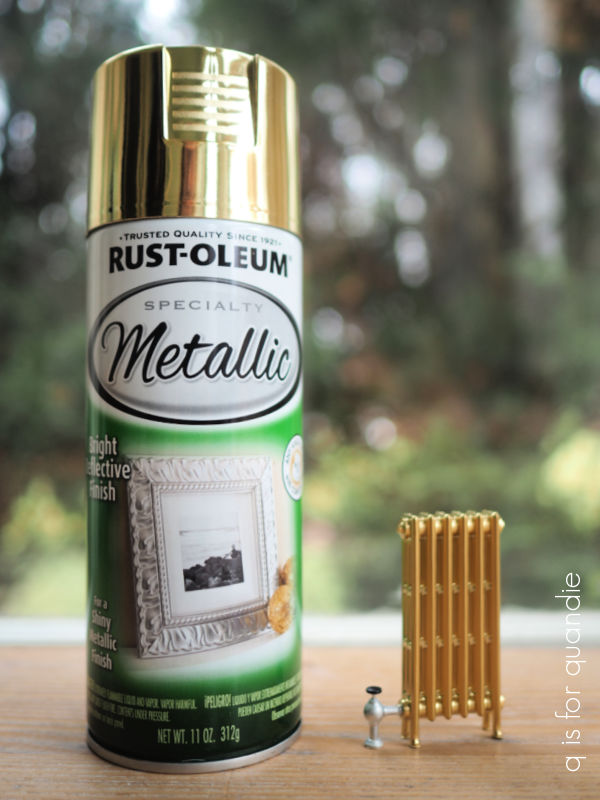
Oh my goodness, isn’t that a 100% improvement?
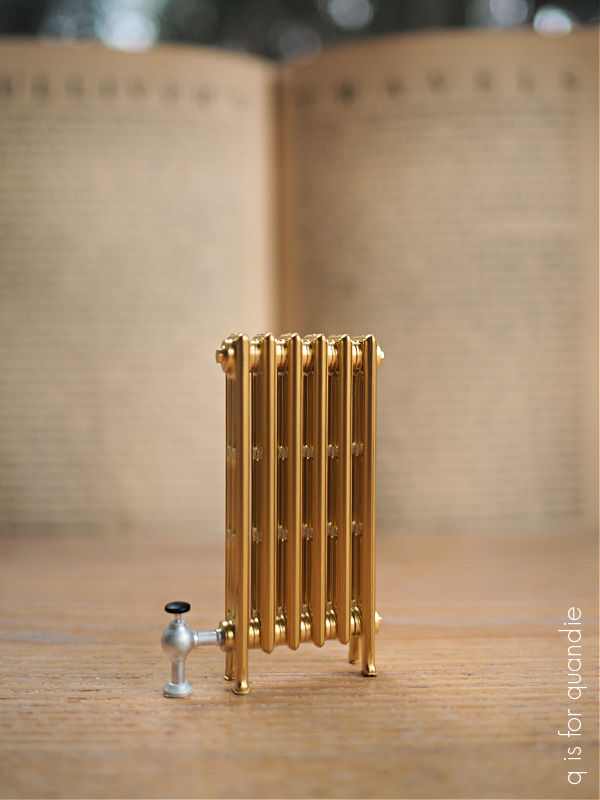
I love it! It definitely no longer looks plastic.
So, now that I have all of the ‘bones’ in place, next up is furnishing the bathroom and I’ll be sharing that on Friday, so be sure to stay tuned!
In the meantime, what do you think so far? Leave a comment and let me know.