In the past I’ve had a few people ask me whether or not I teach classes on painting. Last year I taught a couple of classes that focused on milk paint at the Round Barn, but other than that I really haven’t done any classes. But I’ve thought about it, and wondered if I could pull it off at my own house. So when a gal I knew from a craigslist purchase mentioned that she’d love to take a class, I suggested that she and a friend be my guinea pigs. After all, I have a lot of knowledge learned on the fly, and I am more than happy to share what I know with others.

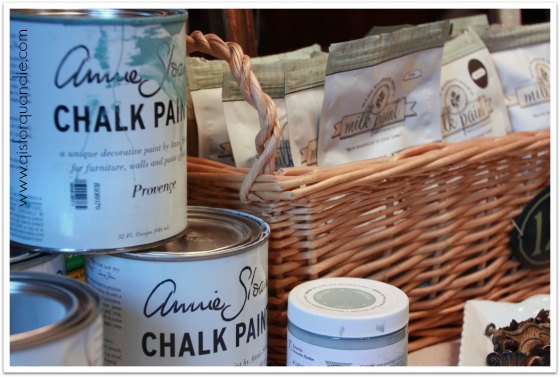
The one big thing that I can offer in a class of my own is a complete lack of bias or focus on a particular product. In other words, my class encompasses all of the various products out there, along with when, why and how to use them. Since I am not selling any products here, I don’t need to be promoting a particular brand. I firmly believe that both milk paint and chalk paint have their place. Not all projects are good for milk paint, and vice versa. I also have a couple of money saving tips, such as when you can substitute a much cheaper product, and when you can’t.
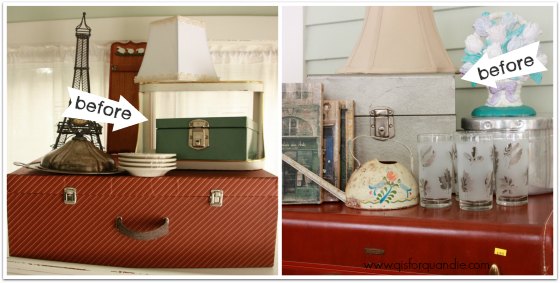
So on a recent sunny Saturday afternoon my guinea pigs, Emily and her friend Jess, came over for a class. They each brought something from home to paint. Emily brought some simple wood storage cubes, and Jess brought a toy box that she saved from the dumpster. Someone she knew was going to toss it! So she grabbed it and brought it along to paint. I am kicking myself now because I didn’t get ‘before’ pics! Darn! But suffice to say, the cubes were already painted in pastel colors, and the toy box was painted black. We assumed that all of them were painted in a latex satin or semi-gloss paint.
Emily and Jess learned how to decide which product is right for your piece, how to prep your piece before painting, painting with chalk paint, mixing and painting with milk paint, stenciling, distressing and finishing with either wax or hemp oil.
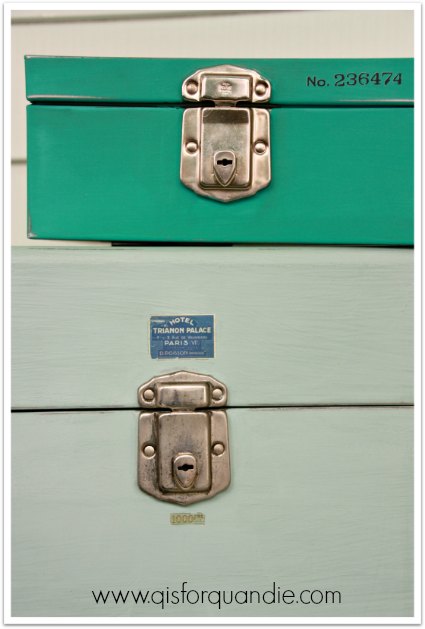
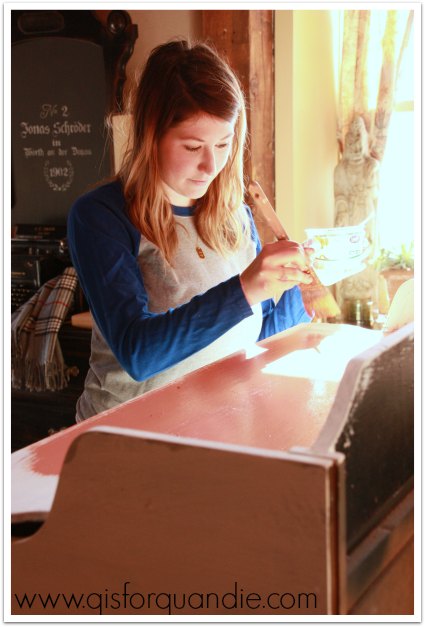
They used both chalk paint and milk paint on their pieces. Here is Emily putting a coat of MMS Artissimo milk paint on one of her cubes, after having already painted the inside with chalk paint in Duck Egg.

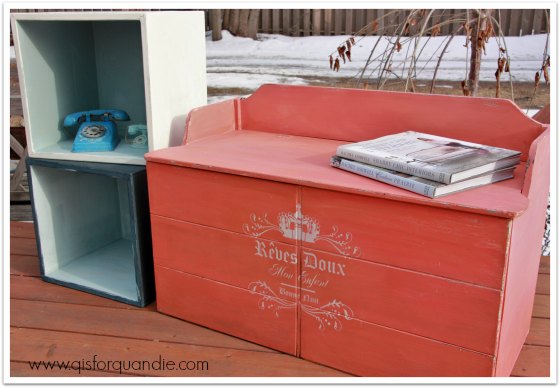
And Jess went with an undercoat of Cece Caldwell Vintage White chalk paint followed by MMS milk paint in Apron Strings for the toy box.
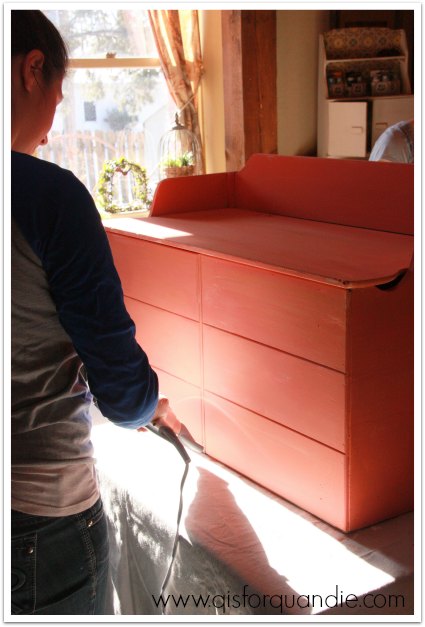
We experimented with a hemp oil resist, and also with blow drying. Here is Jess blow drying her toy chest (boy, that just somehow sounds wrong, doesn’t it?)
Originally Jess was going to stencil a number on the toy box, but once I showed her this french stencil, she knew it was perfect.

“sweet dreams my child, good night”
The Apron Strings was a great color choice for this piece as well. Jess really liked the variations in this color ranging from pink to coral. It really worked well for her, and it was a great way for me to show them this quality of milk paint (which can be good or bad, depending on what look you are going for).
Our class lasted just a tad over 4 hours, and both Emily and Jess went home with finished pieces.
It was really fun, and I enjoyed sharing my knowledge. I think I learned a couple of things about how to make it go more smoothly next time (like actually have some handouts ready to pass out, oops). I wasn’t sure we’d be able to fully complete our projects in that time span, so I was glad to learn that yes, it can be done.
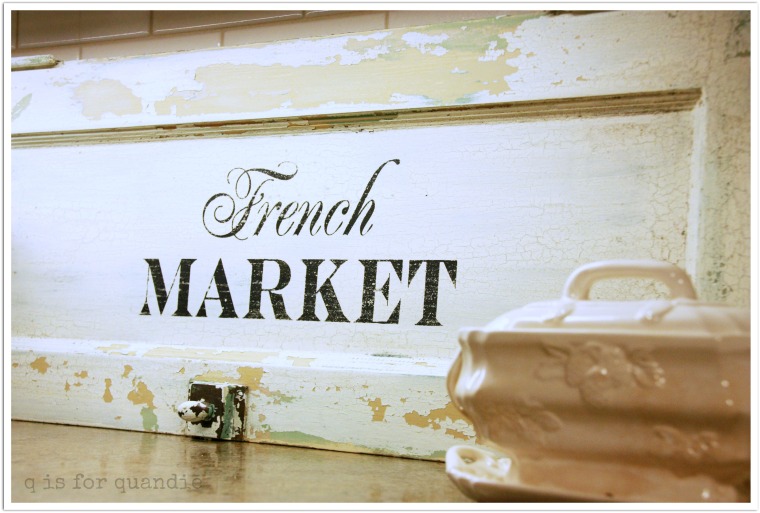
I’ve got some ideas floating around in my head for future classes. One idea is to have a class where each person paints a vintage cupboard door to turn into a ‘sign’, like my French Market sign.
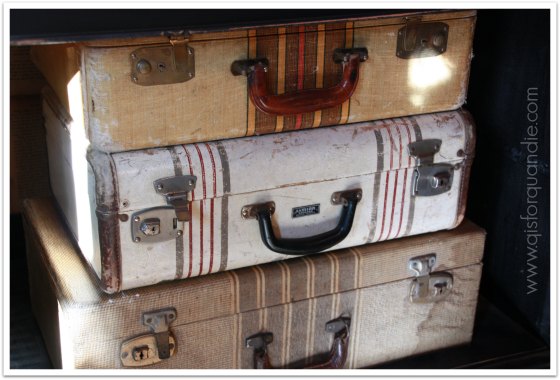
Another possibility is a class where everyone goes home with a painted suitcase (but first I have to get my hands on some suitcases!).

But I also would be willing to just host some more classes where people bring their own item to paint.
So, if any of you locals might be interested in a class, please leave a comment or drop me an email at oakdalecarriagehouse@gmail.com
I’d love to hear from you!