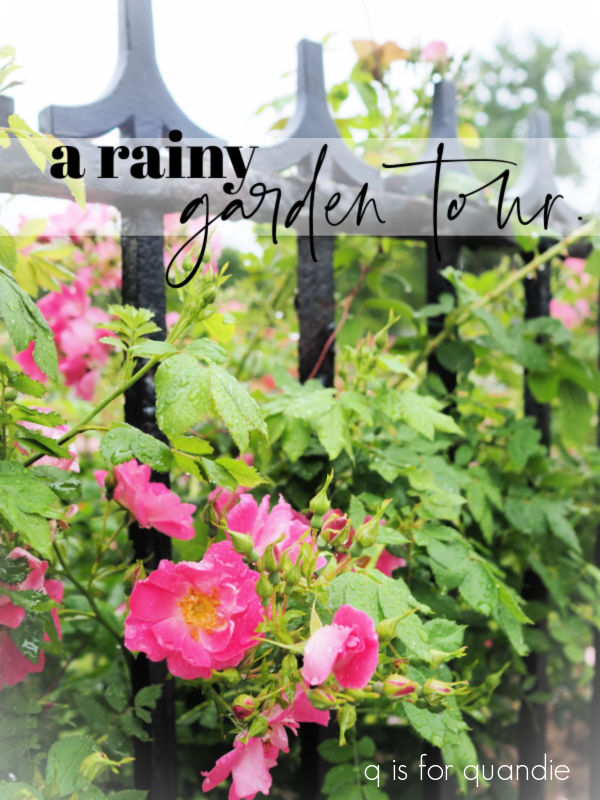
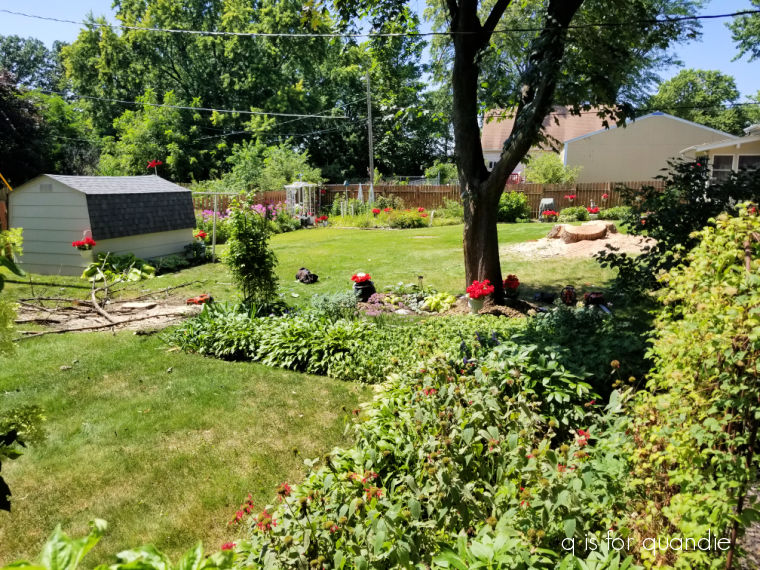
Good morning from the garden!
You probably don’t remember this, but back in September 2022 I harvested and dried big bunches of my panicle hydrangeas.
After using some of them to make wreaths …
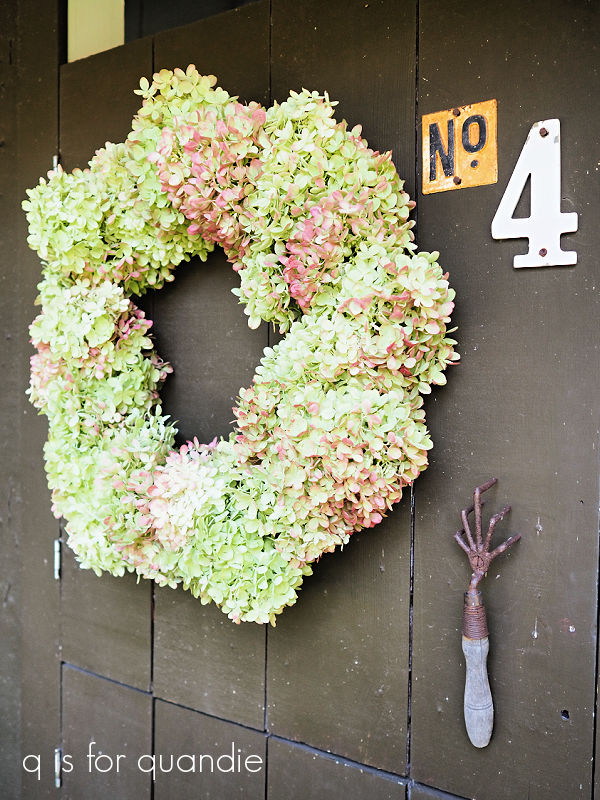
I hung onto the rest to use in winter arrangements.
But I got busy and in the end I never used them in my fall/winter window boxes that year. I stored them until the following spring, but then as I was cleaning out the carriage house one day I decided that they were just taking up space and I’d never be able to use them all, so I tossed them.
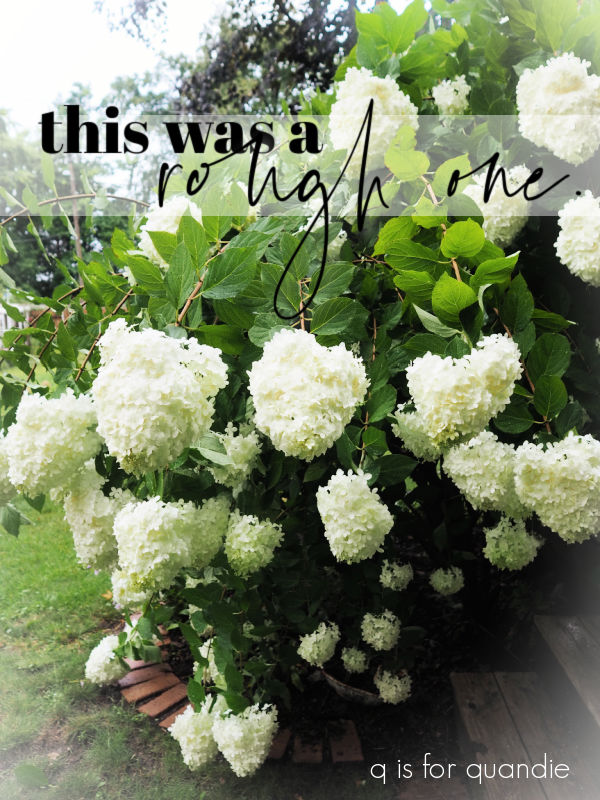
It wasn’t until I was working on my fall/winter window box arrangements last year that I really wished I’d kept them. What was I thinking? They were gorgeous and I just threw them away.
Actually, I know what I was thinking. I was thinking I’d have plenty more come fall again. And I would have, except I forgot to harvest them at the right time last year. Instead I left them all on the bushes thinking I could just cut them off when I was ready for them.
That was a mistake. Over time the hydrangea blossoms that are left on the plant turn brown.

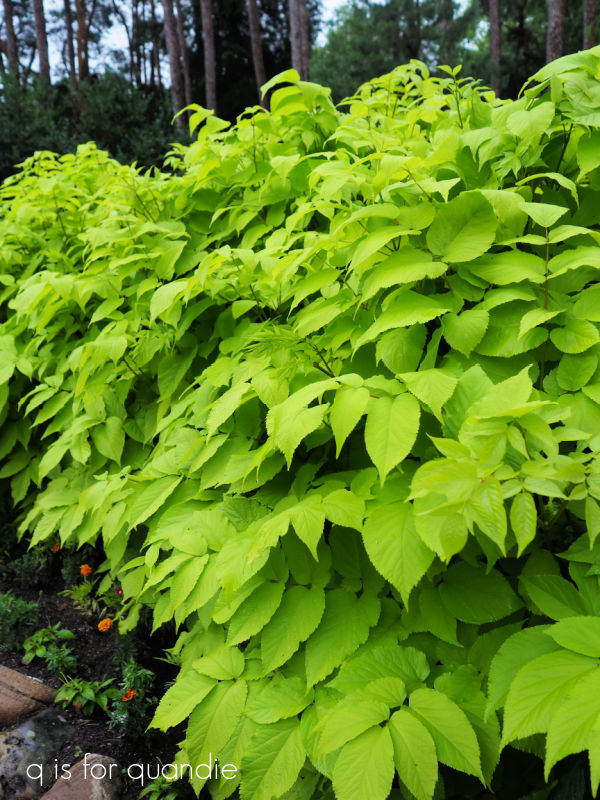
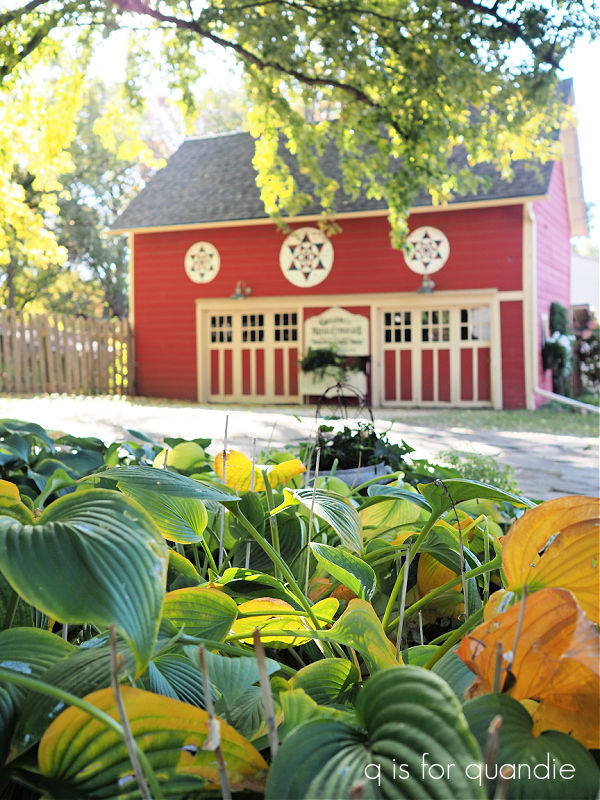
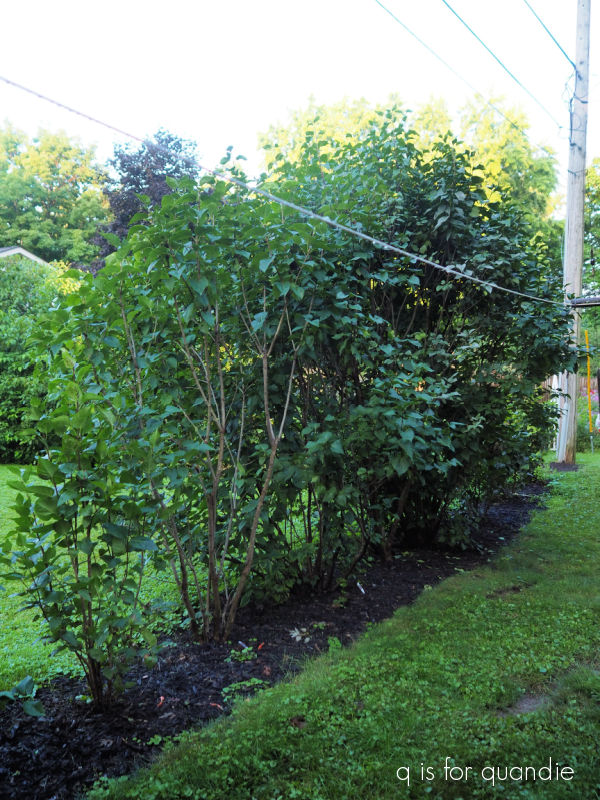
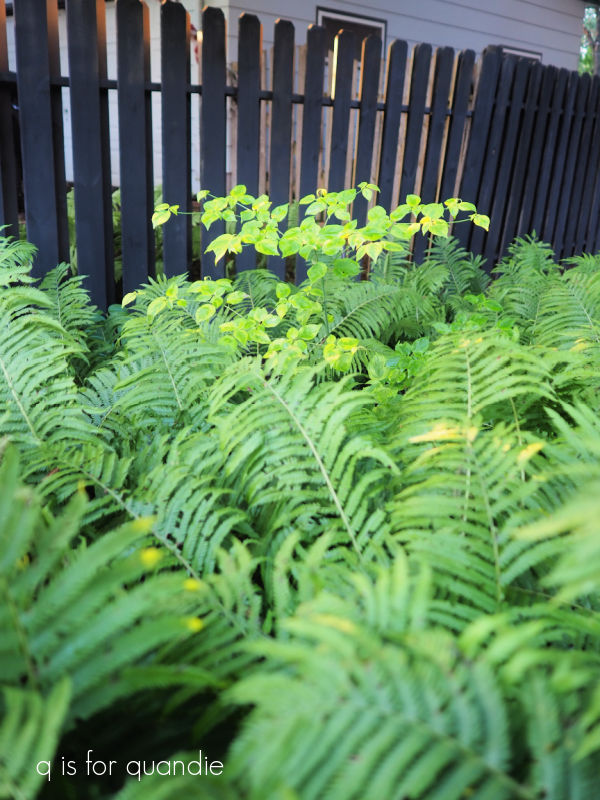
I like to leave some in place for winter interest …
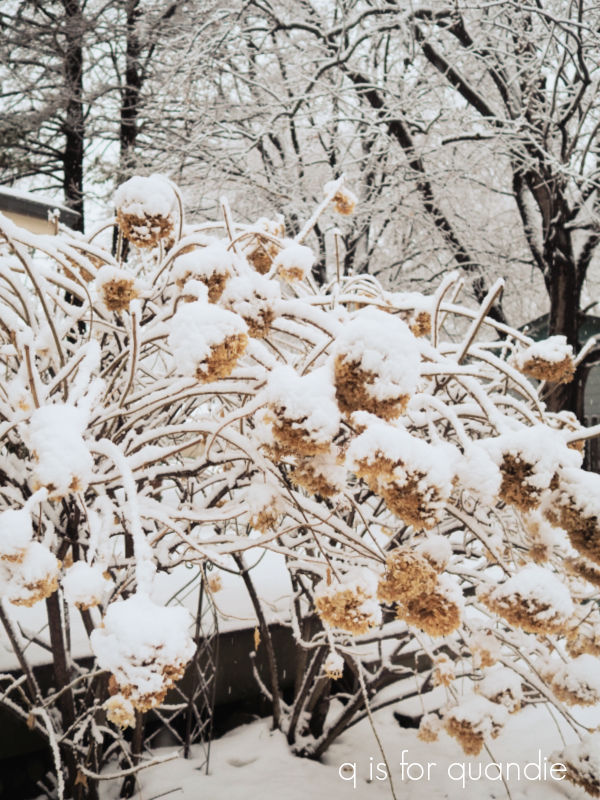
but the brown ones just aren’t as pretty in arrangements as those with some color, so I should have harvested some earlier.
Well, I won’t be making that same mistake this year.
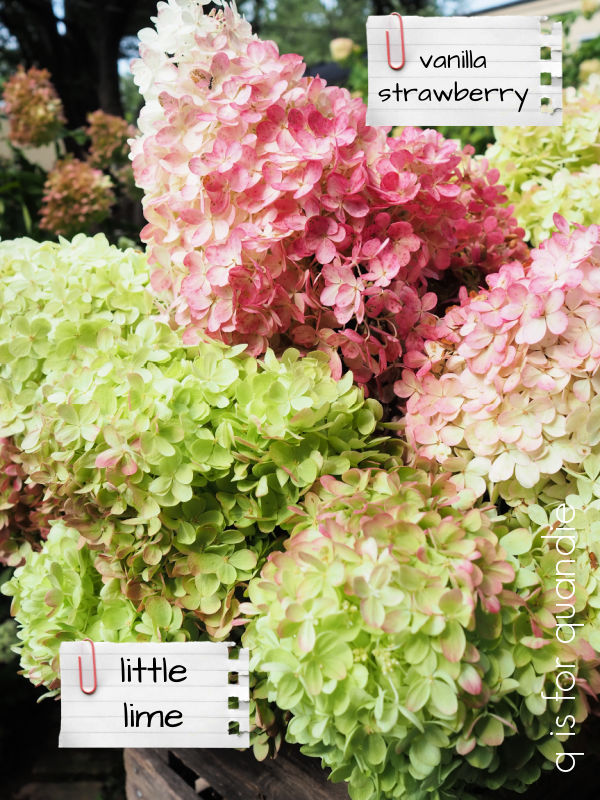
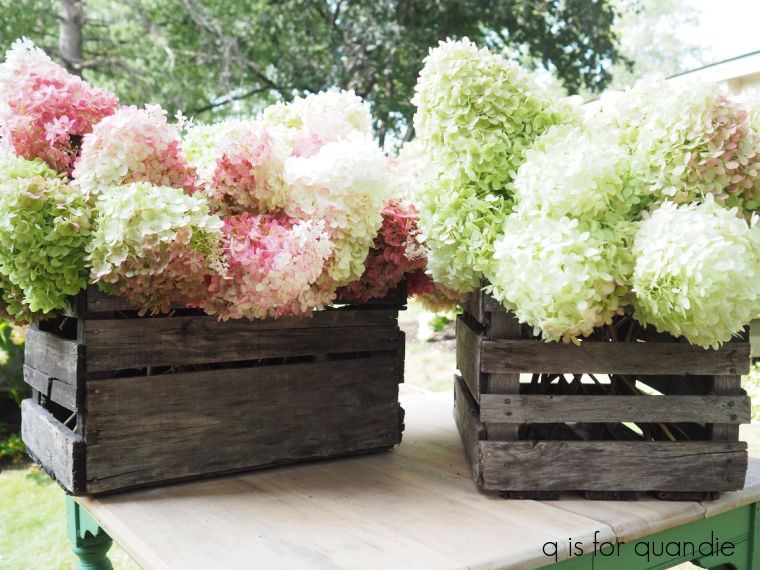
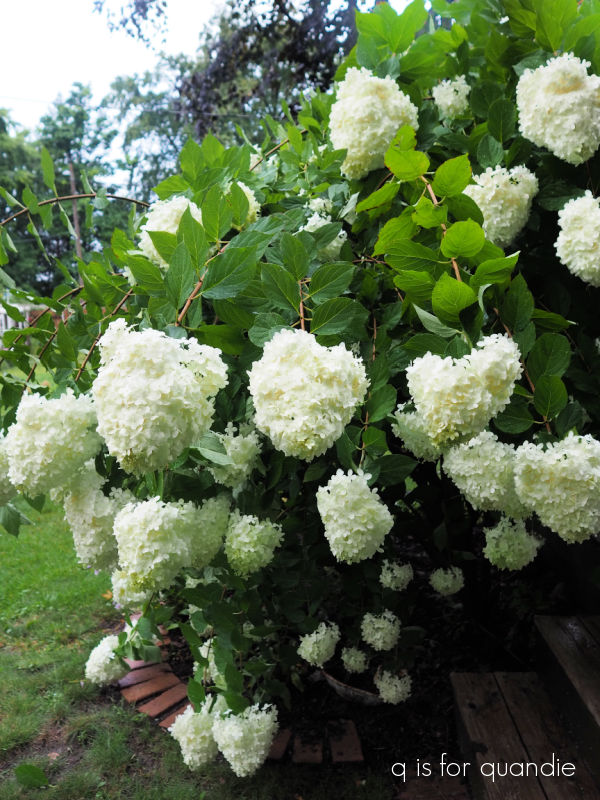
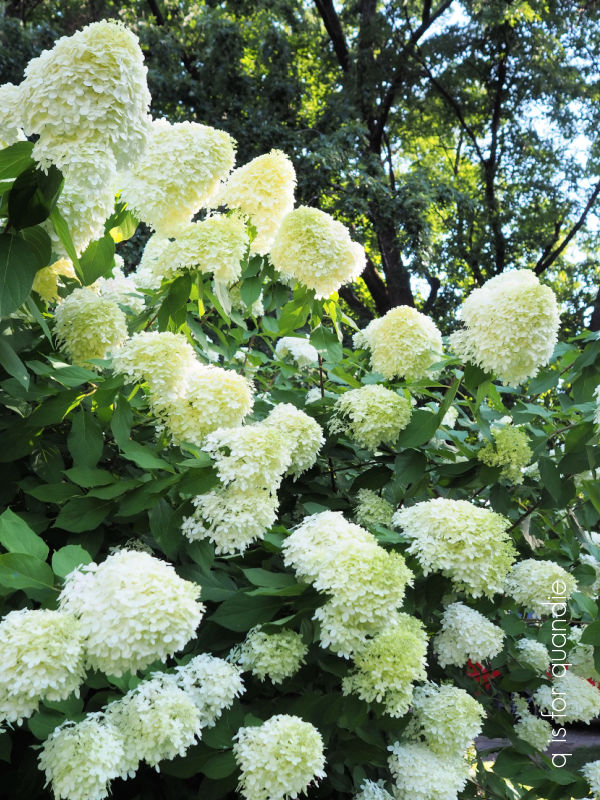
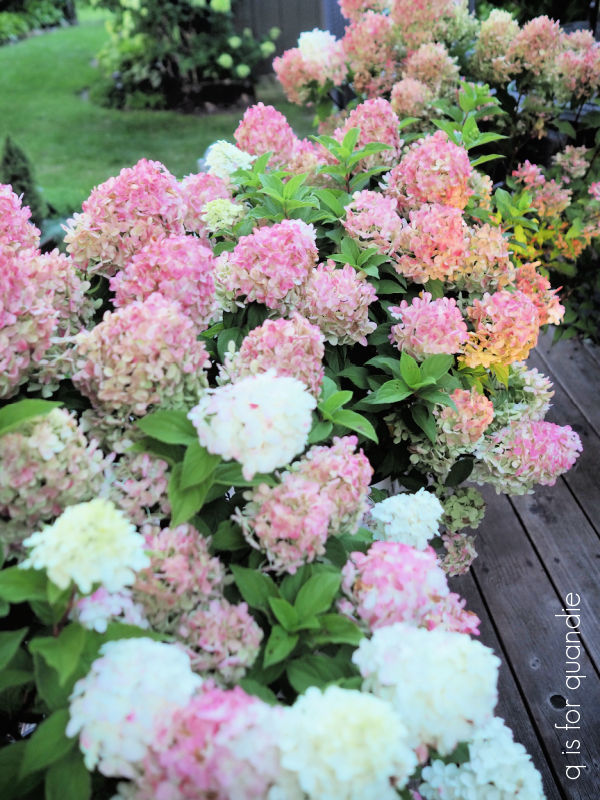
The best time to harvest hydrangeas for drying is when the blooms are just past their prime and starting to dry and/or change color on the bush, and that is about now for the Vanilla Strawberry, Limelight and Little Lime varieties here in my Minnesota garden (FYI, I’ve read that my new Quick Fire Fab hydrangeas will start blooming about a month earlier than the others, so we’ll see about that next year).
After experimenting with a couple of different ways to dry hydrangeas, I’ve found that you don’t need to do anything special. Just cut them, place them upright in a vase/bucket/basket/crate, and then put that in a dark, dry room. I put mine upstairs in the carriage house. There is only one tiny window up there, so it stays relatively dark.
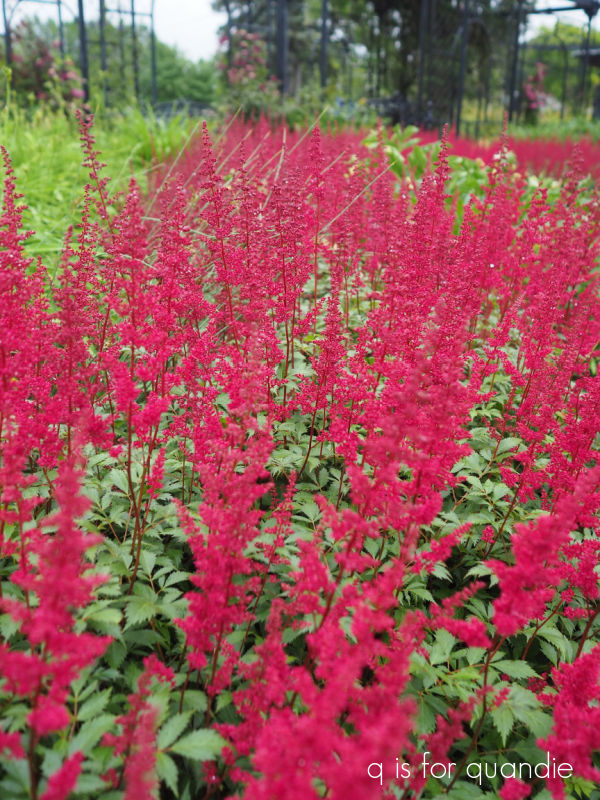
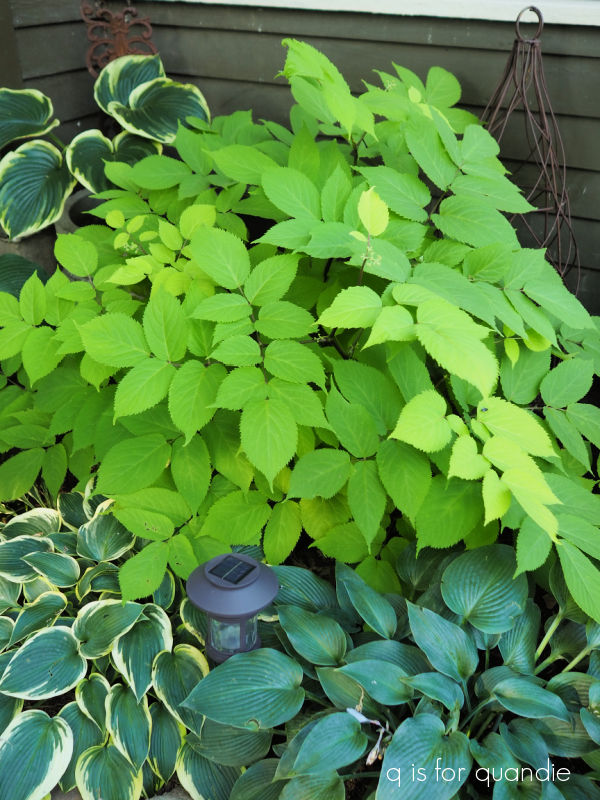
In addition to the hydrangeas, I also decided to cut and dry my astilbe flowers this year. I had a beautiful crop of them this summer.
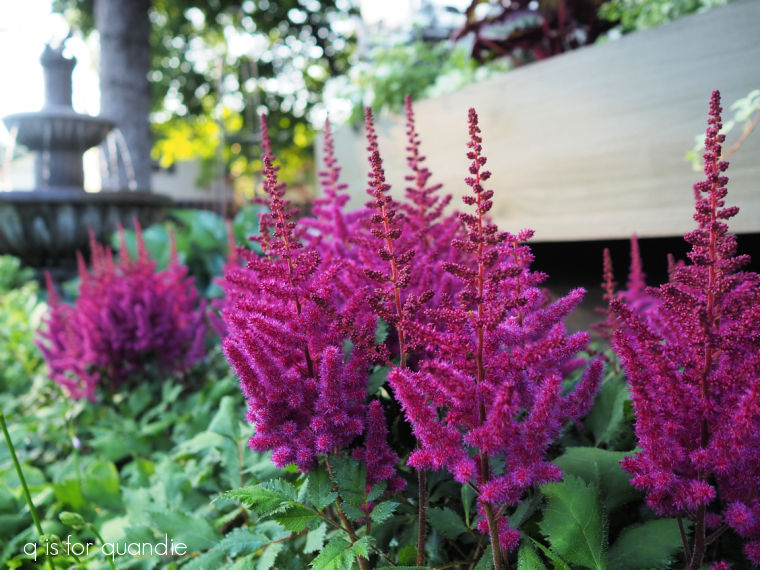
I left them on the plant until mid-August when they had turned brown, and then I cut them all and put them in a bucket to fully dry.

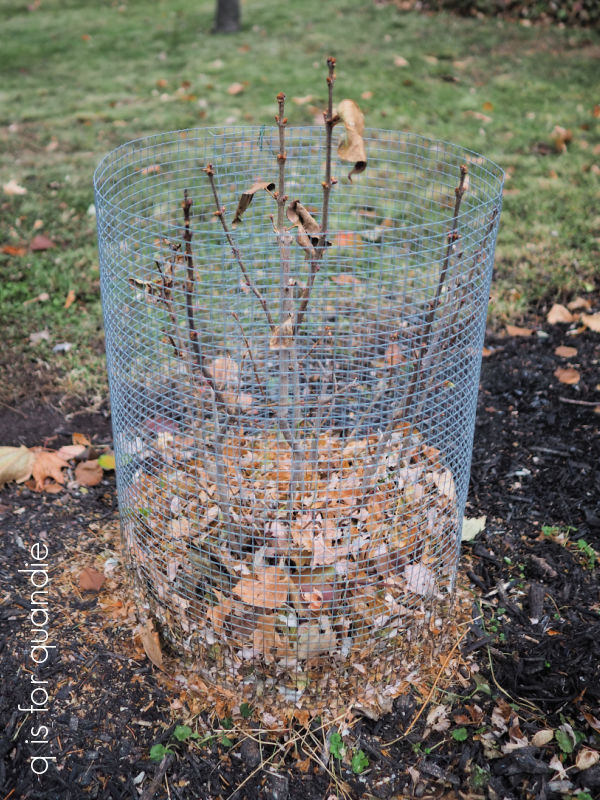
I also had a bumper crop of allium this summer.

So I made sure to save those as well. I also just leave these in the garden until they are dry, and then they just pull right out of the ground with no pruners needed.

I love the way they look like little fireworks.
I plan to use all of these dried flowers in my window boxes for both fall …

and winter …
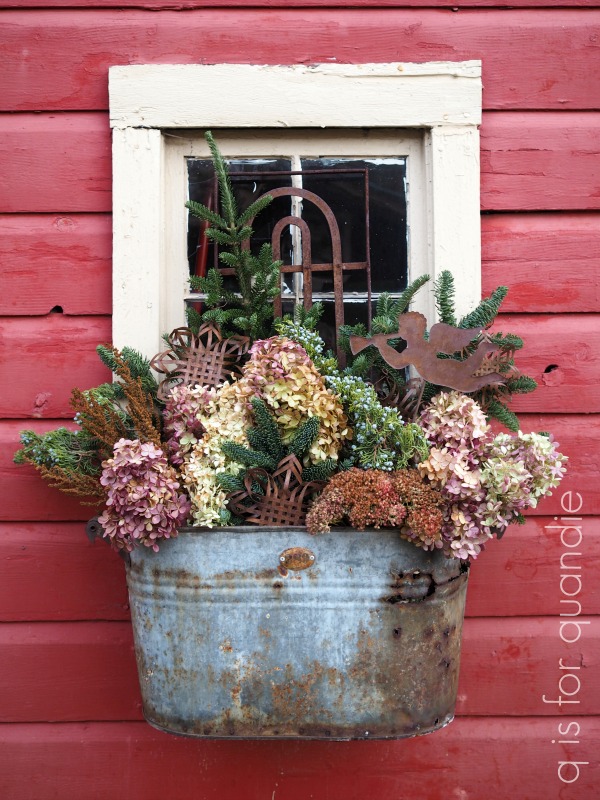
Let’s hope that I can time those right this year. I often end up leaving the winter arrangement too late and the dirt freezes solid making it difficult to arrange the dried stems.
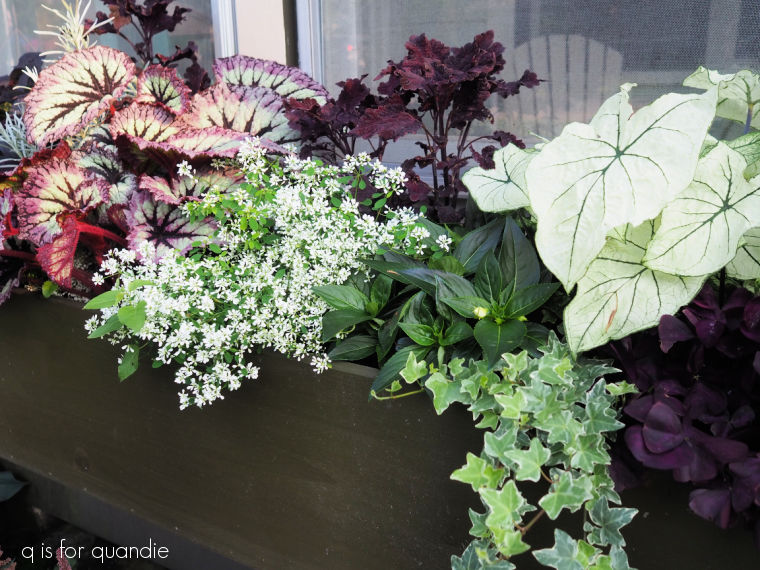
And for now I can’t bear to dismantle that gorgeous front window box for fall.

So I may be getting a late start on that one.
How about you? Do you dry any plants from your garden for winter arranging?
Leave a comment and let me know.


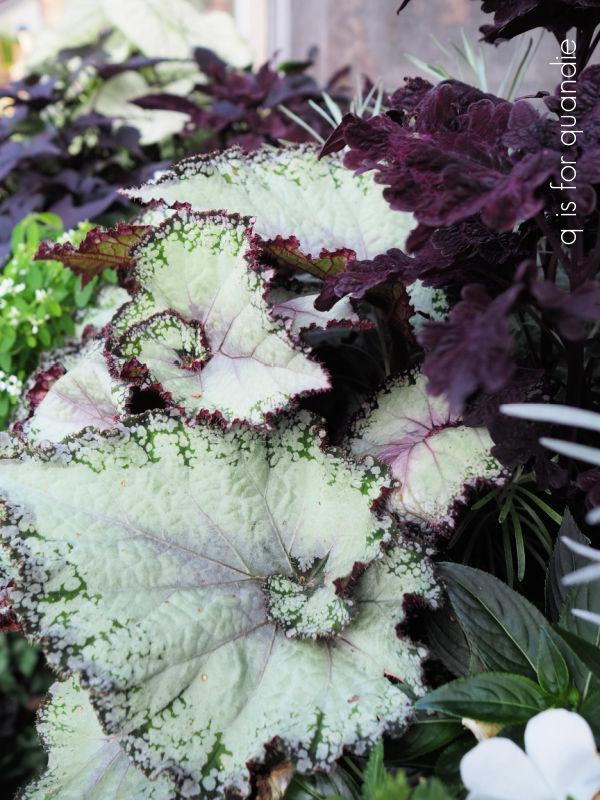


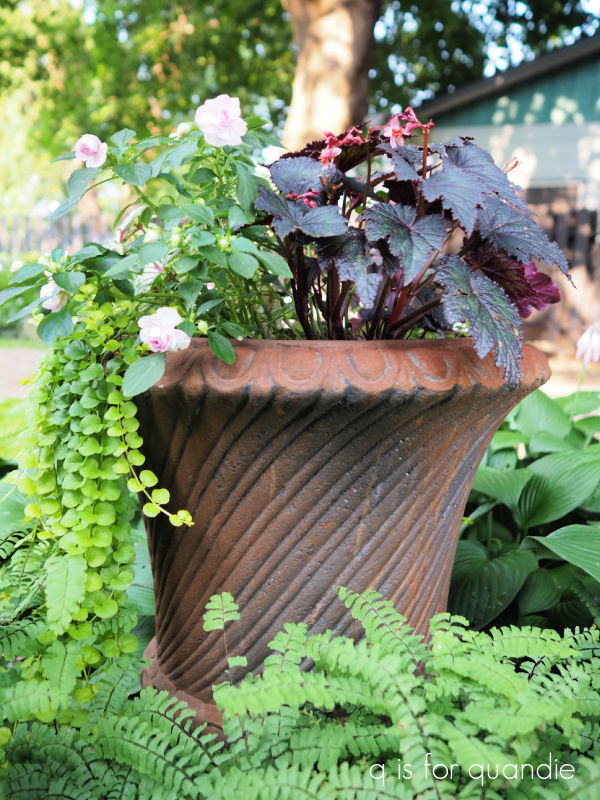
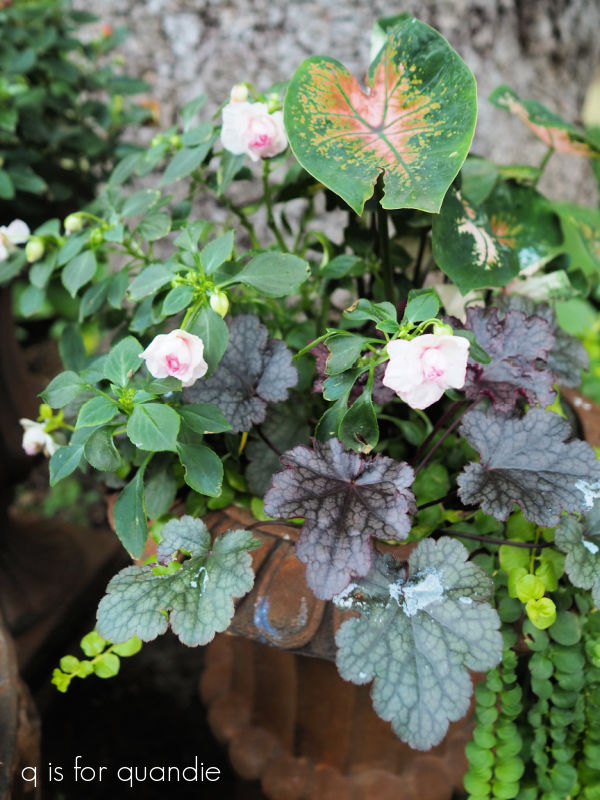
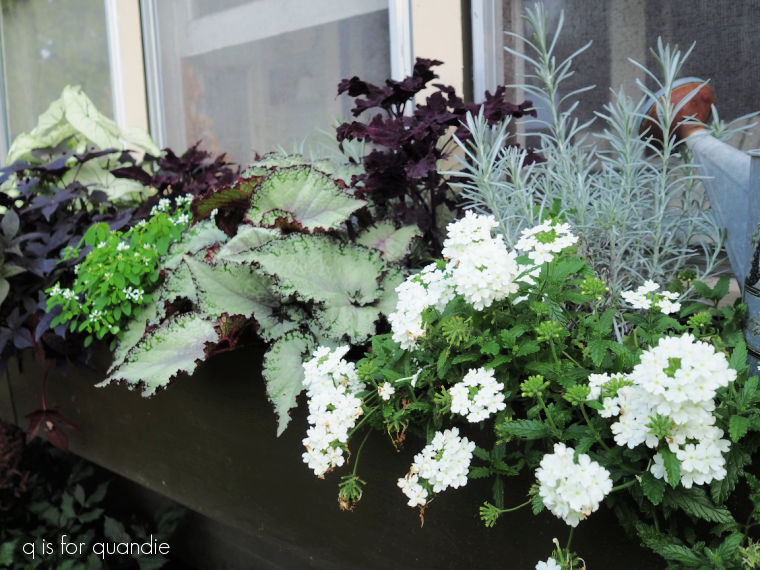
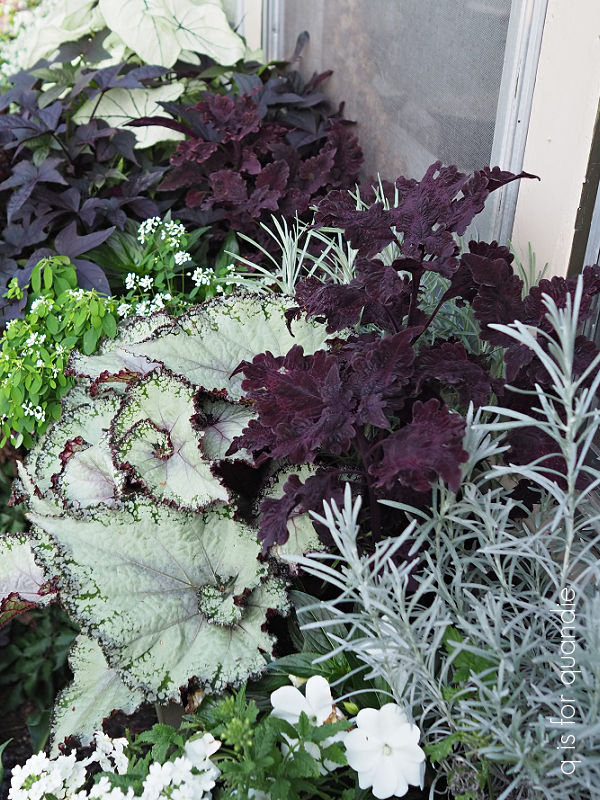
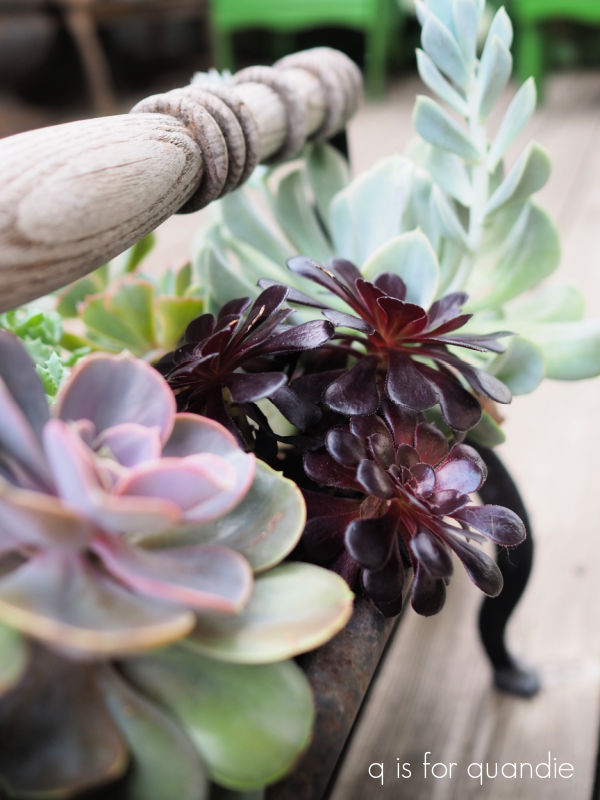
 When I planted this one up I called it a ‘black and white’ combination.
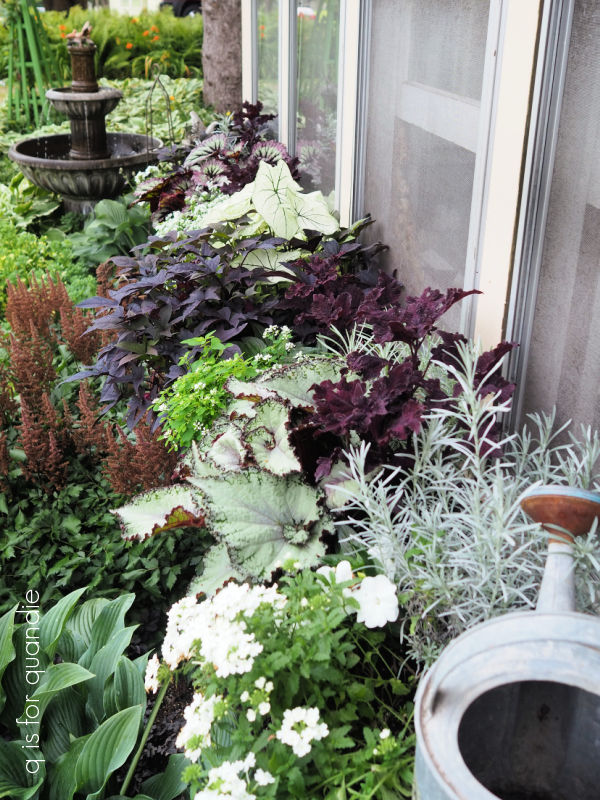 For the ‘white’ elements, I used white New Guinea impatiens and Proven Winner’s Superbena Whiteout.