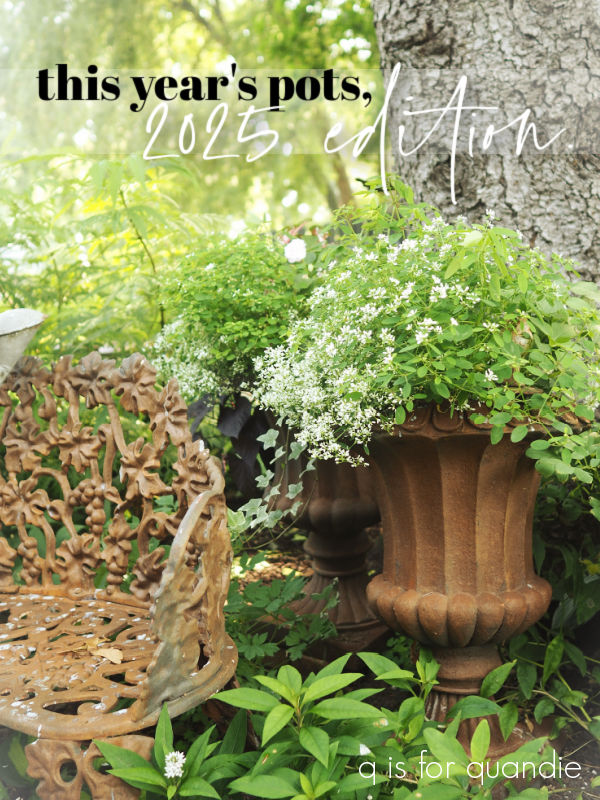
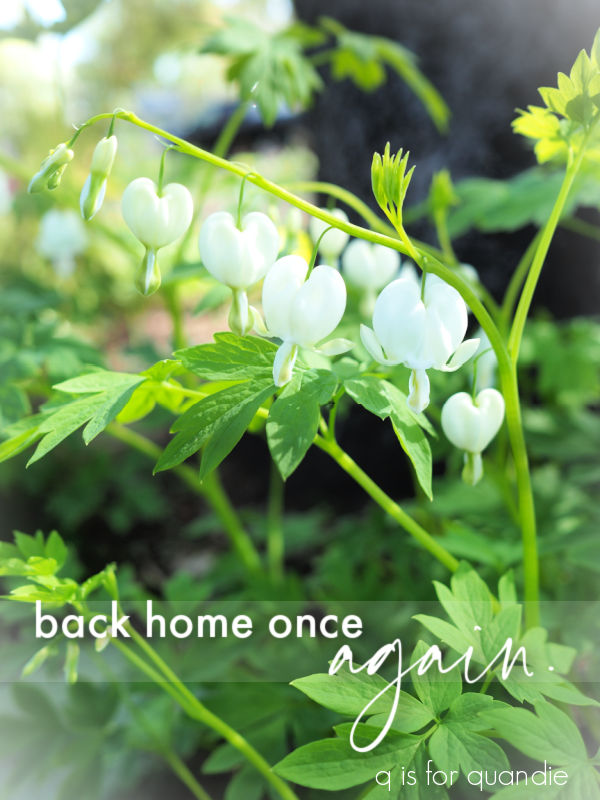
Good morning from the garden.
Today I thought I’d share how my container plants have turned out this year. Quite honestly, I really mostly write this blog post for myself each year. It’s an easy way for me to go back and see what I did in previous years, what I liked and disliked. But I hope some of you will find it interesting, or maybe get inspired for your own pots for next year.
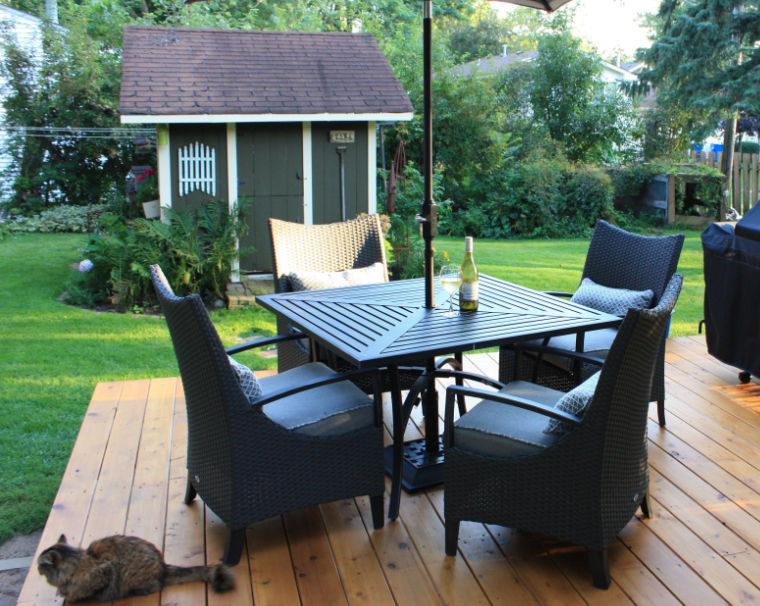
So let’s get started with the two pairs of pots on our deck. There is a taller pair that flank the stairs, and a shorter pair that sit on either side of the door.
Some of you may remember that last year I put Alberta Spruce spirals in these pots …
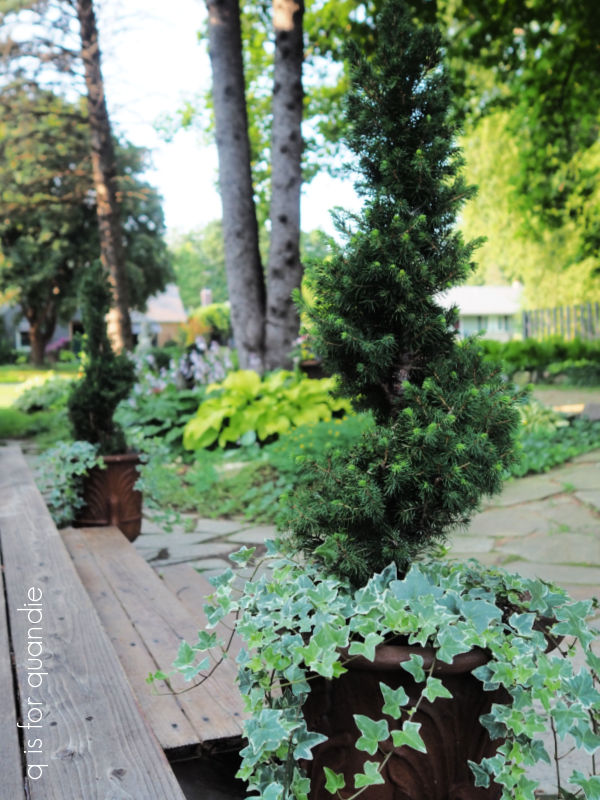
I was hoping to be able to overwinter those in place, but that didn’t work out.
So I pulled them out and replaced them with Eugenia pyramids underplanted with more variegated ivy. I also added some creeping wooly thyme alternating with the ivy.
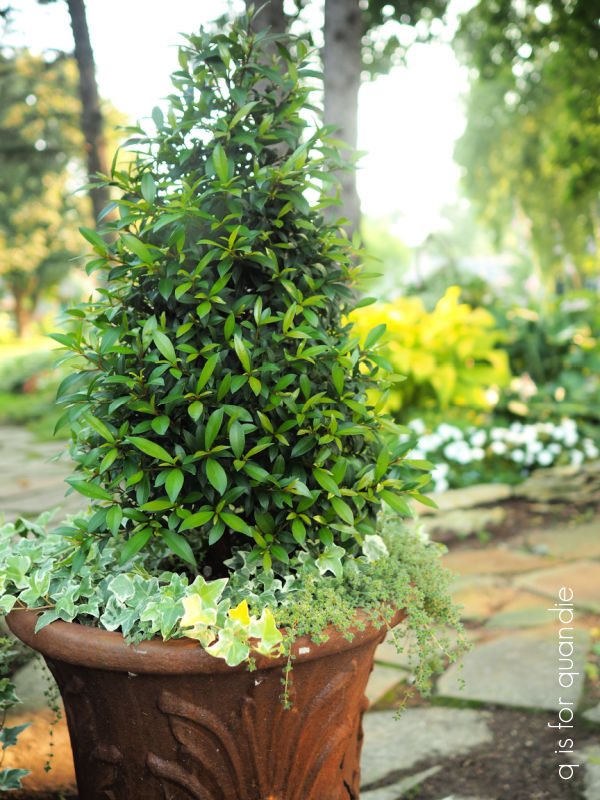
I have a couple of other Eugenia topiaries that I’ve saved over several winters now by bringing them inside as a house plant …
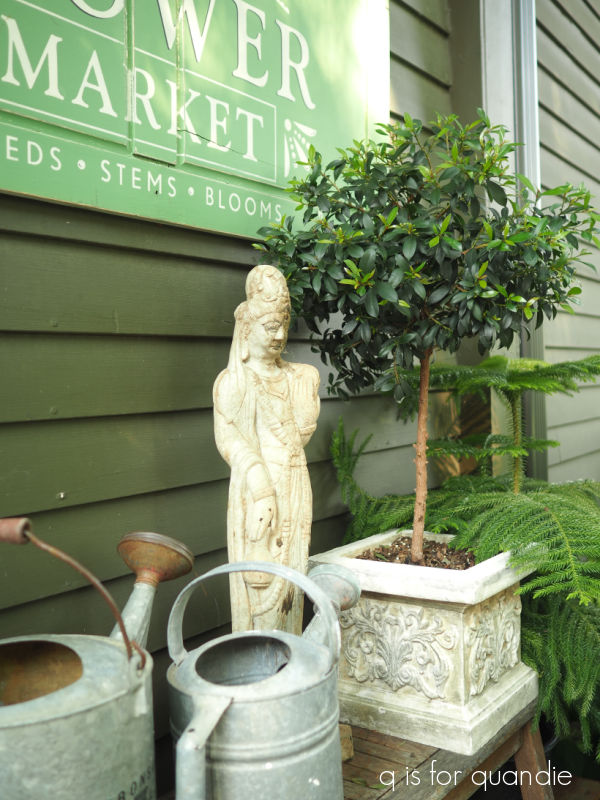
so I plan to do the same with these pyramids.
I love the classic simplicity of this look. I also love that these pots are super low maintenance. Since we’ve had plenty of rain so far this summer, I’ve only had to water them a handful of times and otherwise I do nothing with them.

As for the pair of planters flanking the door, this year I decided to fill them with mostly perennials.
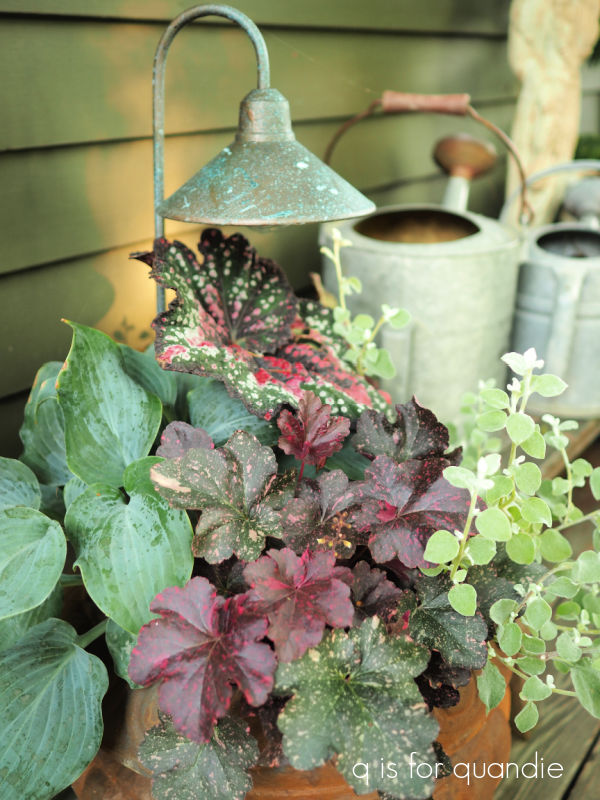
On the left is a Blueberry Muffin hosta, at the back is a Rex begonia, in front is a Midnight Rose heuchera, and on the right is the White Licorice helichrysum from Prover Winners (this last one is an annual).
This is also a very low maintenance option for a planter. I have had to cut back the helichrysum a couple of times to encourage it to fill out a little. I’ve also had to cut off the hosta flowers when they were spent, but that’s about it.
I plan to move the perennials out into the garden in early September and replace them with a fall combo of some kind.
All four of these planters are on (or near) our deck, which is pretty shady these days. I had to give up planting flowering annuals that require full sun here because they just don’t perform well for me.

Luckily, I like combinations of plants with interesting foliage like these.
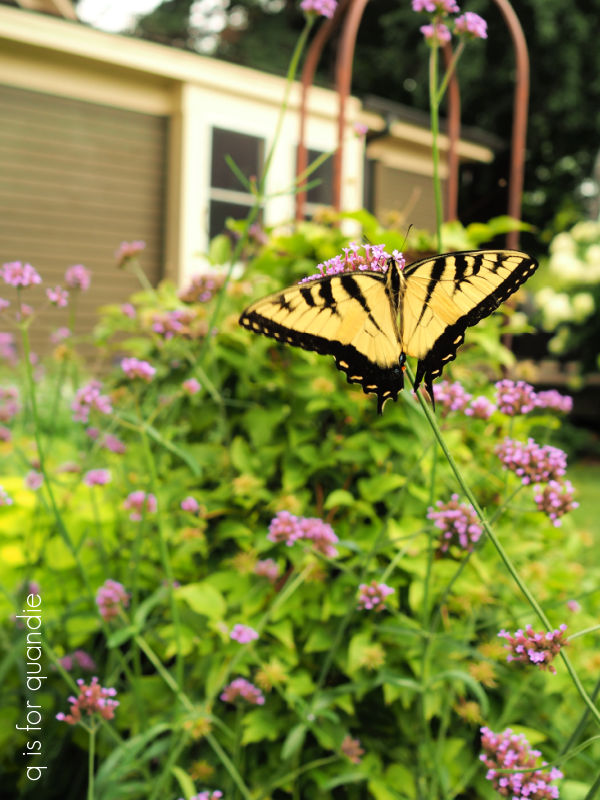
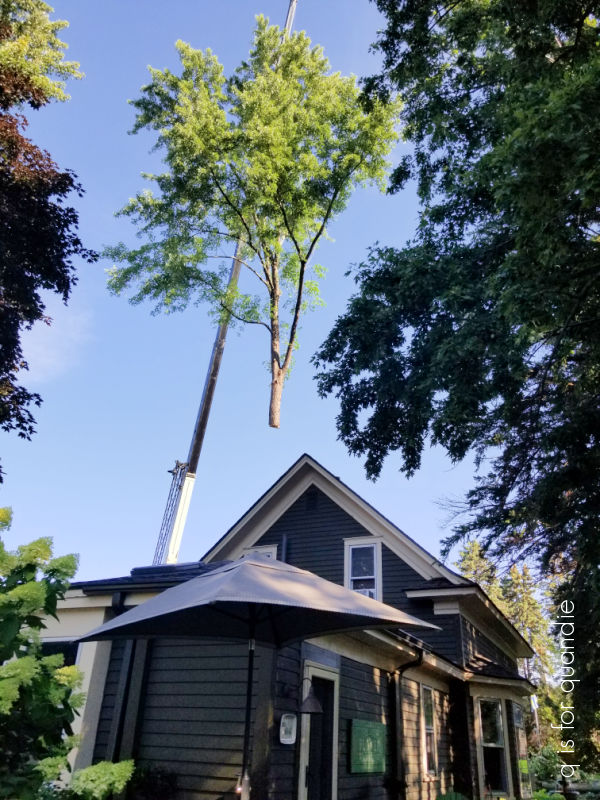
By the way, if you’re noticing a lovely golden glow to my photos, that’s because we’ve been under an air quality warning for most of the past week due to Canadian wild fires. The air quality is bad for just about everything except it makes for lovely photos. No need to wait for ‘golden hour’.
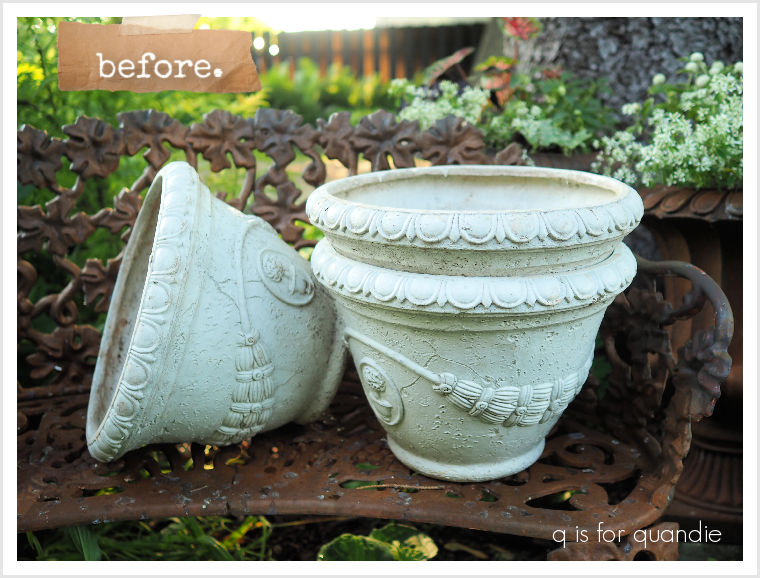
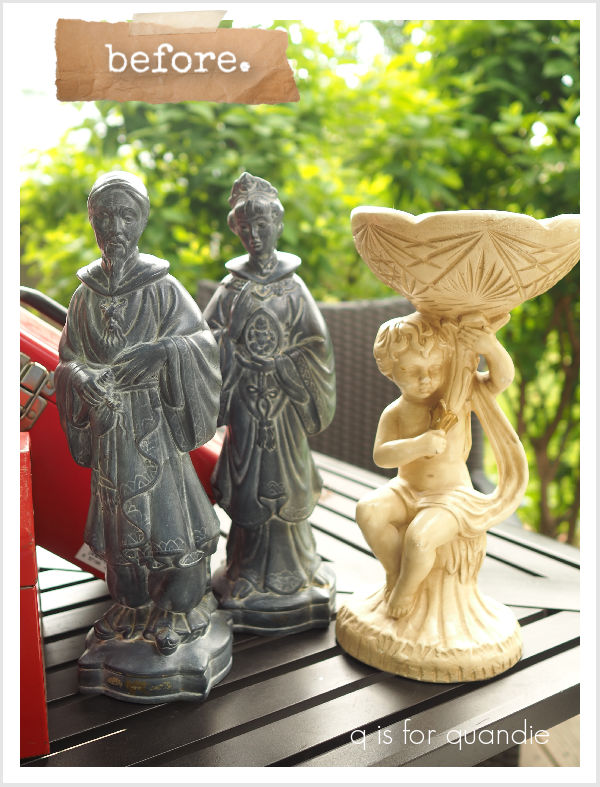
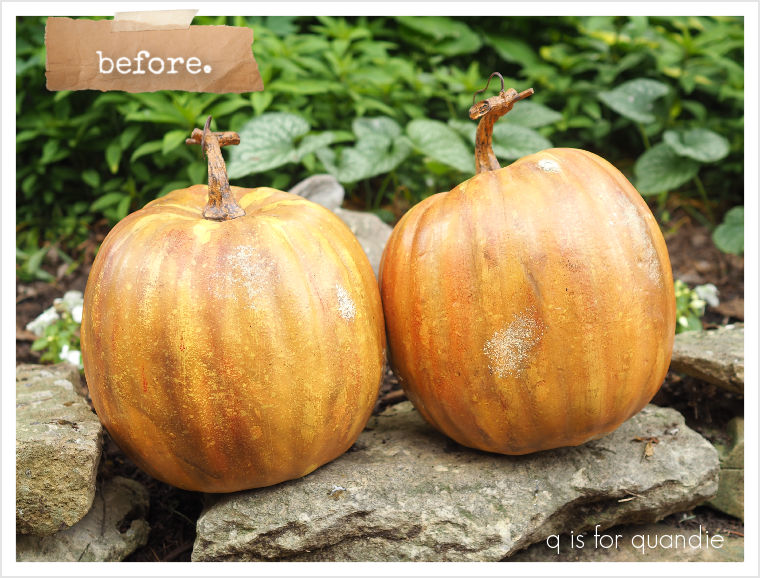
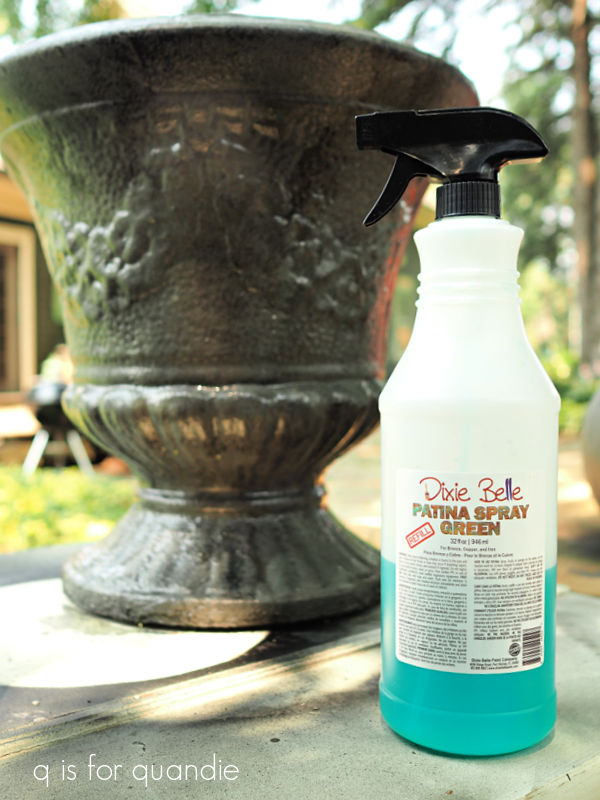
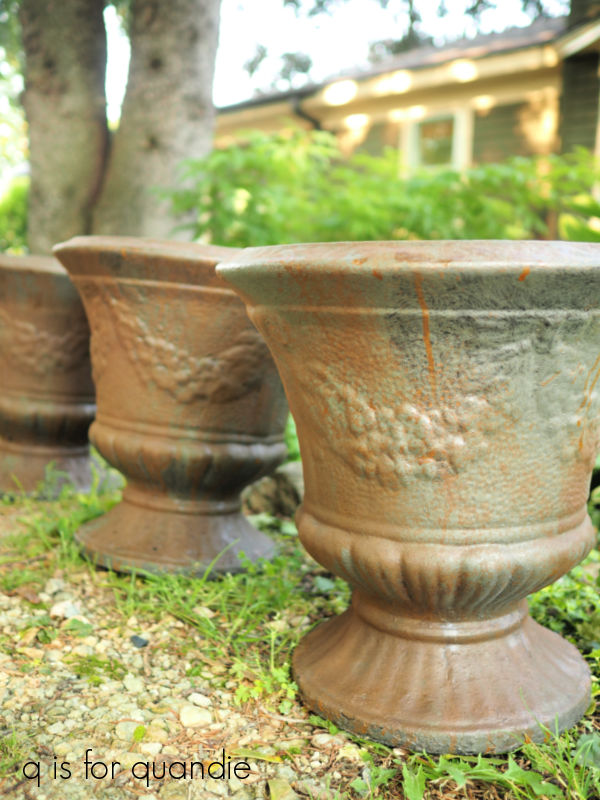
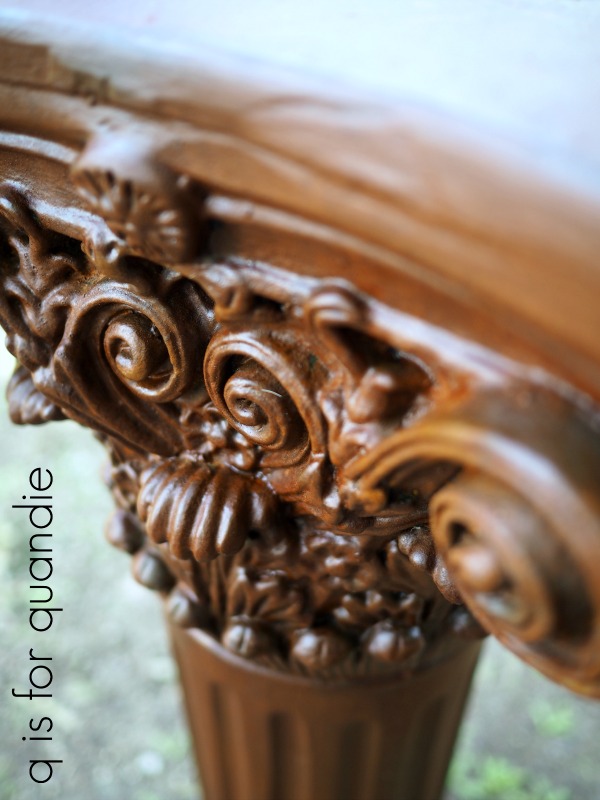
Also, FYI, I have painted all four of the pots shown so far using Dixie Belle’s Patina Paint. I’ve got a post coming up soon with details on this process, so stay tuned if you’re interested in that.
I don’t always go with non-flowering plants in my containers. I like to attempt to add colorful blooms to some of them, like the ‘window boxes’ made out of old galvanized boilers on my carriage house and potting shed.

This year I planted them with Proven Winner’s Supertunia Mini Vista Indigo, Superbena Cobalt and a short annual salvia that I don’t remember the name of.
They look great in the planter on the carriage house, but the one on the potting shed gets less sun.
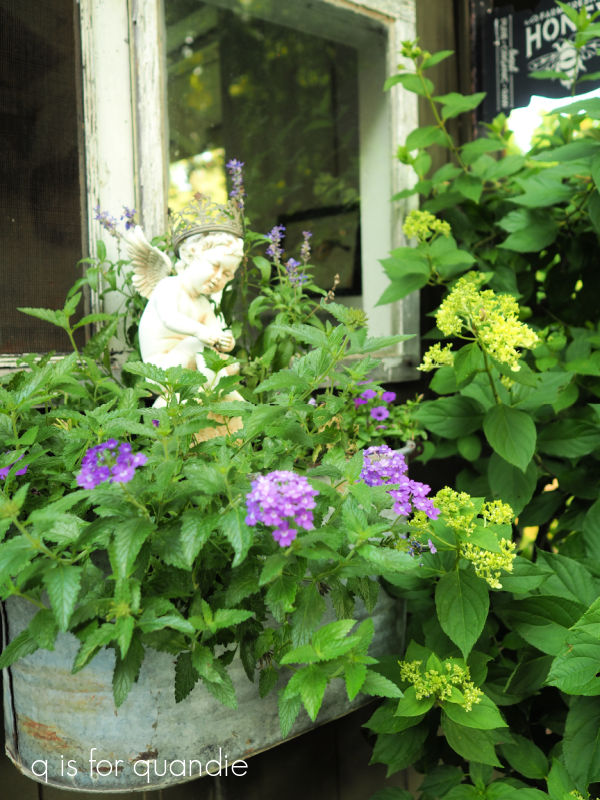
Less sun definitely equals less flowers with these plants. I need to remember this for next year.
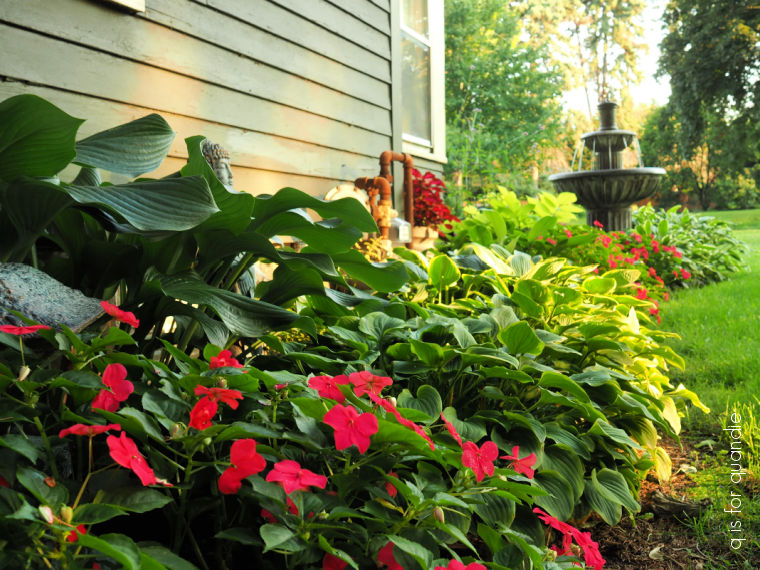
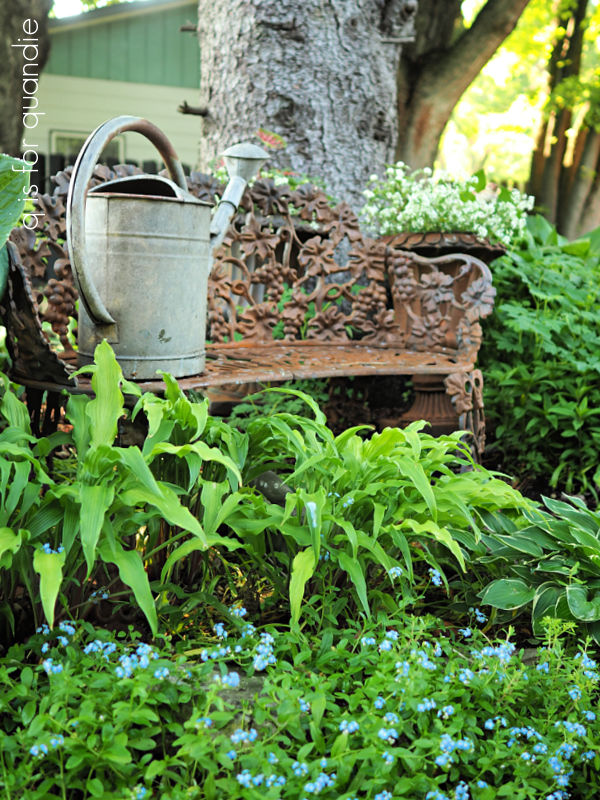
I also like to use some flowering plants in the trio of planters that are placed in my shade garden.
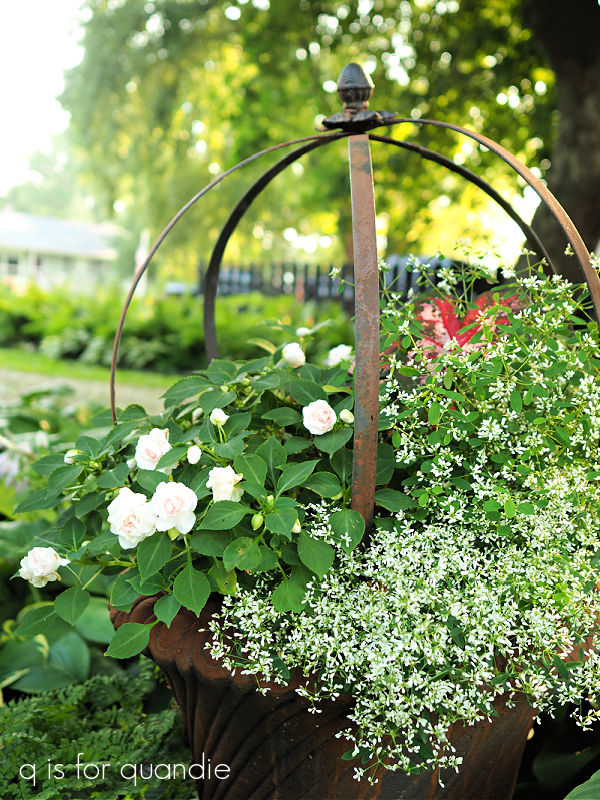
Once again, these planters are in what would be considered ‘full shade’ (less than 4 hours of direct sunlight per day). So I try to choose flowering plants that like the shade. In this case I’ve used an old favorite, Proven Winners® Double Impatiens Rockapulco Appleblossom.

The flowers look like miniature roses to me, and they are the prettiest delicate shade of pale pink.
I also added some of the Proven Winner’s Diamond Snow euphorbia.

In past years I’ve used the Diamond Frost euphorbia in shade planters and it has performed really well. But this year I switched to the Diamond Snow because it is supposed to be more compact and not as airy as the Diamond Frost (check out this page for a comparison of the three euphorbias offered by Proven Winners). Initially that was definitely true, and I really liked the Diamond Snow, but now it has sent out new foliage that is taller than the original plant, and has much fewer flowers.
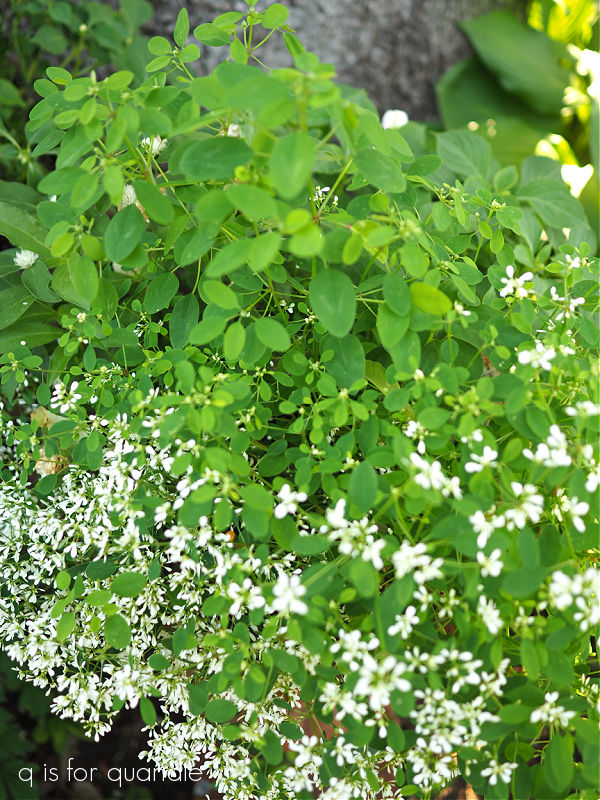
It really looks rather odd now. I may try cutting it back and then waiting to see what happens.
I also popped some caladium in these shade planters, but they aren’t performing at all for me this year.
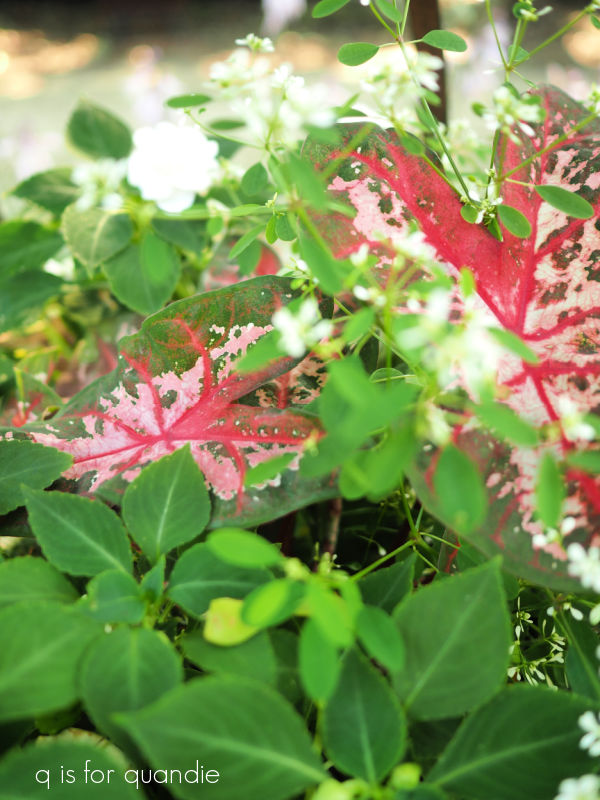
They’ve barely put on any new growth and are hardly even peeking out from behind those impatiens and euphorbia.
One of these days I will realize that we just don’t have the hot, steamy climate here that caladiums love. Sure, we get a handful of hot, steamy days, but it’s not the norm for us. This summer in particular has just not been hot enough for the caladium to thrive.
The same can be said for the white caladium that I put in the front window box.
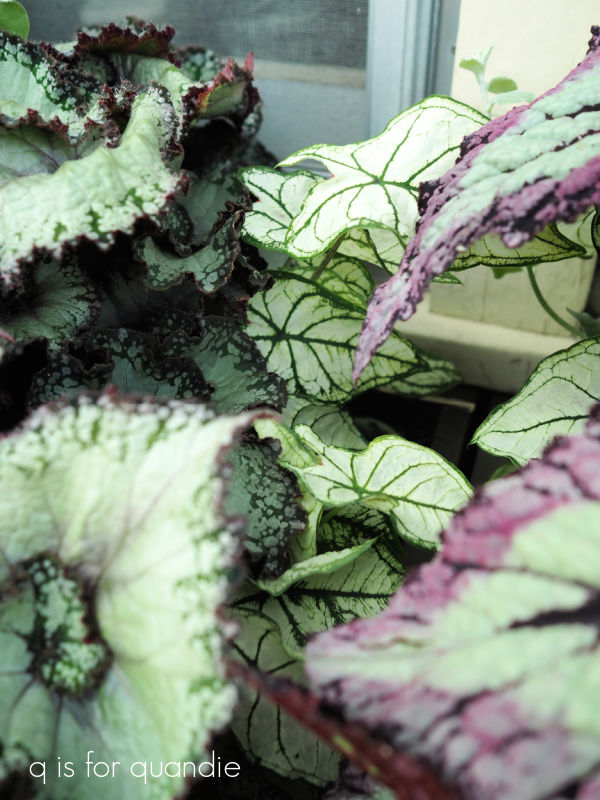
It has been totally overtaken by the Rex begonias. In fact, when I’m done writing this blog post I’m going to pull them out of there and find another spot for them.
That brings me to the front window box.
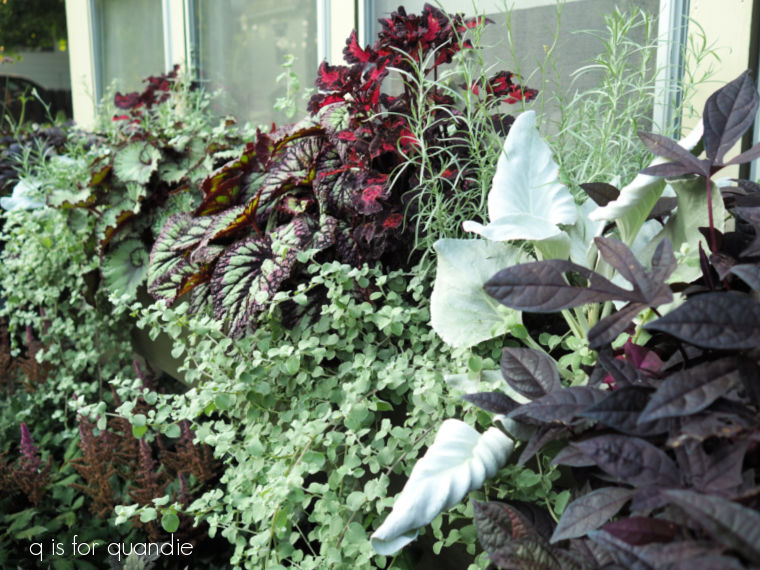
It is a monster this year!
I started out by putting the two Rex begonias that I saved over the winter in the center (along with those two caladium that you can’t even see now).
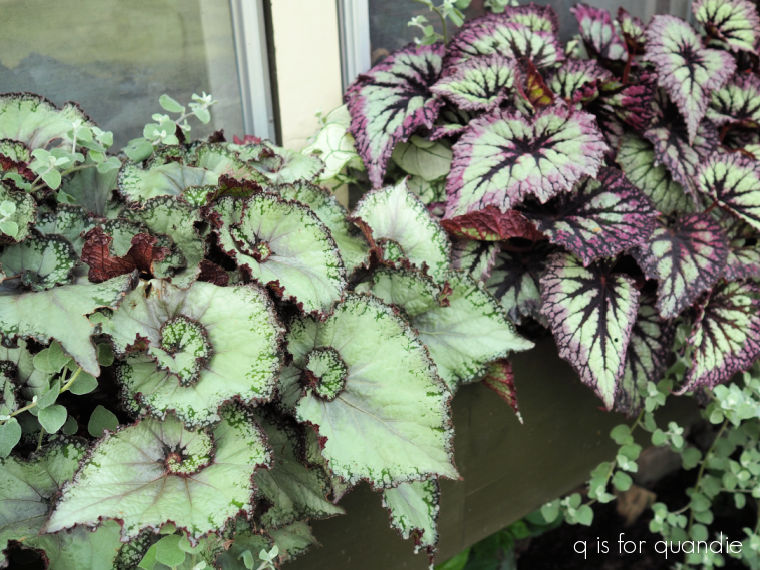
All of the other plants were chosen to play well with the begonias.
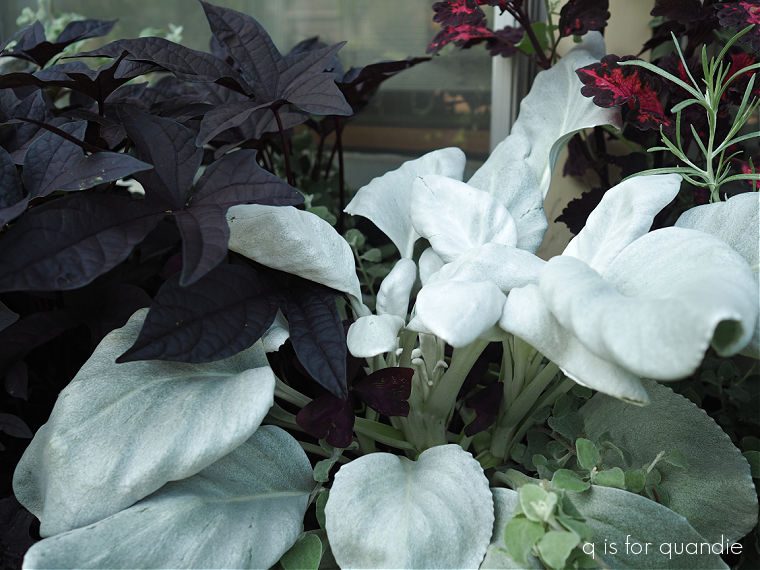
I added two dark sweet potato vines at either end.
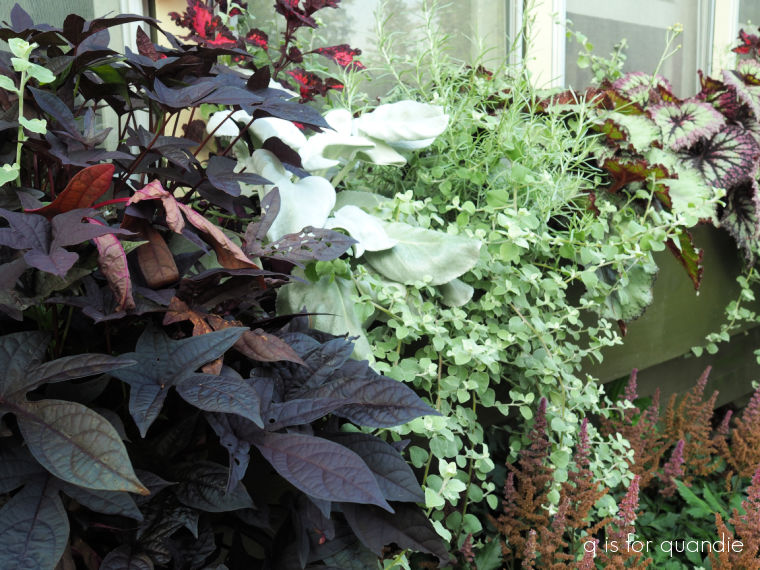
I then planted an Angel Wings senecio next to those, which created a fantastic contrast.
I filled in between with Icicles licorice plant, and more of the White Licorice helichrysum that I also used in the pots on the deck.
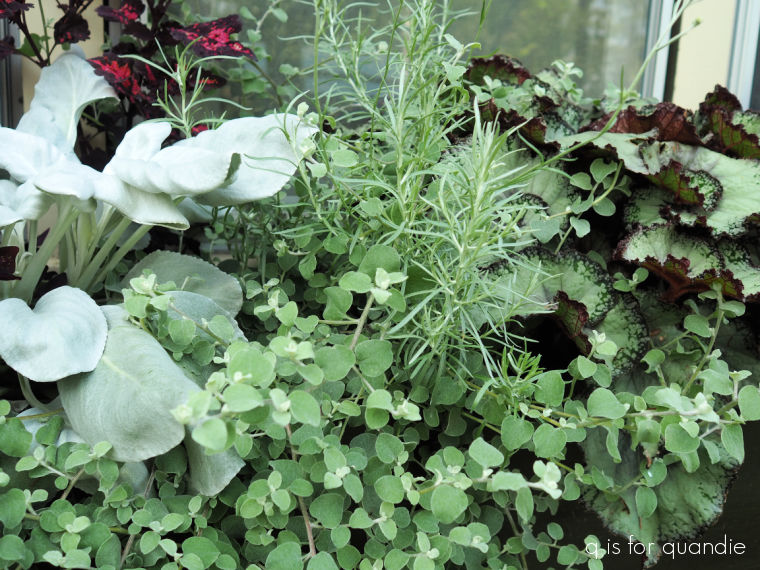
There are also a couple of coleus in there, and some dark purple oxalis that you can’t see anymore either.

Overall I’m happy with how the front box turned out this year. I’m definitely going to save the Rex begonia again this winter. I may change things up next year and put them in the shade garden planters instead, and then come up with something entirely new for the front.
But that’s a long way off, so for now I’m just going to enjoy how it looks this year.
Now, how about you? Do you have good luck with caladium where you are? Have you ever tried using perennials in your containers instead of annuals? And what are your thoughts on choosing plants for their foliage rather than flowers? Leave a comment and let me know!

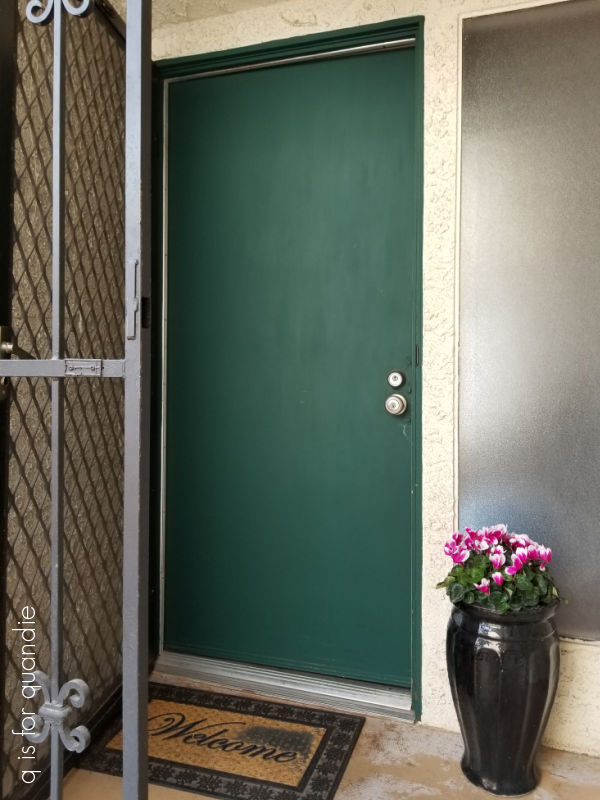 I painted that in Dixie Belle’s Midnight Green Silk Paint back in March 2022 and it still looks great.