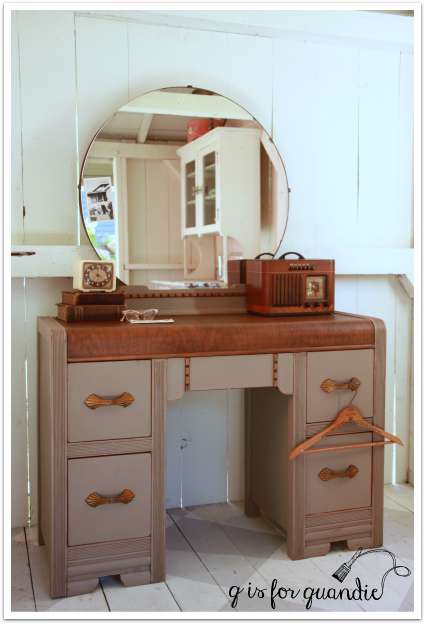
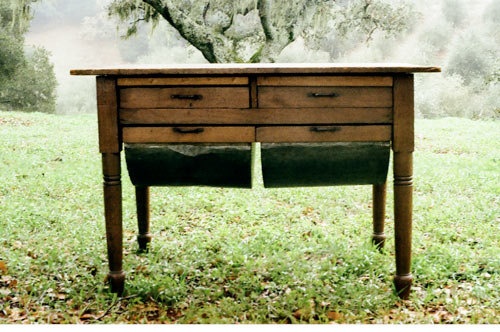
At the same lunch time garage sale where I found the drop leaf table, I also purchased this possum belly table.
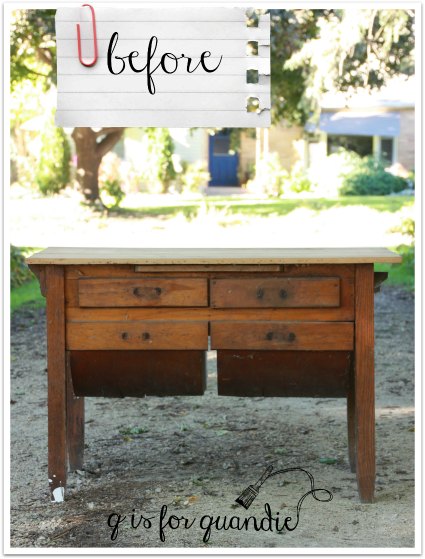
At the time I didn’t know it was called a possum belly table. The seller told me it was called a “Minnesota cabinet”. I had never heard that term before and I was unable to find any sources that referred to them with that name. But I did find lots of info about possum belly or baker’s tables and that is exactly what this is.
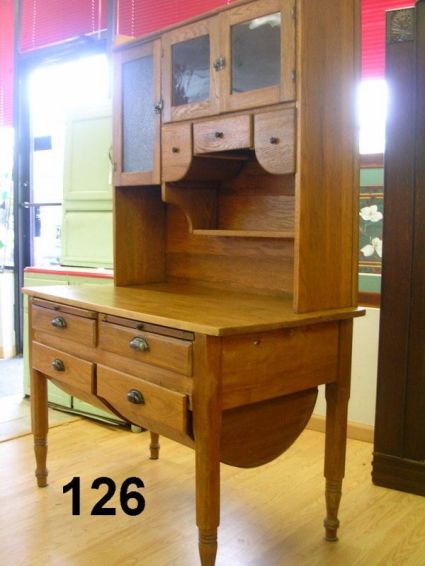
Usually there would have been a hutch/cupboard type top that sat on the table, and that combination of items was the pre-cursor to the Hoosier cabinet.
The possum belly drawers on the bottom would have held flour and sugar. Normally they were lined with tin to keep rodents out (ewww). I didn’t take a very close look at the drawers on my table when I purchased it. It wasn’t until I got it home and pulled the possum belly drawers out that I realized they were in pretty poor condition on the bottom.
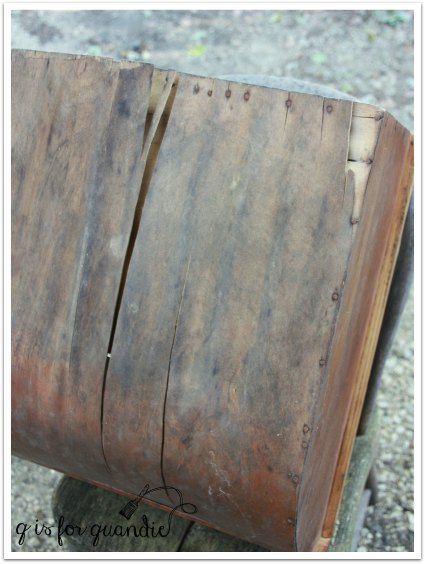
In fact, most likely unusable in the condition they were in. I’m not a big fan of having furniture that is ‘just for looks’, so I knew that making these drawers functional again was going to be step number 1.
Fortunately, once again I was able to call on my amazing handyman/neighbor Ken! I showed him the drawers and explained that ‘back in the day’ when Ken was a young man (I always give him a really hard time about being older than the hills, and luckily he finds it amusing instead of annoying) these drawer bottoms would have been made of tin.
That was all it took to get Ken’s mind thinking on the problem of how to fix them!
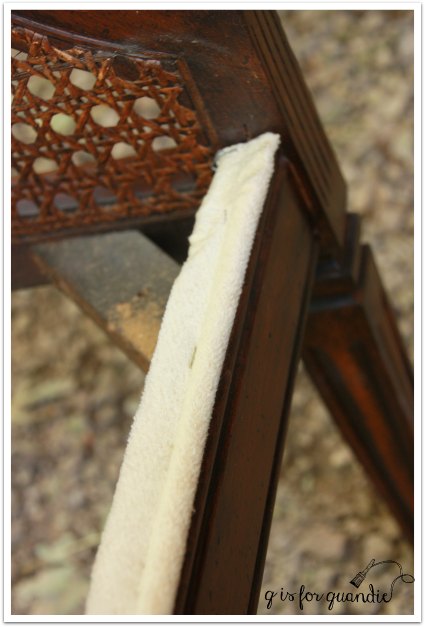
I can’t really give you a lot of detailed instructions on how Ken accomplished this. I just consider him the furniture fixing fairy. I go to work at the day job and come home at the end of the day to find completed fixes. I know that he was able to find pieces of sheet metal that were already the approximate size needed. He only had to cut a few inches off the end of each piece. I also know that he used carpet nails to attach the sheet metal to the drawer frame.
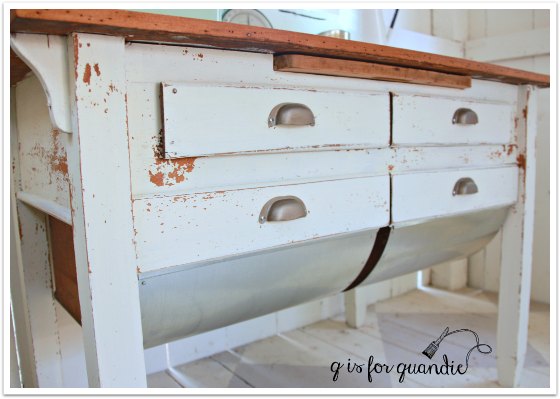
The sides of the drawers are still the original wood.
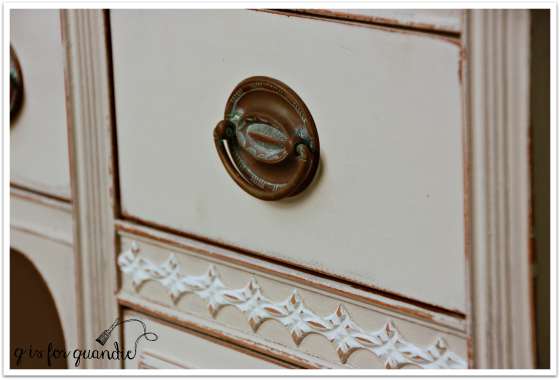
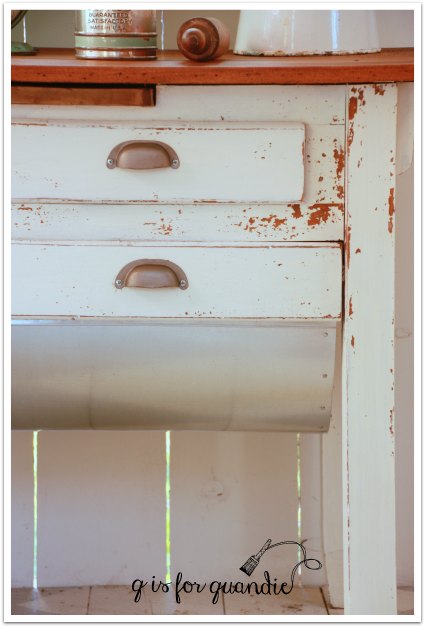
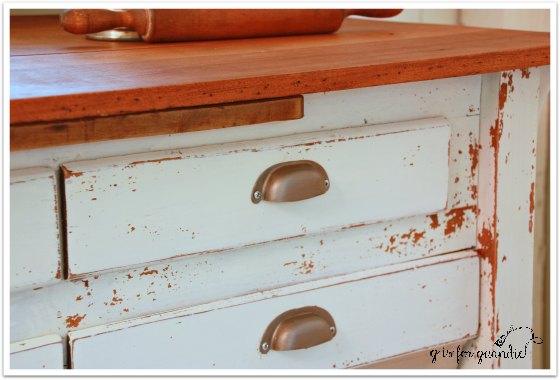
The next step was to paint the base and drawer fronts in Miss Mustard Seed’s Linen milk paint. I was happy to get just the right amount of chipping. Not too much, but just enough to look authentic.
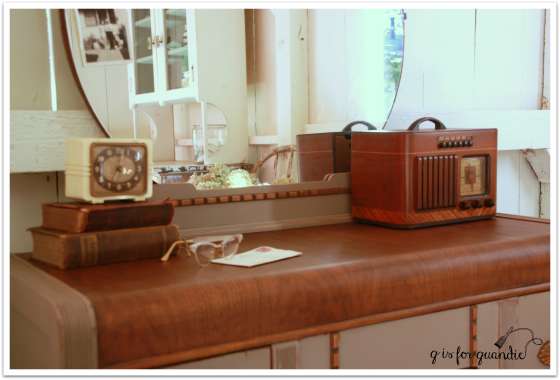
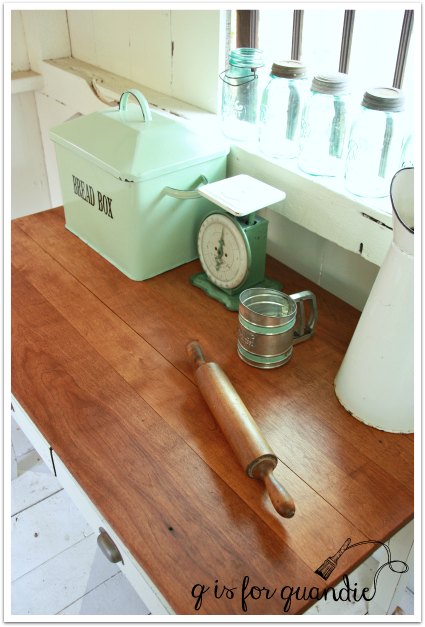
As I mentioned earlier, the top of this piece appeared to be unfinished when I got it. It’s possible that it’s a newer replacement, but I really think it originally had a sheet of zinc over it. If you look at the above picture you can see that there are little tack holes all around the perimeter of the top.
I decided to just sand my top down a little to smooth out the wood and then wax with Cece Caldwell’s Aging Cream. It turned out gorgeous!
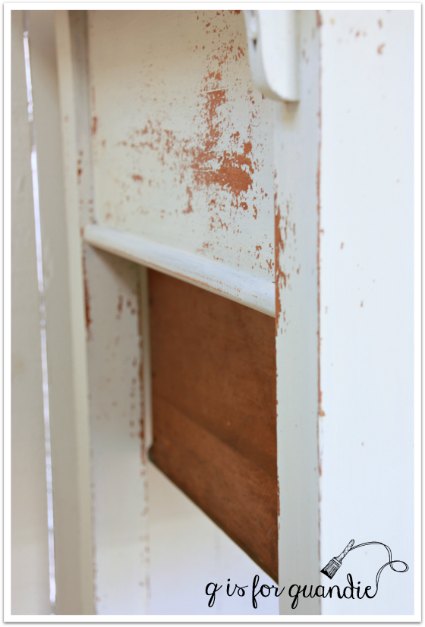
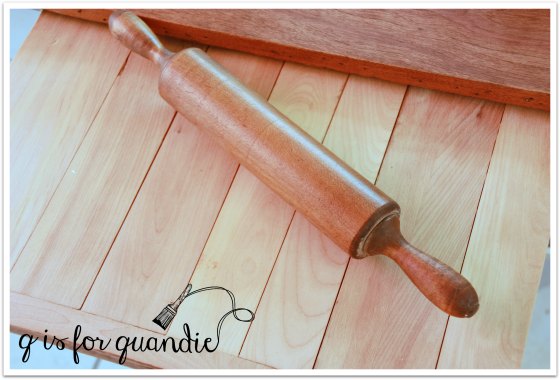
Like most of the possum belly tables I saw online, mine also has a cutting board that pulls out.
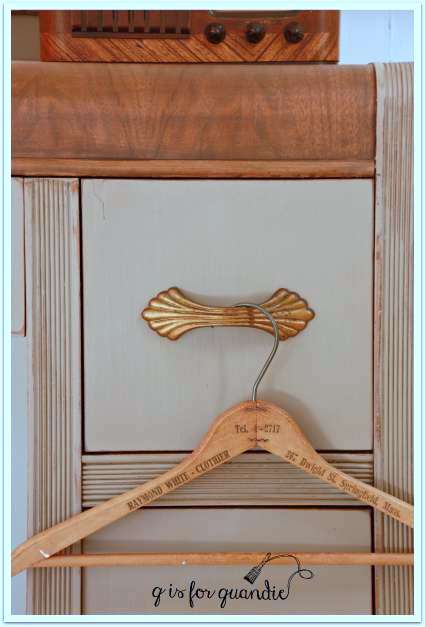
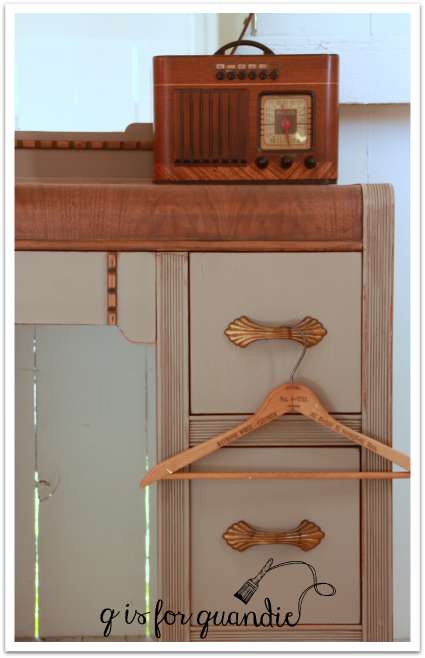
Finally, I needed to replace the hardware since it didn’t come with any. Most of the photos I’d seen of these possum belly tables show cup pulls. I just happened to have a set of 4 that my father-in-law gave me when he changed them out for something newer (horrors!). When I got them, they looked like this …
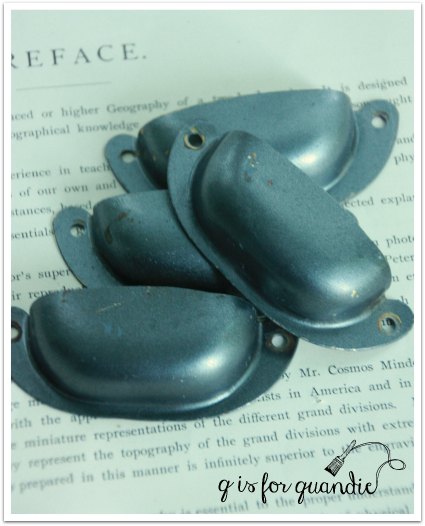
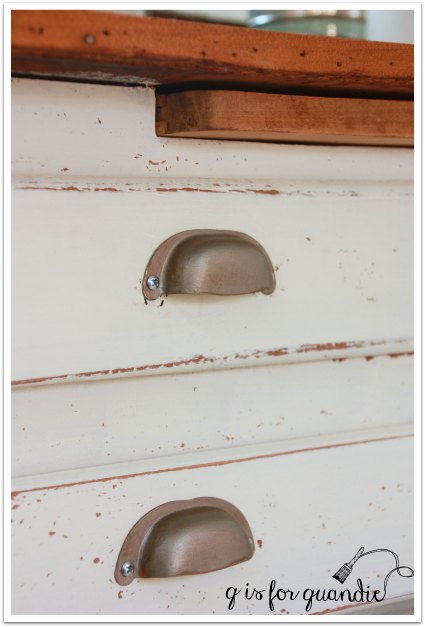
In other words, nothing special. I came up with a brilliant plan to paint them copper with the Fusion metallic paint. But once I saw the drawers with their new sheet metal bottoms, I realized I needed to stick with just one metallic look so I repainted them in Fusion’s Brushed Steel.
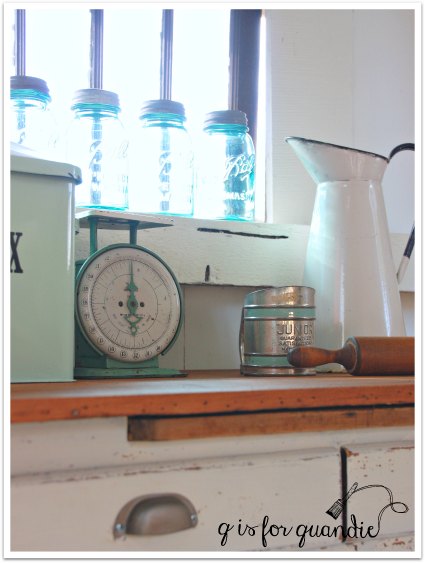
And finally, the end result of all of this …

With holiday baking season almost upon us, couldn’t you use a possum belly table in your kitchen?
This one is available. If you are local (Twin Cities) and interested in it, leave me a comment and I’ll get back to you with details.
Linking up with: Finding Silver Pennies