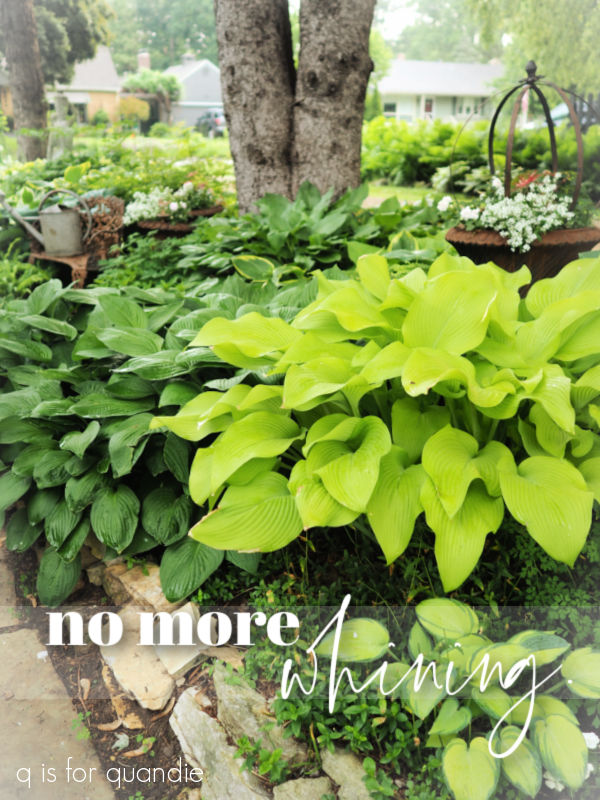
Good morning from the garden!
Although I just started my dollhouse reno last winter, I’ve been working in miniature in the garden for years now.
My fairy garden started out in a cracked birdbath.
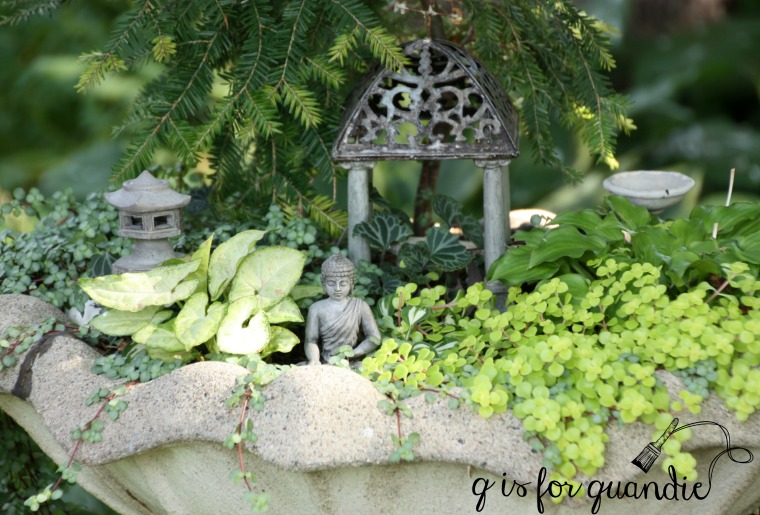
That worked beautifully since the crack allowed for drainage. We would take the bowl section of the birdbath off its pedestal and bury it in a big pile of leaves up against the house for the winter which worked well to protect the plants.
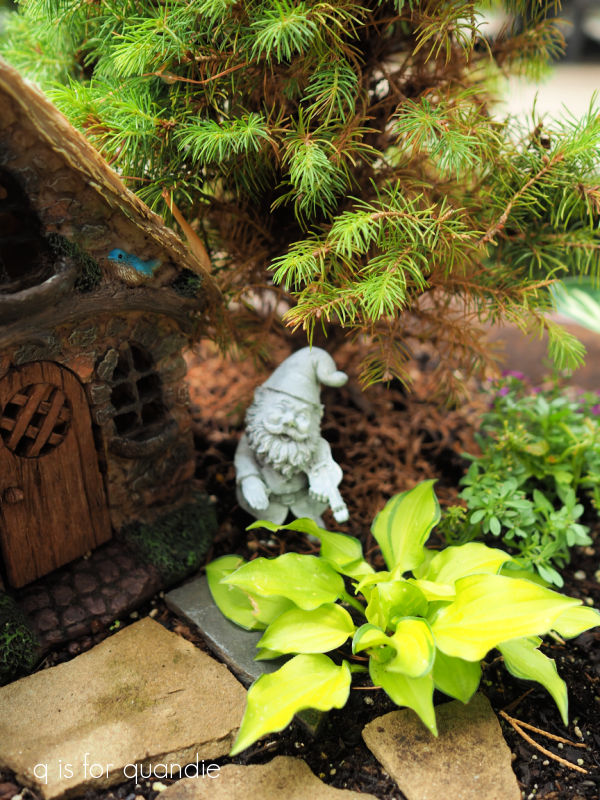
But then one spring we pulled it out to find it had fully cracked in two. In addition, my sister had given me a cute little fairy house for Christmas, so my miniature garden really needed to expand.
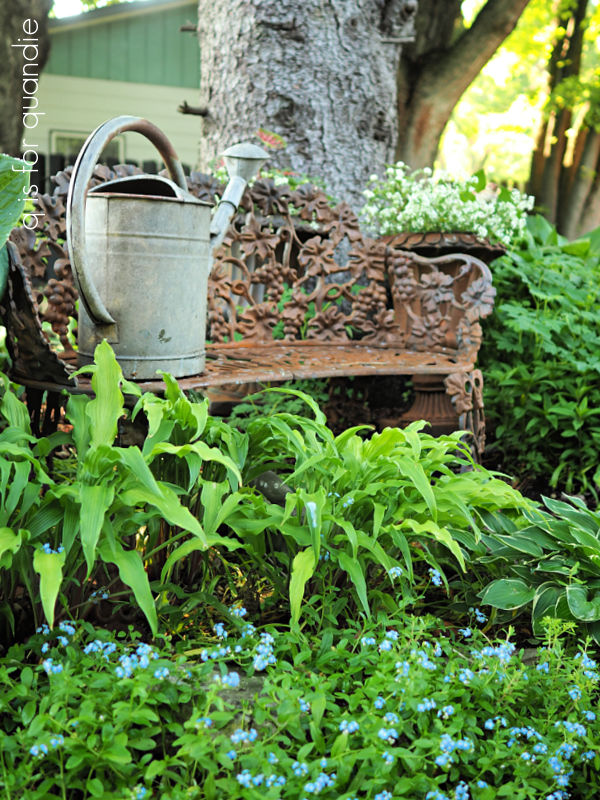
So I moved it into an old rickety wheelbarrow a few years back. There were some spots where it was rusted through, also providing good drainage for a fairy garden.

Although I piled about 12″ of leaves over it, and then covered it with burlap this past winter, I still lost the bulk of the plants. Apparently last winter was hard on miniature gardens as well as the full sized ones.
Only three things survived, the tall Alberta Spruce ‘tree’, a Primo Arborvitae and a creeping sedum. Everything else bit the dust, including the mini Japanese maple (I knew that one would be risky), a 2 year old creeping thyme, and all of my miniature hostas.
Oh well, that gives me the opportunity to try new plants.
That being said, I have found that ever since Covid it has been more difficult to find miniature plants. I asked about it at one of the nurseries that used to carry lots of mini’s and they said their miniatures grower had decided to close up shop permanently during Covid. I do wonder if most of the local nurseries all got their mini’s from the same grower.
So I feel like it was my lucky day a couple of weeks ago when I happened to come across a yard sale just a few blocks away from me where the proprietor was selling miniature hostas.
Hostas are classified as miniature if they stay less than 8″ tall when full size. Of course, that would translate to 8′ tall in 1:12 scale, which would be rather large for a garden. But you can keep them smaller by regularly dividing them.
And actually, it’s lucky that I have regularly divided my Feather Boa hosta, planting the extra chunks in the ground. The ones in the fairy garden have died off the past two winters, but I’ve been able to replace them with divisions from the ones that are doing really well in the ground.
One mini hosta wasn’t enough for me though, so I purchased three new mini hostas for my fairy garden at the yard sale.
No. 1 is a Tears of Joy.
This one is only supposed to grow to 4″ tall, so it should be perfect for the fairy garden. I have to admit that it’s a bit odd looking. Well … let’s call it unique looking instead, OK? I think it will look better once it fills in a bit.
Next up, a Pandora’s Box.
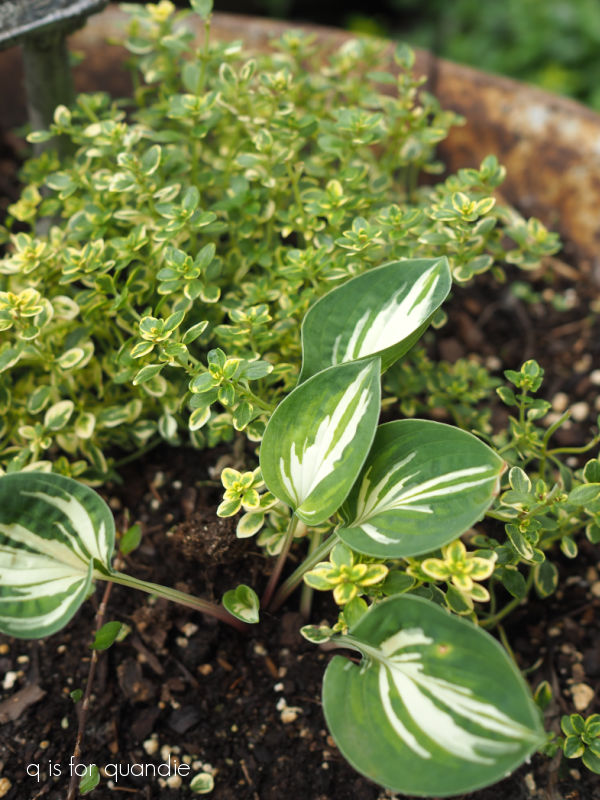
This one gets 4″ – 6″ tall and I’ve planted it just in front of a Golden Lemon Thyme. Isn’t that variegation lovely?
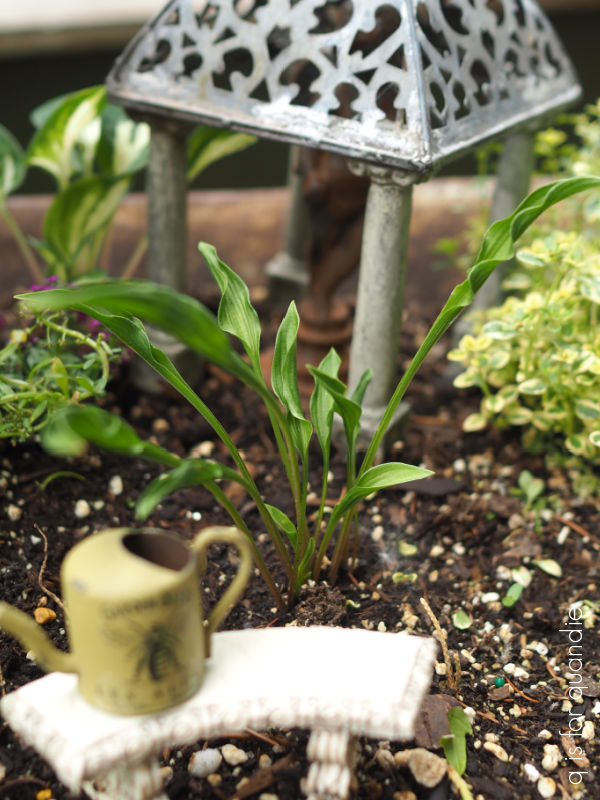
And finally, I also grabbed a Frosted Mouse Ears.
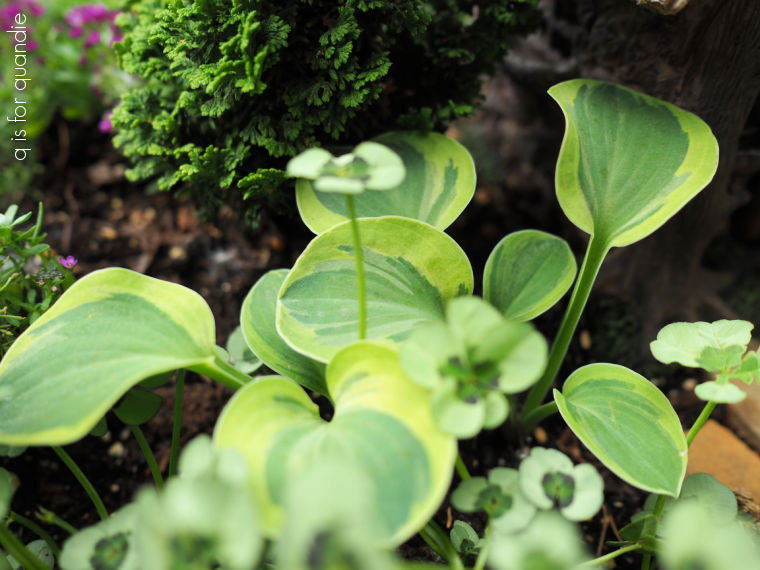
This one can get up to 7″ tall, so we’ll have to see whether or not it looks believable in the fairy garden going forward.
It’s planted right in front of the Primo Arborvitae that survived from last year. I moved it from next to the arbor to beside the fairy house this spring though. I love how easy it is to transplant a tree in miniature, lol. No heavy lifting required.
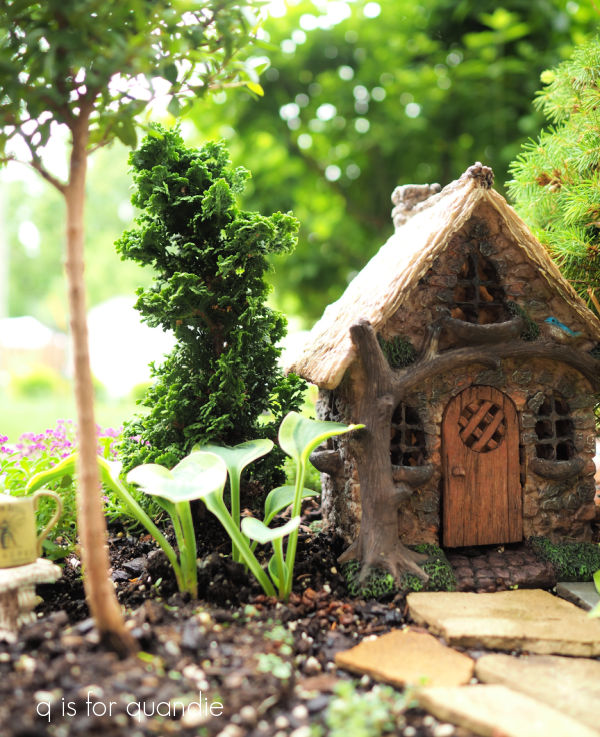
Although this variety, Thuja occidentalis Primo, can get up to 4′ tall, it grows slowly and should work well in the fairy garden for quite a few years. It’s also cold hardy down to -30°, which explains why it survived the winter in a wheelbarrow.
I added a Myrtle topiary to the fairy garden this year as well.

It’s only hardy down to 32° though, so I will have to pot it up and bring it in the house for the winter. I just hope I remember to do that before our first frost.
Ultimately I also found an online source for fairy garden plants called Two Green Thumbs. I ordered two plants and a few other miniatures.
The plants are a Dusseldorf Seathrift (Armeria maritime ‘Dusseldorf’) …
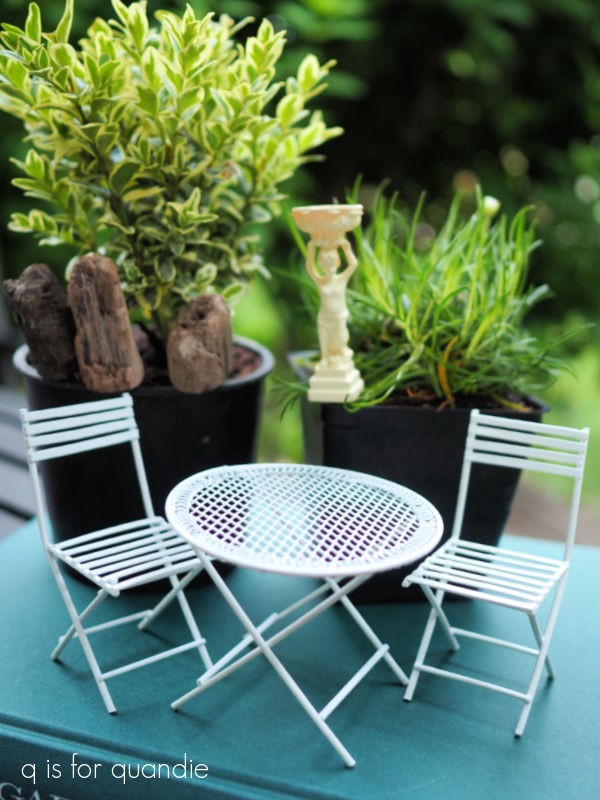
and a variegated English boxwood (Buxus sempervirens ‘Variegata’).

I’ll be giving him a bit of a prune to shape him up, but I thought it would be wise to let him settle in a bit first and get over the shock of transplanting. Plus, we are under a heat advisory with temps in the upper 90’s, so not weather for pruning. Seems somewhat ironic seeing as I had to turn the heat on last week when we didn’t even make it out of the 50’s one day. Welcome to Minnesota.
I also purchased those three little faux ‘rocks’ that you see in the photo above just below the boxwood, a small birdbath statue …

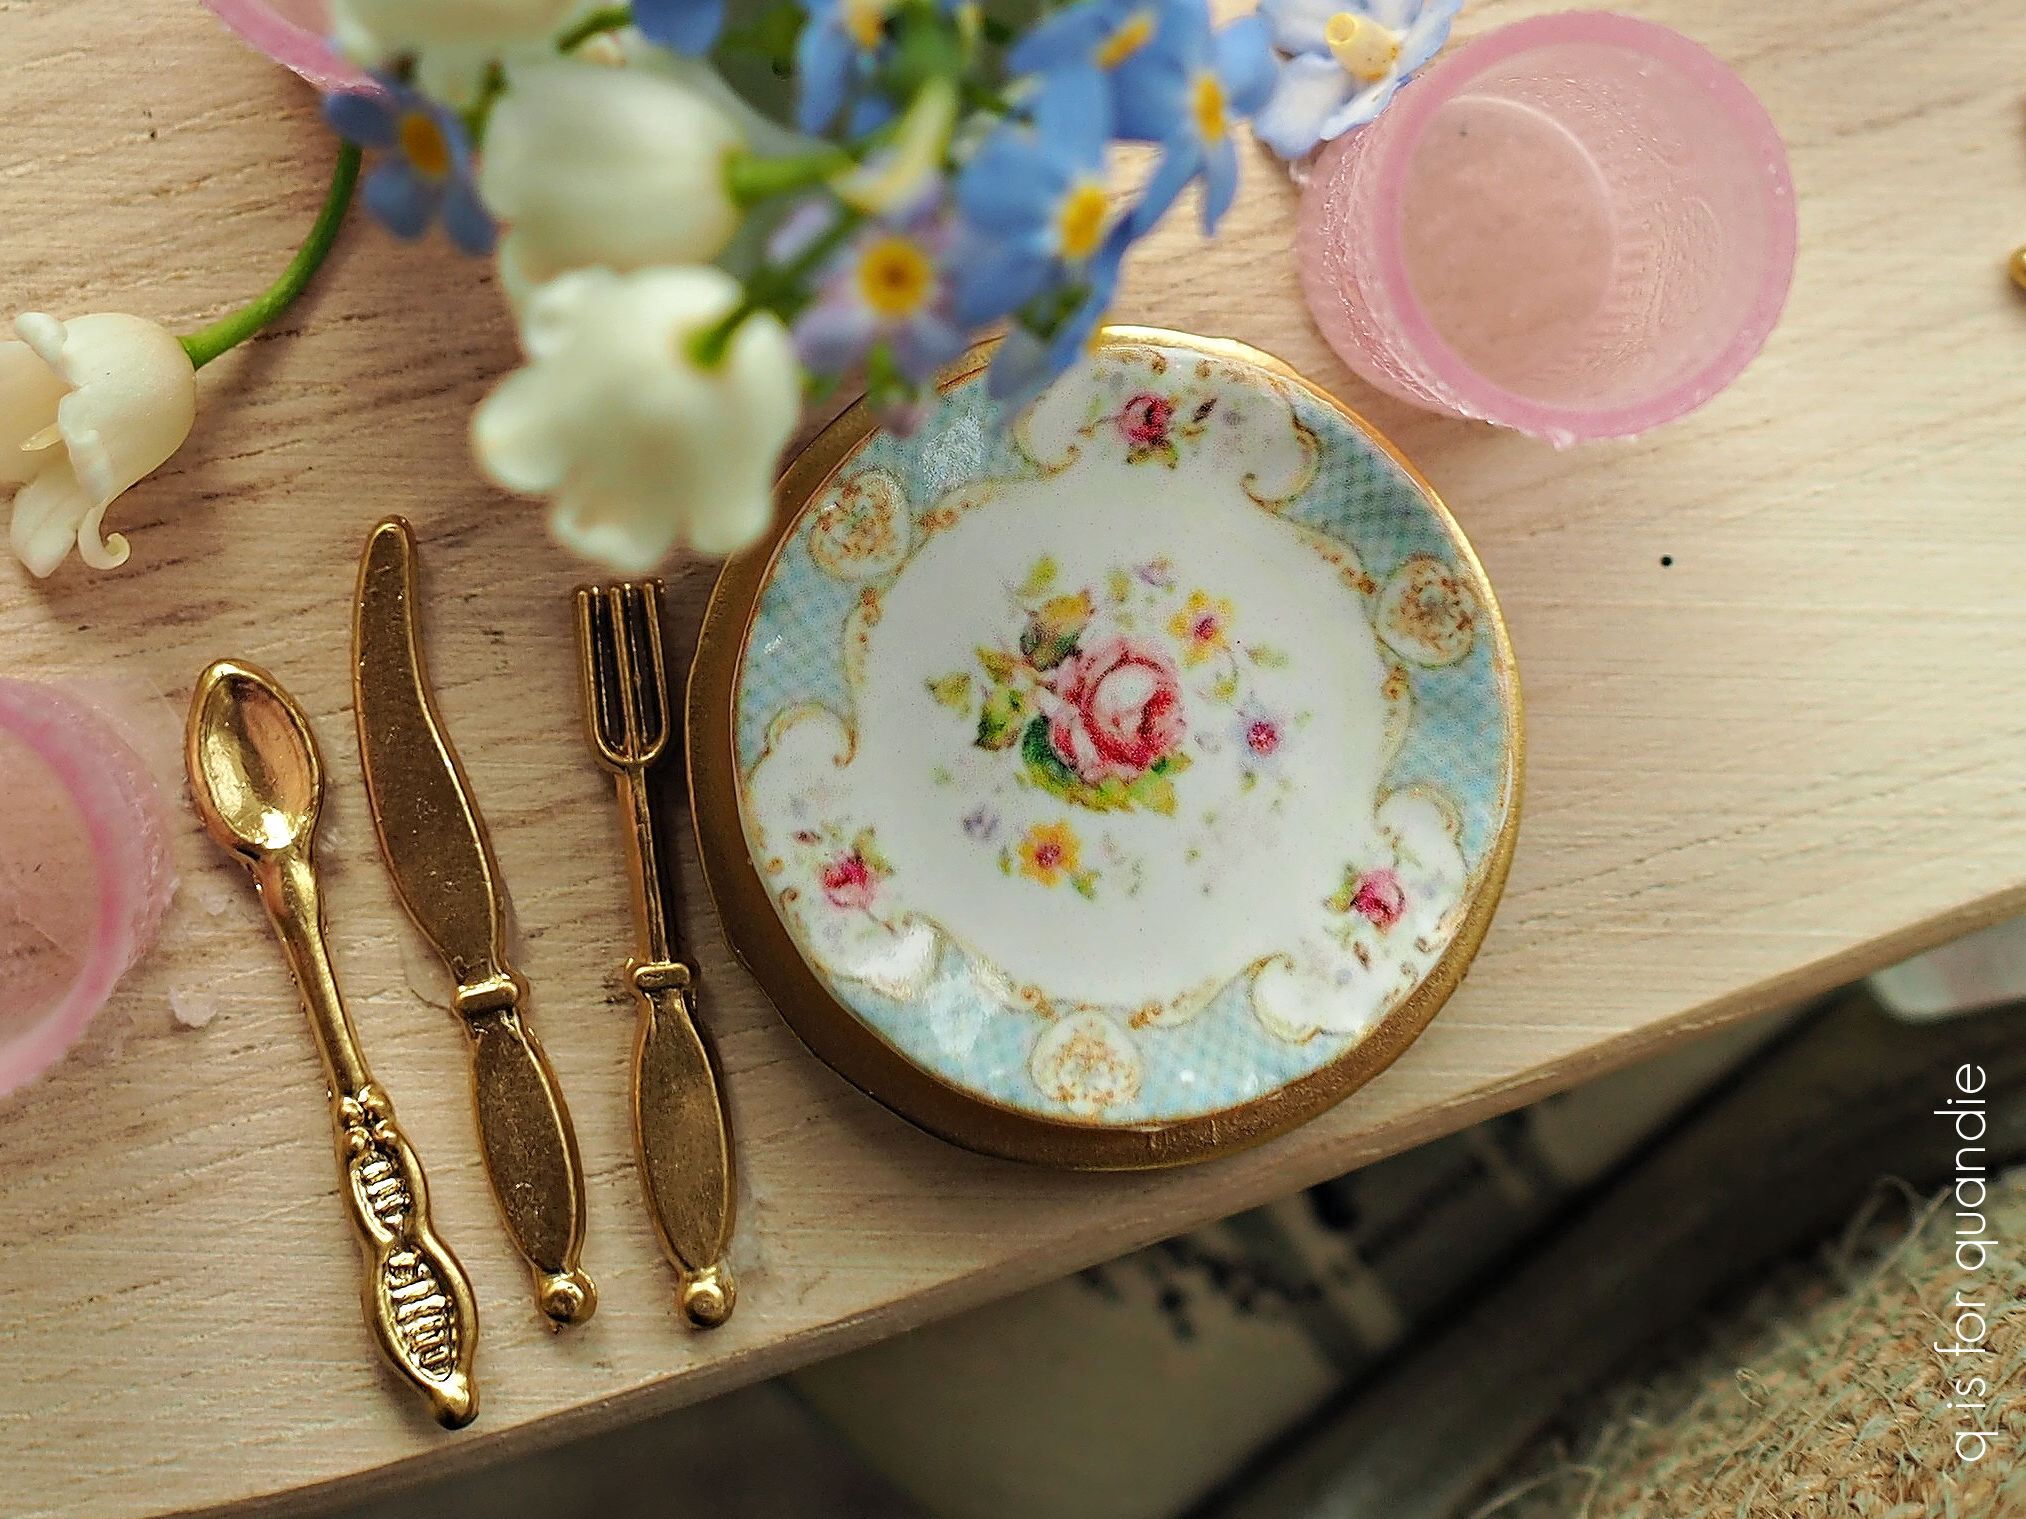
and a sweet little bistro set.

This set is actually intended for the dollhouse porch rather than the fairy garden though, and it will be getting some sort of makeover. I’m not sure what yet, but plain white feel a bit boring for me doesn’t it?
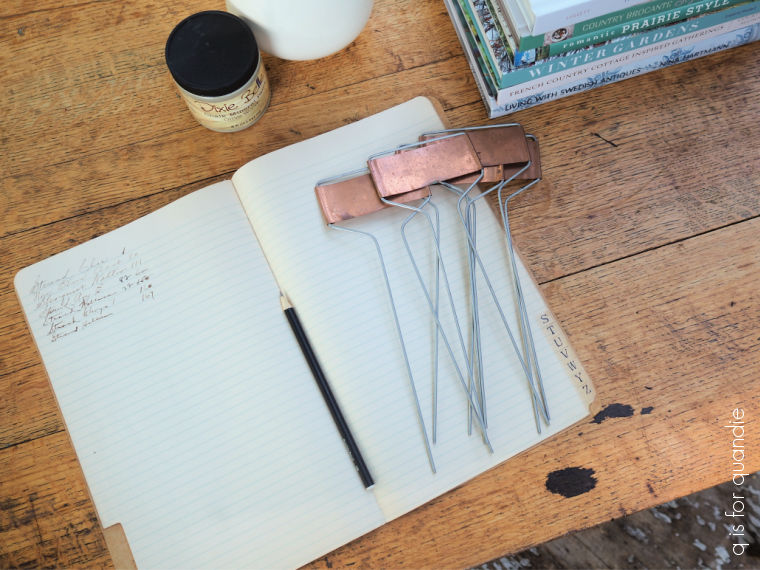
Back to that yard sale with the miniature hostas, I also purchased a pair of little watering cans there.

But of course I couldn’t leave them simply plain like that, I had to ‘quandie-fy’ them.
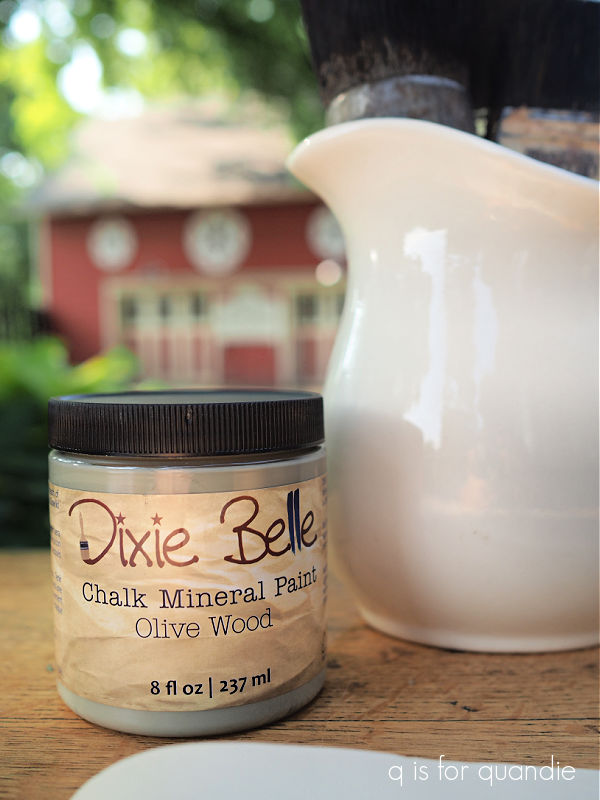
I painted one of the watering cans in Dixie Belle’s Drop Cloth and the other in their Holy Guacamole. Then I added some knob transfers from re.design with prima. If you aren’t familiar, the knob transfers are meant to fit on those round wooden knobs that would go on a dresser or a cupboard door.

But I have found that they work beautifully for miniatures. For example, I used them on my dollhouse dining chairs.
A couple of them worked perfectly for these watering cans too.

I can’t really pick a favorite. I like the Drop Cloth version (above), but I really like the Holy Guacamole version as well.

But that’s OK, I have a home for both. The green one will go in my fairy garden, and the white one will go on the porch of my dollhouse. More on that in a future post.
I’m curious, do you have any favorite plants that work well as a miniature? And which watering can is your favorite, green or white? Leave a comment and let me know.