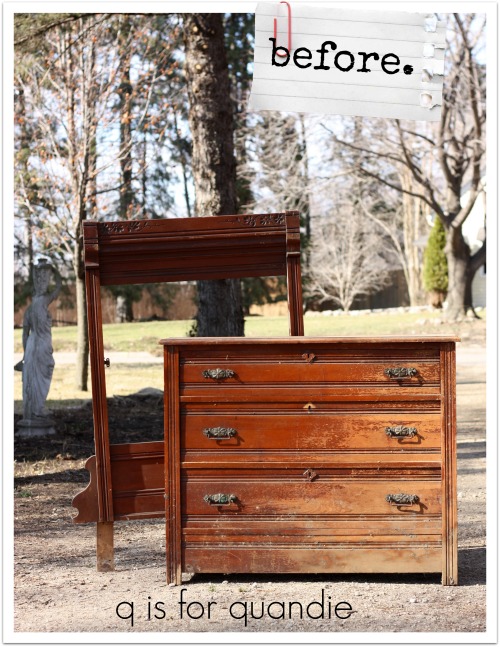
A while back one of my regulars, Suzy, emailed me because her neighbor had a headboard and foot board at the curb with a free sign on it. She thought it might be something I’d like and she was willing to pull it off the curb and save it for me if I wanted it.
Here’s the photo she sent me.
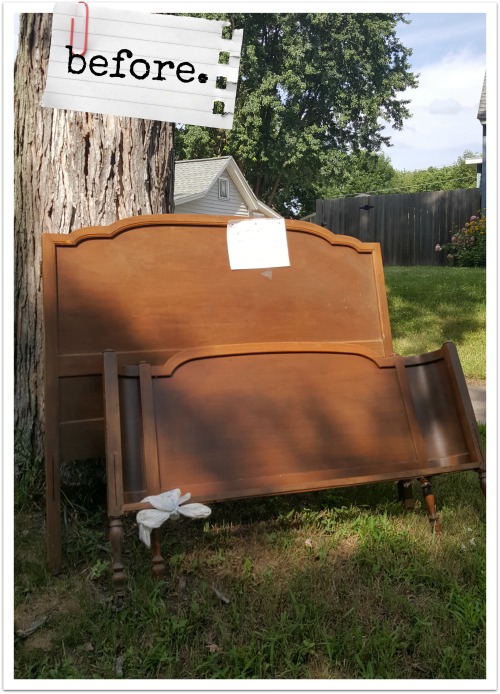
Naturally I said yes. Mr. Q and I drove out to Hudson, Wisconsin that evening to pick it up.
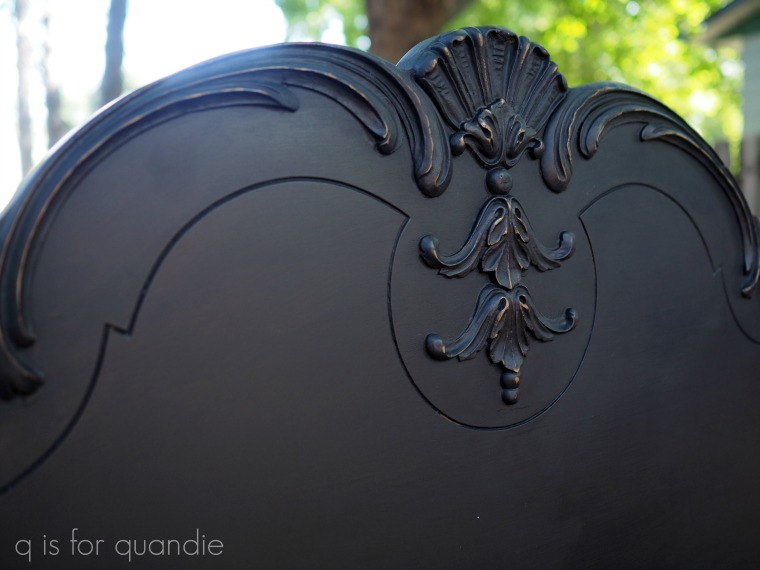
Although it was a bit plain looking (especially compared to that gorgeous bed I finished earlier this month), to me it looked like the perfect blank canvas for something creative.
However, the bed didn’t have its side rails. There are kits that you can buy to add modern metal rails to a vintage headboard and foot board, so I was going to go that route. But then I gave it a little more thought. I’ve always admired benches that are made out of beds (in fact, I have one myself), so I wondered if my handyman Ken would be willing to turn these two pieces into a bench.
So I called him over for a consultation. I showed him some examples on pinterest. Then we took a few measurements and came up with a plan. We made an agreement to split the profits equally on this piece since it would be about as much work for Ken to build the bench as it would be for me to finish it.
Then we carried the pieces over to Ken’s workshop (he lives just next door).
A few days later Ken called me and asked if I wanted to come over and take some photos of the bench building in progress (Ken’s workshop is so neat and tidy compared to mine).

So far Ken had cut the foot board down and attached a section to each side of the bench. There was about a 15″ section of foot board from the middle that wasn’t used. Then he built a framework for the future seat of the bench to rest on.
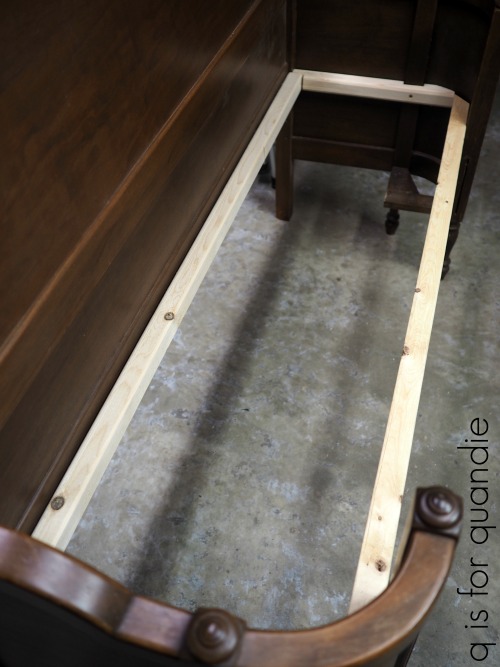
He attached it with screws.

The next day Ken called again to say the bench was ready to go!
We had discussed the type of seat I wanted, planks that were perpendicular to the back of the bench and were varying widths.

I had considered doing some sort of upholstered seat, but in the long run I felt like a wooden seat was a better option.
Ken also added that trim board under the seat along the front.

Now it was my turn!
I sanded the headboard and foot board portions of the bench and then cleaned it all with just a damp rag. Then I painted the entire thing with Fusion Mineral Paint in a color called Putty.
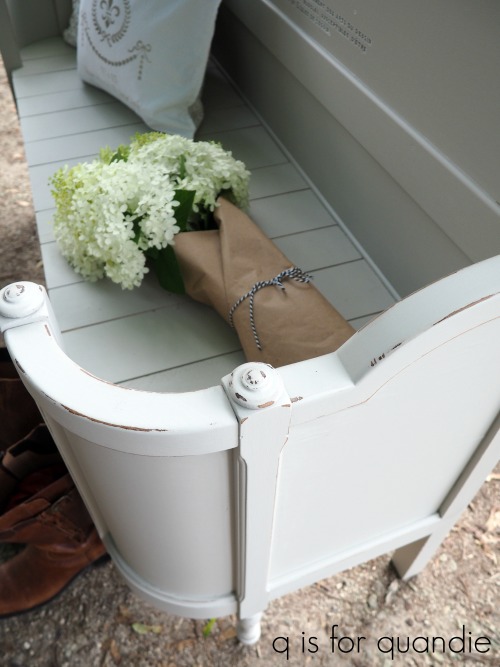
This is a great pale neutral greige sort of color.
Once the paint was fully dry, I sanded the edges of the headboard and foot board portions of the bench to distress. If I had wanted to also distress the new wood seat, I could have stained it to match the older pieces before I painted so that the wood wouldn’t have looked quite so new in the distressed areas. But I skipped that step.
Next came the pièce de résistance.
![]()
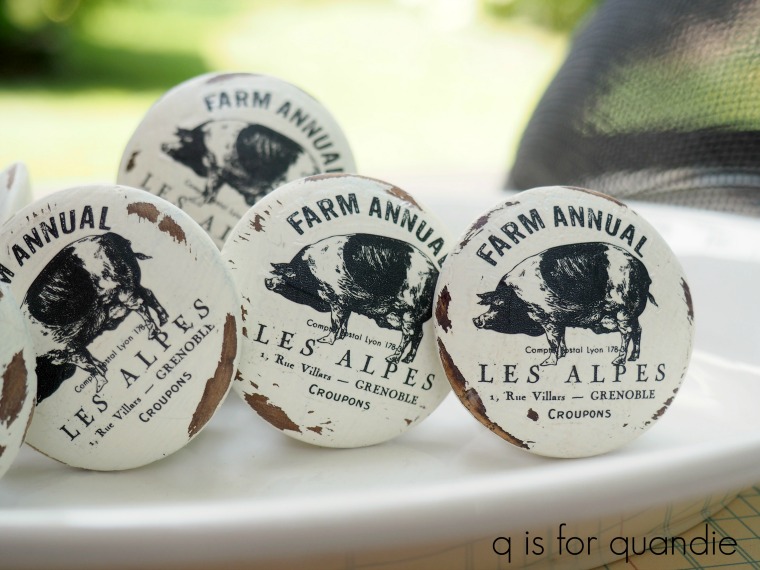
I added one of my favorite Prima Marketing furniture transfers to the bench.
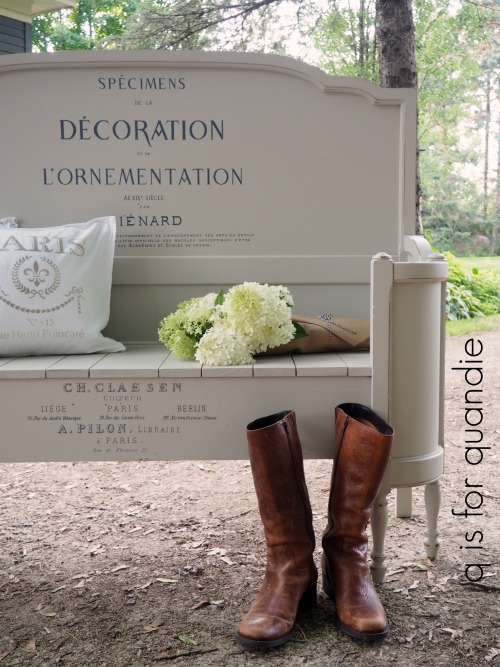
I was careful to get the design centered and level, but otherwise it was very simple to apply. This is the Specimens transfer and I’ve seen it online for as low as $14.39 from Scrapbook.com.

I didn’t use the entire design. There was a little chunk in the middle that I left out.
By the way, I had to laugh when I started editing these photos. My boots look positively huge in most of them. Yes, I have giant feet. Size 11 to be precise. Maybe I need to buy some adorable size 6 boots the next time I’m at the thrift store just to use as a prop for photo shoots like this one.

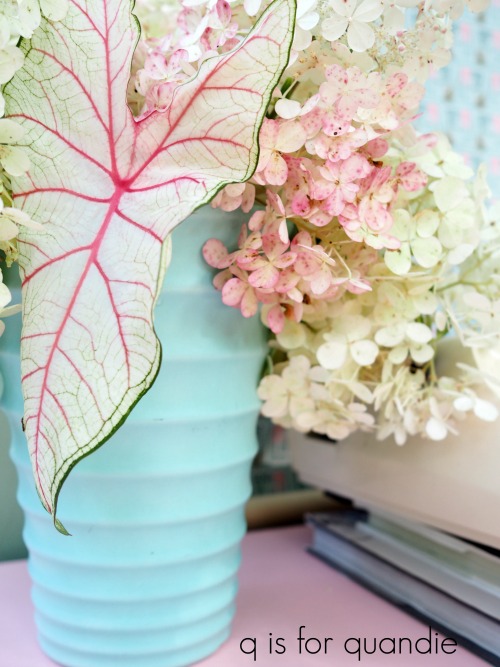
Those are Limelight hydrangeas on the bench.

I’m going to try and pull together a blog post about the various hydrangeas that I have before the summer is over, but suffice to say the Limelight is one of my favorites.
I’m going to share a separate blog post about the pillows too.

So you’ll have to stay tuned for that!
So what do you think of our french bench? I know Ken is really proud of the work he did on this one. He enjoyed the challenge of taking something that was no longer useful (without its side rails) and creating something functional out of it.

Ken makes things functional and then I make them pretty. We make a dynamic duo.

If I didn’t already have an amazing bench, I’d definitely be keeping this one. But, I do. So this one is for sale while it lasts. If you are local and interested in more details, be sure to check my ‘available for local sale page‘!
Thank you to Fusion Mineral Paint for supplying the paint for this project, and Prima Marketing for supplying the Specimens transfer.


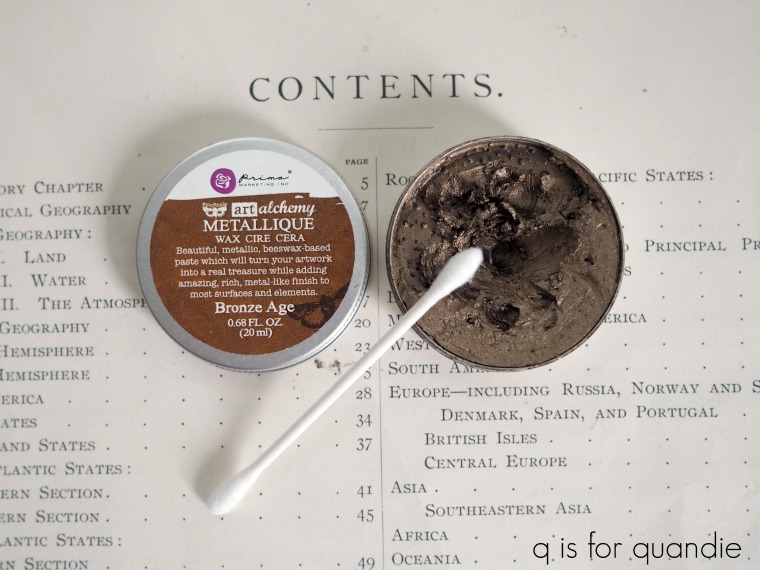
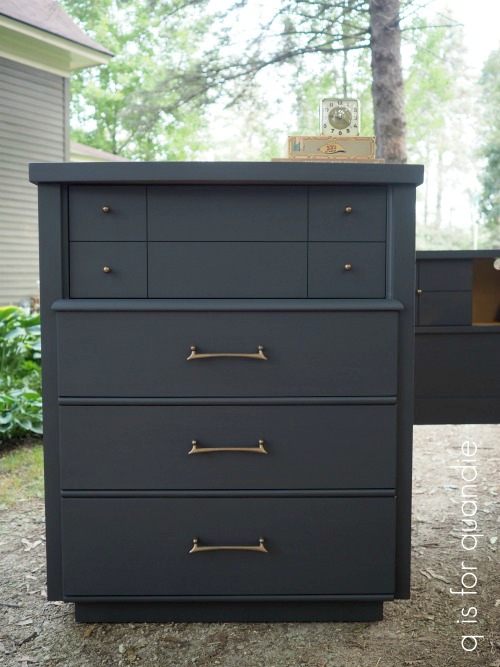 Have you noticed that the knobs and pulls on this piece look just a little bit different in the ‘after’ photos? Scroll back up and check them out again in the ‘before’ photo. See? They were a bright, shiny gold.