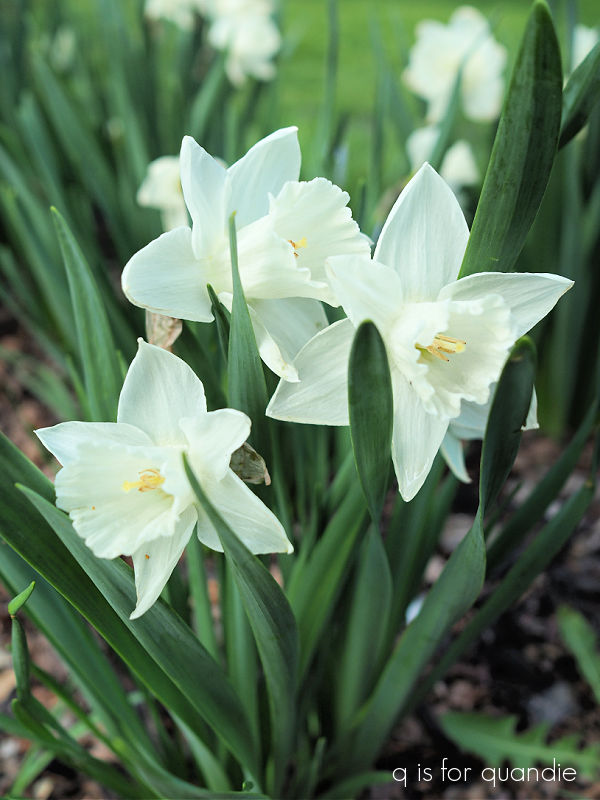
Good morning from the garden!
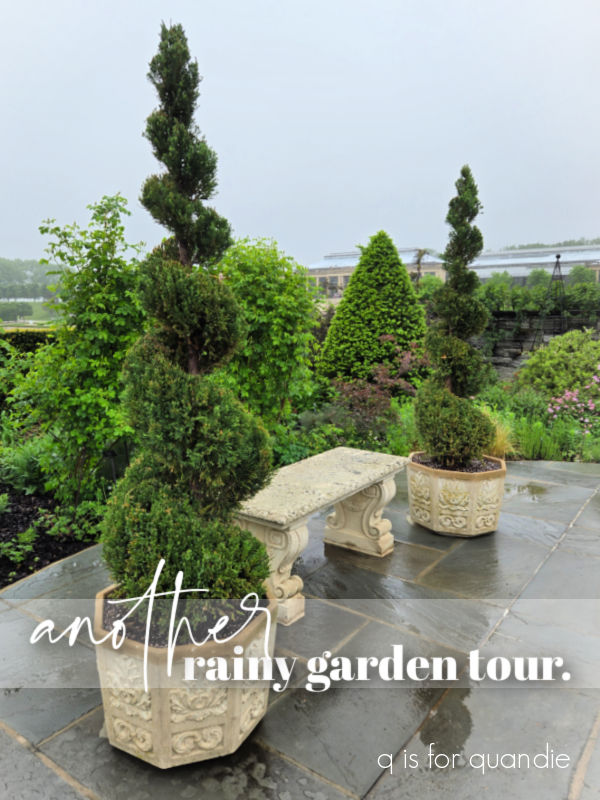
Or maybe I should say good morning from a garden, because this garden is not my own. Today I’m sharing Longwood Gardens located in Kennett Square, Pennsylvania.
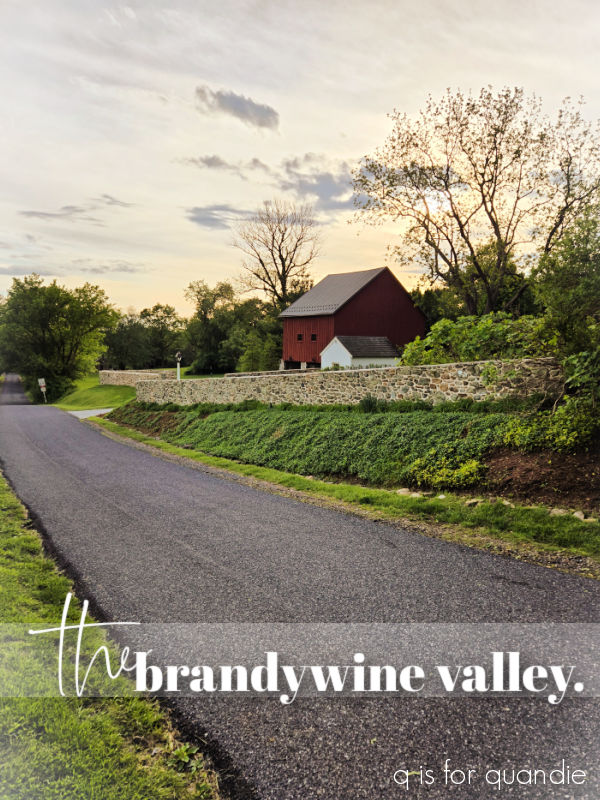
As you’ll soon be able to see, we visited Longwood Gardens on a rather rainy day on our recent trip to the Brandywine Valley. But you know what? I actually don’t mind visiting a garden in the rain. It was raining during my visit to de Hortus in Amsterdam, and during my visit to the Munsinger and Clemens Gardens in St. Cloud. I think you can get some of the prettiest garden photos on a rainy day.

So … Longwood Gardens … have you heard of them?
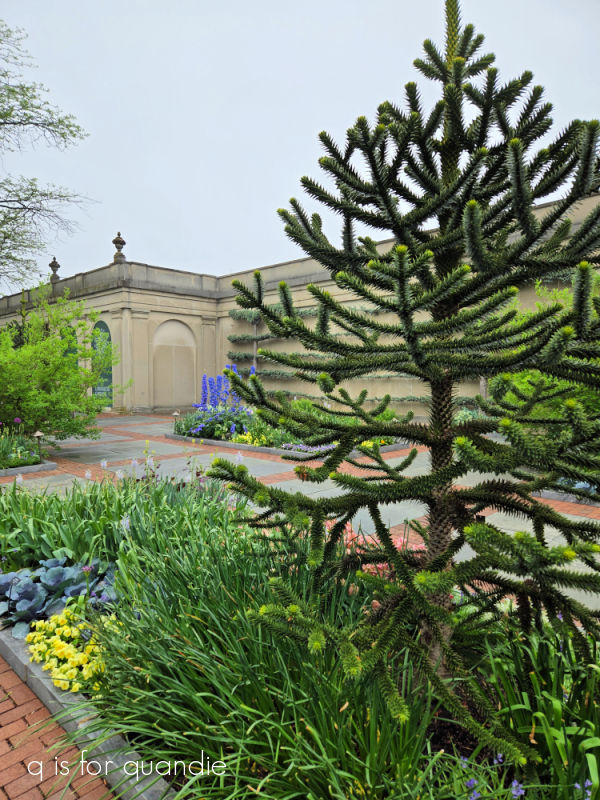
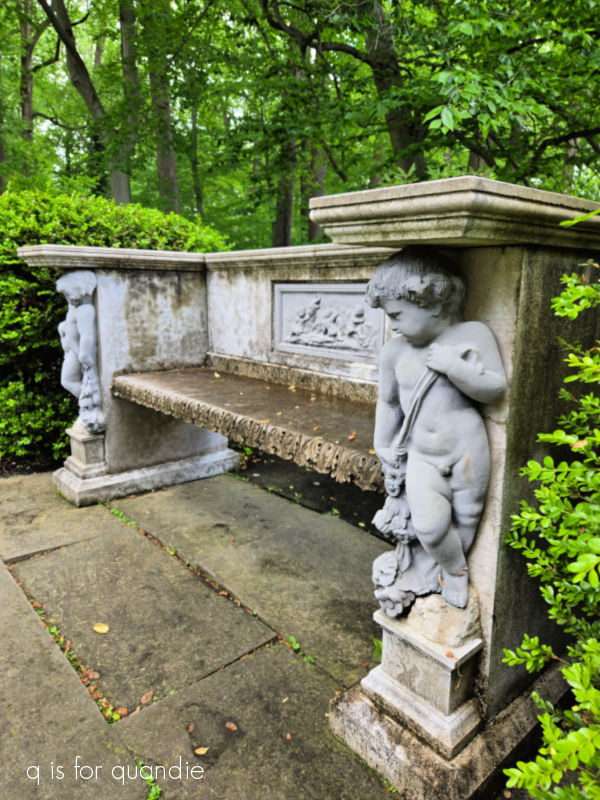
USA Today recently named them the no. 1 best botanical garden in the U.S. Consisting of more than 1,100 acres, Longwood has pretty much everything you’d want to find in a botanical garden. The map shows 32 ‘districts’ including a cascade garden, a bonsai courtyard, an Italian water garden, a meadow garden, a rose garden, the oak & conifer knoll, and the topiary garden shown above plus more.
The land that Longwood Gardens sits on was originally purchased by a Quaker farmer in 1700. In 1798 his grandsons began planting an arboretum. Their heirs weren’t interested in the project though and over the next 100 years the arboretum was allowed to deteriorate. Then in 1906 Pierre du Pont purchased the property to save the trees from a lumber mill that had been contracted to remove them.
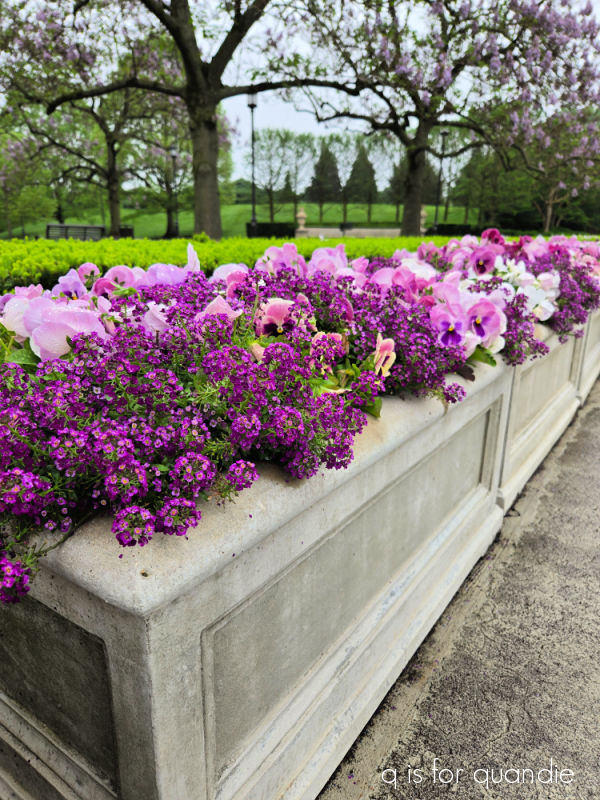
The Flower Garden Walk was du Pont’s first addition to the arboretum.
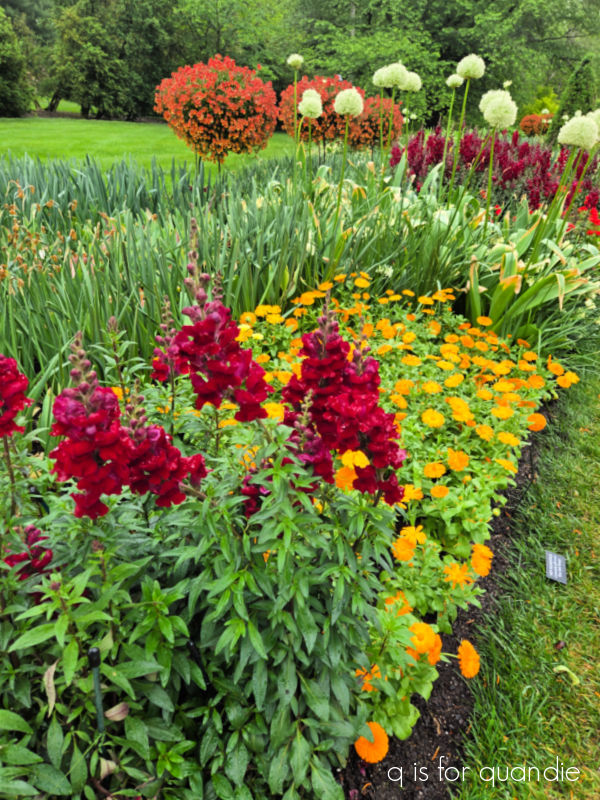
I loved the way the flowers are grouped by color in this area.

I think my favorite is the purple section.

I’ve always thought it would be fun to try something like this in my own garden, but I’m not sure I could pull it off.
In 1929, du Pont added a 61′ tall carillon, or chimes tower.
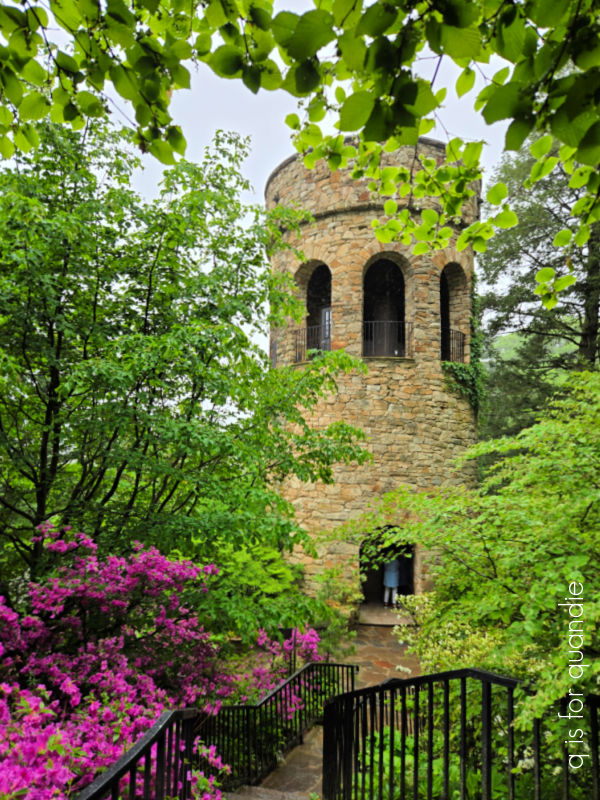
It has had a variety of different bells over the years, but it has been kept in running order and it was lovely to hear it chime out throughout the garden.
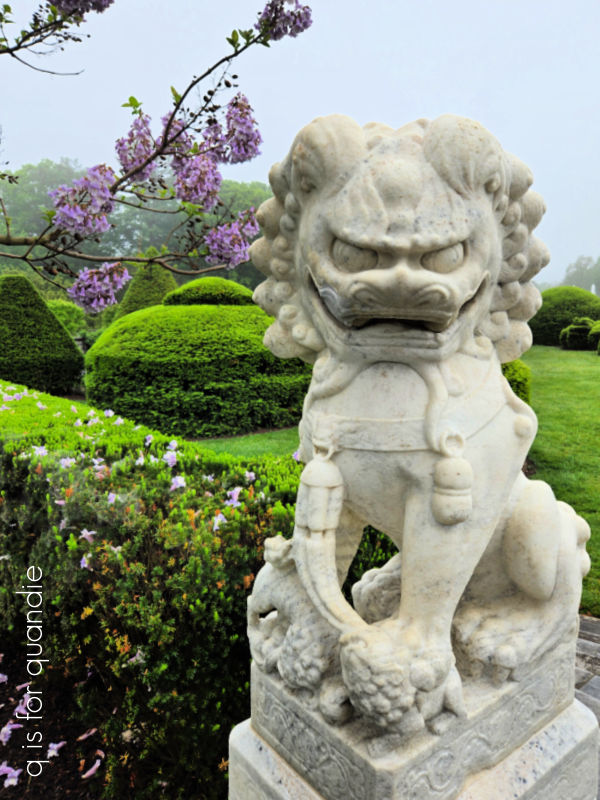
I took so many photos, and there was so much to see. I don’t want to bore you guys with a million garden pics, so maybe I can just share the highlights.
There is a ginormous conservatory and this next photo might give you some indication of just how large it is.

It’s filled with beautiful things.
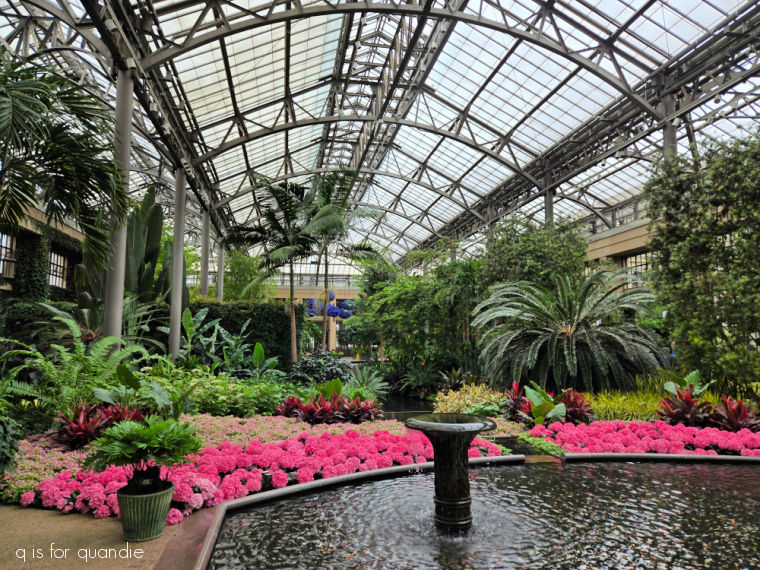
All of that pink? That’s hydrangeas!

I sure do wish I could get these kind of results with a macrophylla hydrangea, but they really don’t like our cold weather.
They also had a beautiful display of blue ones too.
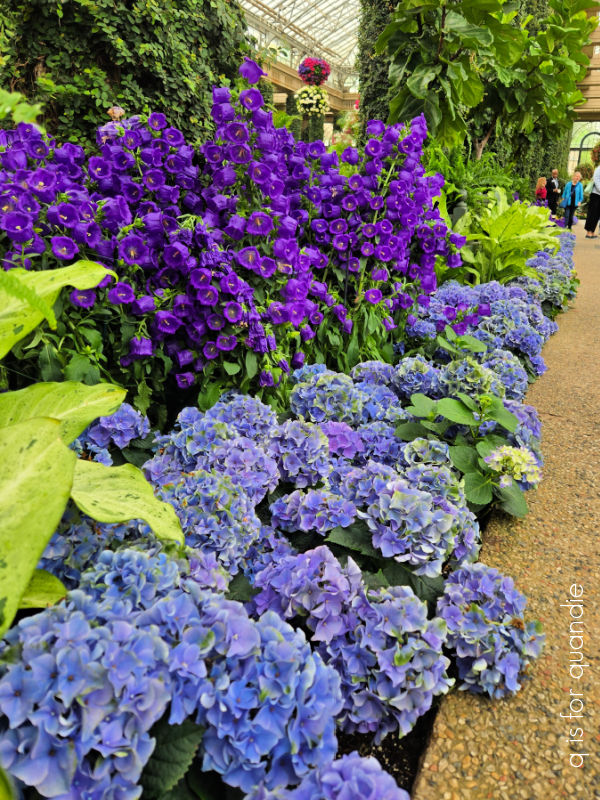
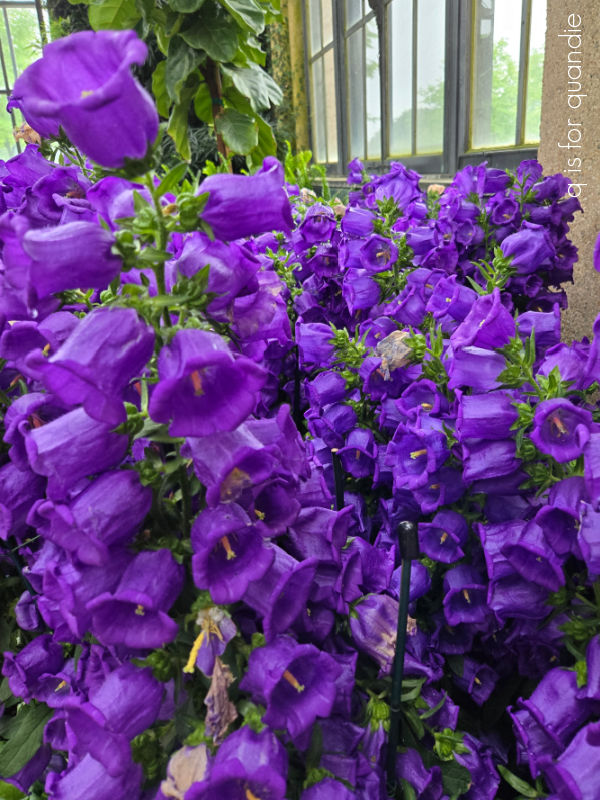
In case you are wondering, that tall purple flower behind the hydrangeas is a Canterbury Bell.
That’s another plant that I’ve never had much luck growing. It’s a biennial, and I just don’t have the patience for a plant that takes two years to bloom and then dies. Same with foxgloves.
The perfectly round globe shaped hanging planters in the conservatory were gorgeous.
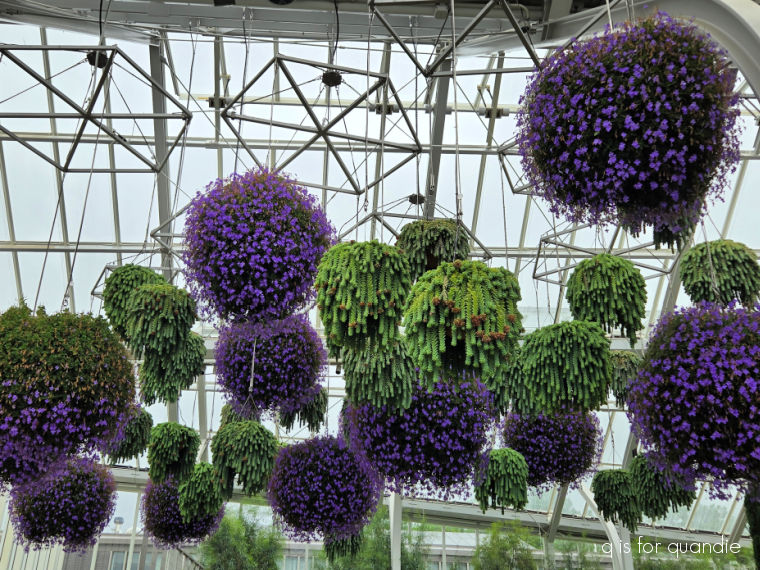
This is the sort of thing you can do if money is no object, and you happen to have a greenhouse to grow them in.
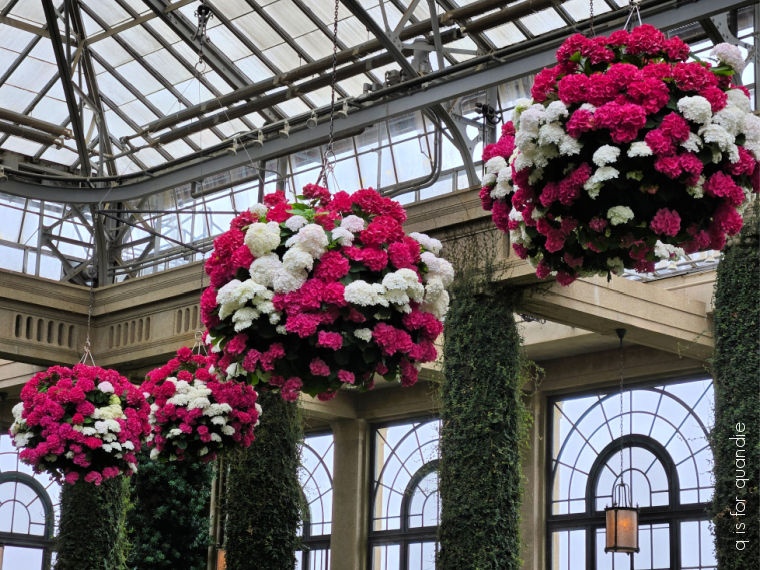
Beautiful to see, but hard to emulate in real life.
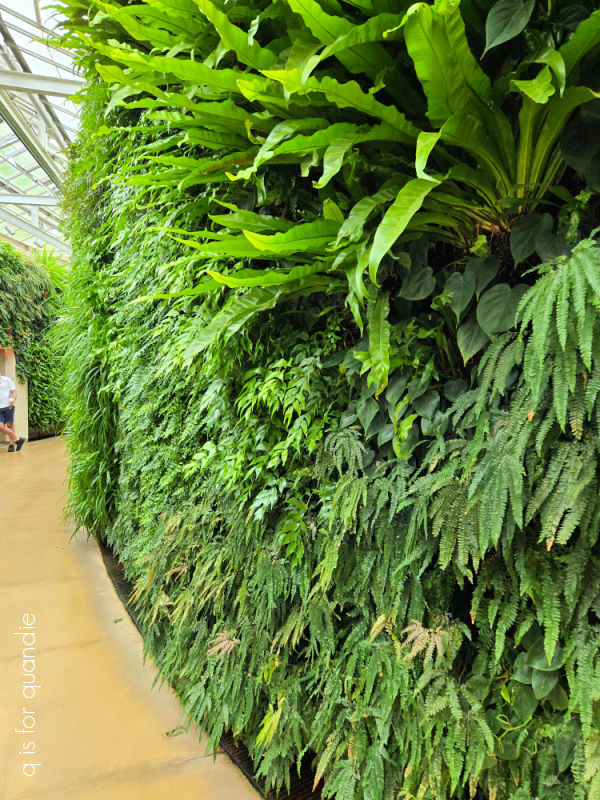
There was also a fern wall in the conservatory …
and a children’s garden …
and an orchid room.

There were so many beautiful orchids (I thought of you when I saw this room Monica!).

There was a bonsai display tucked just behind the conservatory.

Some of the bonsai were 80 to 100 years old. I can’t imagine the skill it takes to create these beautiful pieces of plant art.
I’ve saved the most spectacular aspect of Longwood Gardens for the end and that’s the fountains.

Remember the fountain show at the Bellagio in Las Vegas that I shared a few weeks back?
Well, the fountain show at Longwood is about 10 times more spectacular.
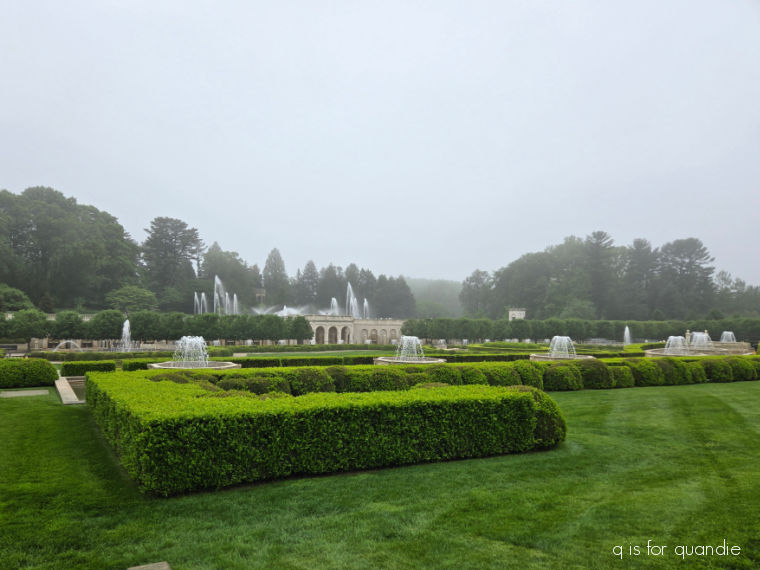
Unfortunately, I didn’t actually get any photos of the ‘show’ where the fountains dance to music. By the time we got to that part of our day I was a bit worn out (we spent nearly six hours exploring Longwood), and the rain had decided to come down a bit harder just at that moment. My photos above show the basic fountains while they aren’t ‘performing’.
So I guess you will just have to head to Longwood Gardens yourself to see the fountains dance. It is definitely worth the trip.
Have any of you been there? If so, what was your favorite district? Or do you have a botanical garden to recommend near you? Leave a comment and let me know.
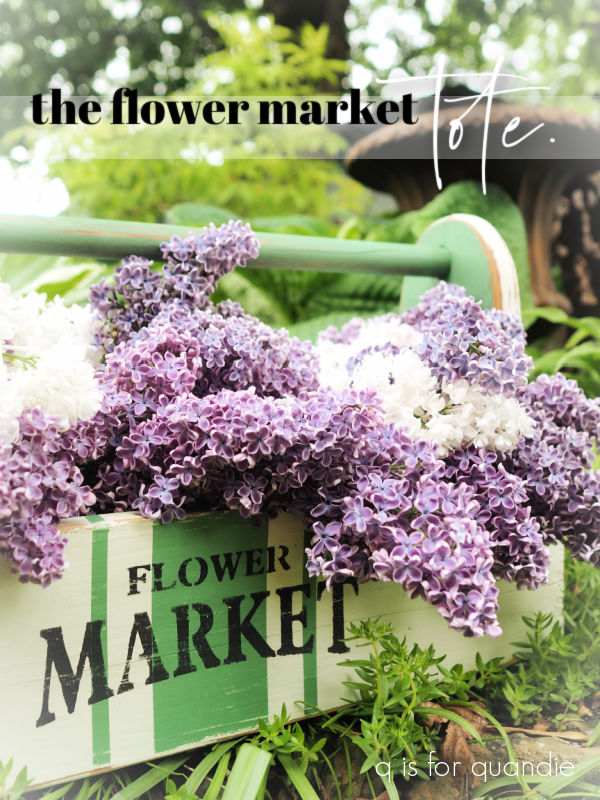
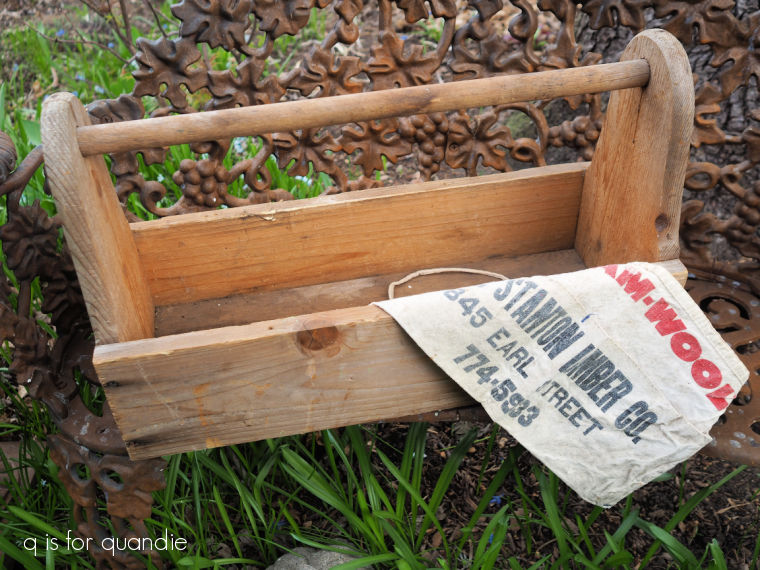
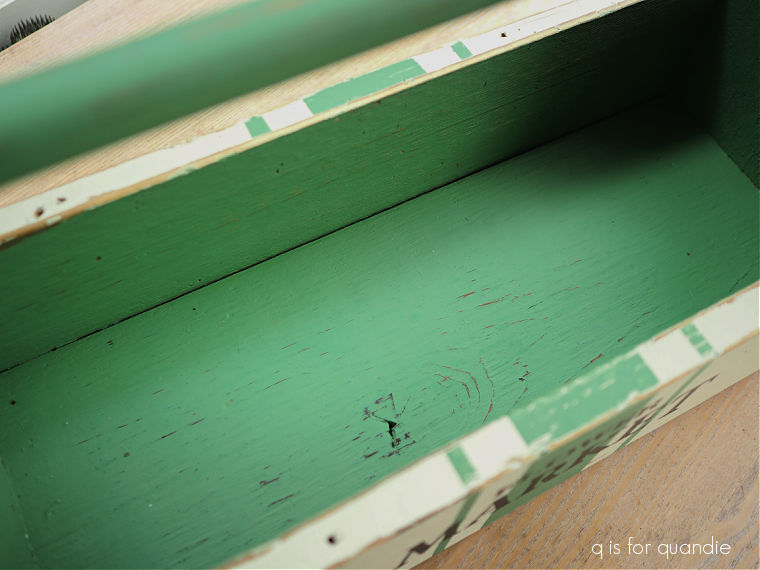

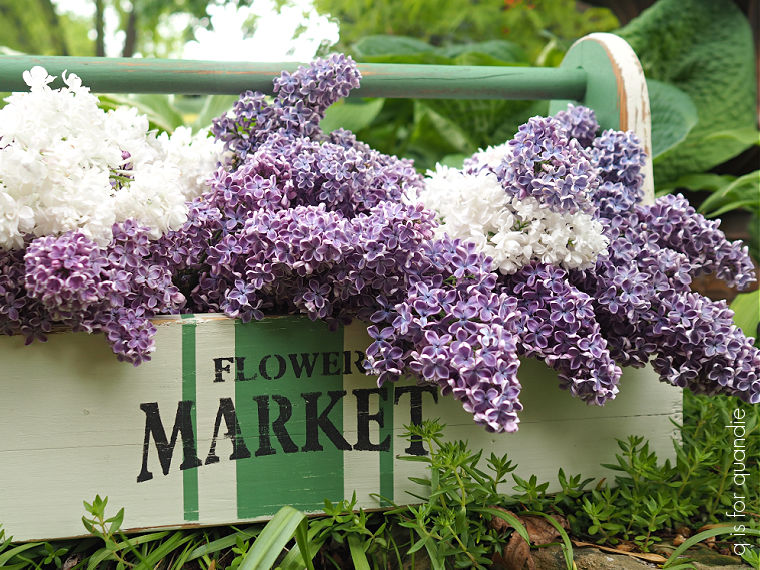


 Once that dried, I went back over just the triangles with straight up Dried Sage.