
Well dang, somehow I managed to forget to take a ‘before’ photo of today’s makeover candidate. Shoot!
You’ll just have to use your imagination to picture this tackle box looking rusty and crusty as per usual. I followed my standard procedure of cleaning, sanding, and priming with Dixie Belle’s B.O.S.S. on the outside, but for the inside I opted for spray paint. I find that to be the easiest way of dealing with these hinged, pop up tackle box trays.
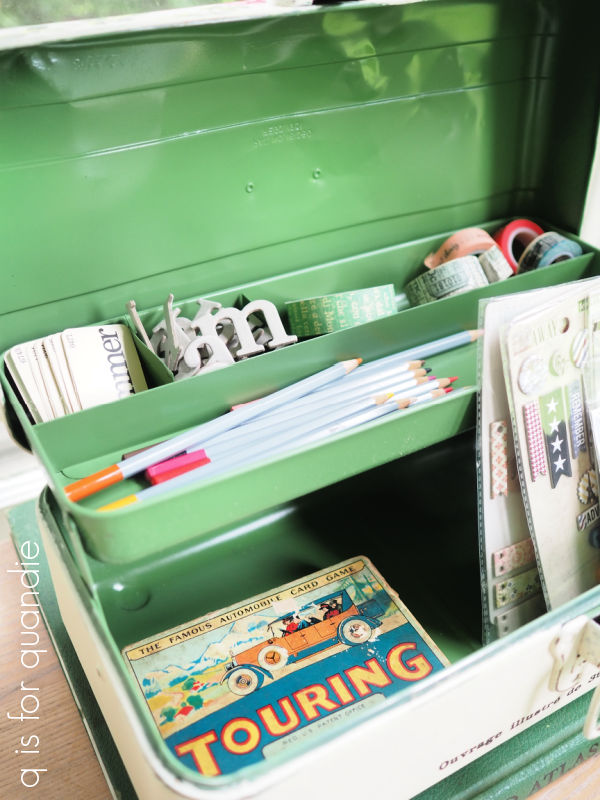
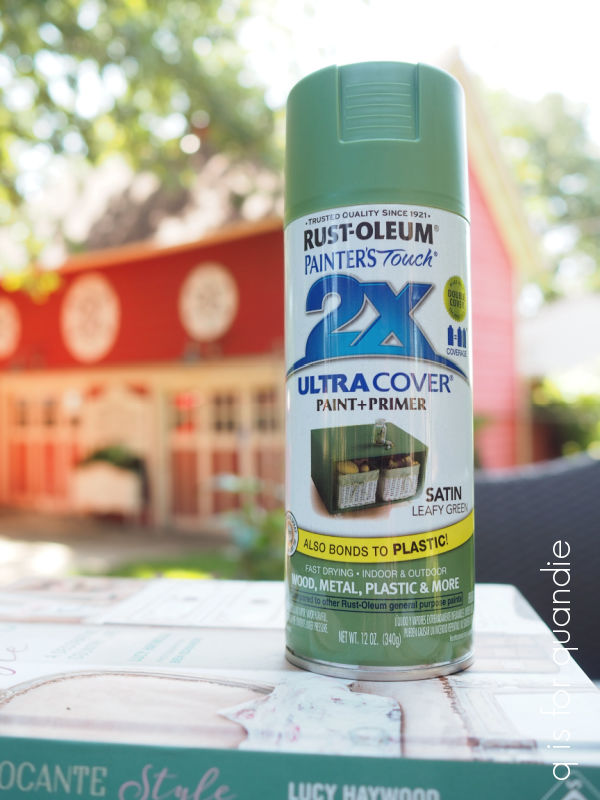
I used some of the leftover Rust-oleum Leafy Green spray paint from my wicker garden chair.
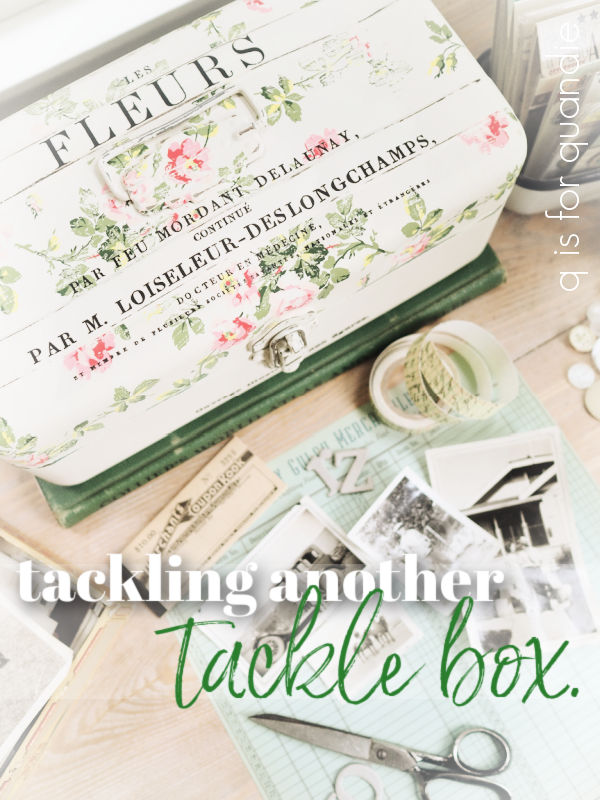
After the inside dried, I painted the outside in Dixie Belle’s Drop Cloth. Then I applied some of the I.O.D. Rose Chintz paint inlay to the top.

For more detailed instructions on using the paint inlay, you can check out my step by step how-to post.
Once the paint inlay was dry, I sealed it with a clear matte finish spray to prevent it from smearing when I next applied some wording from the I.O.D. Label Ephemera transfer.

At this point you might be noticing that I got some mixed results with the paint inlay.

Some areas are crystal clear …

while others are rather faint.

I think this is a result of two things. First, the surface itself is bumpy and uneven, and second, I probably didn’t press the inlay into the paint firmly enough in those bumpy areas.
Normally I use a brayer to press the inlay down into the paint and I didn’t do that this time. Instead I just used my fingertips and a damp rag.

Personally, I rather like this faded sort of look, but if that isn’t your thing you may want to be sure to use a brayer with the paint inlays.
I opted to paint over the latch and handle on this one, then I just roughed them up a bit with sandpaper to make them appear worn.

I love the idea of using an old tackle box for jewelry, but they also are perfect for containing craft or art supplies.

I have to admit I don’t do much scrapbooking anymore, but staging a photo shoot like this makes me realize how much I miss it.

Maybe I’ll find more time to get back to it now that I’m retired (note: I’m saying that 9 months in and I haven’t seemed to find the time yet).
Normally I would share a ‘before & after’ collage here, but since I neglected to get that ‘before’ shot … well … all I have is the ‘after’.

But it’s a pretty good after I think. What do you think?
This tackle box is for sale so be sure to check my ‘available for local sale‘ page for more details if interested.
Thank you to Dixie Belle Paint Co for providing the B.O.S.S. and paint used on this project.

This is so pretty! I so love these toolbox glam ups! The green is just perfect and the paint inlay was the perfect partner to it!
LikeLike
I think I need to start calling them glam ups!!
LikeLike
Gorgeous!
LikeLike
Thanks Fonda!
LikeLike
I love your toolbox makeovers. I need to try these inlays but they are so darn expensive. Love that green.
LikeLike
I know, I wish they weren’t quite so expensive too. On the bright side, I’ve gotten tons of use out of this Rose Chintz one … let’s see, I think I’ve done six small projects with this one so far, and I still have a couple of completely unused sheets, and a bunch more that can be used a 2nd time. So they do go far on smaller projects!
LikeLike
This makeover turned out such a pretty toolbox. I love how you kept the inlay to just the lid for a different look. I like that parts of the inlay look faded – helps give it that worn and loved look! I’ve been retired for a little over a year and still have projects that I want to do but have not started yet. I think it’s good to have options waiting in the wings for just the right time to do and enjoy the process.
LikeLike
Yes, good point Cheryl! I am trying to save up some smaller projects for winter when I’m stuck inside and need smaller things to work on 🙂
LikeLike
I love it but then I love green and love the roses inlay. I love the faded part of the inlay as well! Another great makeover 🙂
LikeLike
Ditto all of the above, we are two peas in a green pod with faded roses on it 😉
LikeLike
Looks nice. I really like the inside. Maybe this winter we will get around to doing some scrapbooking. I miss it too.
LikeLike
I’m not sure I’ll remember how!
LikeLike
It’s a pretty great after…like all of your re-dos!
LikeLike
Thanks Melissa!
LikeLike
To be honest, Miss Quandie, I don’t know if I would gravitate towards this box if it was of the “mass produced” variety……but knowing the care and feeding you put into it, I love it as a one-of-a-kind! So much talent you have (-:
LikeLike
Thanks Connie!
LikeLike