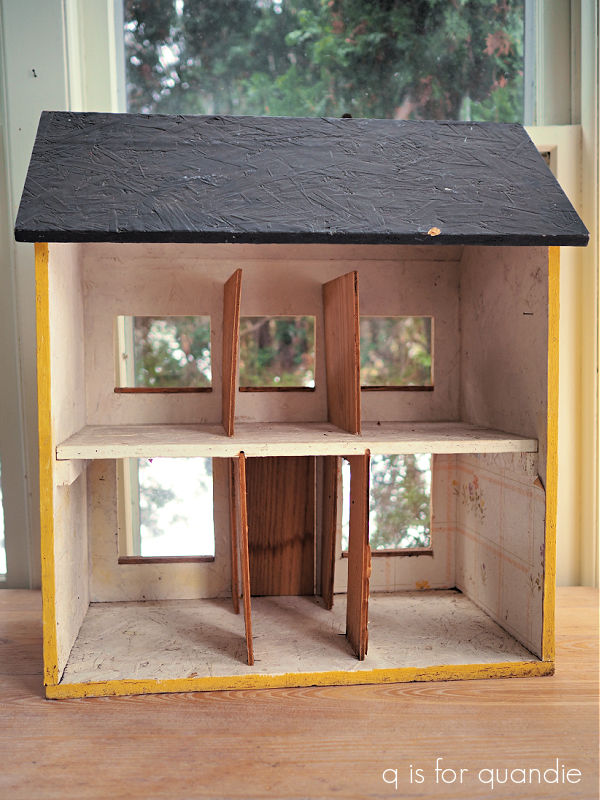
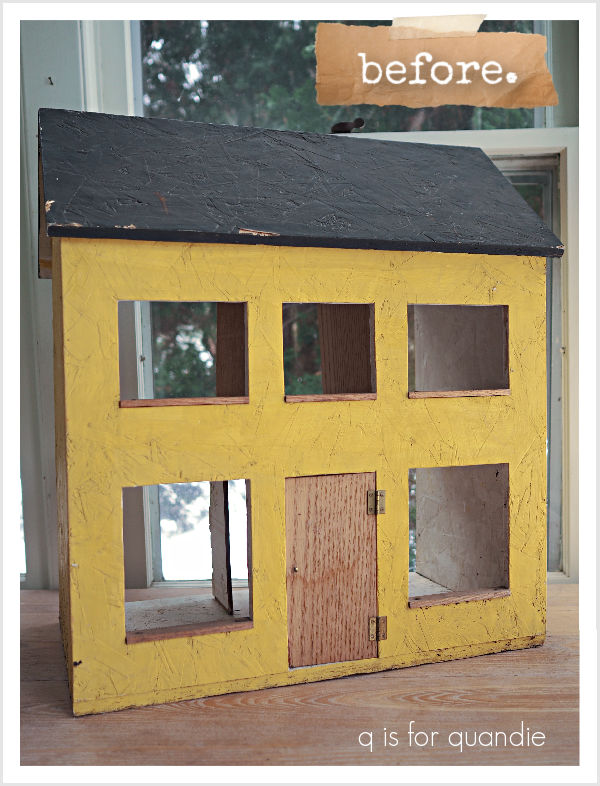
Next up in my free-at-the-curb dollhouse makeover is the 2nd bedroom on the upper level.

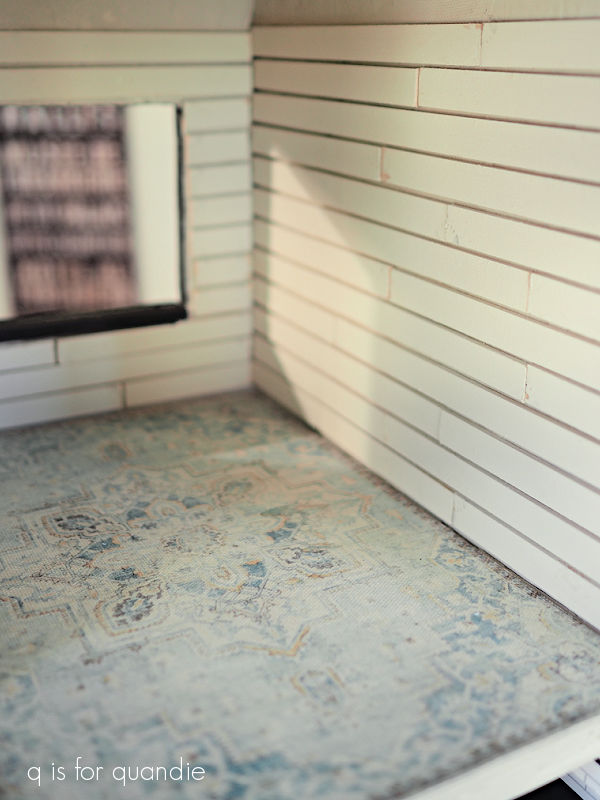
I chose the Bradbury & Bradbury Peacock & Rose Floral wallpaper from Miniature Crush for this room. I wanted a floral with a vintage sort of feel, and I think this one did the trick.
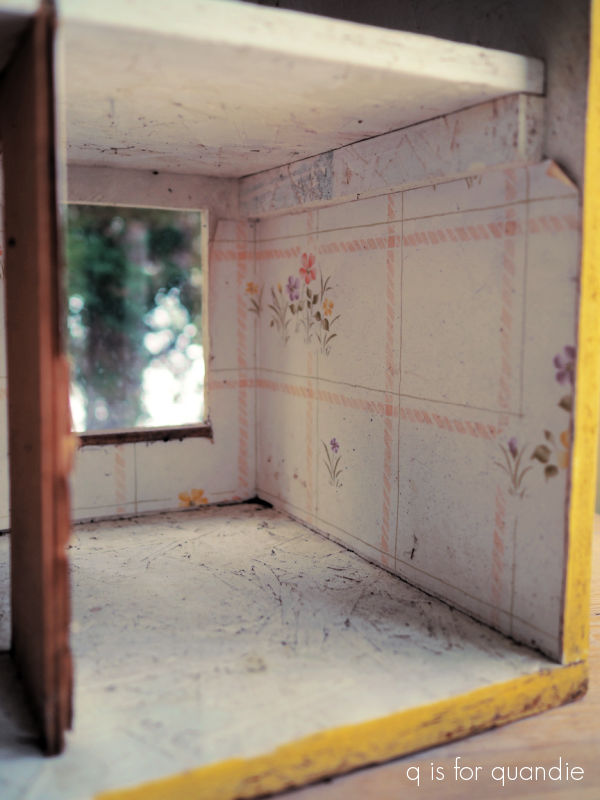
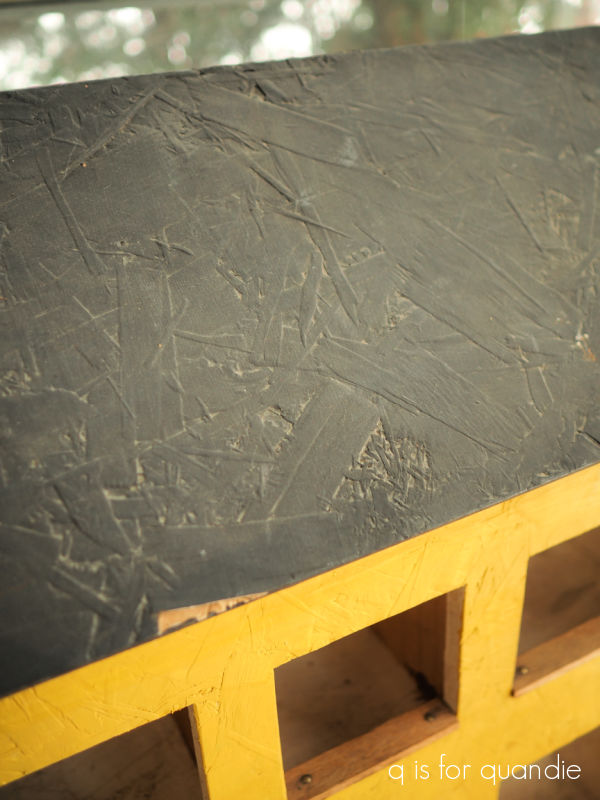
Initially I wasn’t entirely sure whether or not the wallpaper would lay smoothly over that horrible OSB (thank you for telling me the name of this stuff Paula!), but it worked beautifully. I applied it using Mod Podge.
Next I moved on to the flooring. I started with a sheet of unfinished pine plank flooring from Hobby Lobby. It was a true test of my measuring capabilities to cut this flooring to fit into both the bedroom and what will be the dressing room next door. I could have cut each room’s floor separately, but then I would have had a seam right in the front and I wanted to avoid that.
So I was determined to cut a slit into a solid sheet of flooring for the wall between the two rooms, and in the end I did it!

No seam!
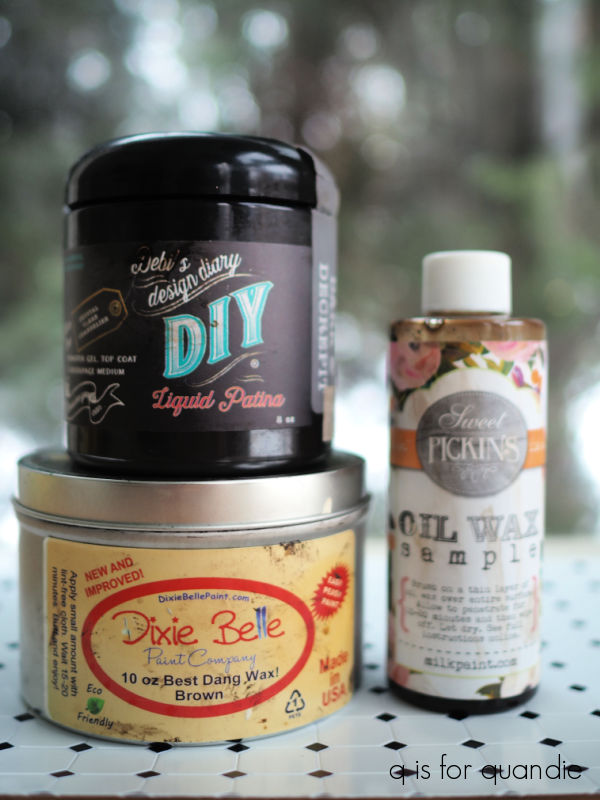
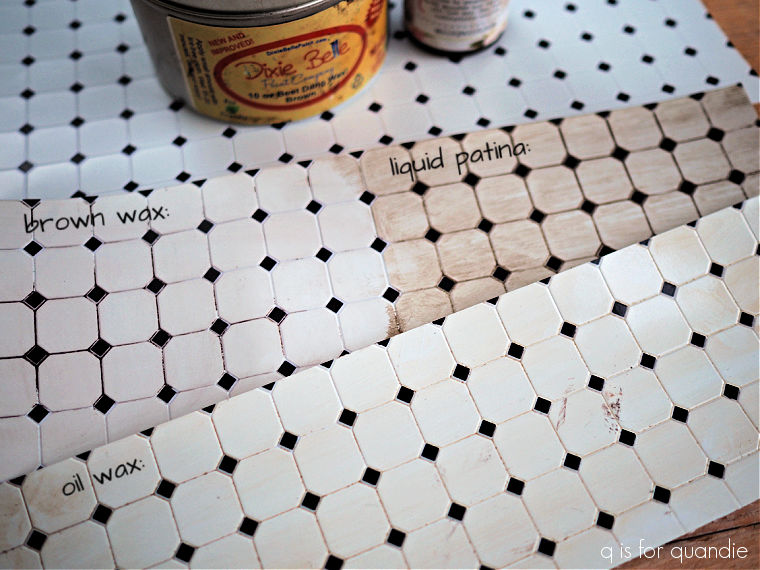
After I made sure the flooring would fit into place, I sanded it lightly and then gave it a coat of Sweet Pickins Dark Oil Wax before adhering it in place.
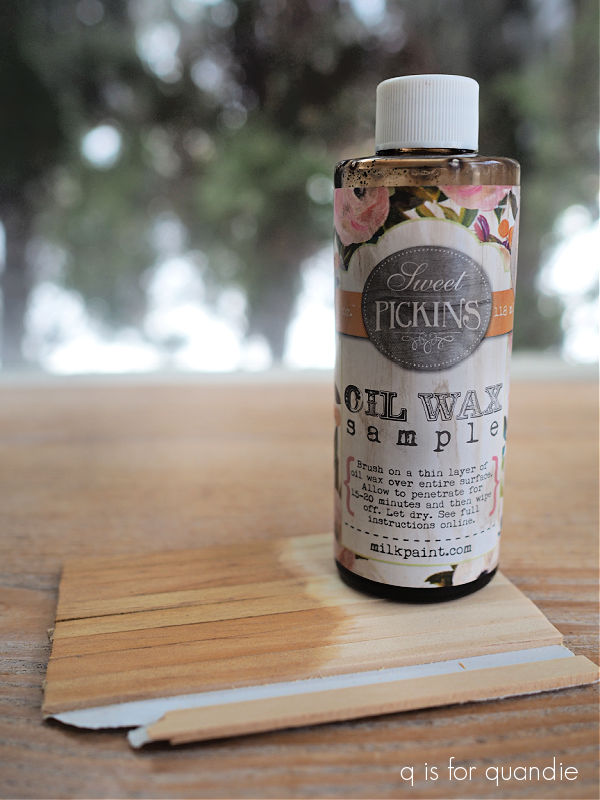
I tested the Oil Wax on a scrap piece of the flooring first, and it was exactly the look I wanted. It was very easy to just wipe it on with an old t-shirt.
Once dry, I glued the sheet of flooring into place using Gorilla Wood Glue.
Now, for the furnishings.
I purchased an unfinished wardrobe from Miniature Crush first.

By the way, I have a referral link for Miniature Crush. Basically if anyone orders something from them using my code, they get 15% off, and I also get 15% off my next order. So if you’re thinking about ordering something, and don’t mind helping me out (and getting 15% off your own order!), please use this referral code link to set up an account with them.
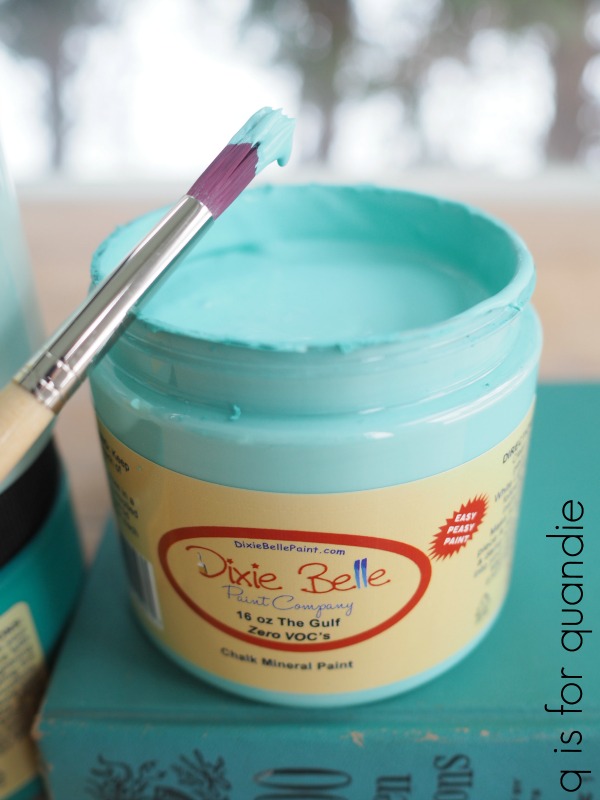
I painted the wardrobe in Dixie Belle’s Secret Path on the inside, and then lined the back with the same wallpaper I used on the walls.
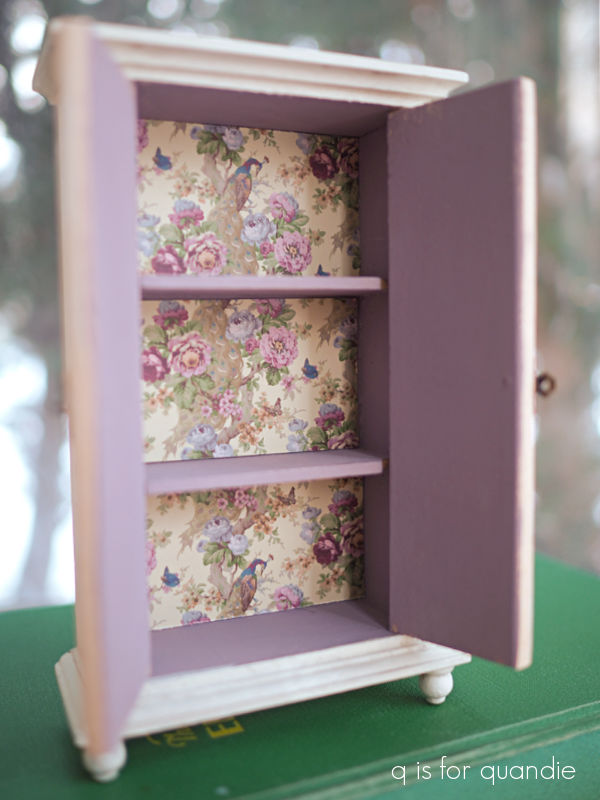
I painted the outside in Dixie Belle’s Drop Cloth. Once dry, I added a couple of ‘knob transfers’ from re.design with prima.
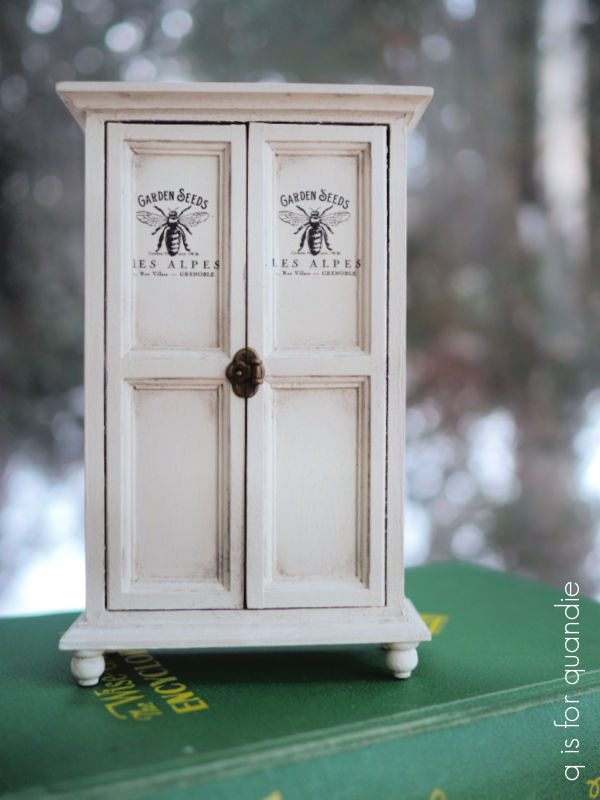
The wardrobe came with some simple round knobs, but I switched them out for this fun little latch (also from Miniature Crush).

I waited until after I’d glued the latch in place to give the piece a topcoat of Dixie Belle’s clear wax. After the wax, I used DB’s Dixie Dirt to add a little shading to the wardrobe.
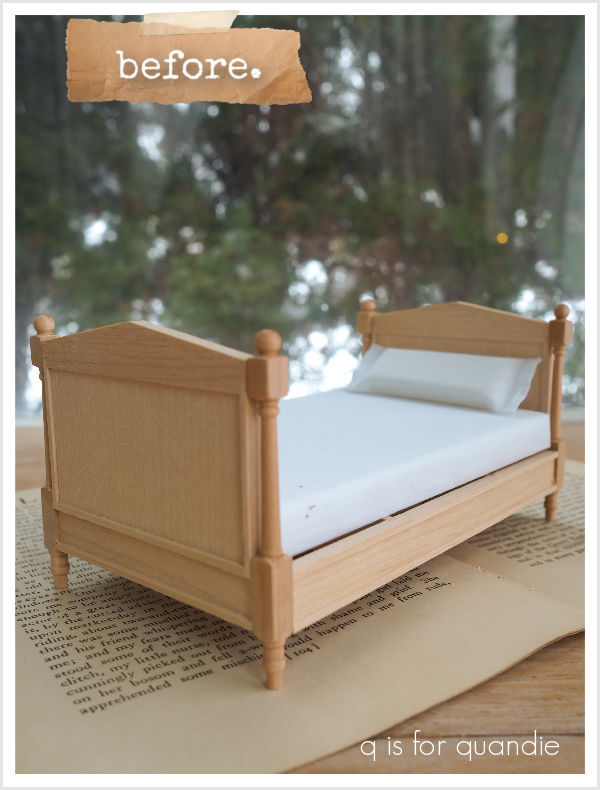
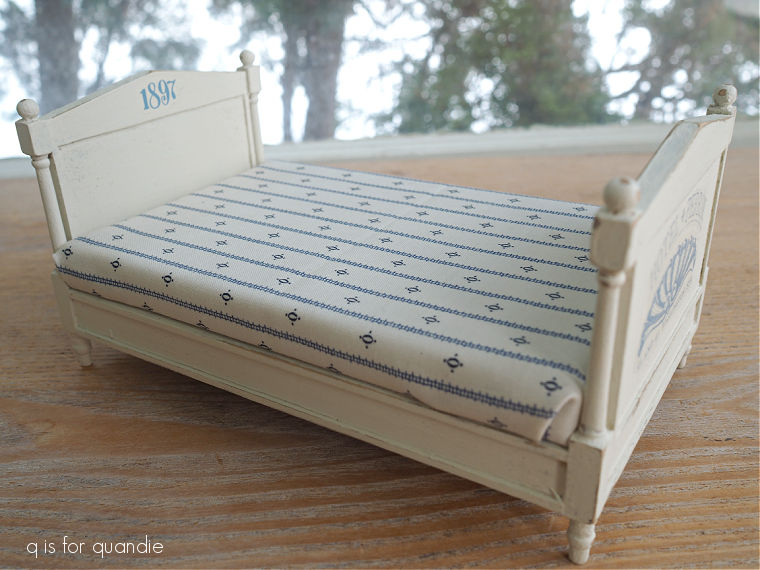
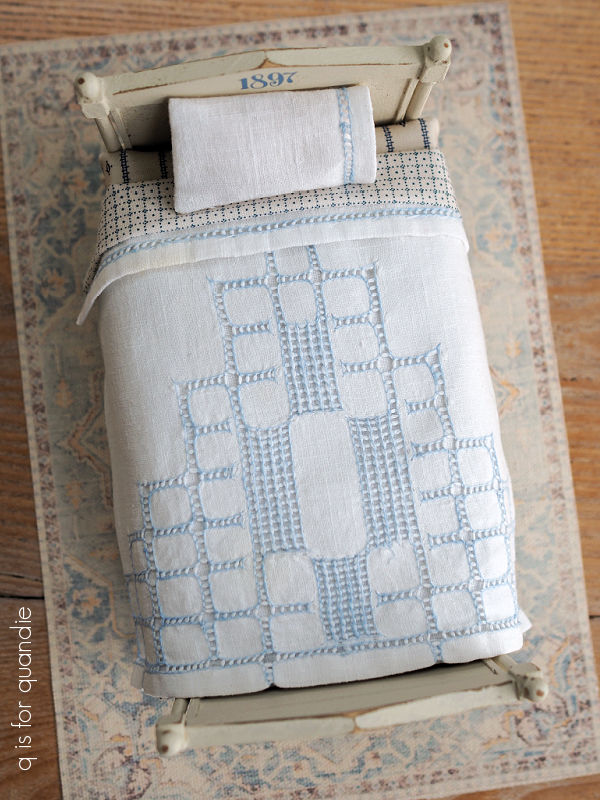
Next up, I ordered this sweet little daybed from The Modern Dollhouse.

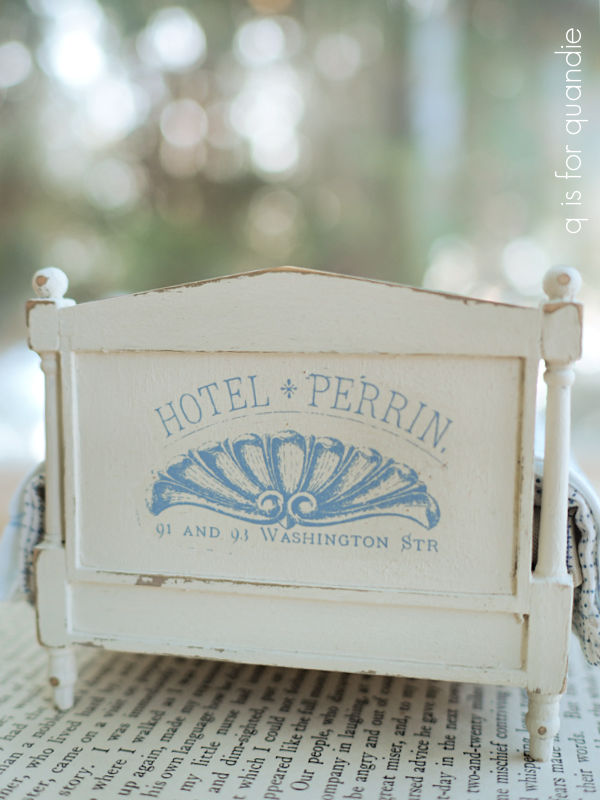
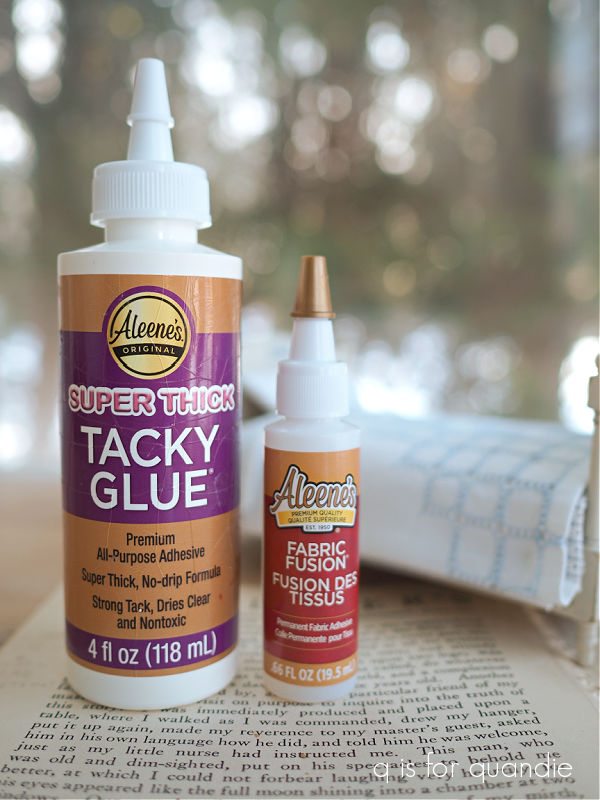
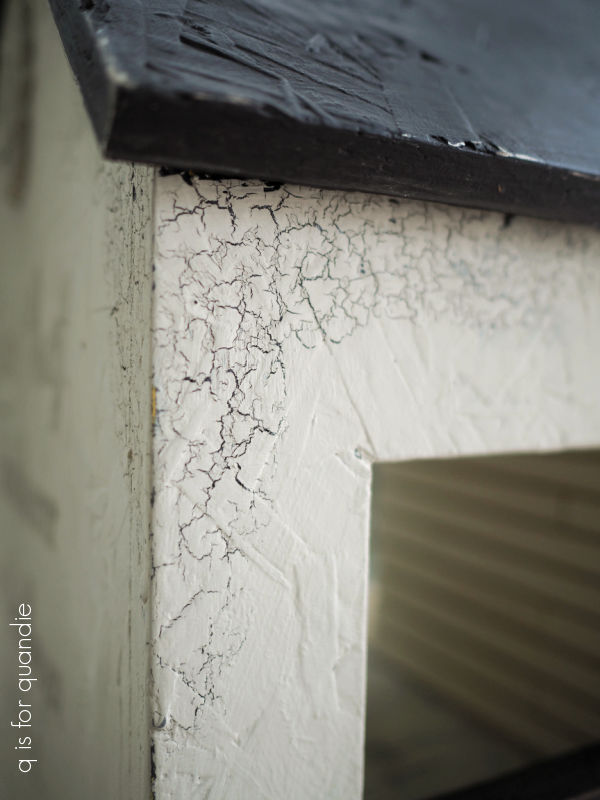
I thought I would attempt a chippy milk paint finish on this piece. I started with a coat of Dixie Belle’s Drop Cloth as a base. Once dry, I used my fingertip to apply just a tiny bit of Dixie Belle’s clear wax in spots where I wanted to get some chipping.
Then I applied two coats of Sweet Pickins In A Pickle milk paint over the Drop Cloth. Once that was fully dry, I sanded the piece lightly with 220 grit sandpaper and then added a coat of Dixie Belle’s clear wax over it.
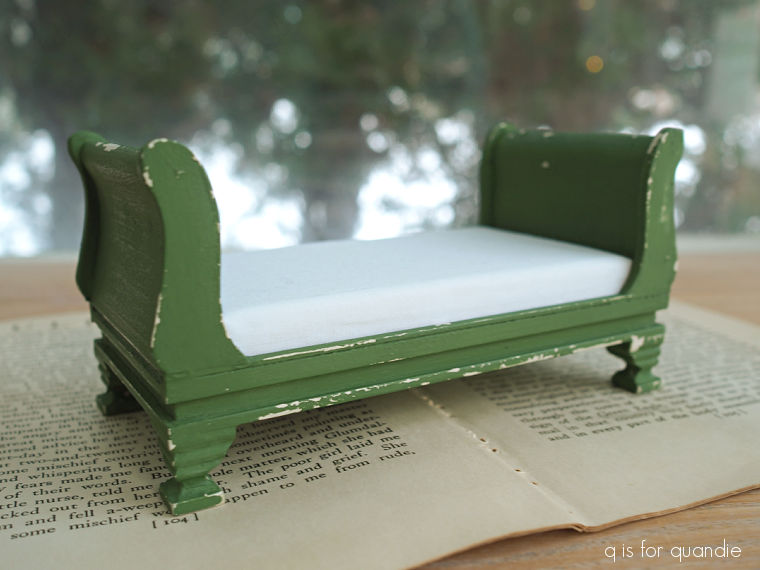
I love how it turned out!
I wasn’t sure if the chipping would look ‘to scale’ on a miniature, but it definitely works on this piece. I may have to start using a bit more milk paint on my miniatures.
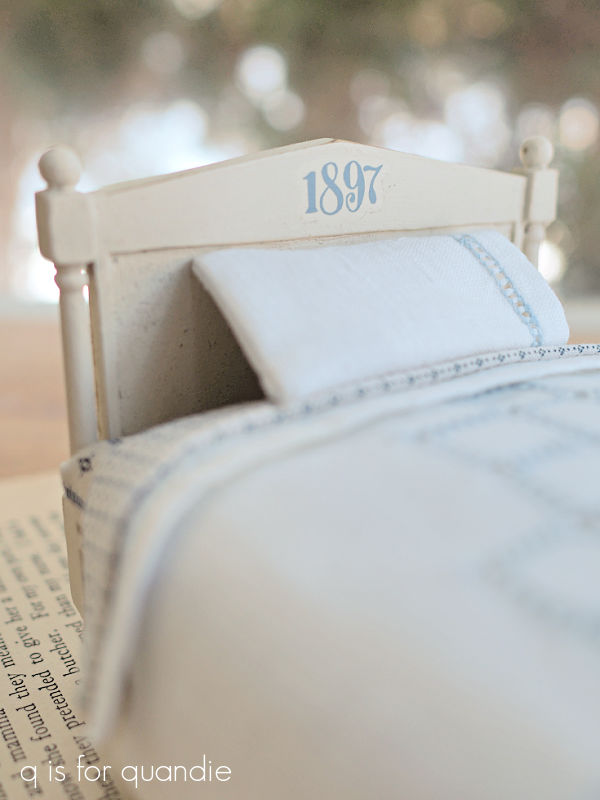
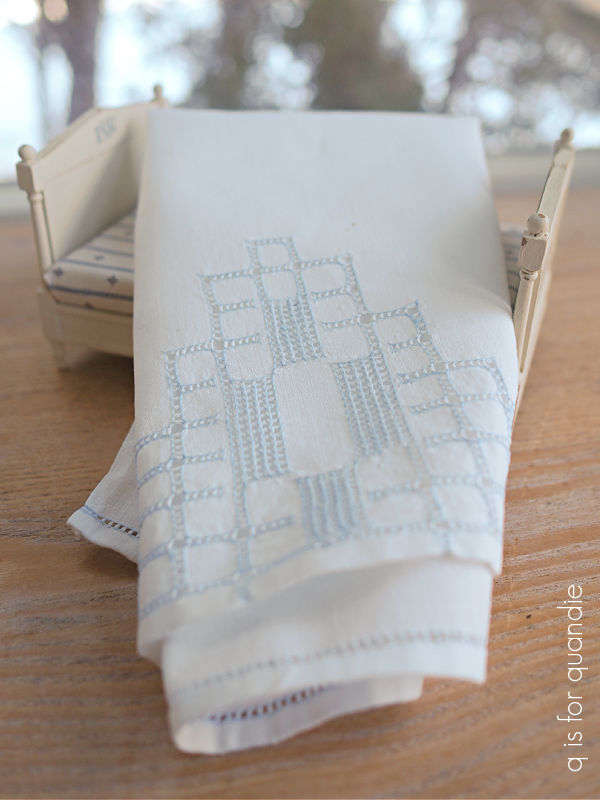
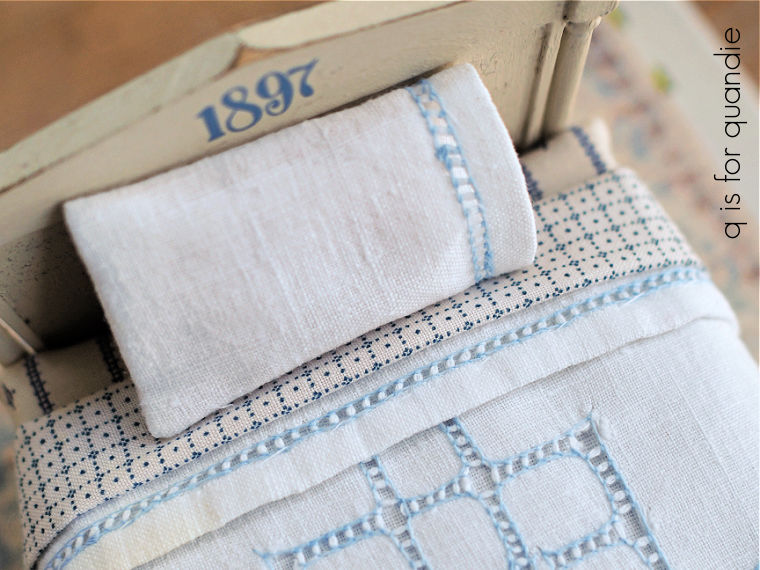
Next came dressing the bed. Unfortunately, I didn’t have just the right vintage tea towel to use on this one. I did have a nice plain white linen towel though, so I decided to go ahead with that.
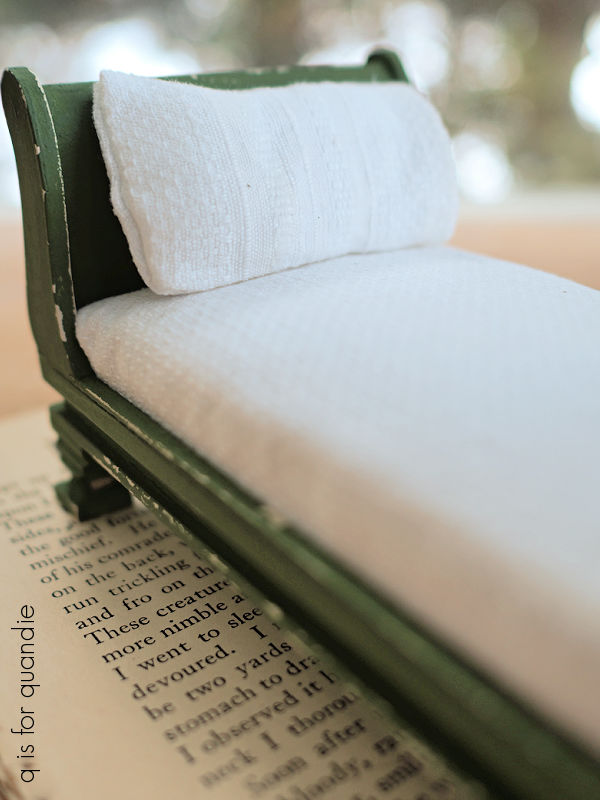
I’ll be keeping an eye out down the road and maybe I’ll find the perfect fabric, but for now the plain white will have to do. However, I do feel like it’s a bit boring.
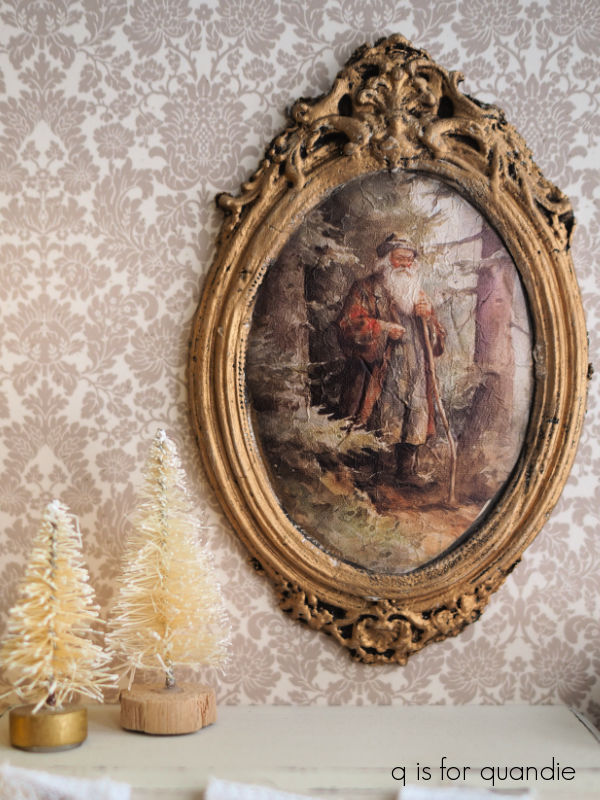
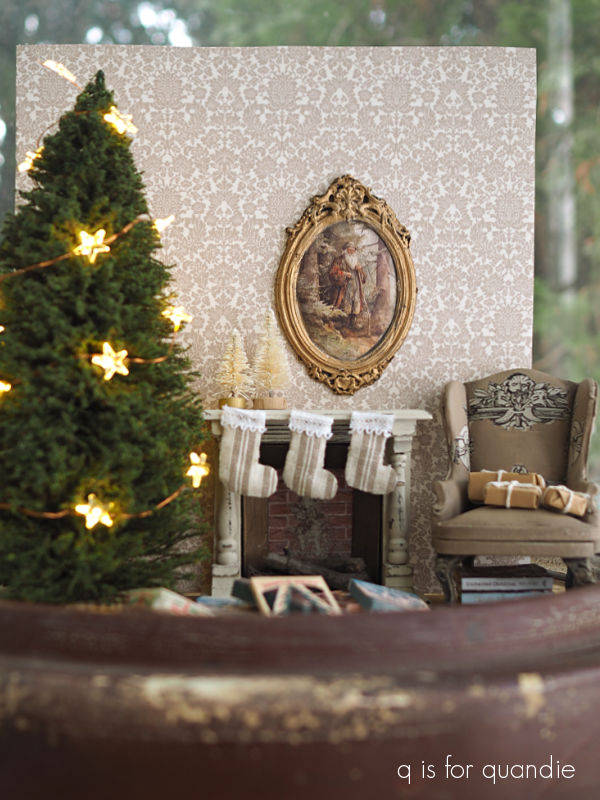
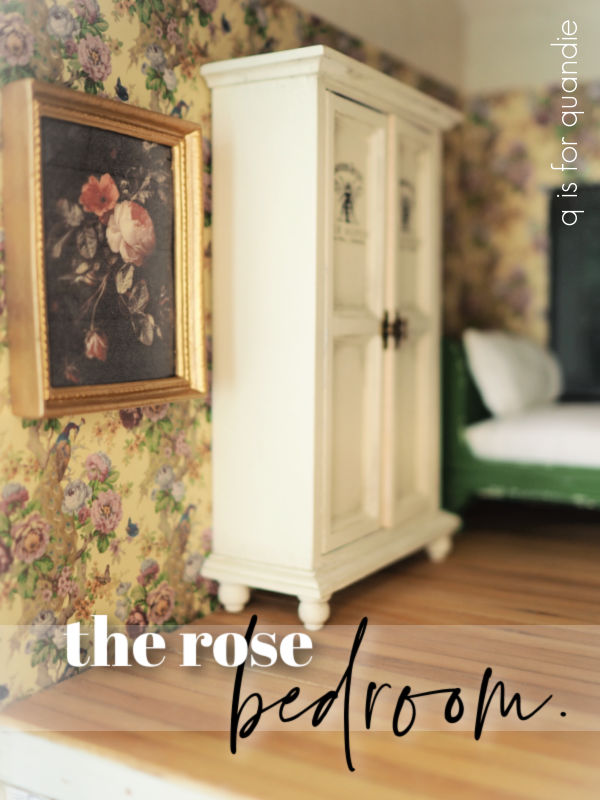
As the final touch to this room I decided to add a floral painting to the wall. I had a gold frame on hand already, and I also have a big selection of downloaded printable art prints that I purchased on Etsy a couple of years ago. So I simply scaled one of those way down to fit the frame.

I also tried a technique that I’ve seen people use on full sized prints that they printed at home on regular ol’ paper to make them look more like paintings. You simply brush on some Mod Podge, purposely applying it in different directions to leave brush strokes behind. Once dry, it gives the illusion that you’re looking at a ‘real’ painting.
You can’t really see the results very well in my photo above, so you’ll just have to take my word for it when I say that this simple little trick really did make it look more like an actual painting.

I hung the painting on the wall next to the wardrobe using Tacky Wax.
With that, I’m calling this room ‘done’, well, let’s say ‘done for now’ because I’m still hoping to find a better option for the bedding.

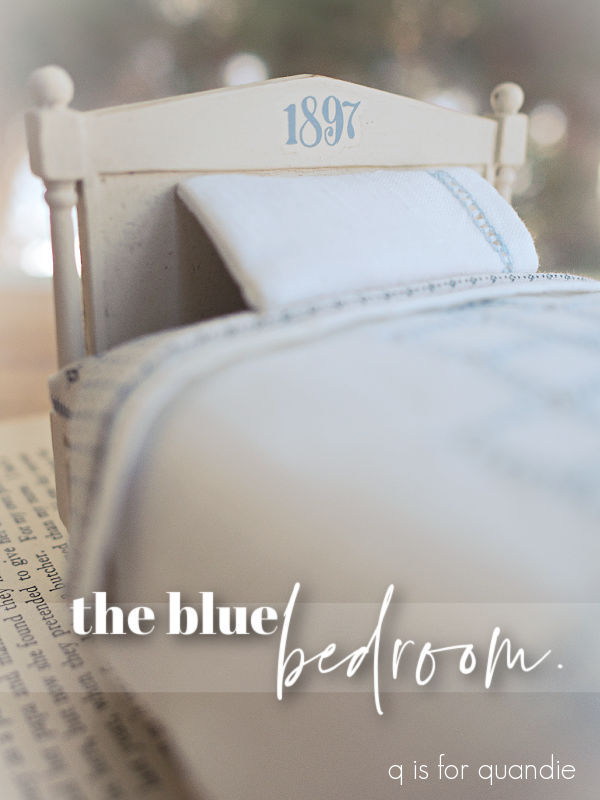
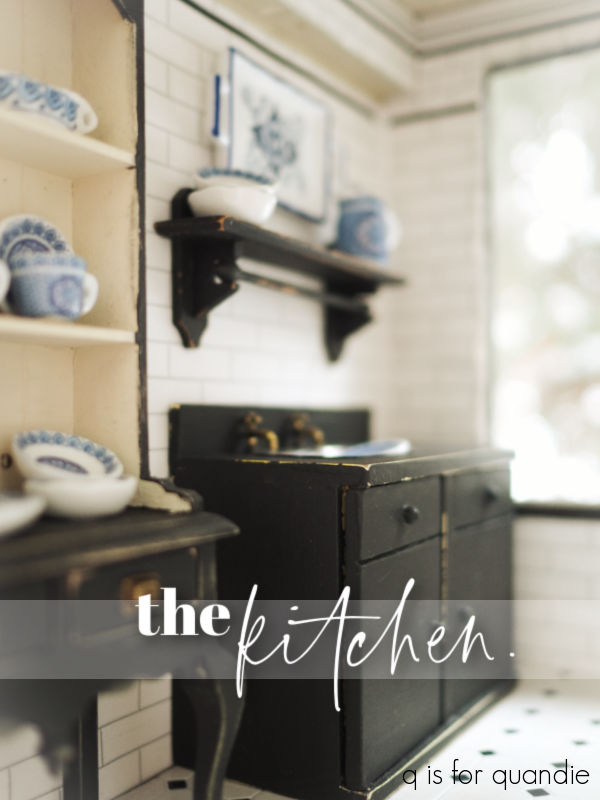
So, if you’re keeping track, so far I have spent $10 on the kitchen and $38 on the blue bedroom.
For this room, the wallpaper was $14 and the flooring was $7.50 (although it is also shared with the room next door). The wardrobe was $12 and the day bed was $20. Everything else was stuff I already had on hand including the gold frame which was left over from my previous dollhouse project. So, yes, expenses are getting out of hand. I’m up to $53.50 on this room, yikes!
With that, what do you think? Leave a comment and let me know.

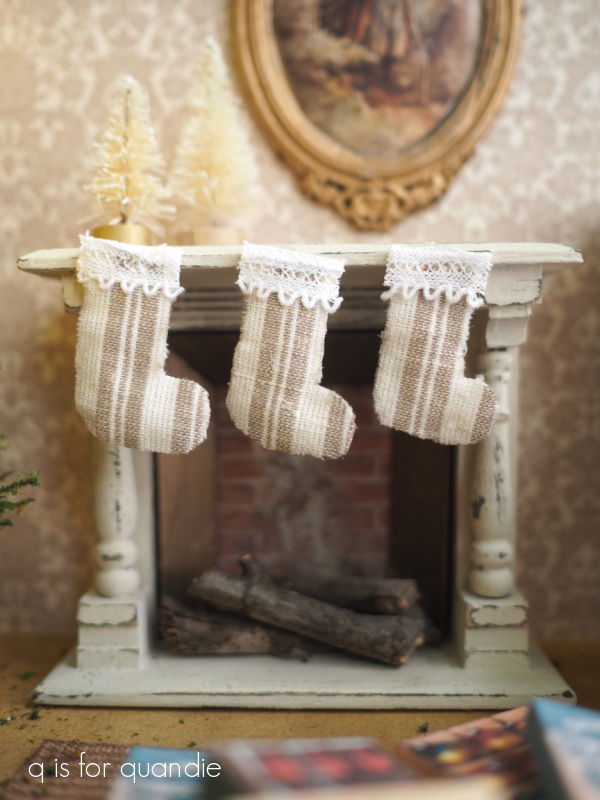
 I just love being able to use these gorgeous vintage linens in this way. I’ll definitely be on the lookout for more of them when garage sale season starts up again.
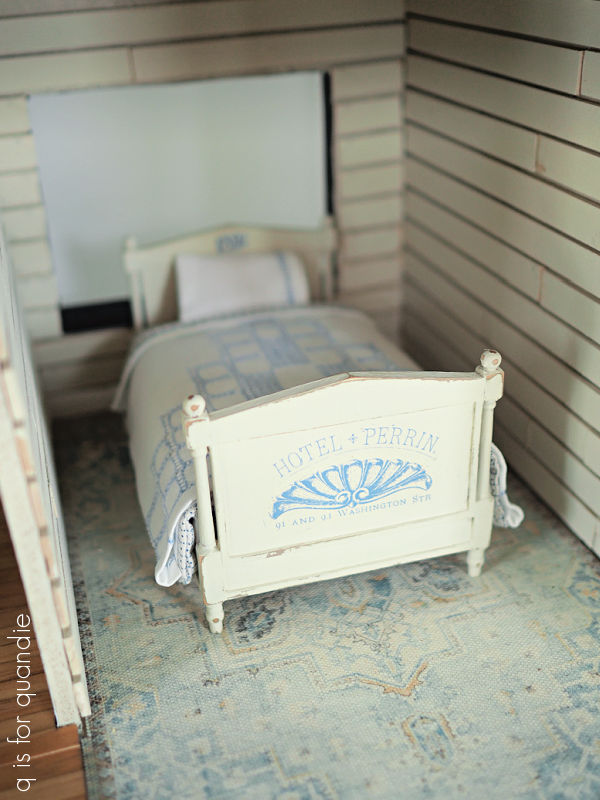


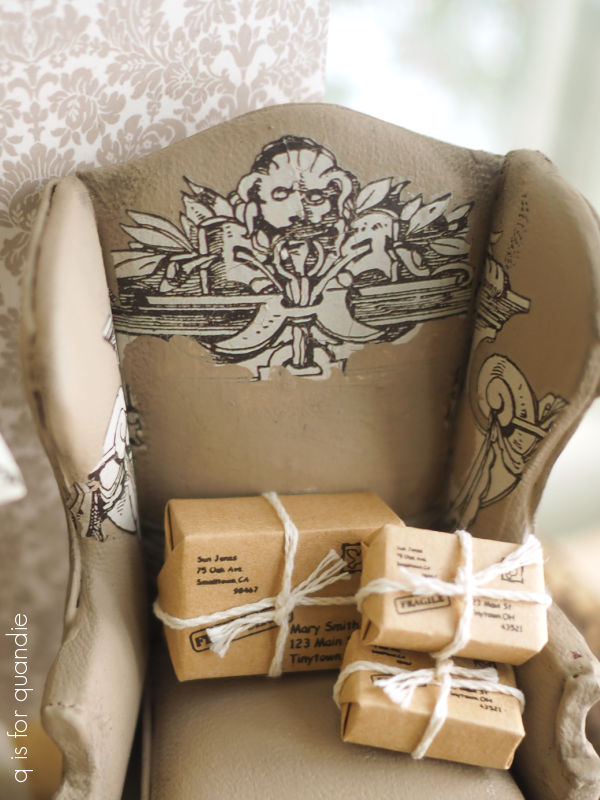
 I gave the chair a base coat of Dixie Belle’s Coffee Bean, which is a dark brown/black color. I wanted to cover up the original red completely and have a dark color to distress back to.