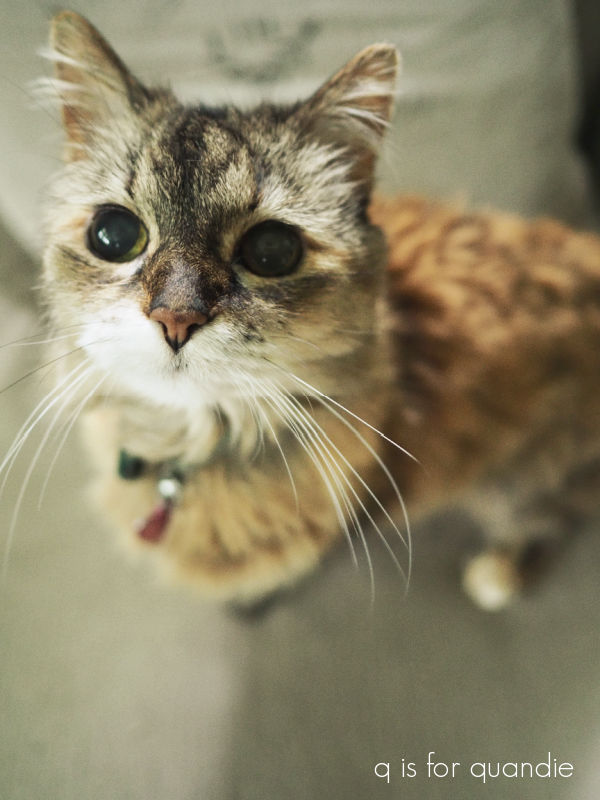
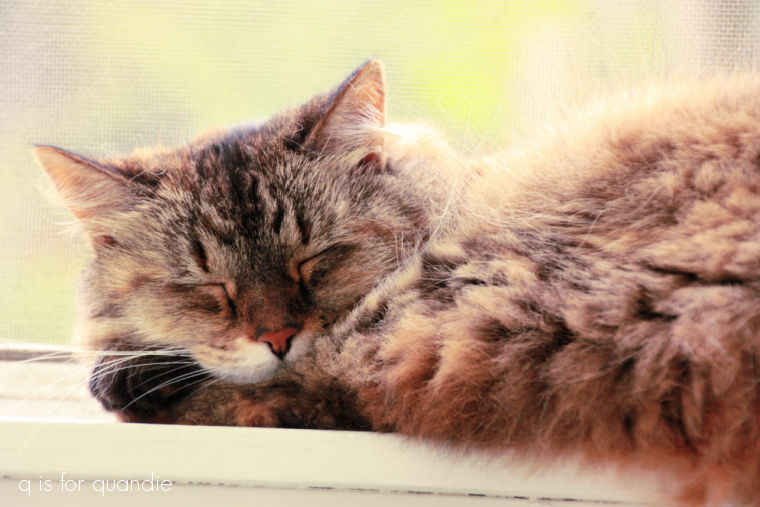
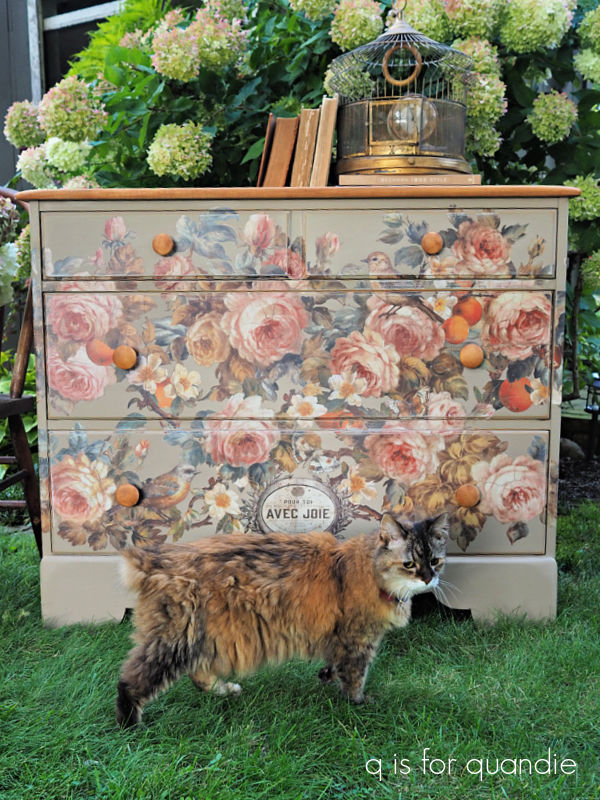
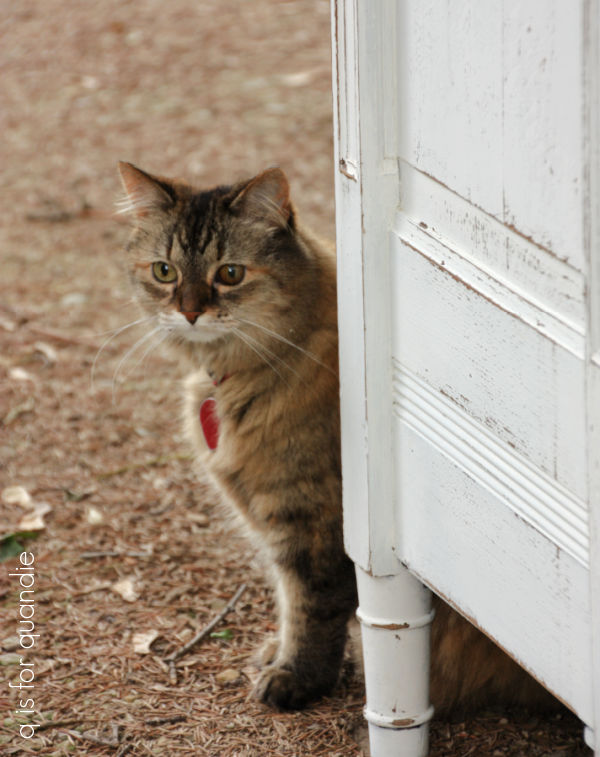
First up, I want to thank everyone who took the time to leave a message conveying their condolences on the loss of our sweet Lucy. Every comment was so kind and thoughtful and I appreciated each one. Somehow it’s easier when you know you’re not alone and many of us have suffered through the loss of a beloved pet.
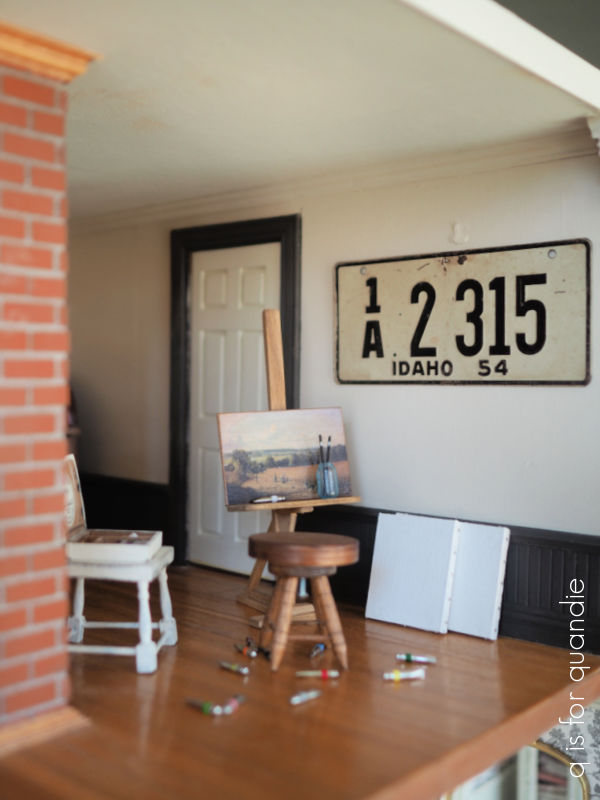
I have to admit that I haven’t felt very creative over the past week and have been mostly watching old Miss Marple episodes on PBS Masterpiece interspersed with taking nice long walks in the woods with Mr. Q (in between snow showers, ugh, could winter just be over already?). But luckily, I had finished a few projects earlier that I can share with you today.
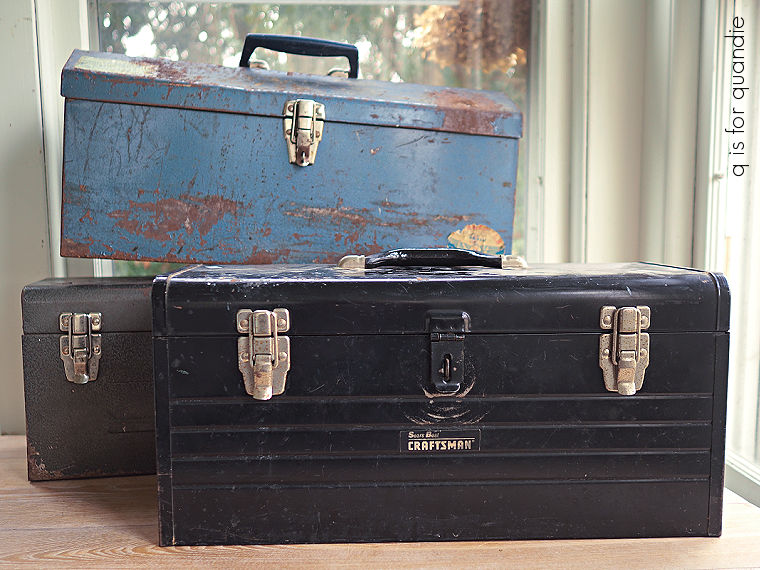
You may remember that I picked up a trio of boxes while out thrifting a few weeks back.

They are three different sorts of boxes; a metal lock box, a small wood box with a hinged lid, and larger open wood box.
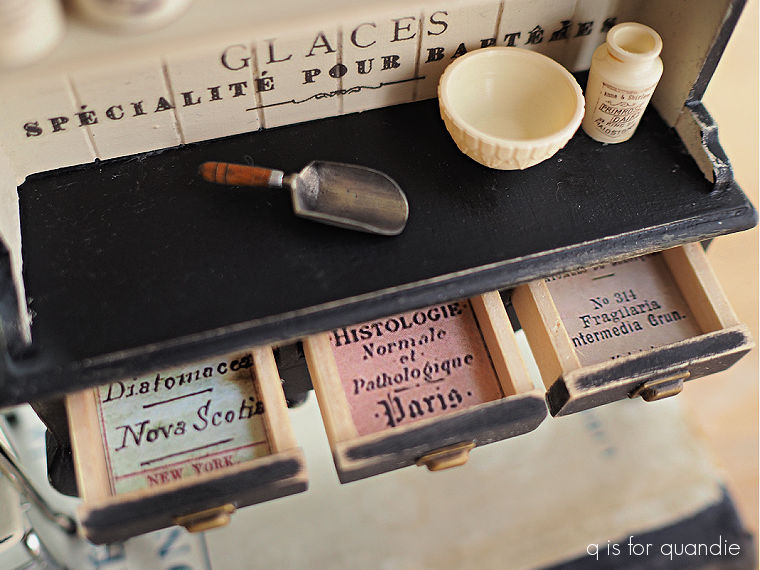
I chose that last one at the time because I thought it would be handy for corralling some of my dollhouse supplies. You know, sometimes you just need a handy box to put stuff in.
I’ve given all three of them makeovers, so I thought I’d share them with you today.
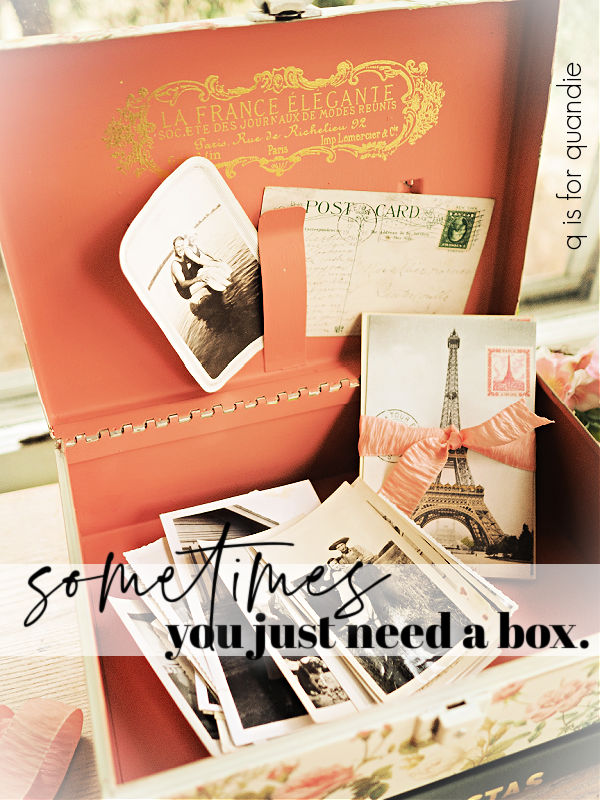
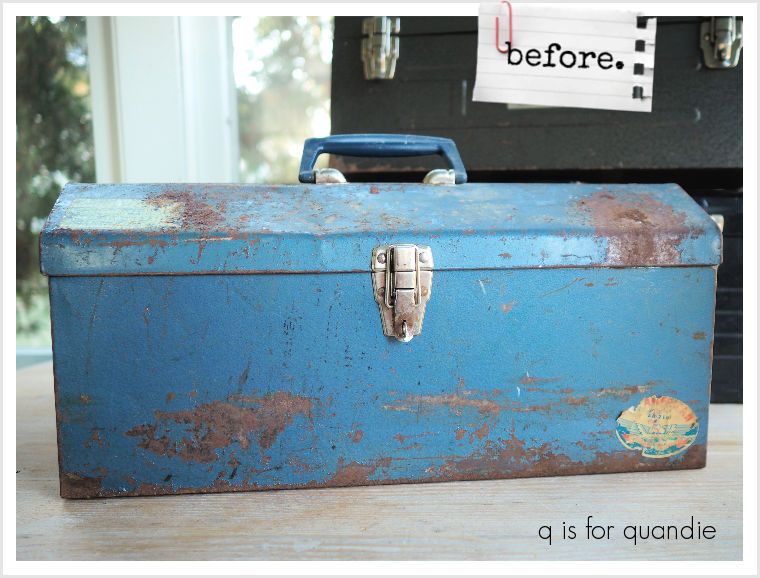
First up, the lock box.
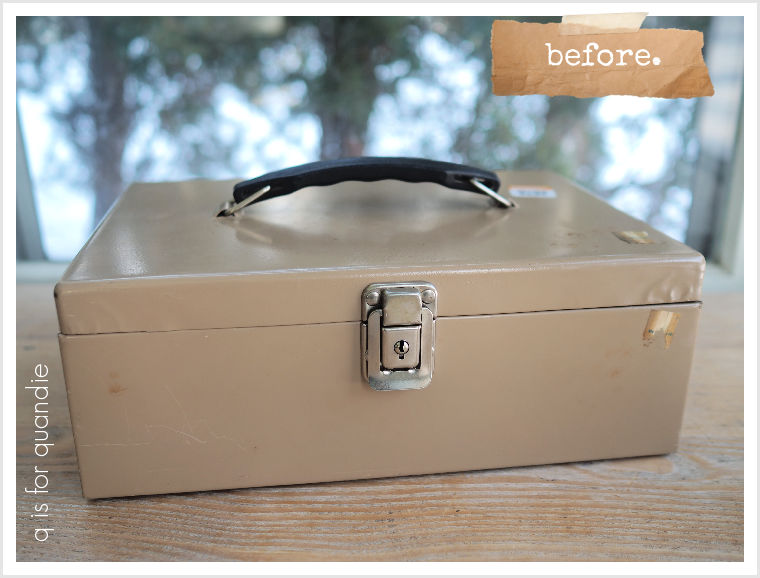
To be honest, I really debated whether or not to throw this in the cart. But it was only $3.99, so I figured it was worth a shot.
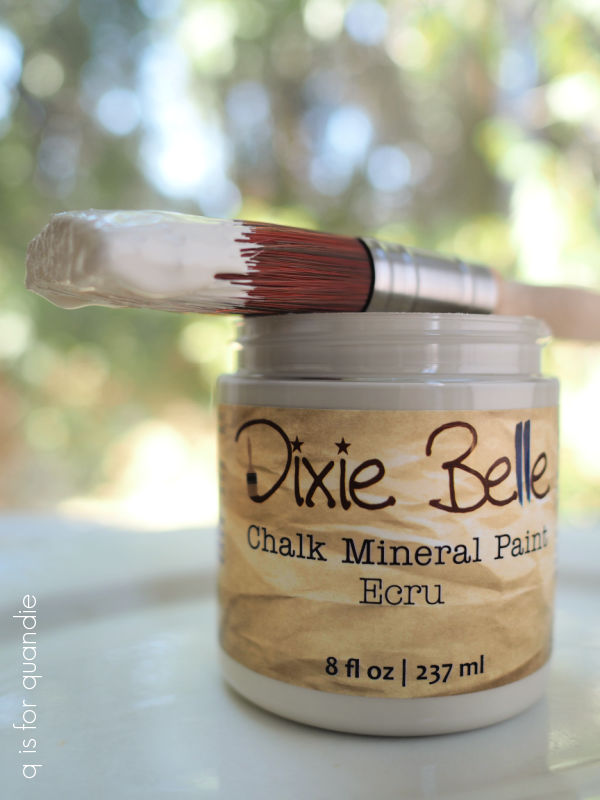
After washing it up, I gave it a cursory sanding with my Mouse sander, wiped away any dust and then gave it a good coat of Dixie Belle’s Bonding Boss both inside and out. Although there wasn’t any rust, and bleed through wouldn’t be an issue, it was a pretty slick surface. Not only does the Bonding Boss prevent bleed through, it also improves adhesion of your paint.
One more quick note about Bonding Boss. I almost always choose to use the clear version. It also comes in white and grey. If you aren’t going to distress your item, it might make sense to use the white if you are painting light color over a dark finish, or the grey if your final color is in the red family (red will cover better over a grey primer). But when you distress the edges of your piece the white or grey will show. So I mostly use the clear version to avoid that.
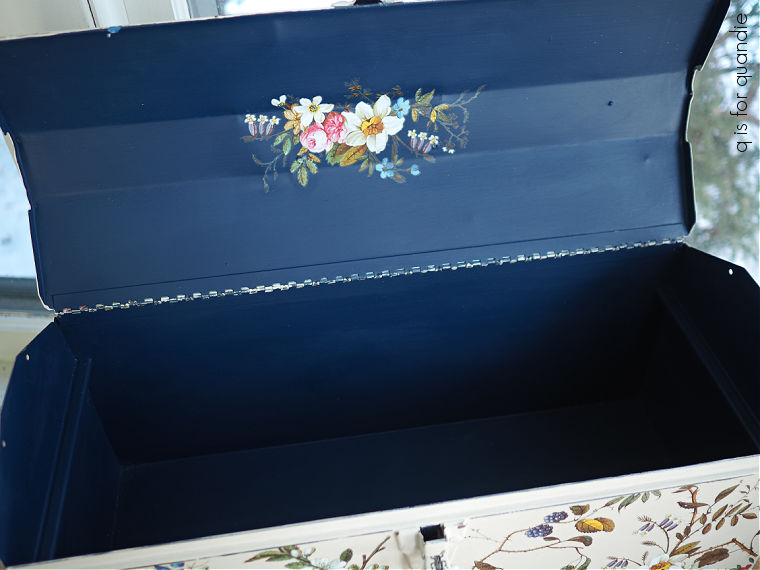
Next up I painted the inside in Dixie Belle’s Cottage Door. I’m still loving this particular shade of coral/pink.
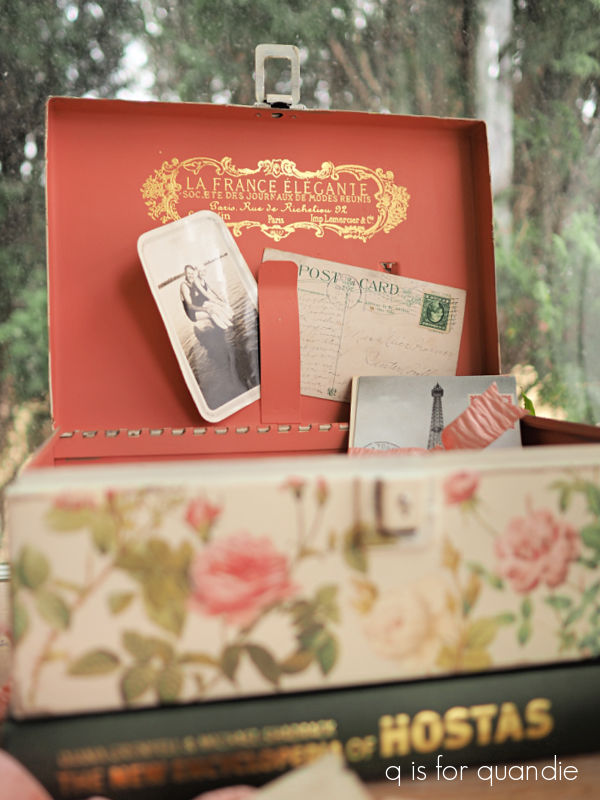
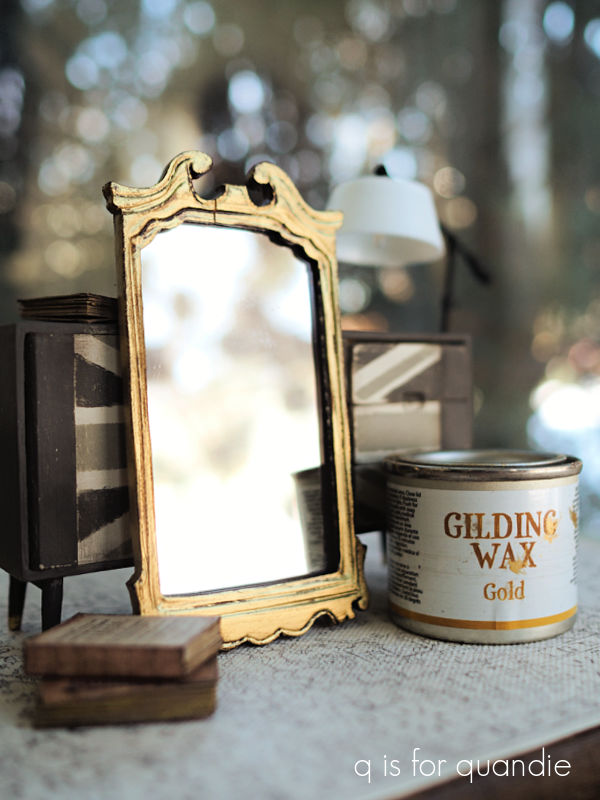
After two coats of paint were dry, I added another of the gilded Etiquettes transfers from I.O.D. inside the lid.
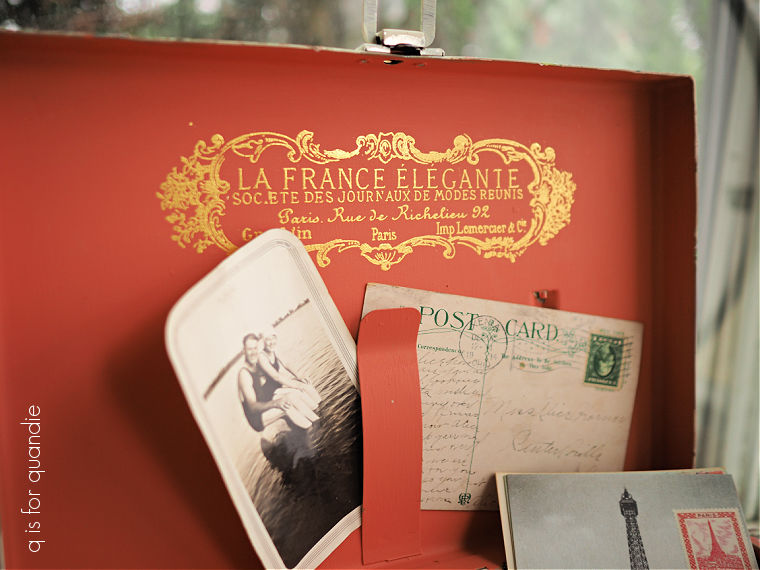
I am definitely starting to get the hang of these gilded transfers. Isn’t the gold lovely over the Cottage Door color? I’m glad I didn’t give up on them entirely after the first time I tried them (which was pretty much a fail). If at first you don’t succeed …
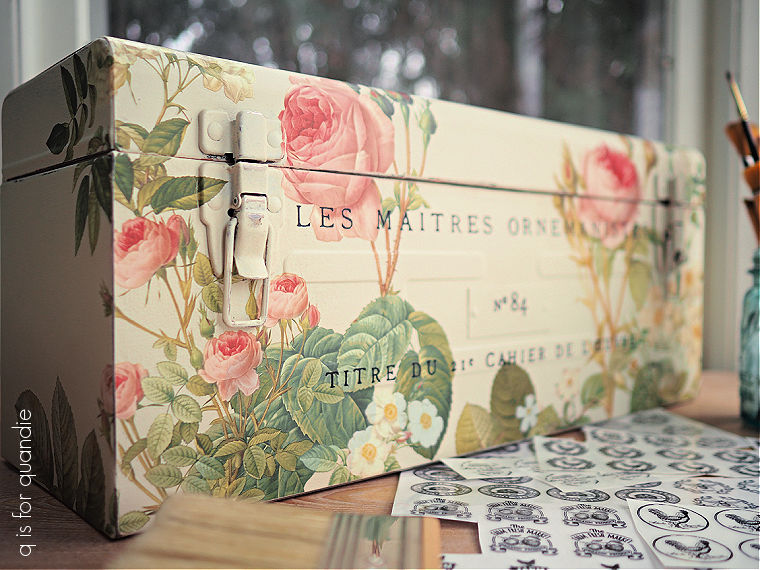
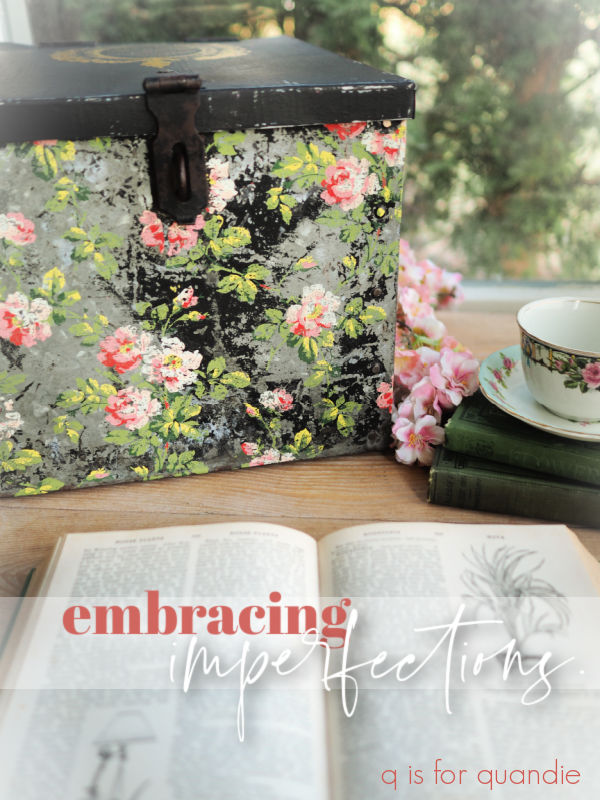
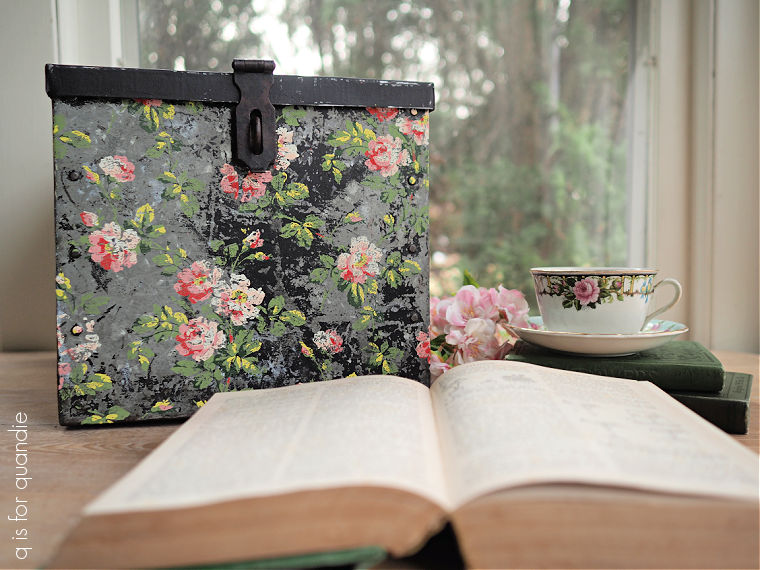
I painted the outside of the box in Dixie Belle’s Drop Cloth, and once dry I sanded the edges to distress the paint.
After cleaning up the dust, I started adding roses from the I.O.D. Rose Botanical transfer.
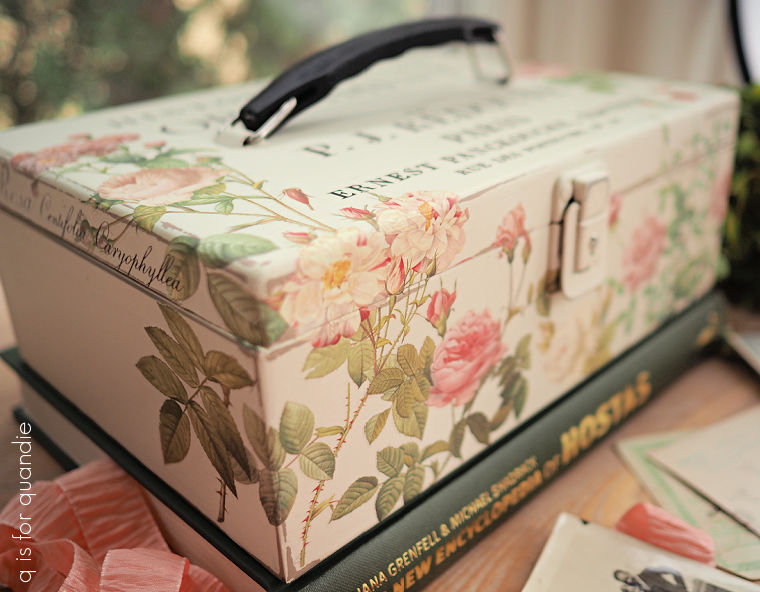
Every time I use this transfer I am reminded how beautiful the roses are.
In case you aren’t familiar, this transfer comes with single rose images in a few different sizes. I just cut them out and started layering them onto my piece.
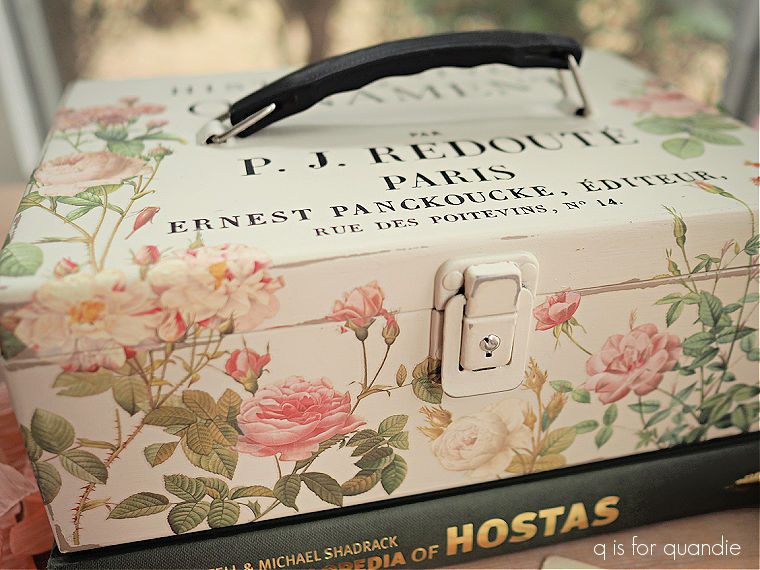
Once I had the roses in place, I added some typography from the I.O.D. Label Ephemera transfer to the top of the box.

Finally I gave the box a coat of Dixie Belle’s flat clear coat to seal it inside and out.
I ended up bringing this box into the shop (Reclaiming Beautiful in Stillwater, MN) to sell, and I believe it may be already sold, I’m not sure.
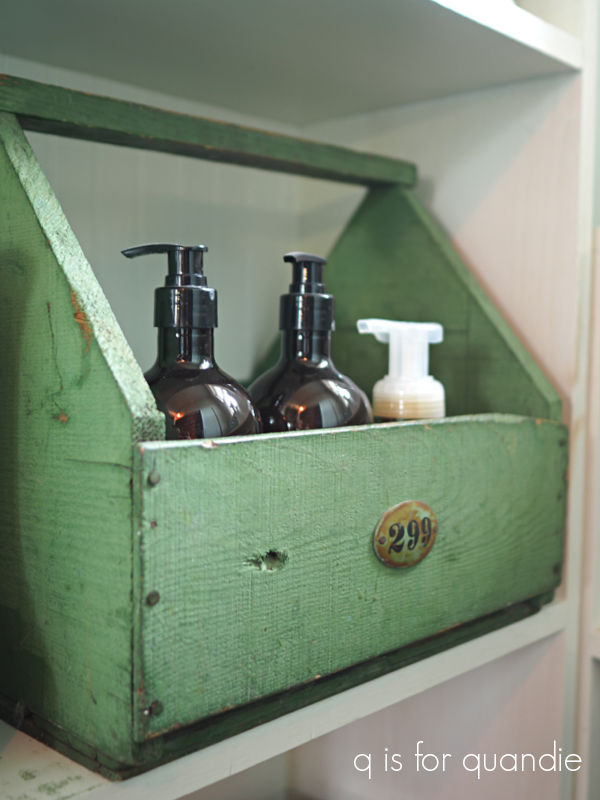
Next up, the open box.
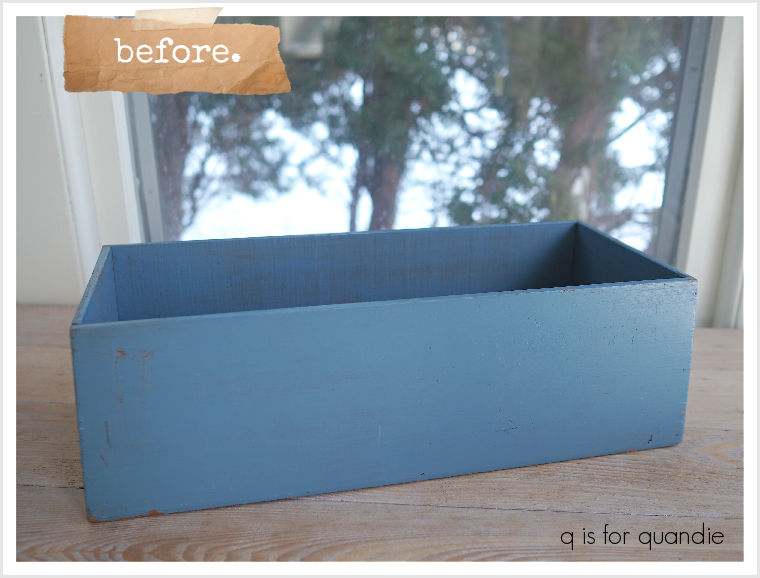
Giving this box a new look was a much simpler process. I gave it quick cleaning, followed by a scuff sanding to prep the surface for paint. Then I painted it in one of Dixie Belle’s new Southern Roots colors called Thicket.
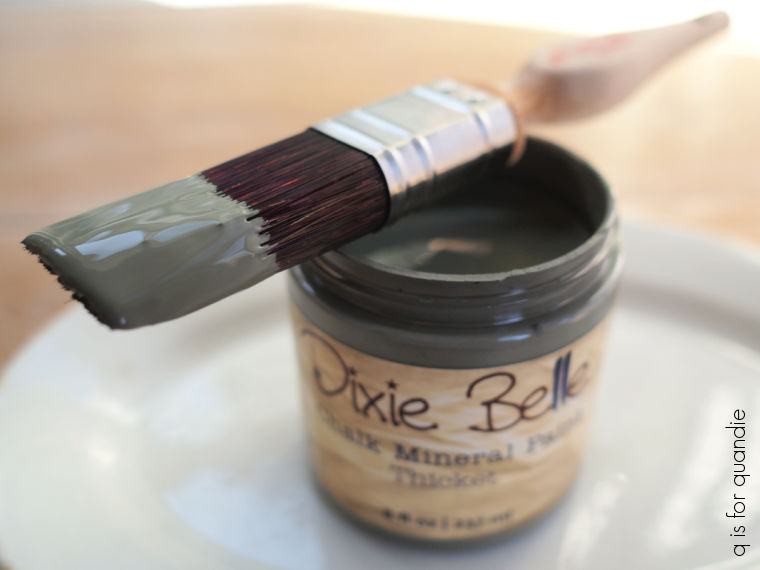
I had a heck of a time trying to get a good photo of that color.
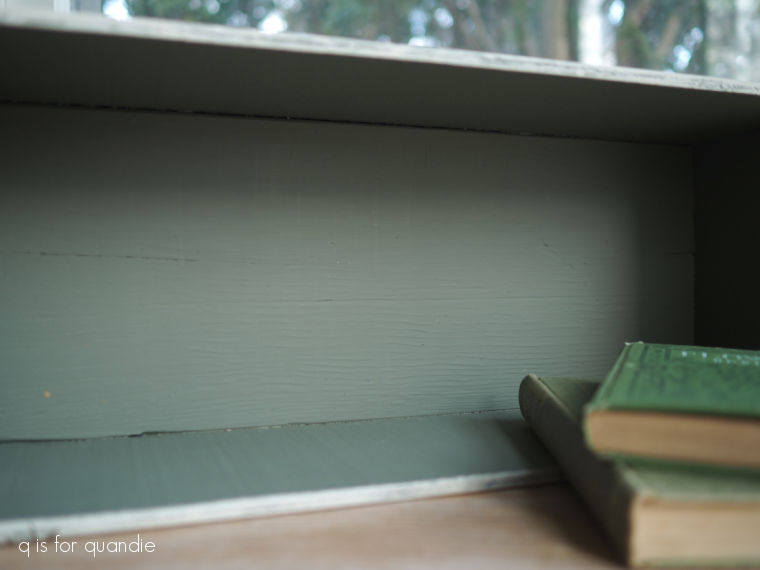
I hope that’s a decent representation of it. It’s a nice grey green, but possibly not as dark as I thought it would be looking at the jar.
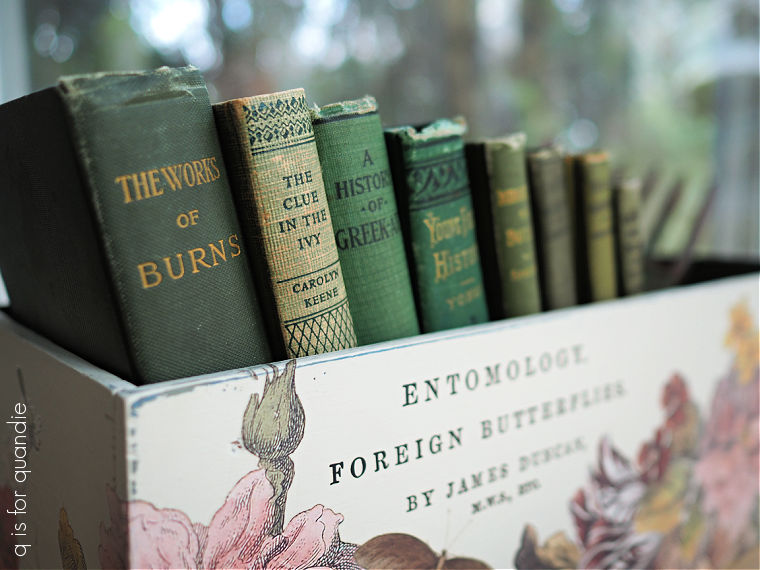
Once the Thicket was dry, I painted over just the outside of the box in two coats of Ecru. Once that dried, I sanded the edges a bit to distress them and then started applying some transfers.

The florals are all from I.O.D.’s Floral Anthology. The wording is from their Label Ephemera transfer, and the butterflies are from their Brocante transfer.
I decorated both sides of the box, and wrapped some around the corners too.

I gave the inside of the box a top coat of Dixie Belle’s flat clear coat for extra durability, but I finished the outside with their Easy Peasy Spray Wax.

I tend to forget about this product, and it’s super easy to use. Just spray it on and then wipe away any excess. I usually use an old t-shirt for that.
I staged the box with all of my vintage green books.
I have to confess that I usually choose vintage books based on their color rather than their content. However, this little book on Flowers published in 1909 is one of my favorites.
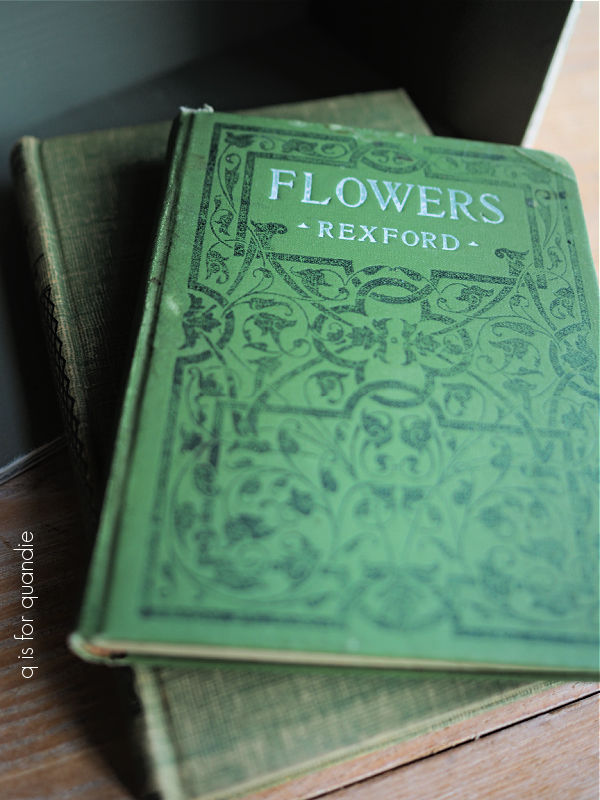
It’s probably childish of me, but I chuckle a little every time I open it to find a chapter called “soil for pot plants”.
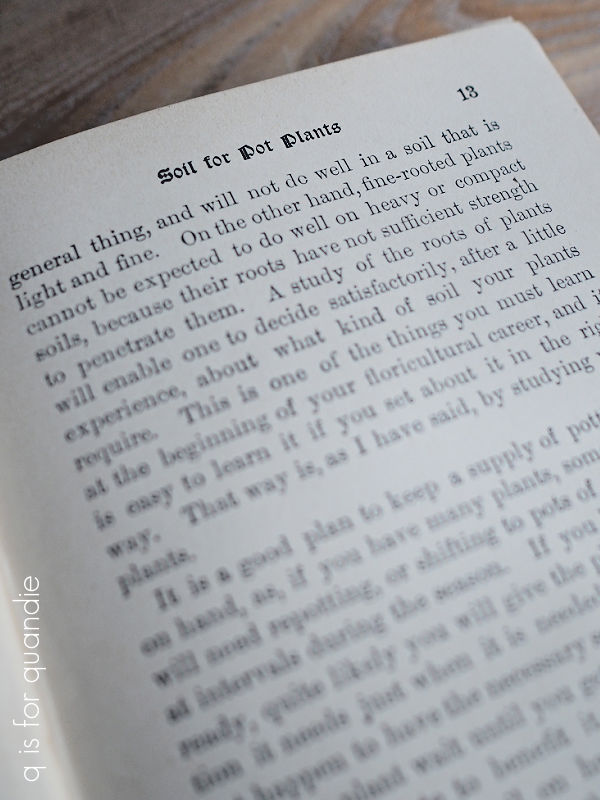
Clearly that meant something more innocent in 1909.
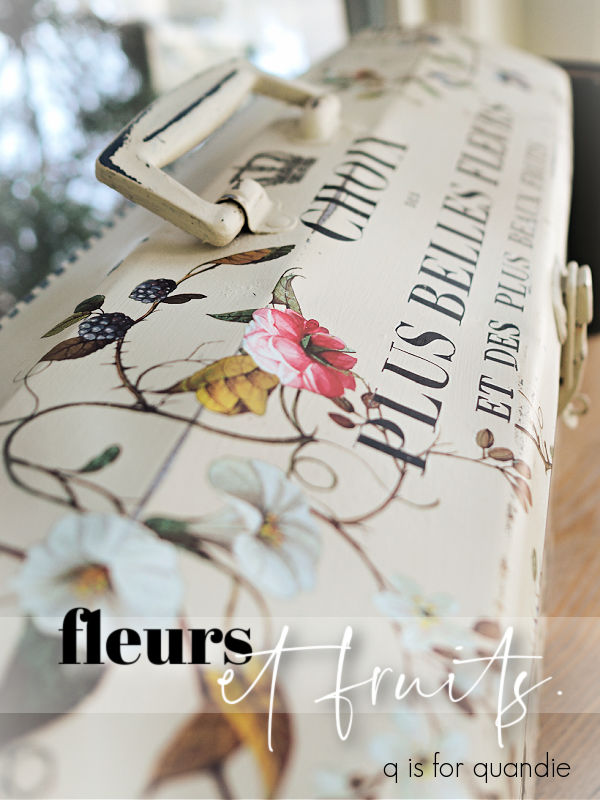
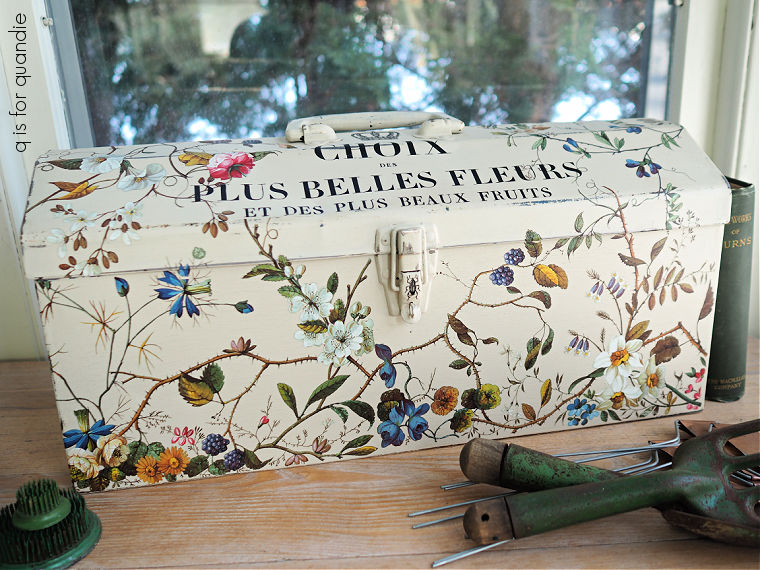
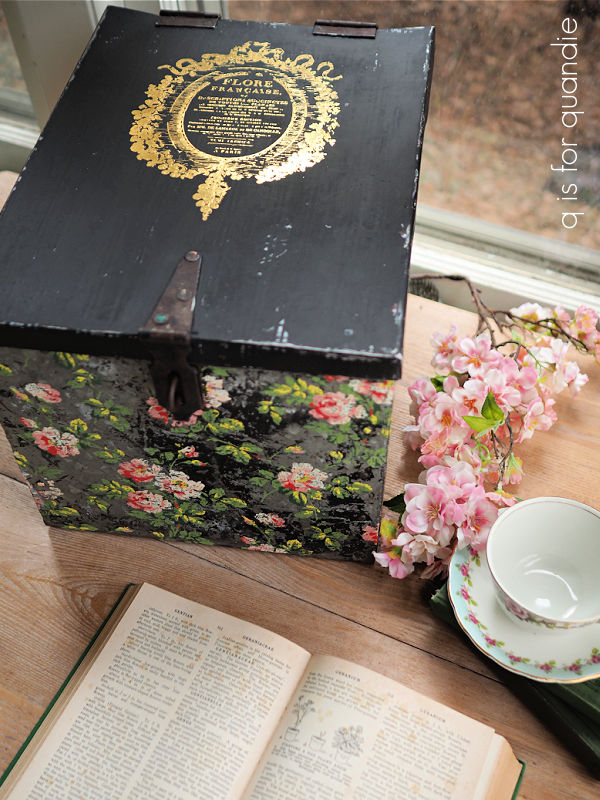
Last up is the cigar box. Well, I’m calling it a cigar box because it’s the right size and shape for a cigar box. There is a stamp on the bottom that says “container made in the Dominican Republic”, and that’s the only mark on the box. It also doesn’t smell at all like cigars inside. So, was it a cigar box, who knows?
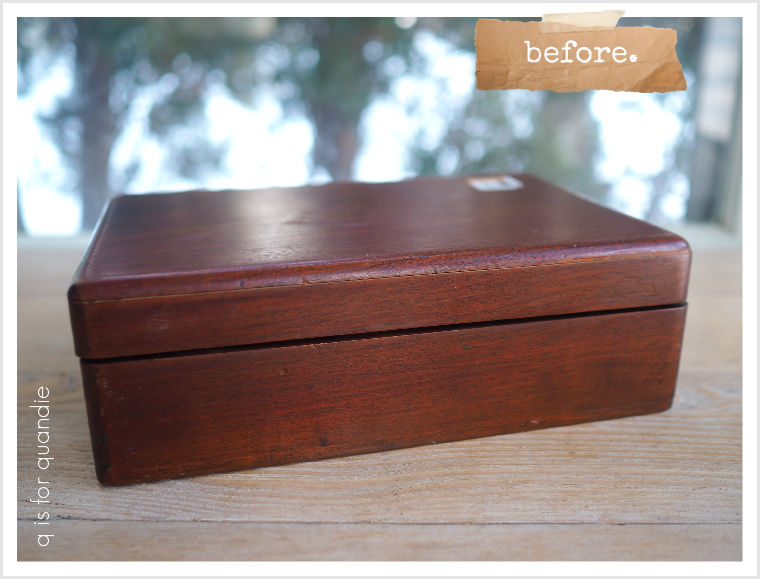
Regardless, it had a finish on it that would almost definitely bleed thru paint. So once again I followed the proper directions with the Bonding Boss. I applied two coats with 4 hours of dry time in between coats, followed by 24 hours of dry time after the 2nd coat.
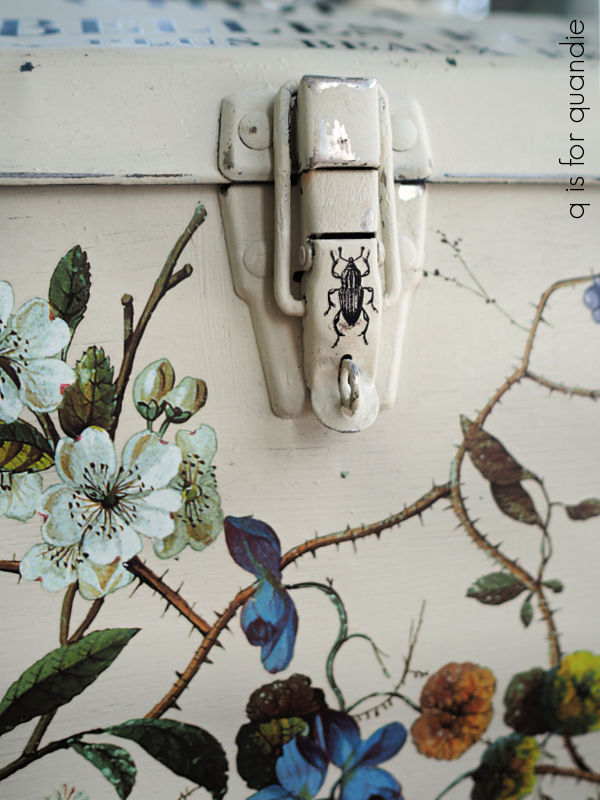
Lucky I did, because there was one small spot around the hinge in the back where I missed getting good coverage with the Bonding Boss, and sure enough my paint turned a little orange in that spot.
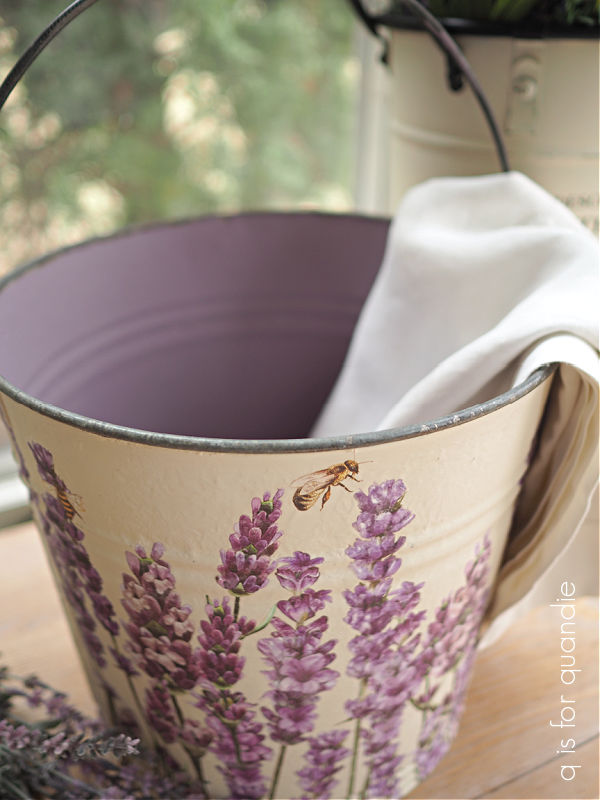
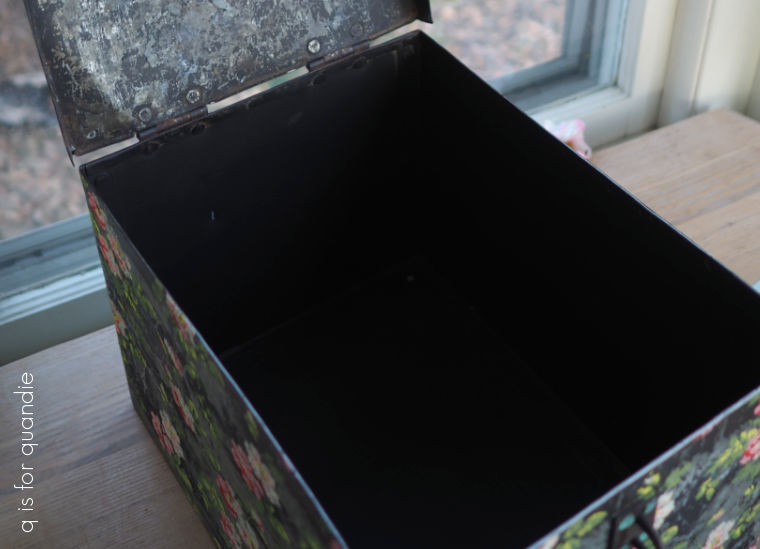
But otherwise, the Bonding Boss did the trick. I painted the inside of the box in Dixie Belle’s Apricot.

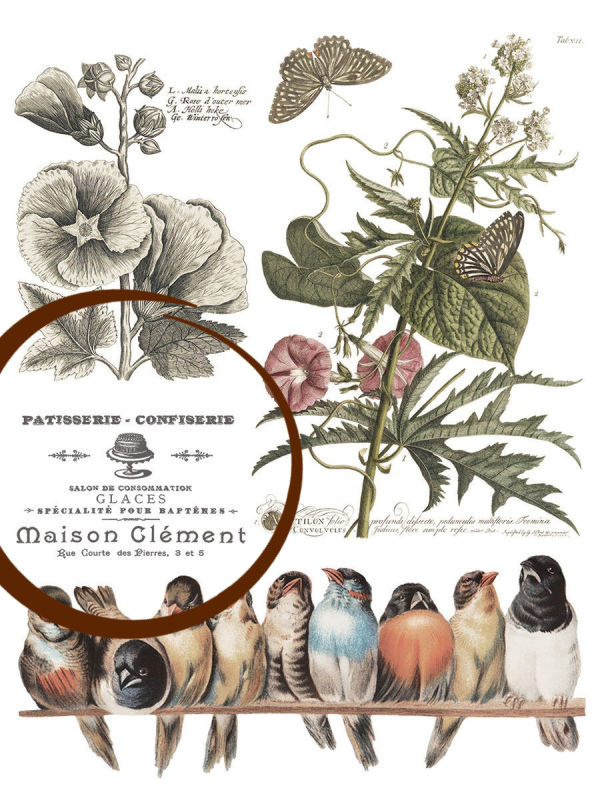
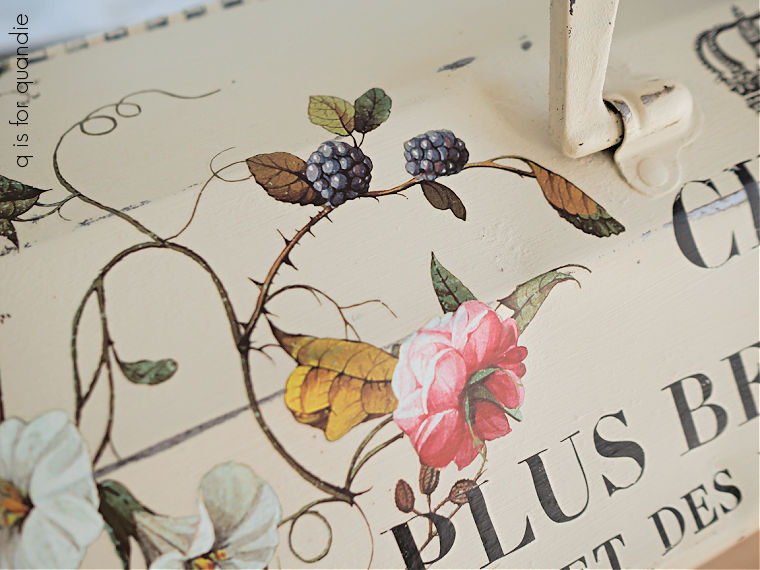
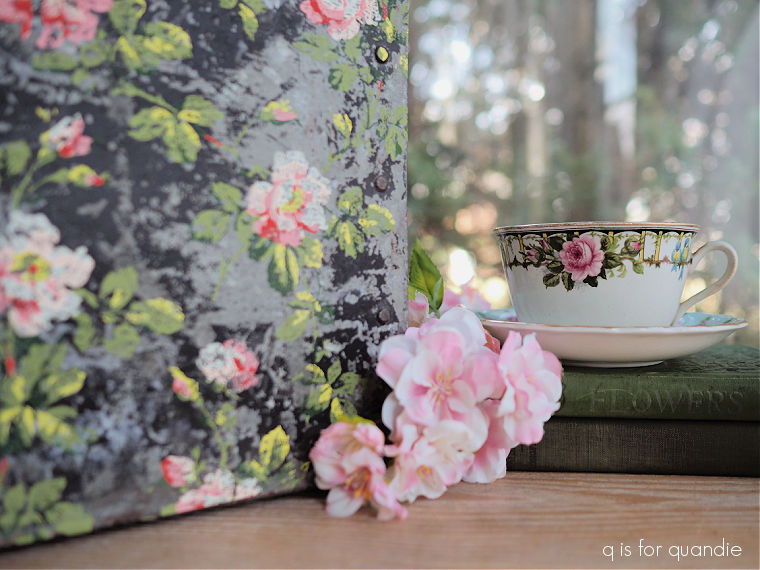
Then I painted the outside of the box in two coats of Dixie Belle’s Drop Cloth. Once dry, I pulled out one of the new I.O.D. transfers called Catharina. This set features botanical illustrations painted by Catharina Klein in the late 19th and early 20th centuries.

These florals are very soft and delicate looking.
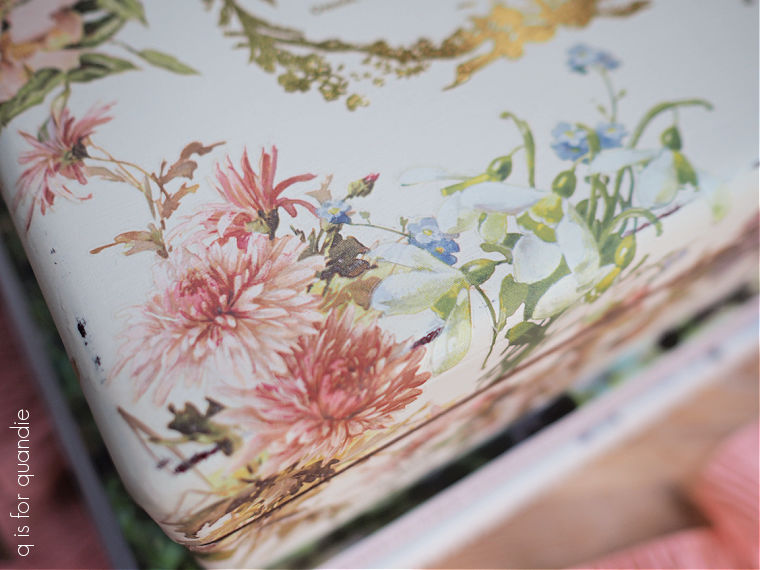
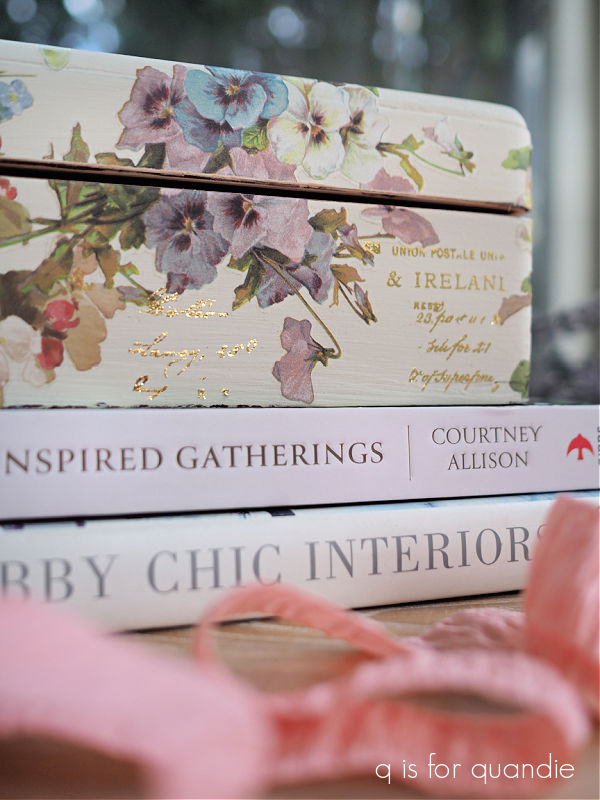
Although there are some roses in this set, there are also lots of other flowers like pansies, violets, apple blossoms and more.
Aren’t they pretty?
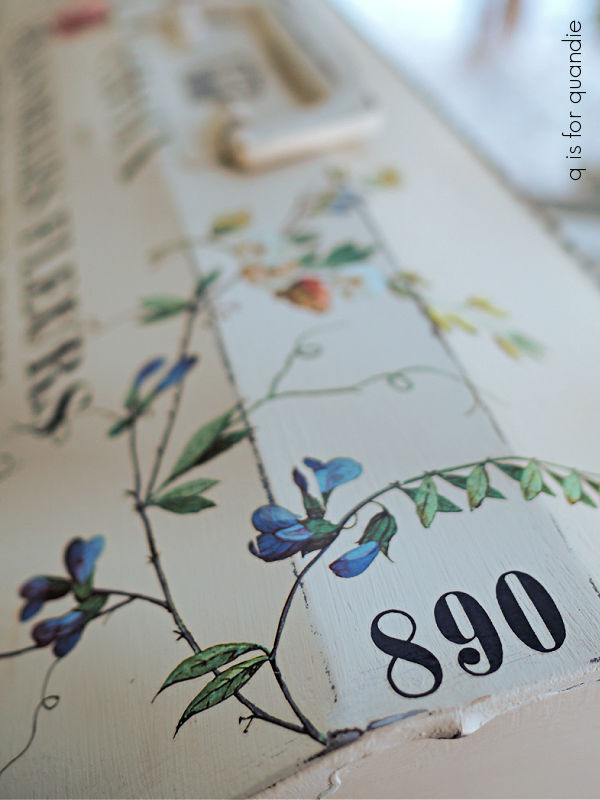
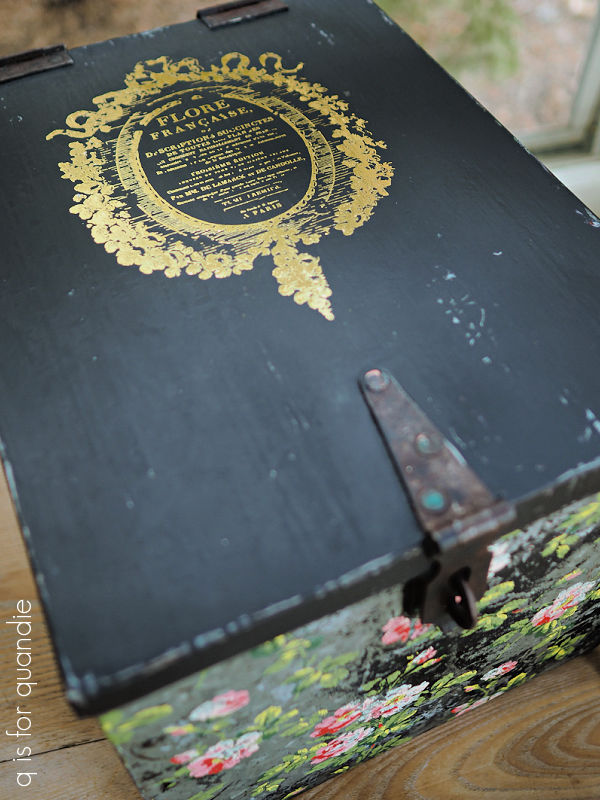
I also added some bits and pieces from the I.O.D. gilded Etiquettes transfer here and there on the front.
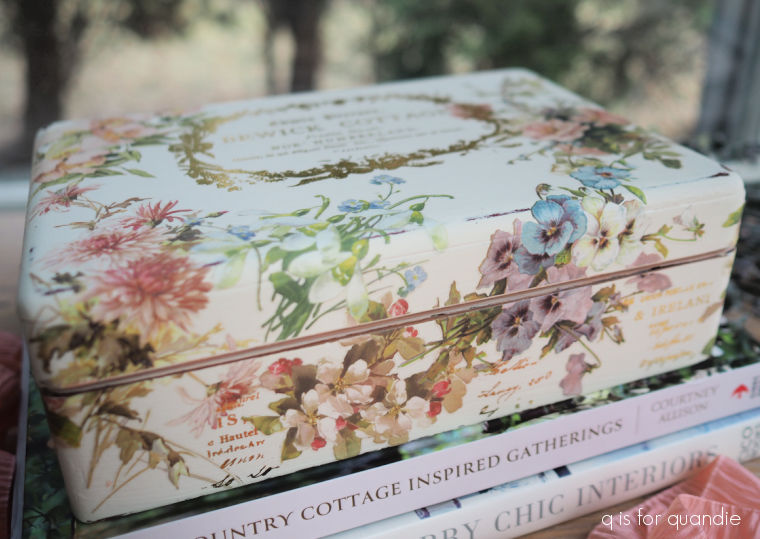
And then I added a larger image from that transfer on the top of the box.

This would make a lovely jewelry box, or just some sort of trinket box.
I still have this one on hand if any of my locals are in need of a pretty flowery box. I’ll list it in my ‘available for local sale‘ page with the details.
So there you have it. Three makeovers of three different ‘boxes’. Leave a comment and let me know which one is your favorite!