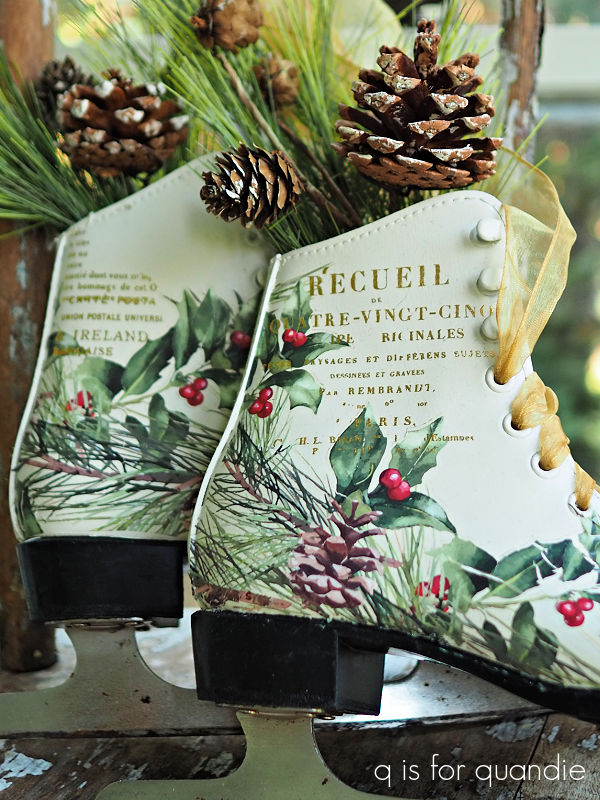
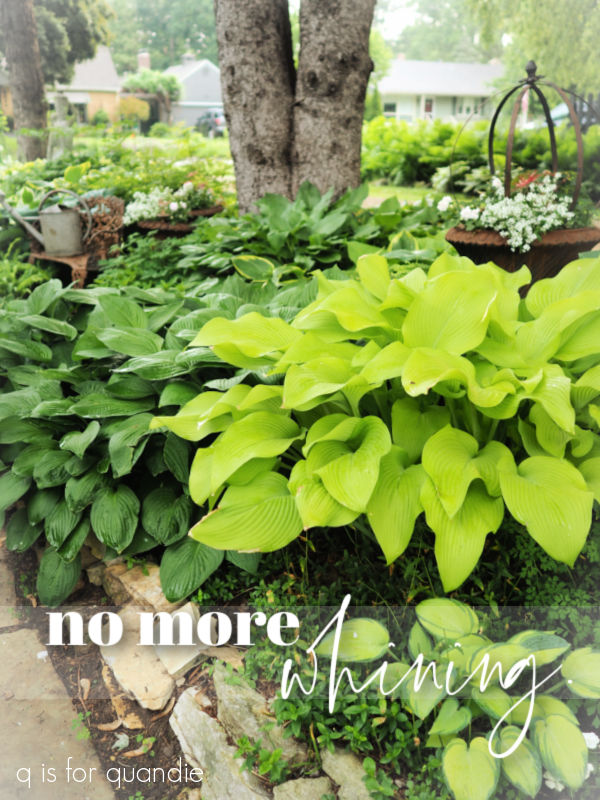
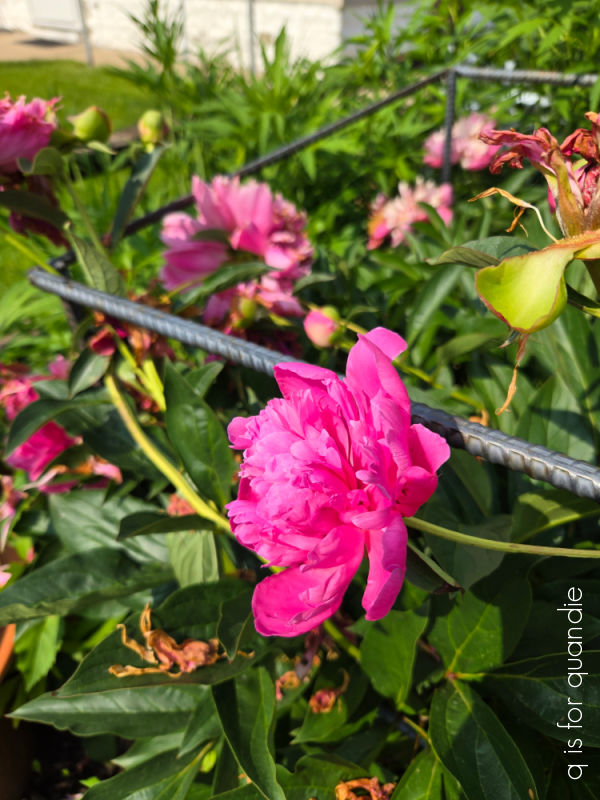
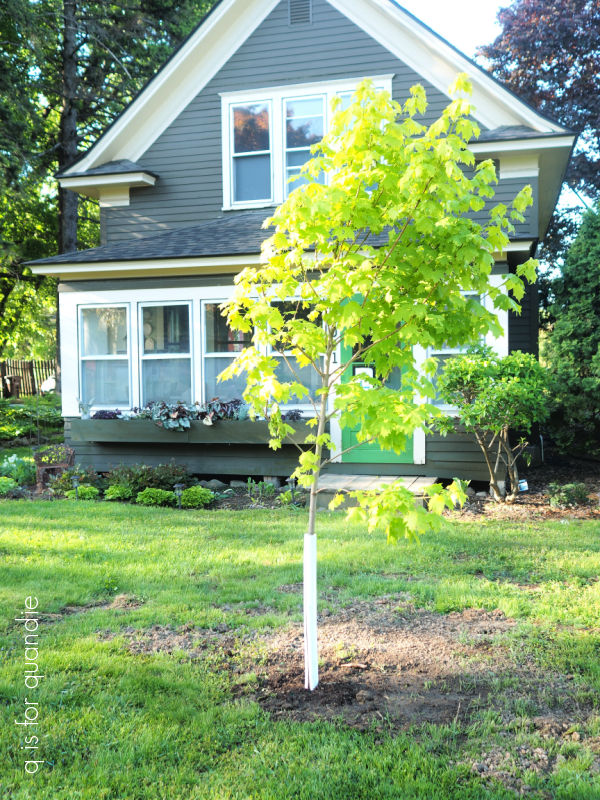
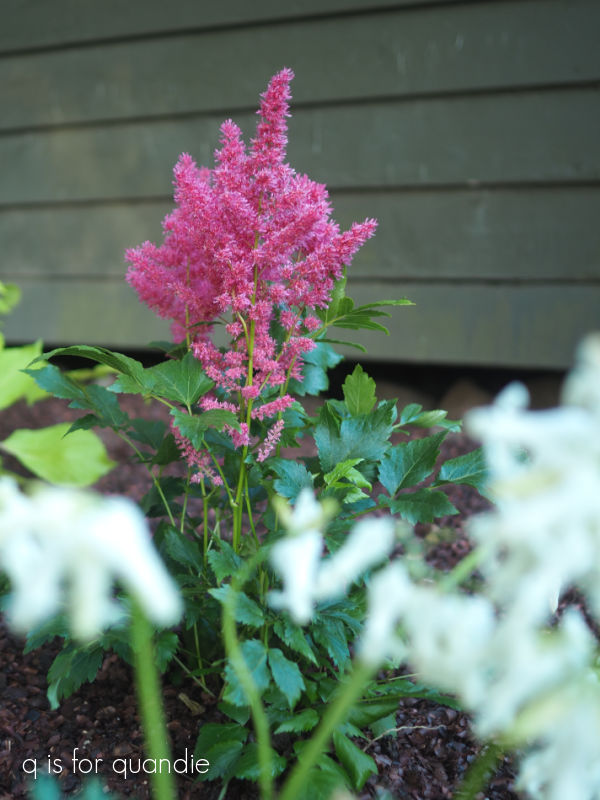
Good morning from the garden!
One thing I’ve learned over the years is that I should never say never. I once said that I would never use the Dixie Belle Secret Path color because it was too purple.
But then I did use it, and I loved it.

I also once said that I would never use the metallic gold transfers from I.O.D., but then I kept working with them and realized that they were much more versatile than I originally thought.
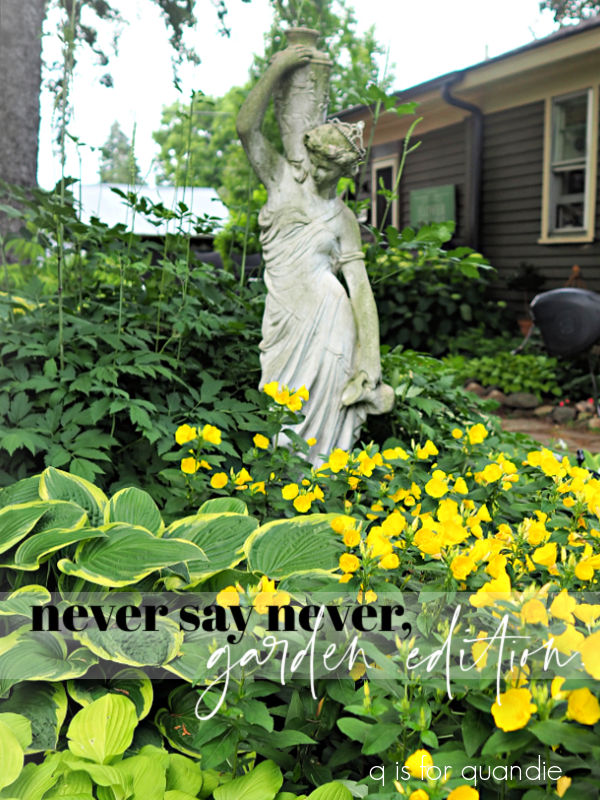
I also once said that I didn’t like yellow flowers and would never add them to my gardens.
I even went so far as to try and remove these yellow irises about 20 years ago.
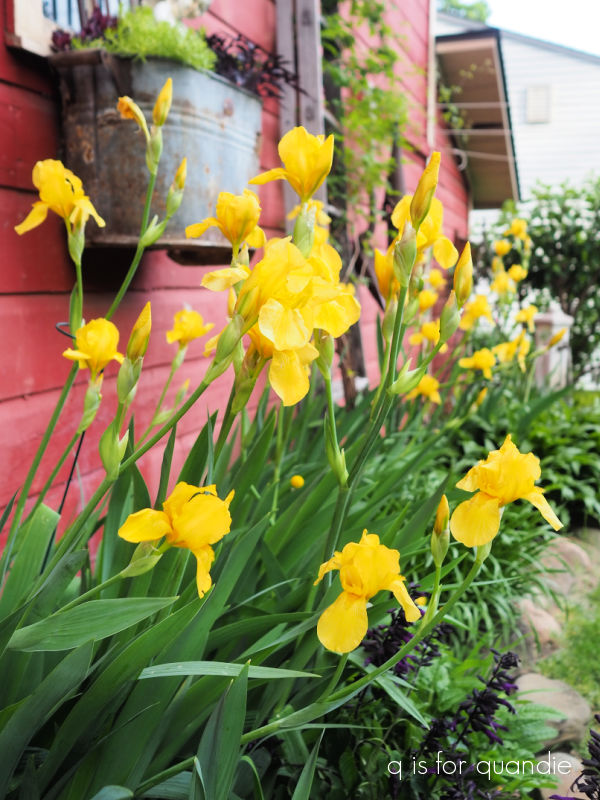
But they were stubborn, and they came back. And continued to multiply.
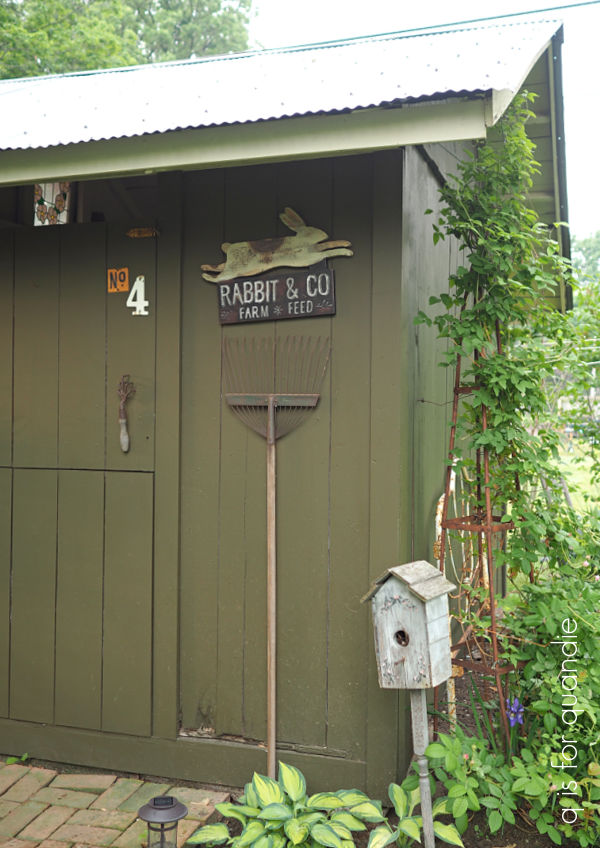
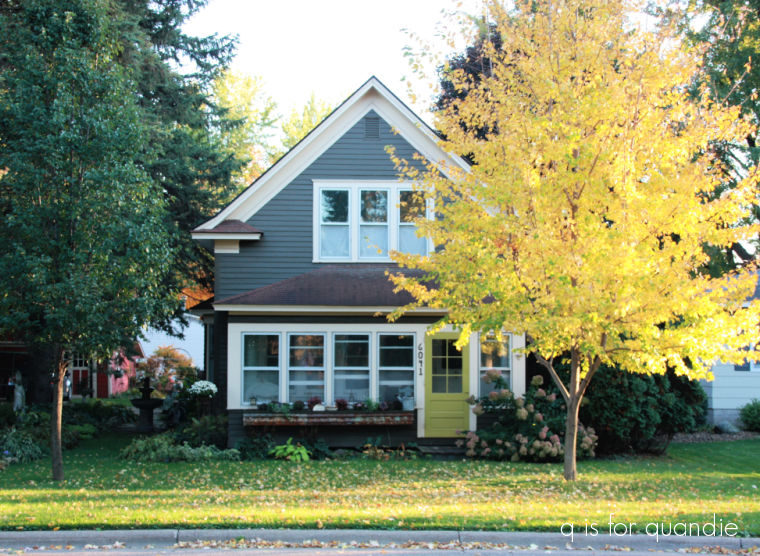
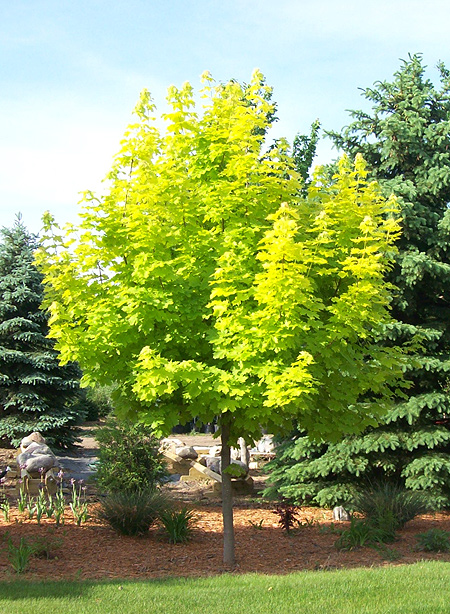
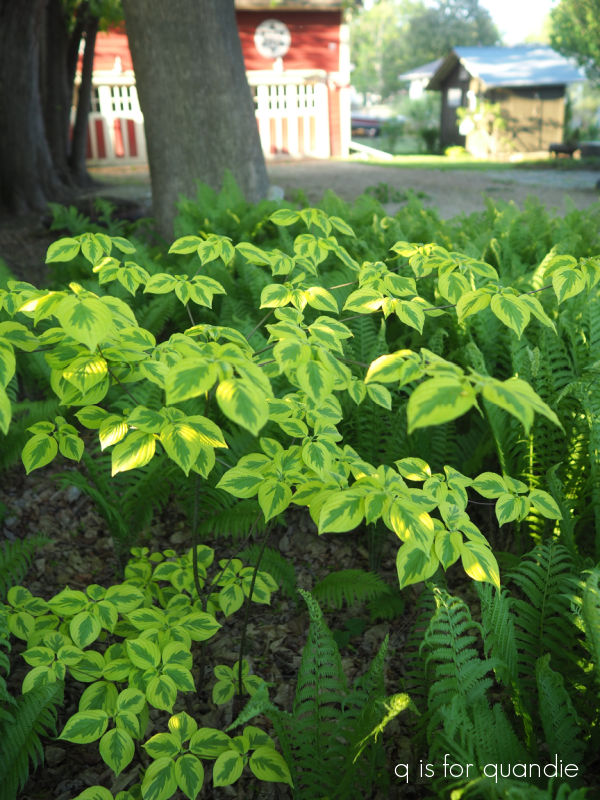
Now I rather like that pop of yellow over by the carriage house.
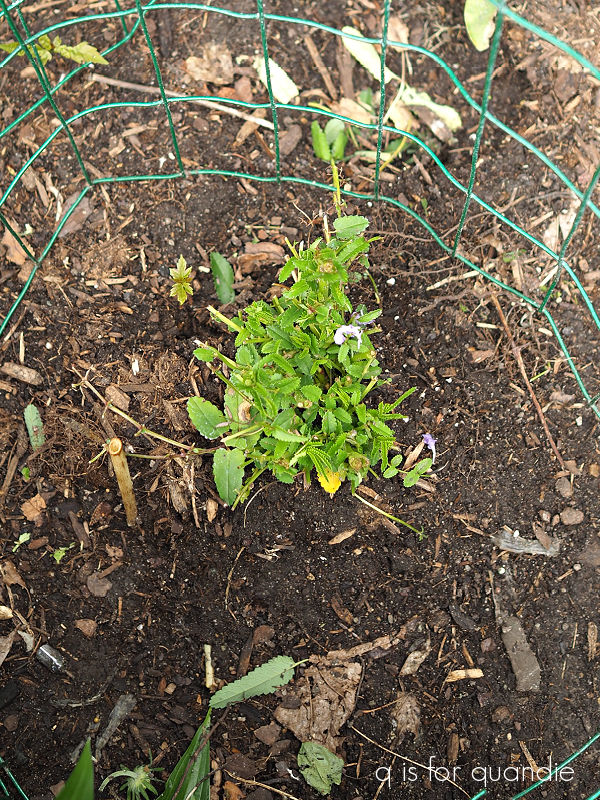
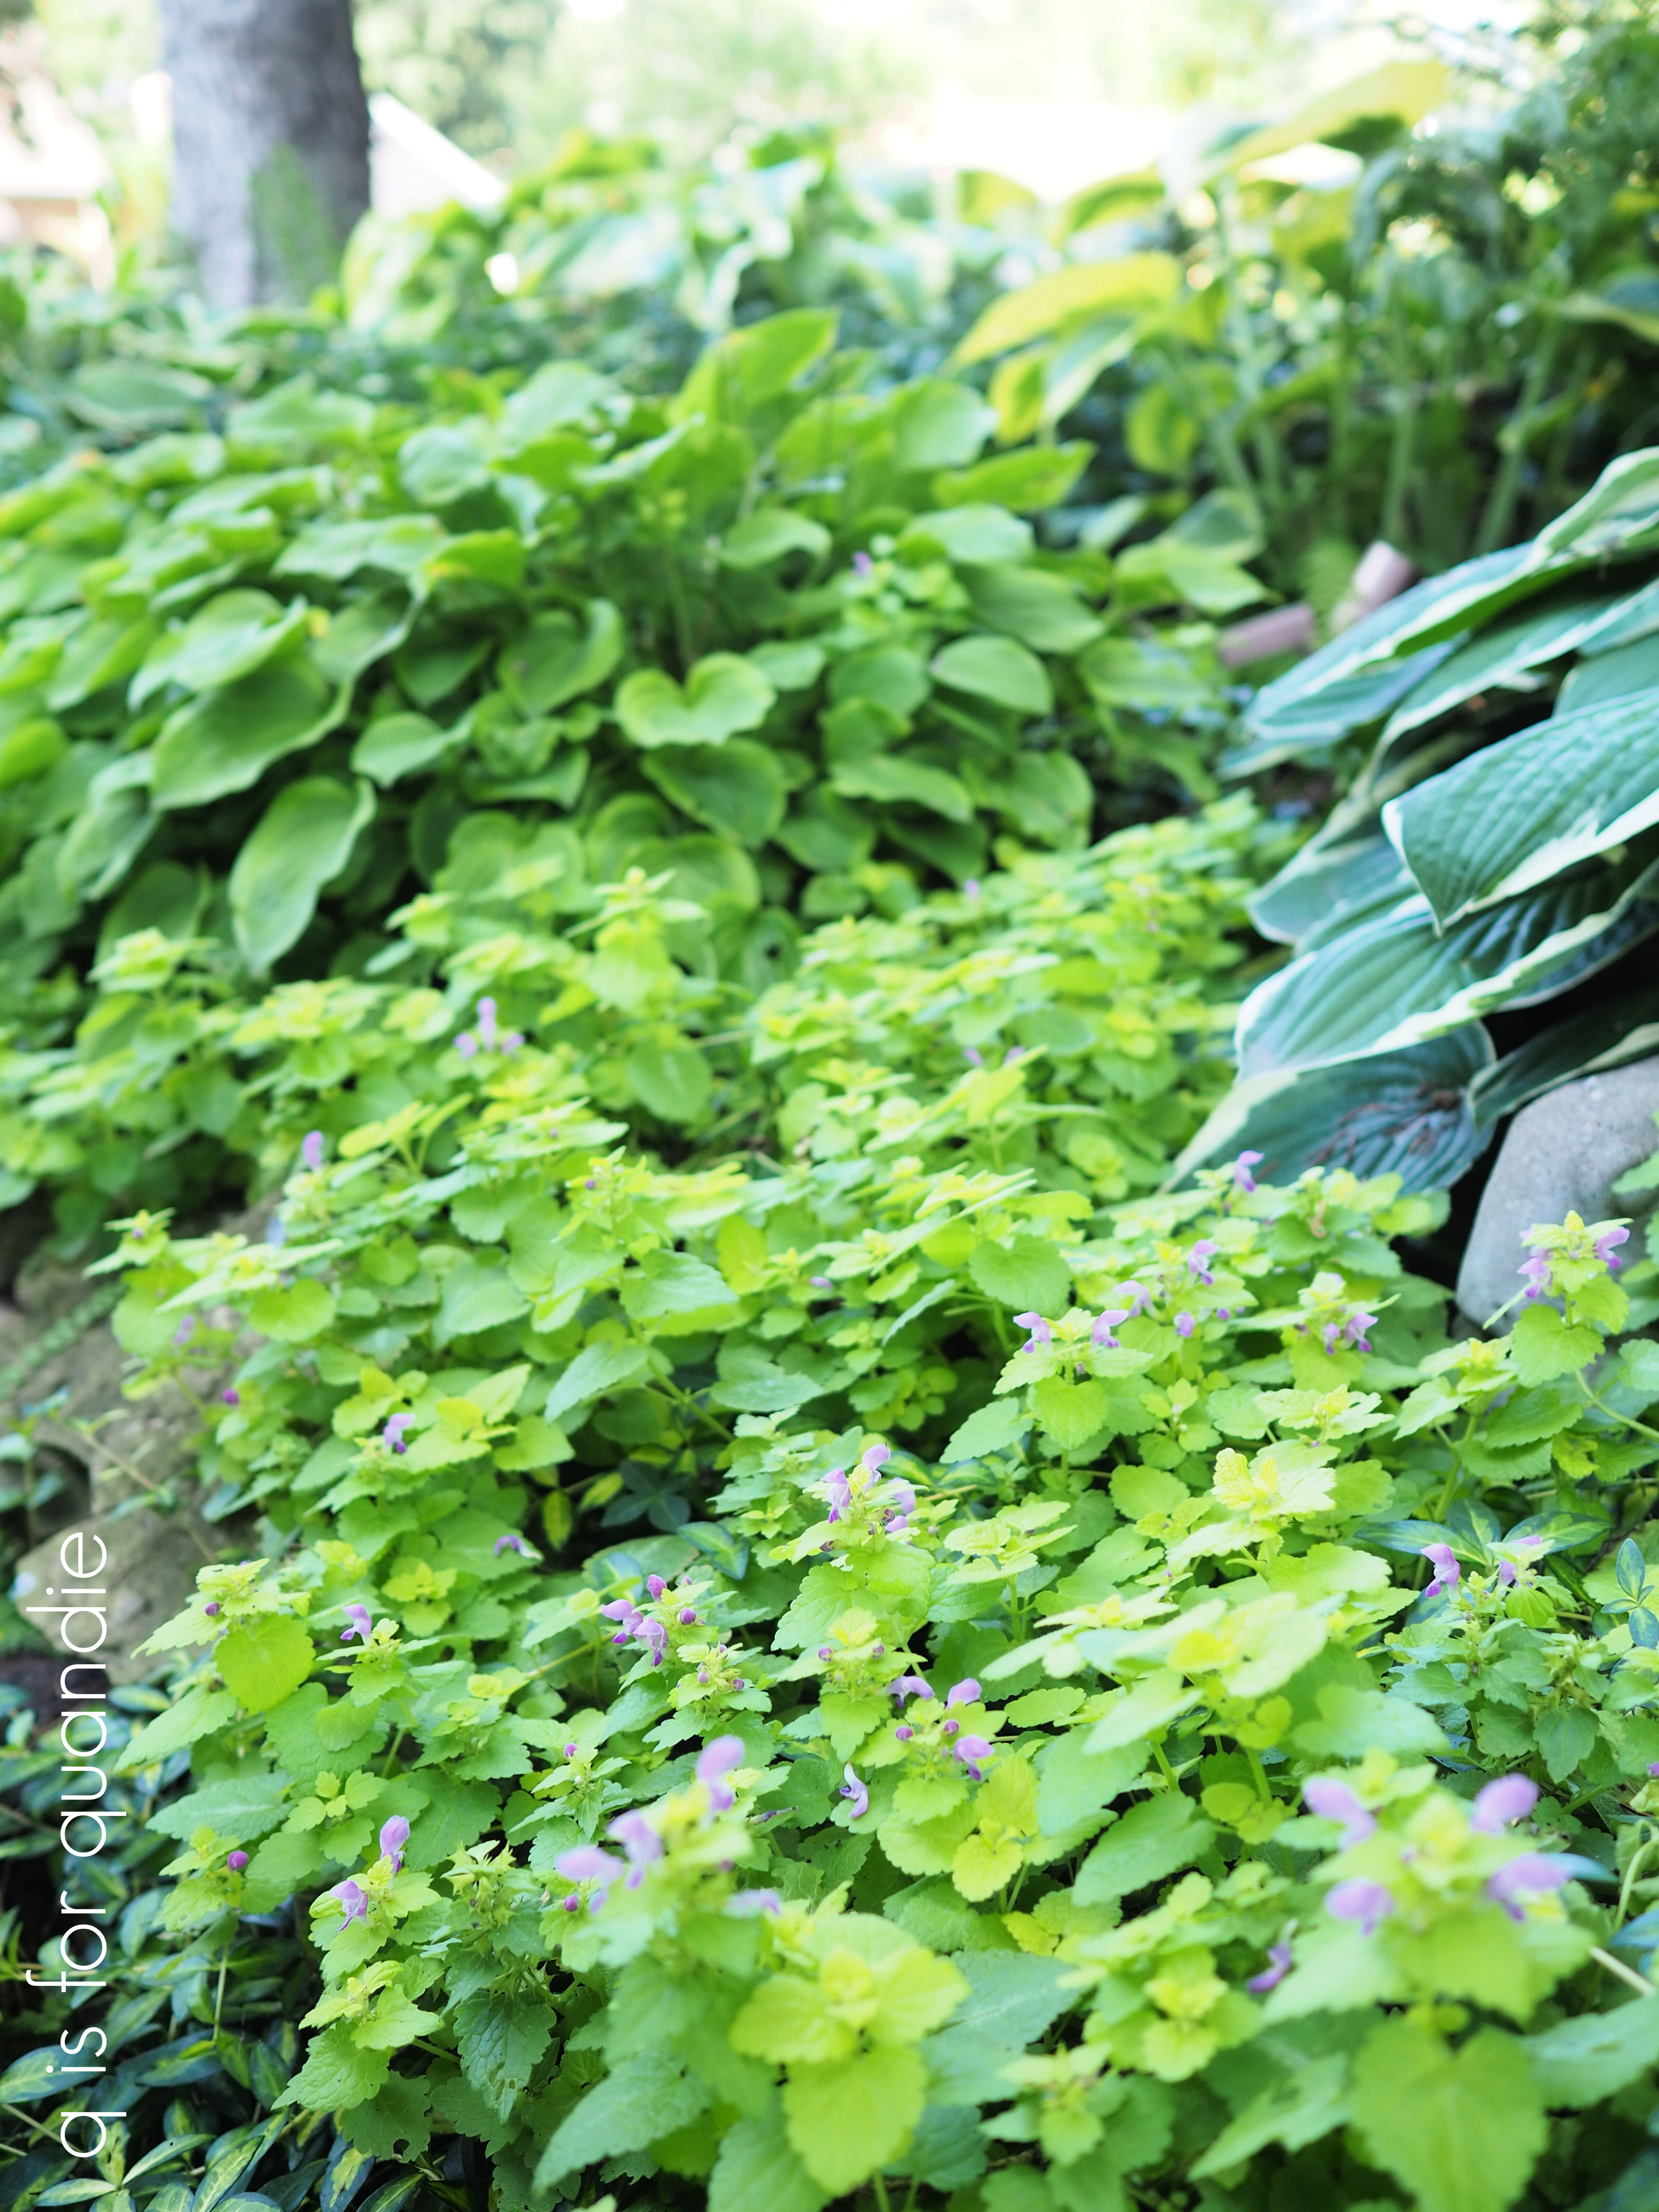
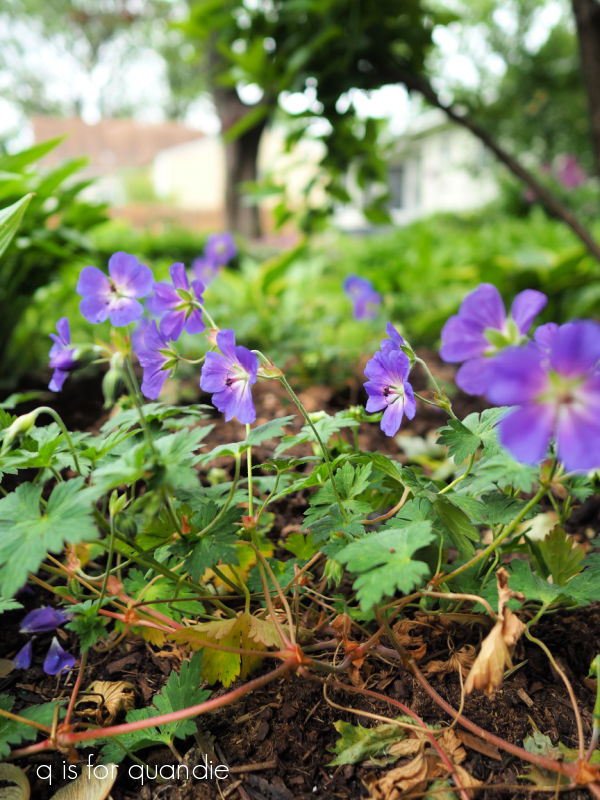
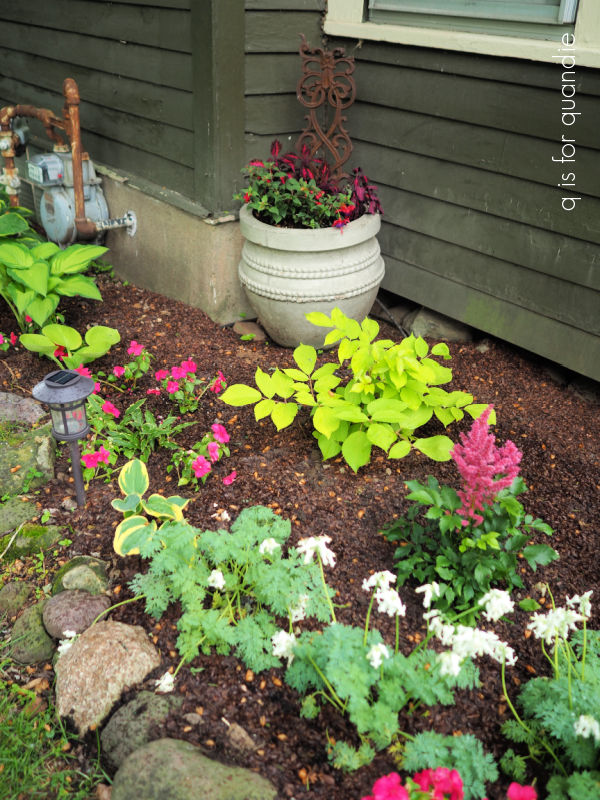
I have to admit, when my friend Jodie brought me some of the Evening Primrose from her garden I wasn’t sure I really wanted it. But I put it in my shade garden, probably secretly thinking it wouldn’t do well there anyway because they like full sun.
But au contraire, they are flourishing.

When they are blooming (late June to early July) they look spectacular in the shade garden.
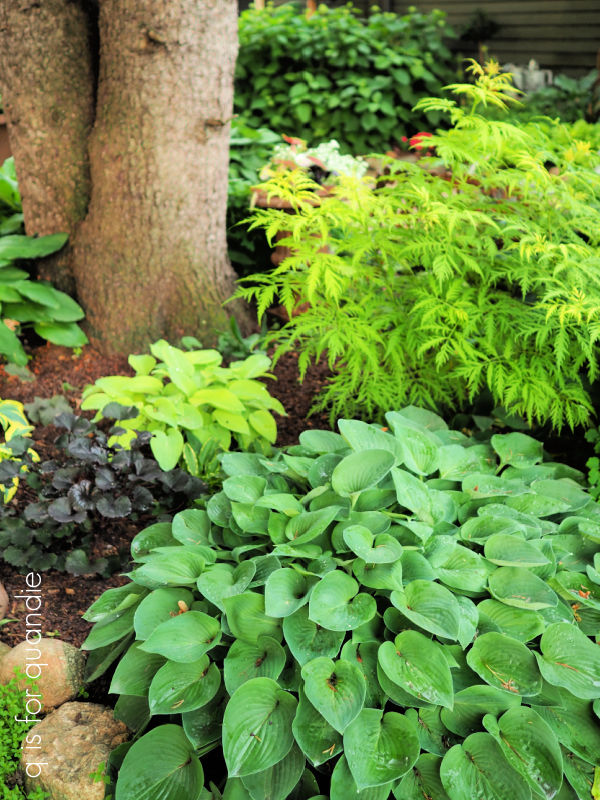
FYI, my shade garden does get late afternoon to evening sun, probably about 2 to 3 hours per day.
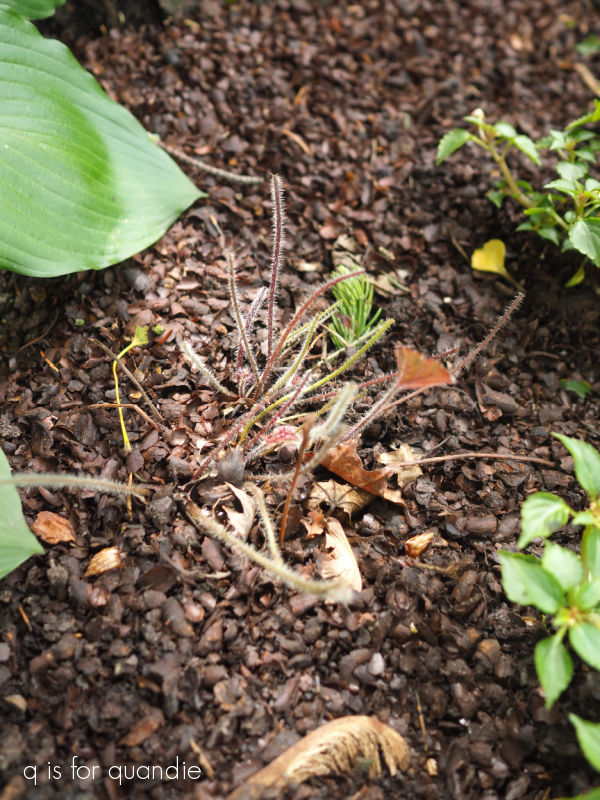
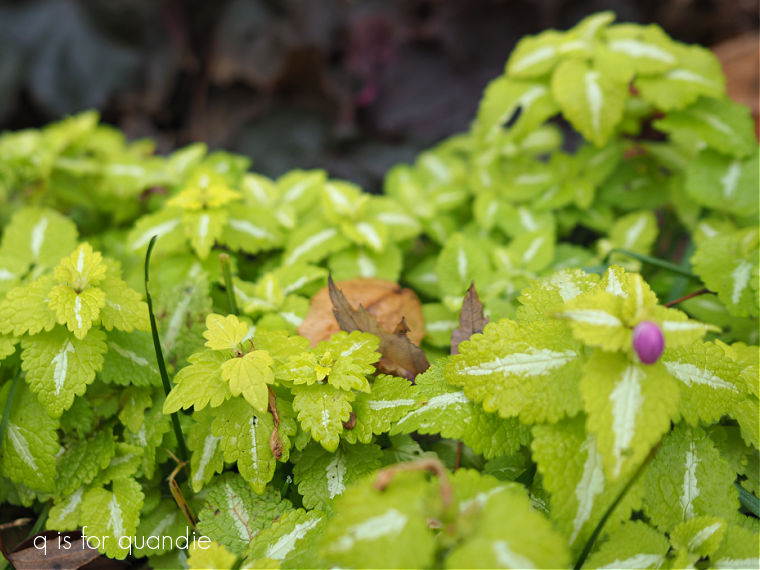
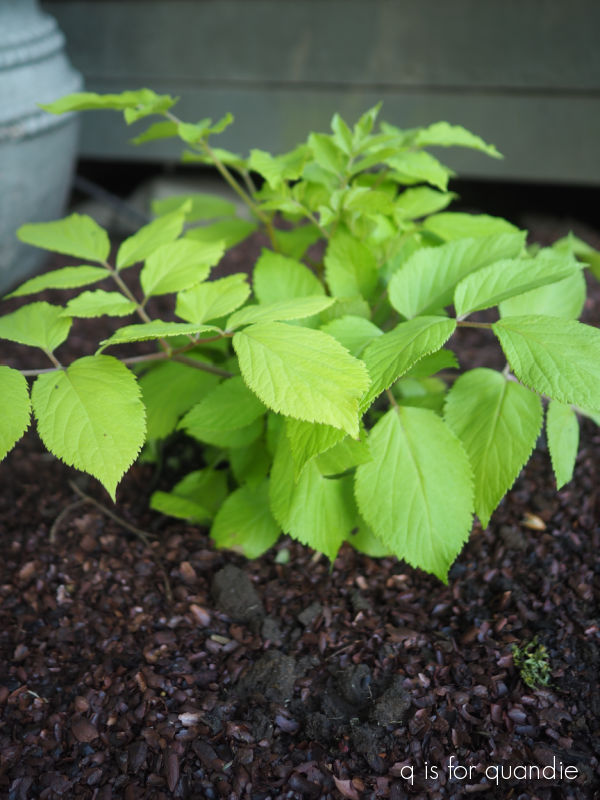
Next up is the Corydalis.
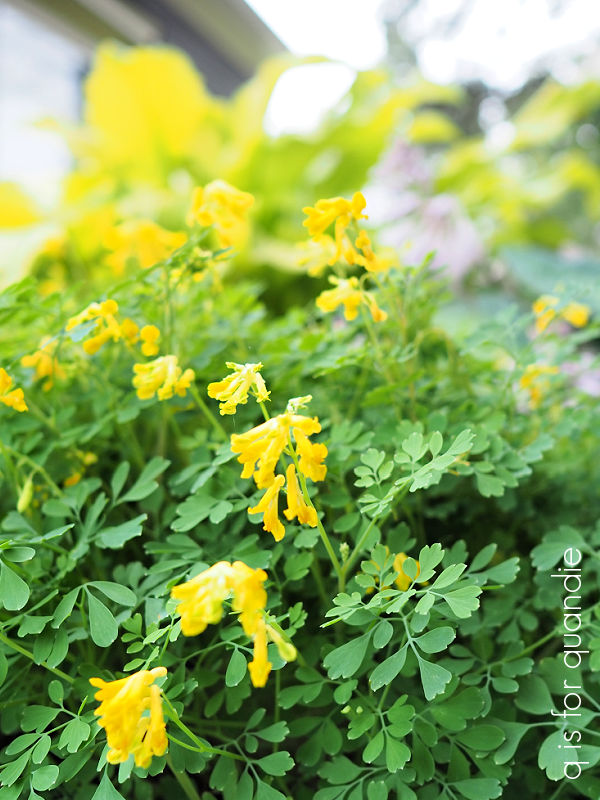
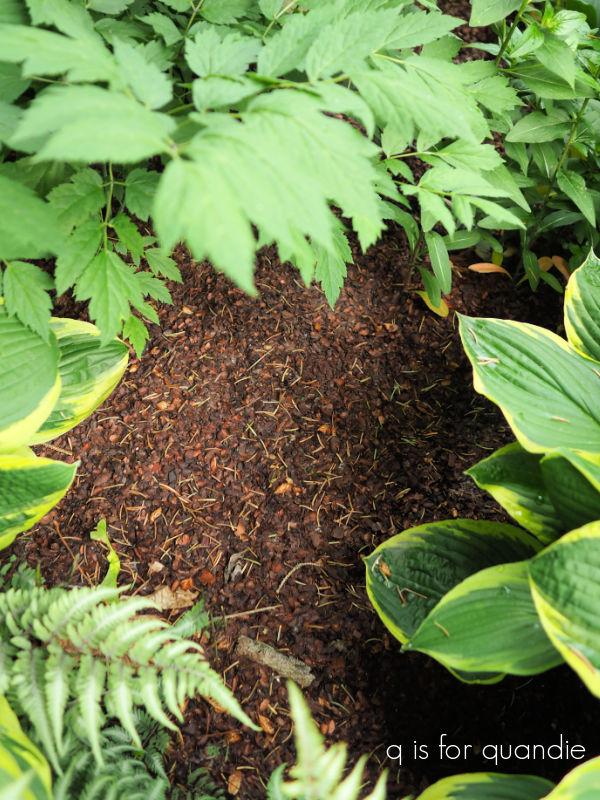
I purchased this plant at a garage sale, back when I used to do that. As a sidebar, I no longer recommend buying garage sale plants unless you are absolutely sure the seller does not have jumping worms. As I’ve mentioned here, I now have a raging case of jumping worms and it’s definitely possible they came from a garage sale purchase. They could also have come in a batch of mulch that wasn’t properly heat treated.
Anyway, I purchased that Corydalis over a decade ago. It blooms nearly all summer, and will grow in full to part shade. However, be forewarned, it re-seeds itself all over the place. I’m constantly pulling out Corydalis babies. So if that’s the sort of thing that bugs you, don’t plant it.
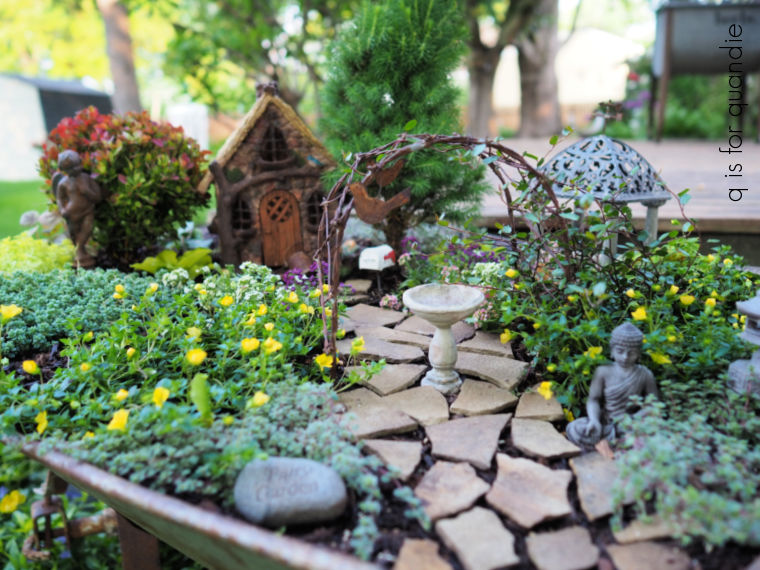
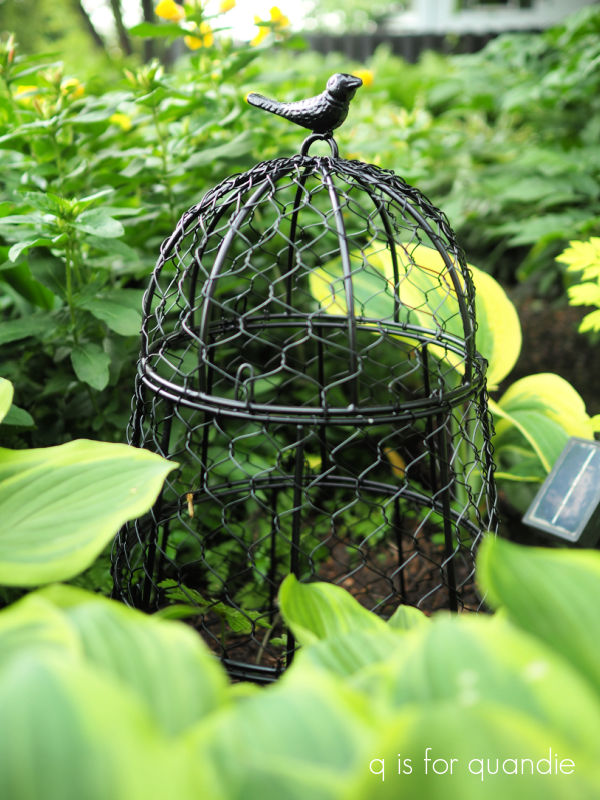
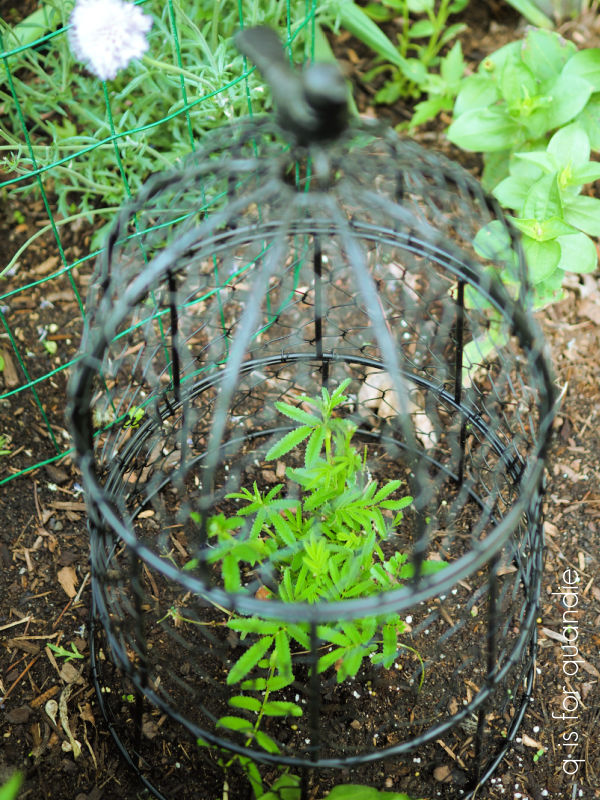
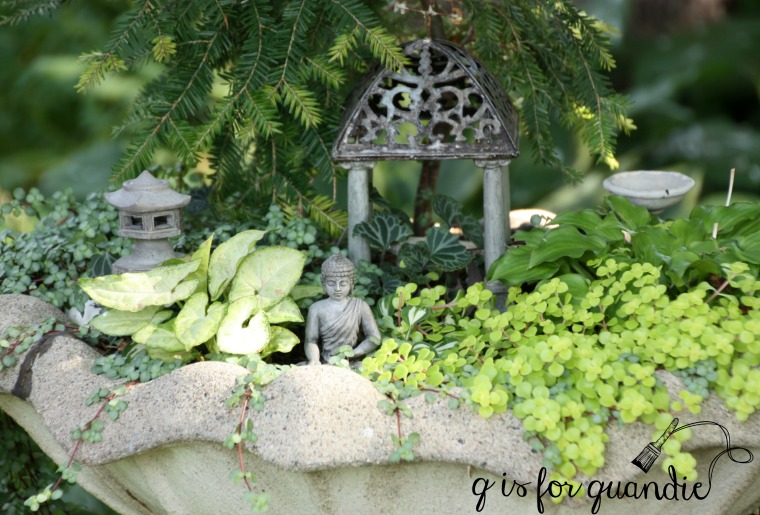
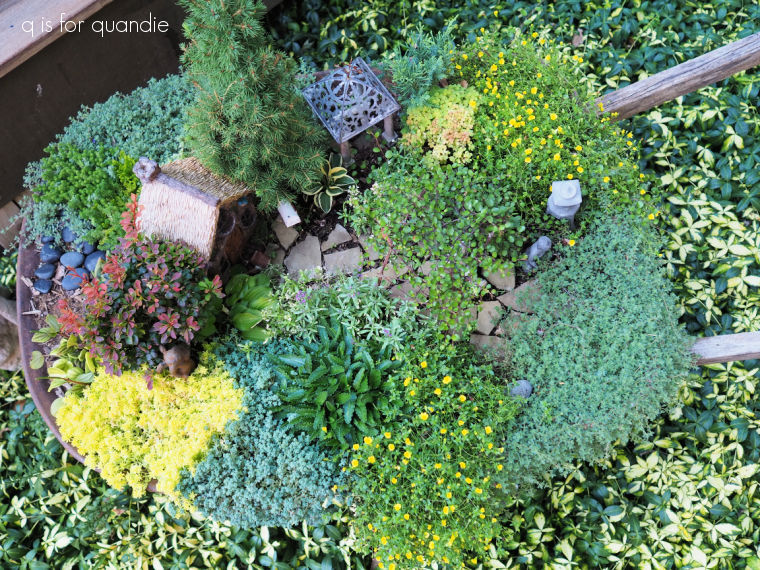
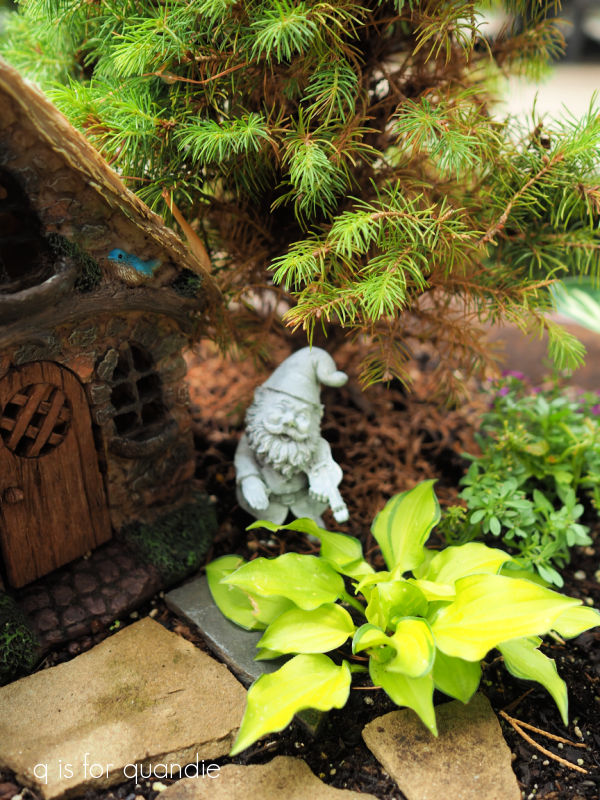
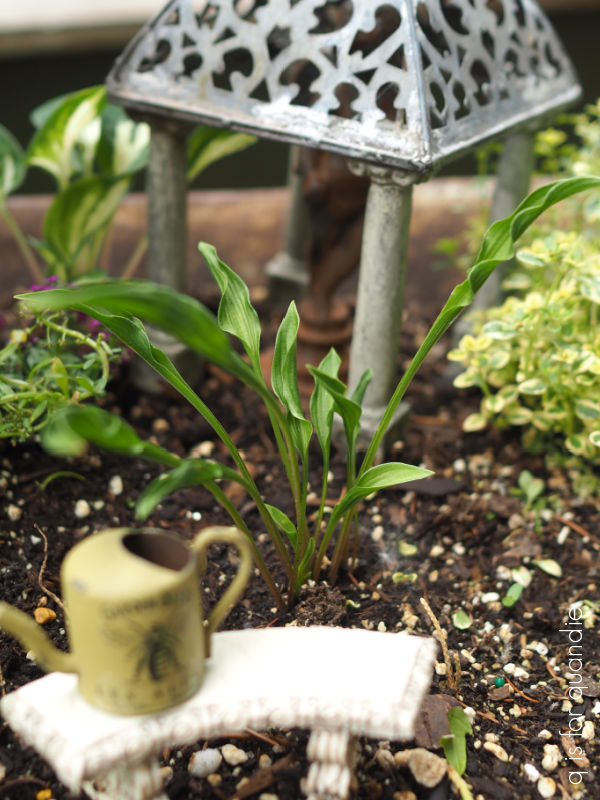
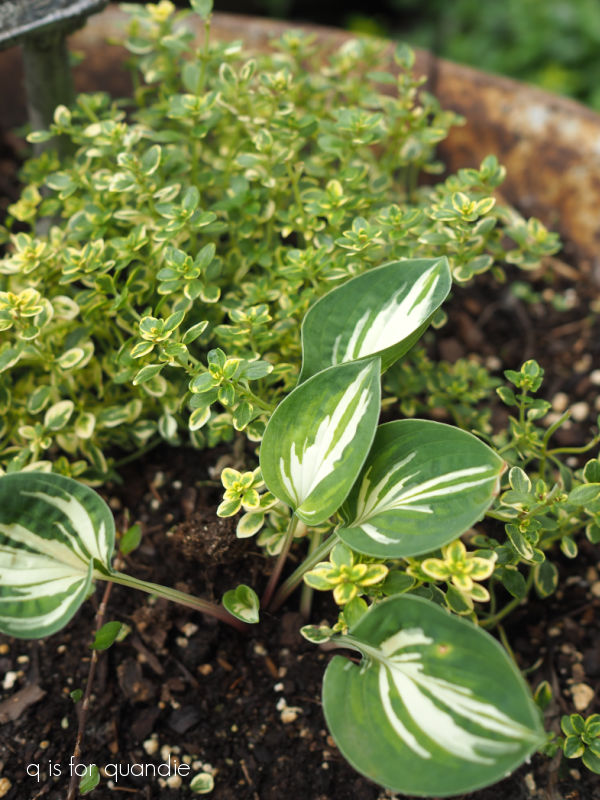
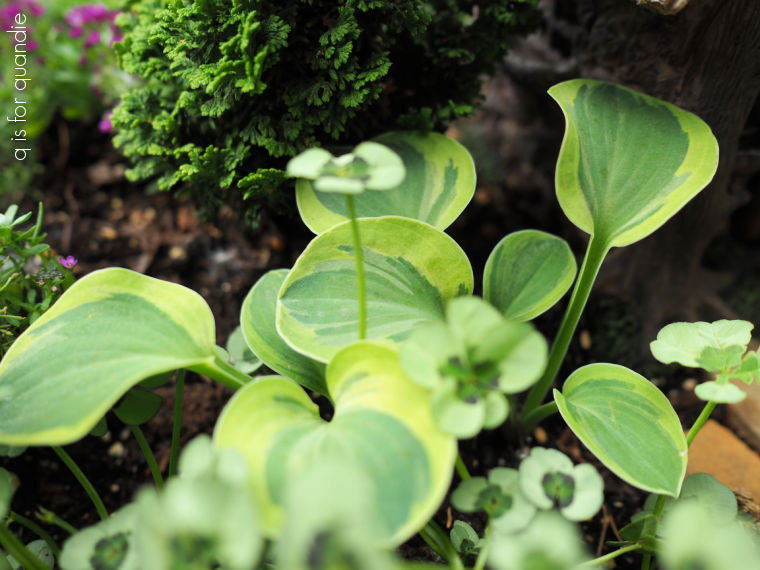
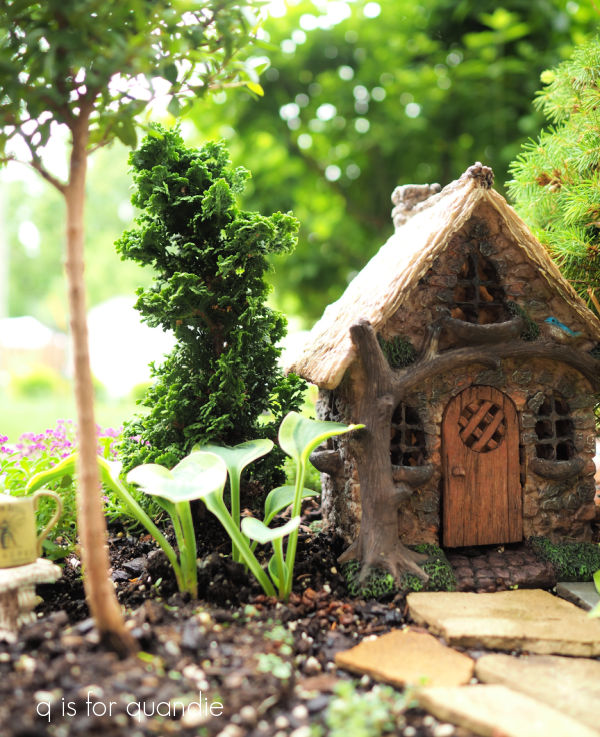
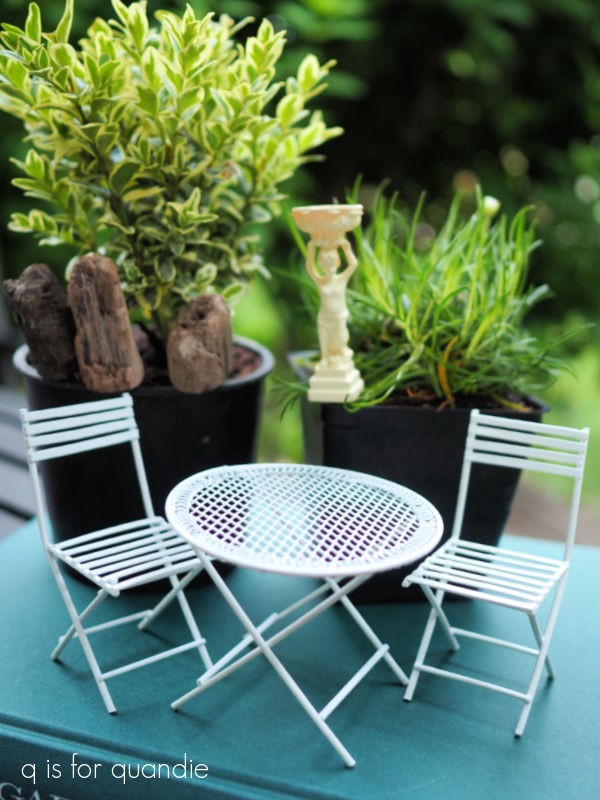
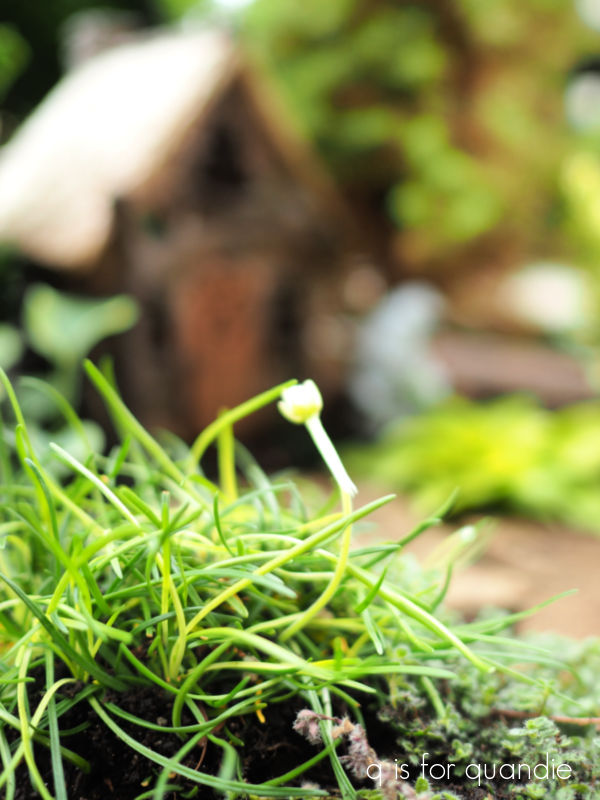
I even added a pop of yellow to my fairy garden a couple of years ago with Golddust Mecardonia from Proven Winners.

Those little yellow flowers were perfectly scaled for a miniature garden.
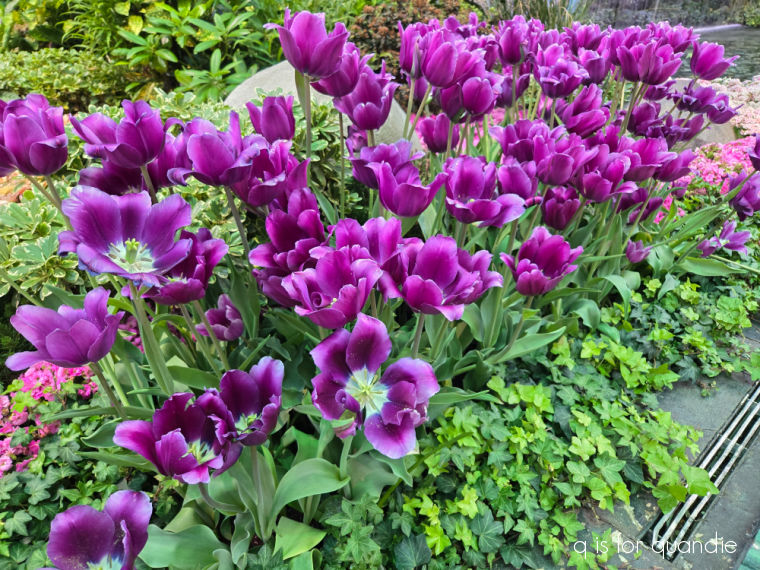
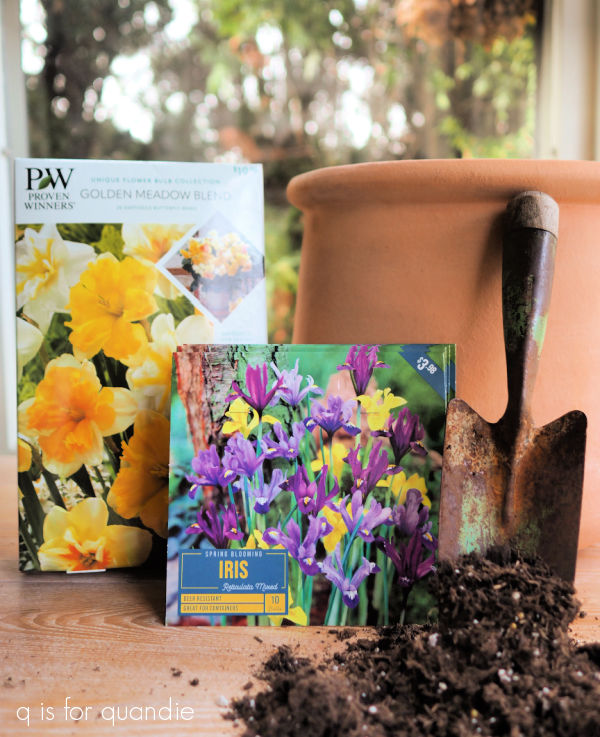
Then there are the daffodils. I’ll be honest, I really prefer tulips in pretty shades of pink when it comes to spring bulbs.
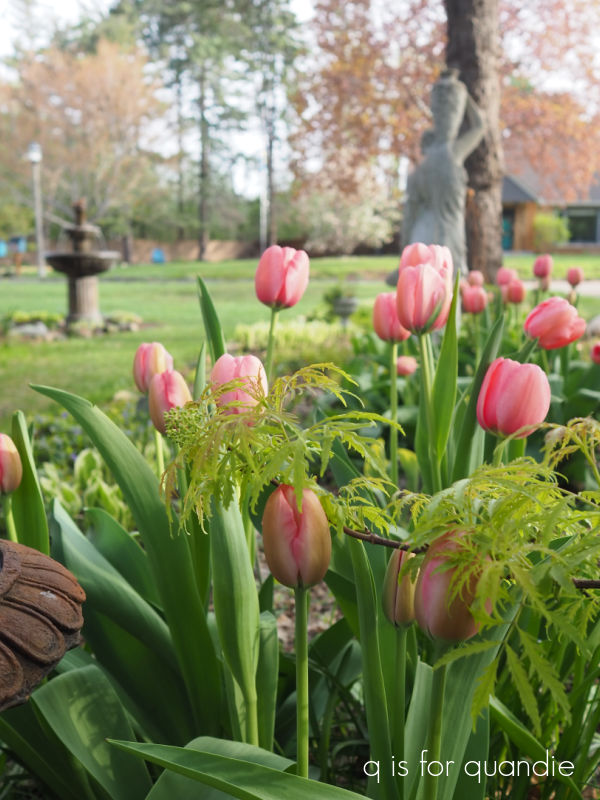
But I’ve given up on them since they seem to draw deer all the way over to my very suburban location to eat them in the spring.
Deer don’t like daffodils though, so here they are.

And I’ll admit, that bright pop of yellow in early spring is kind of a showstopper.
That being said, I did choose to plant some all white daffodils under the hydrangea hedge last fall.
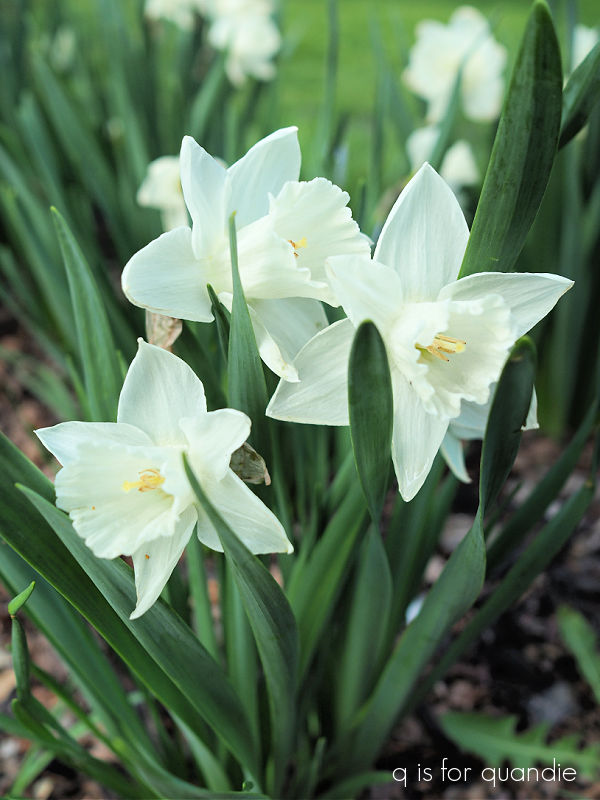
So maybe I’m not quite a full-on yellow convert just yet, although I did put some yellow snap dragons in the garden this year. I’m still waiting for them to bloom though. I’ll have to wait until they get going before deciding whether or not I’ll plant them again in the future.
How about you? Do you like yellow in the garden? And if so, what are your favorite yellow flowers? Leave a comment and let me know.


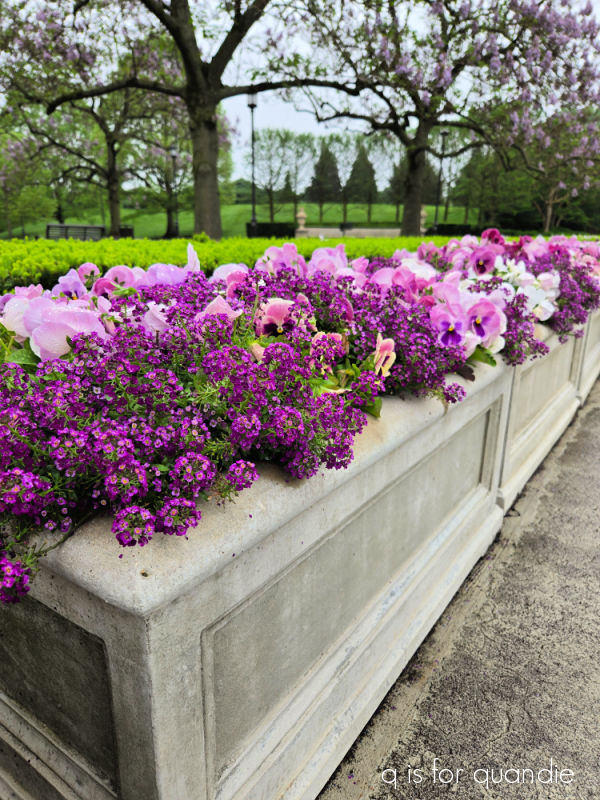


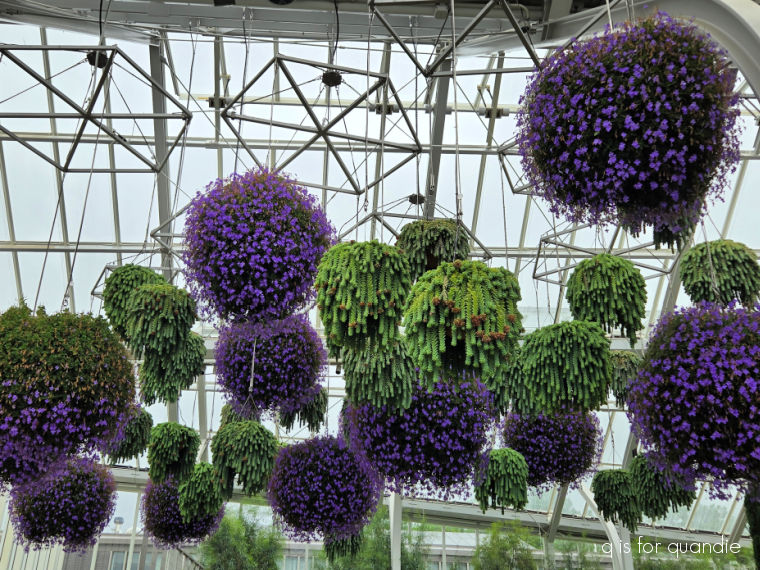


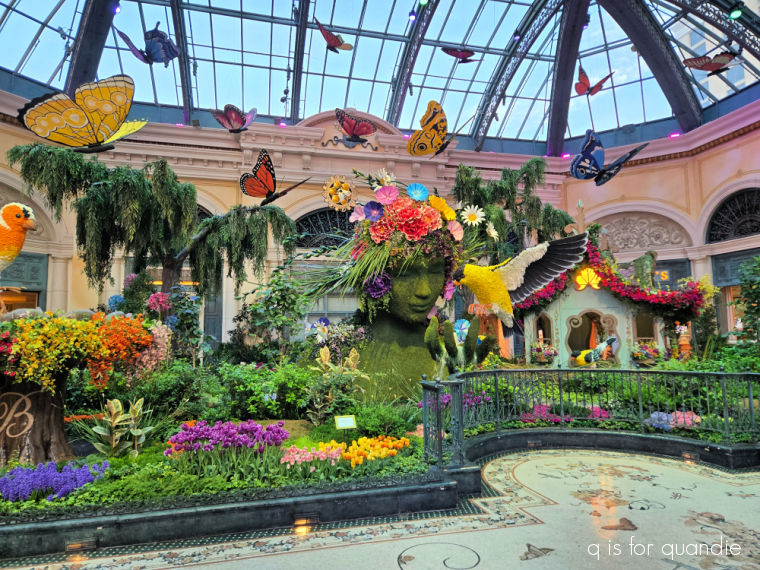
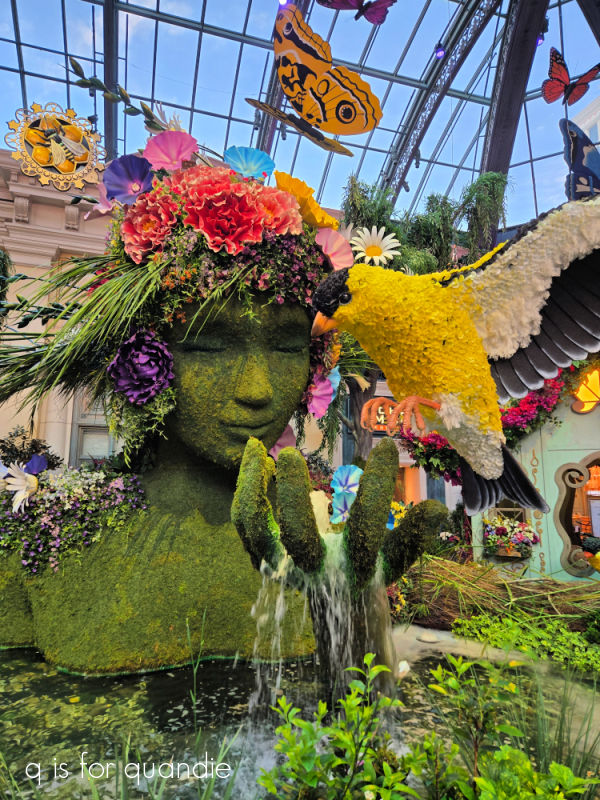
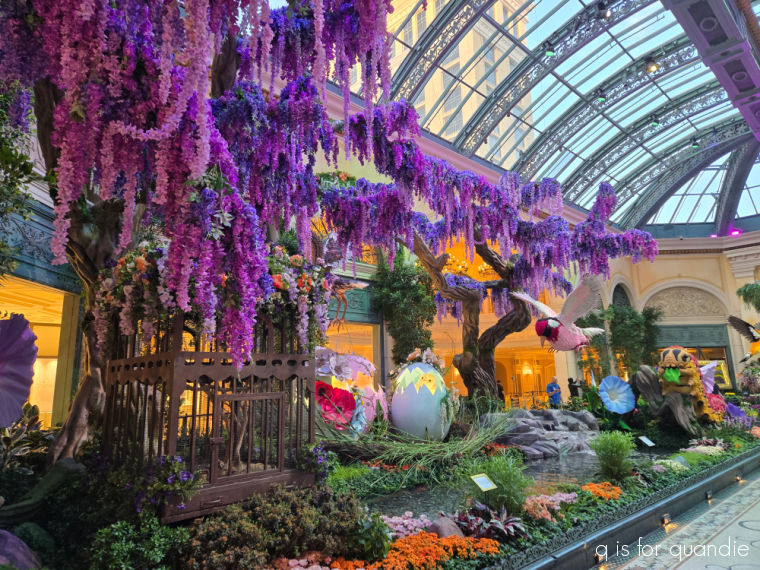 It certainly is a beautiful display, but it was fairly obvious that not all of the ‘flowers’ are real. Certainly that purple vine was artificial.