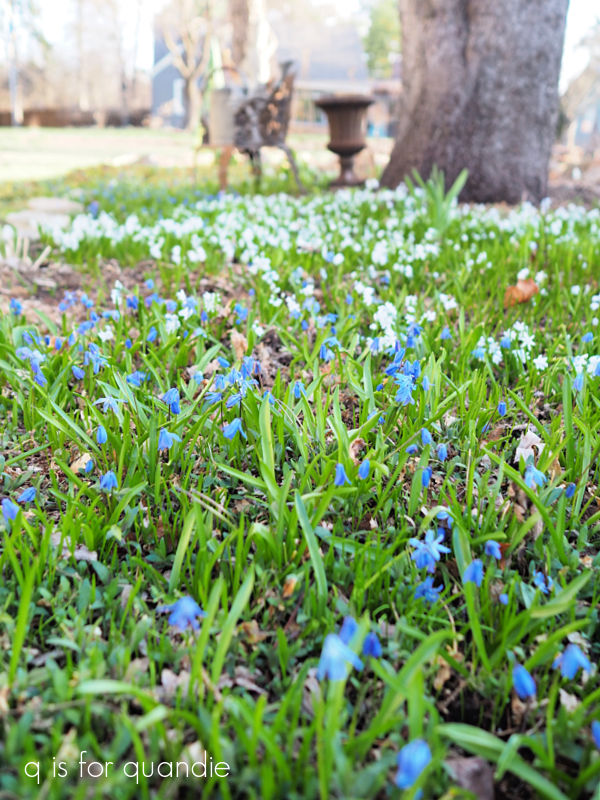
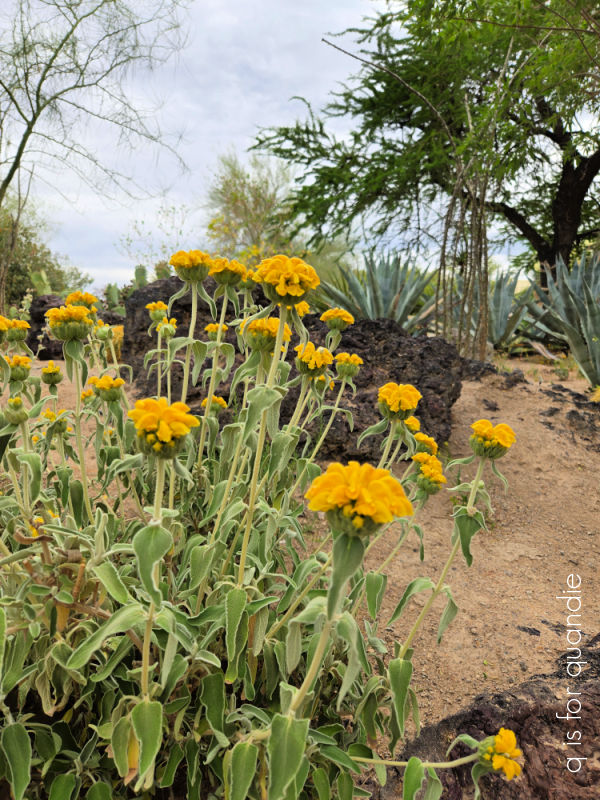
Good morning from the garden!
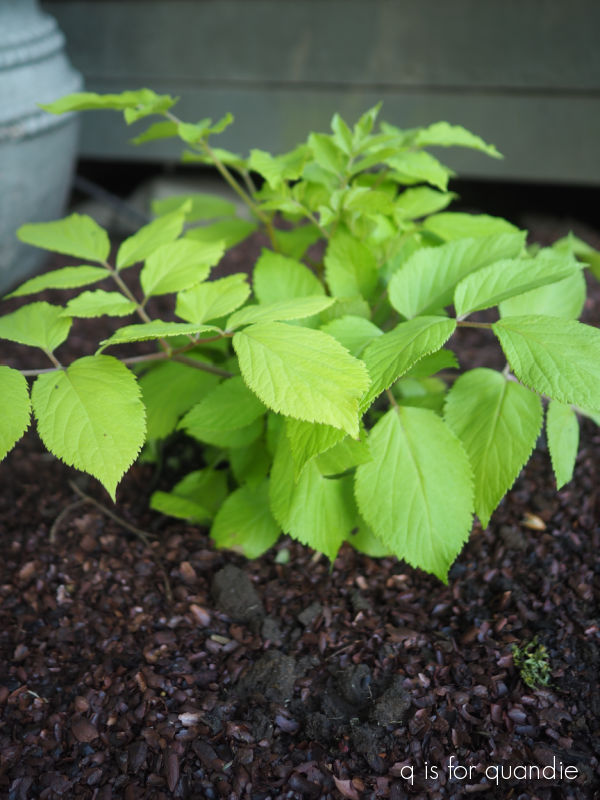
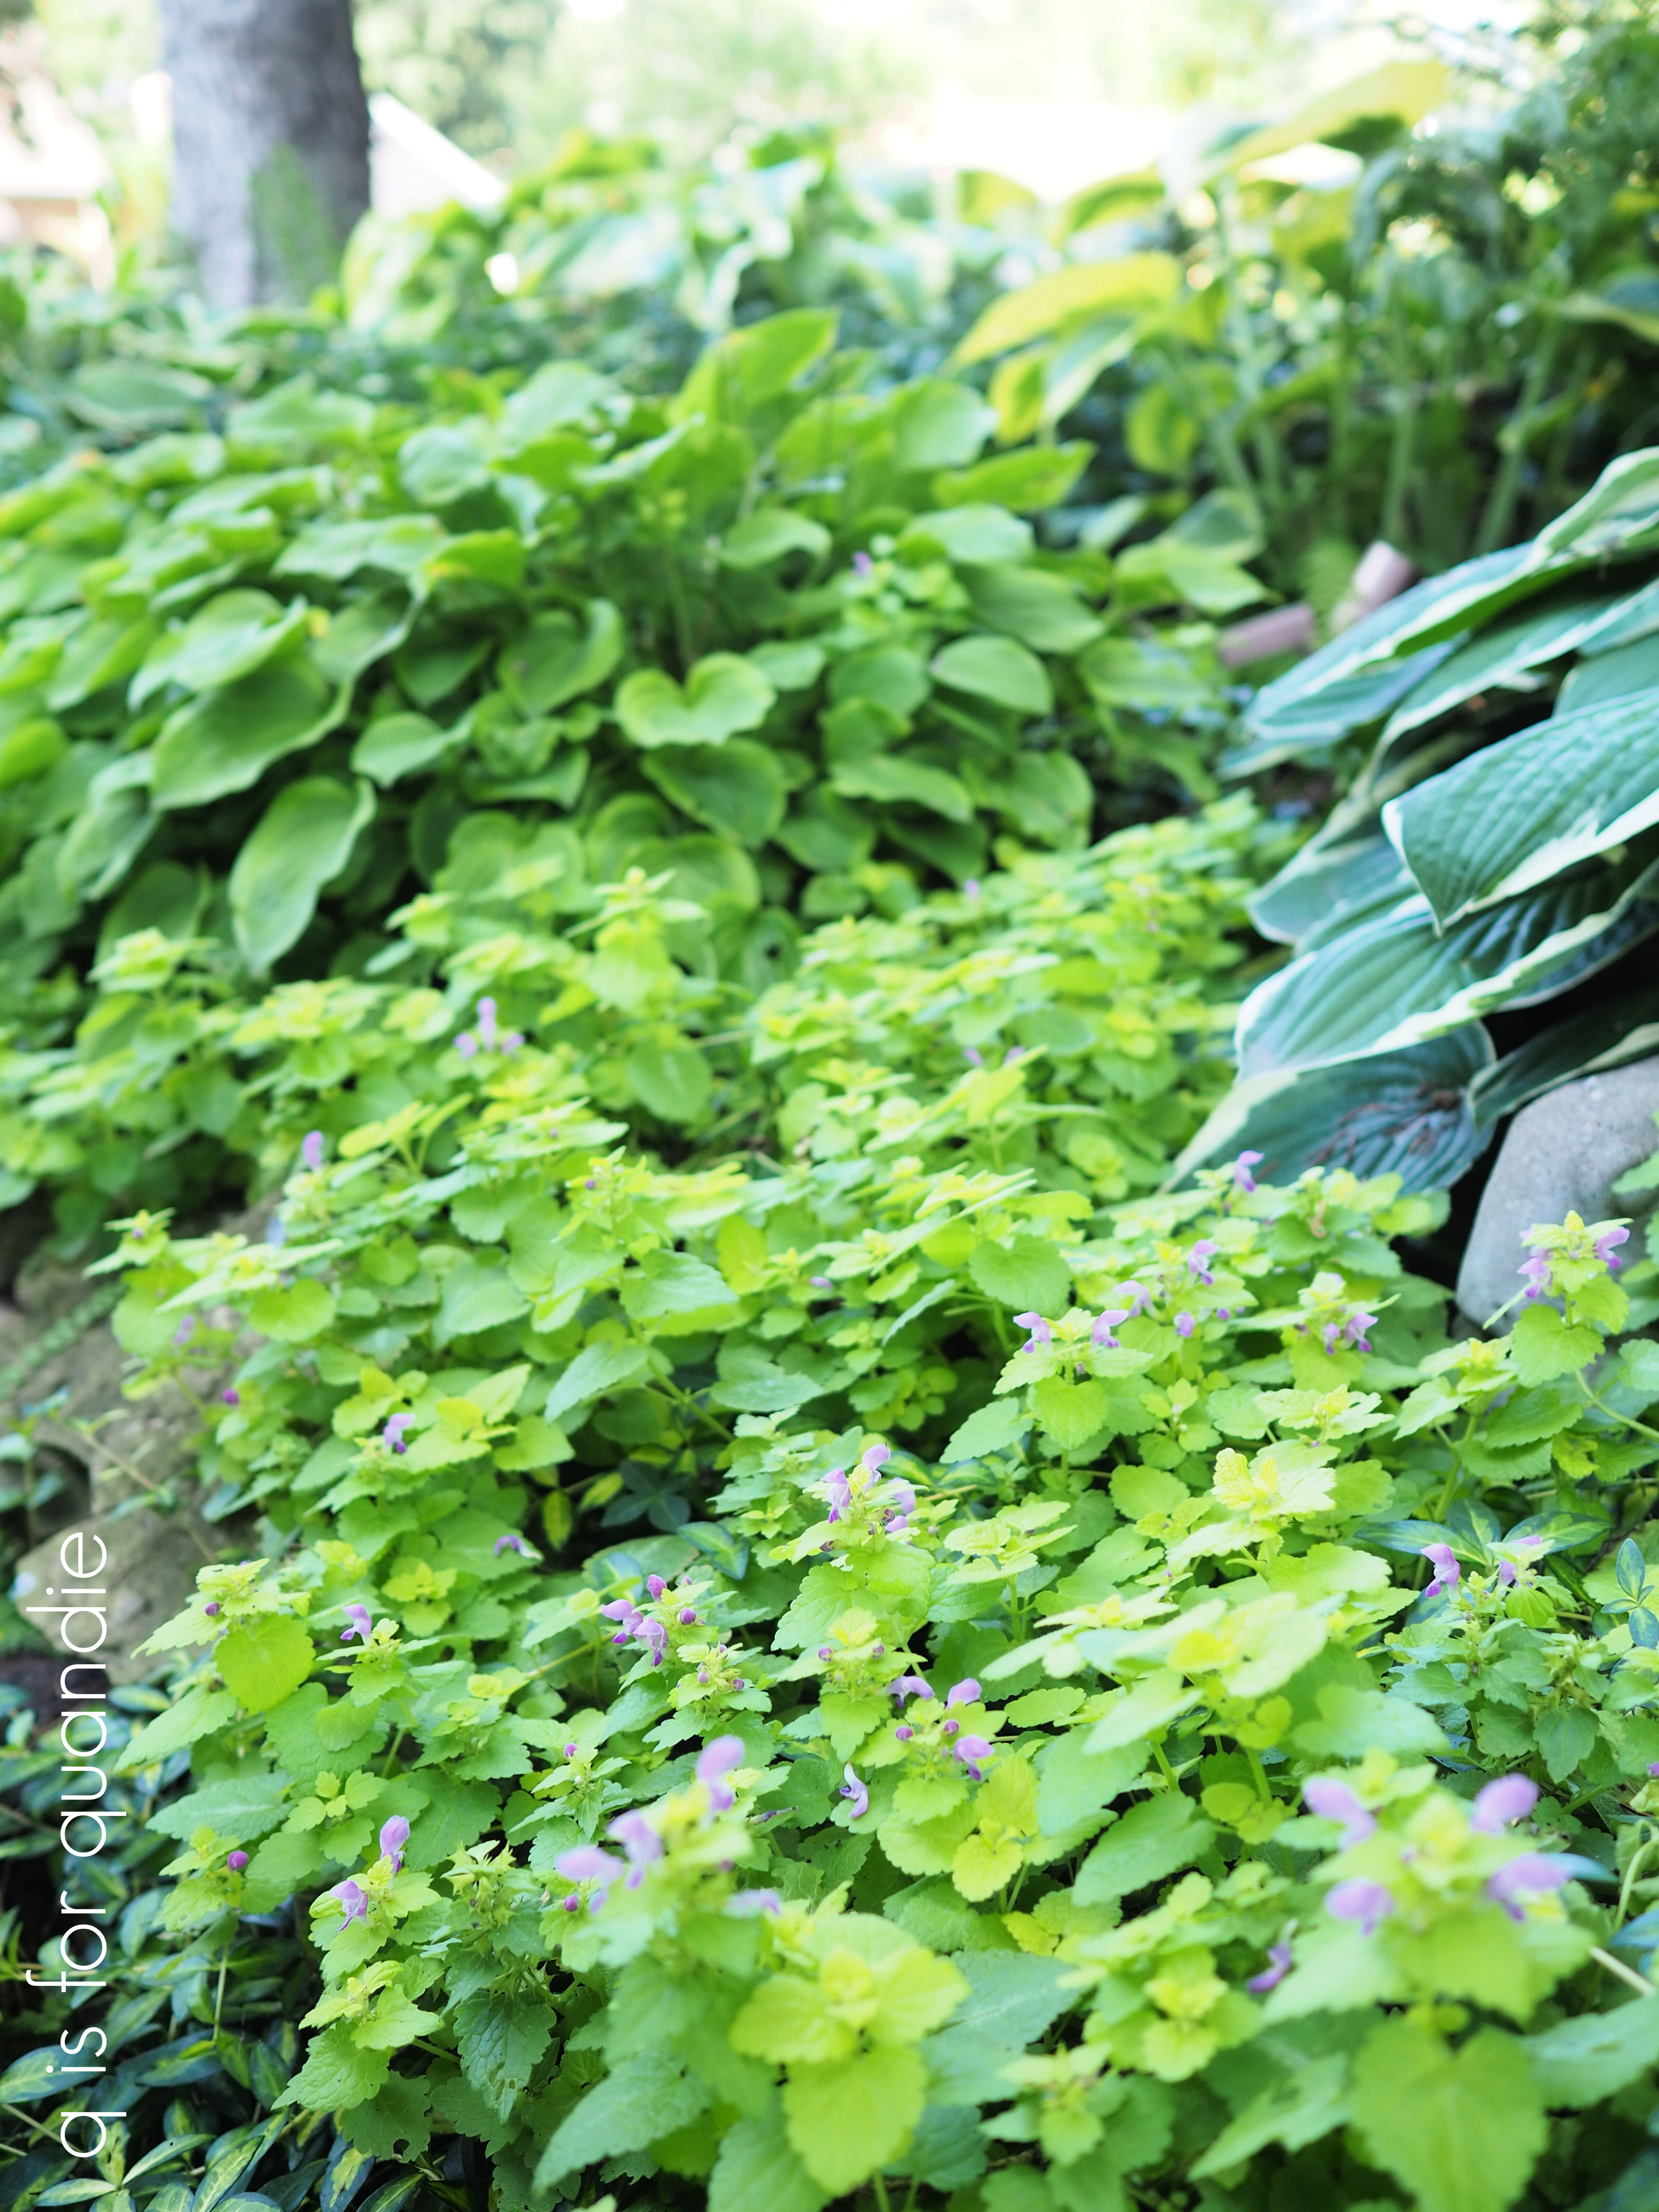
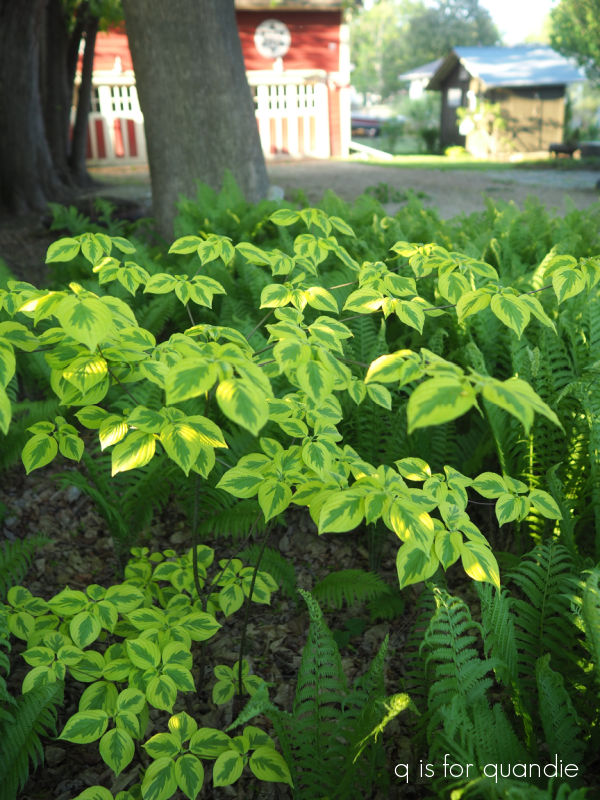
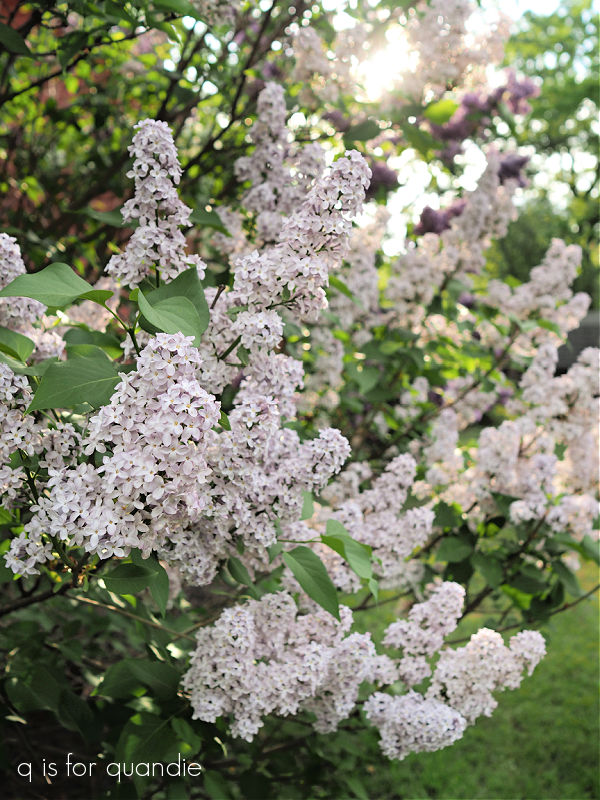
I think right now, early June, is my favorite time in the garden. Everything looks fresh and new. The fern bed is lush and green.

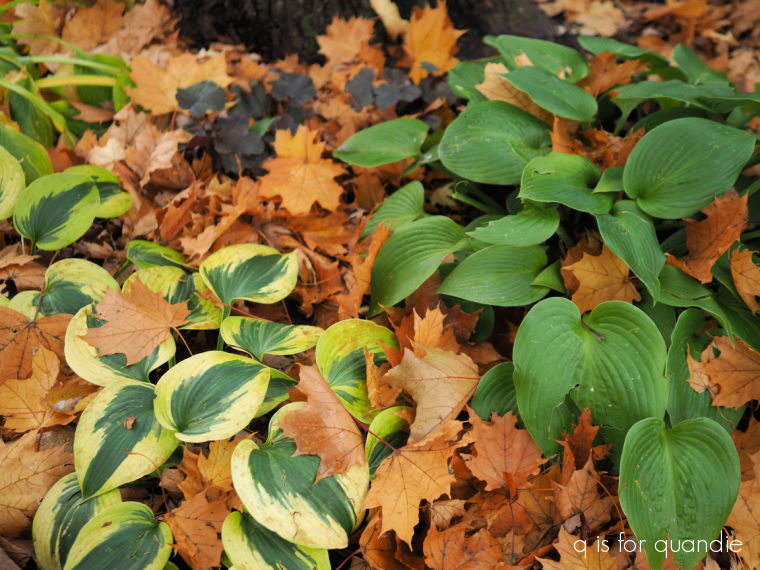
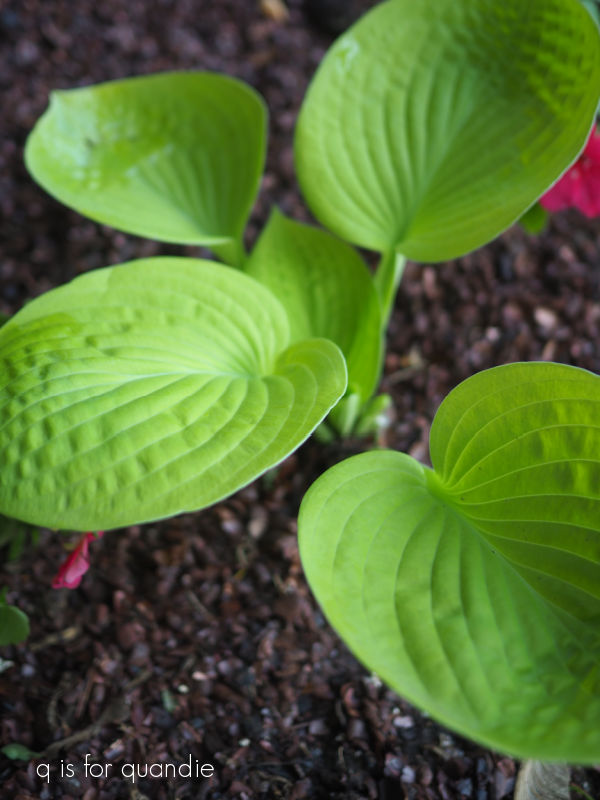
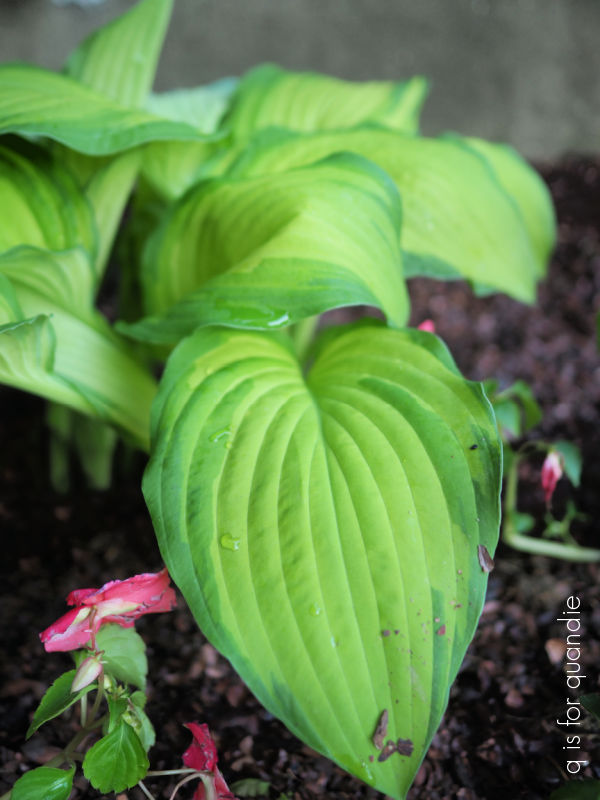
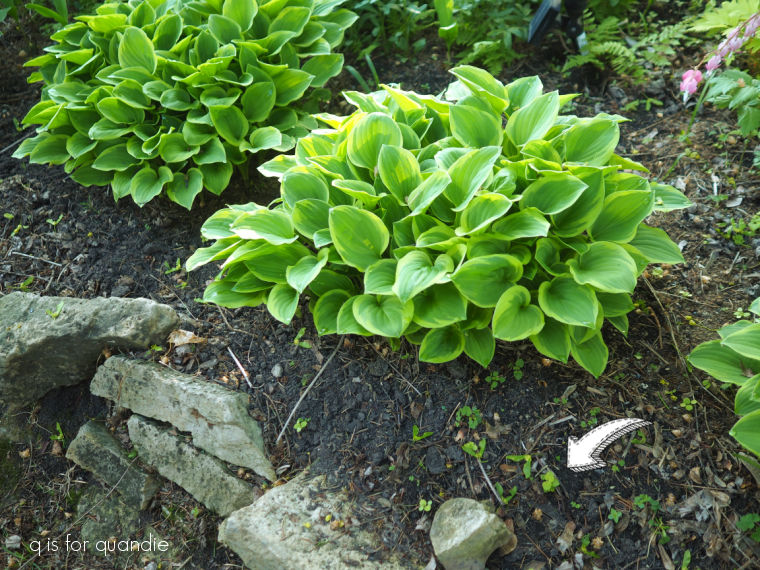
There isn’t any insect or storm damage on the hostas.

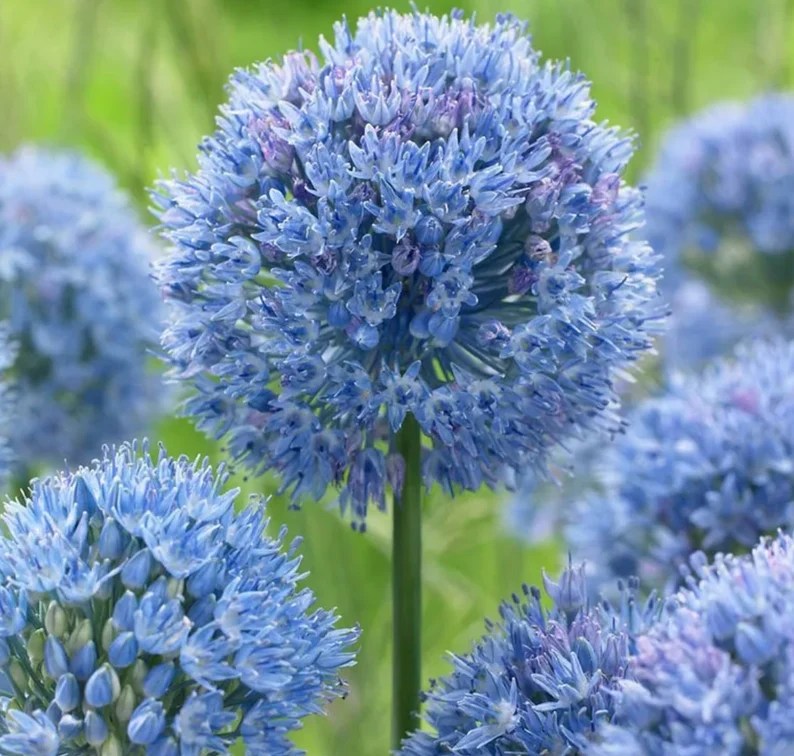
Nothing is suffering from drought. And best of all, the peonies are blooming!
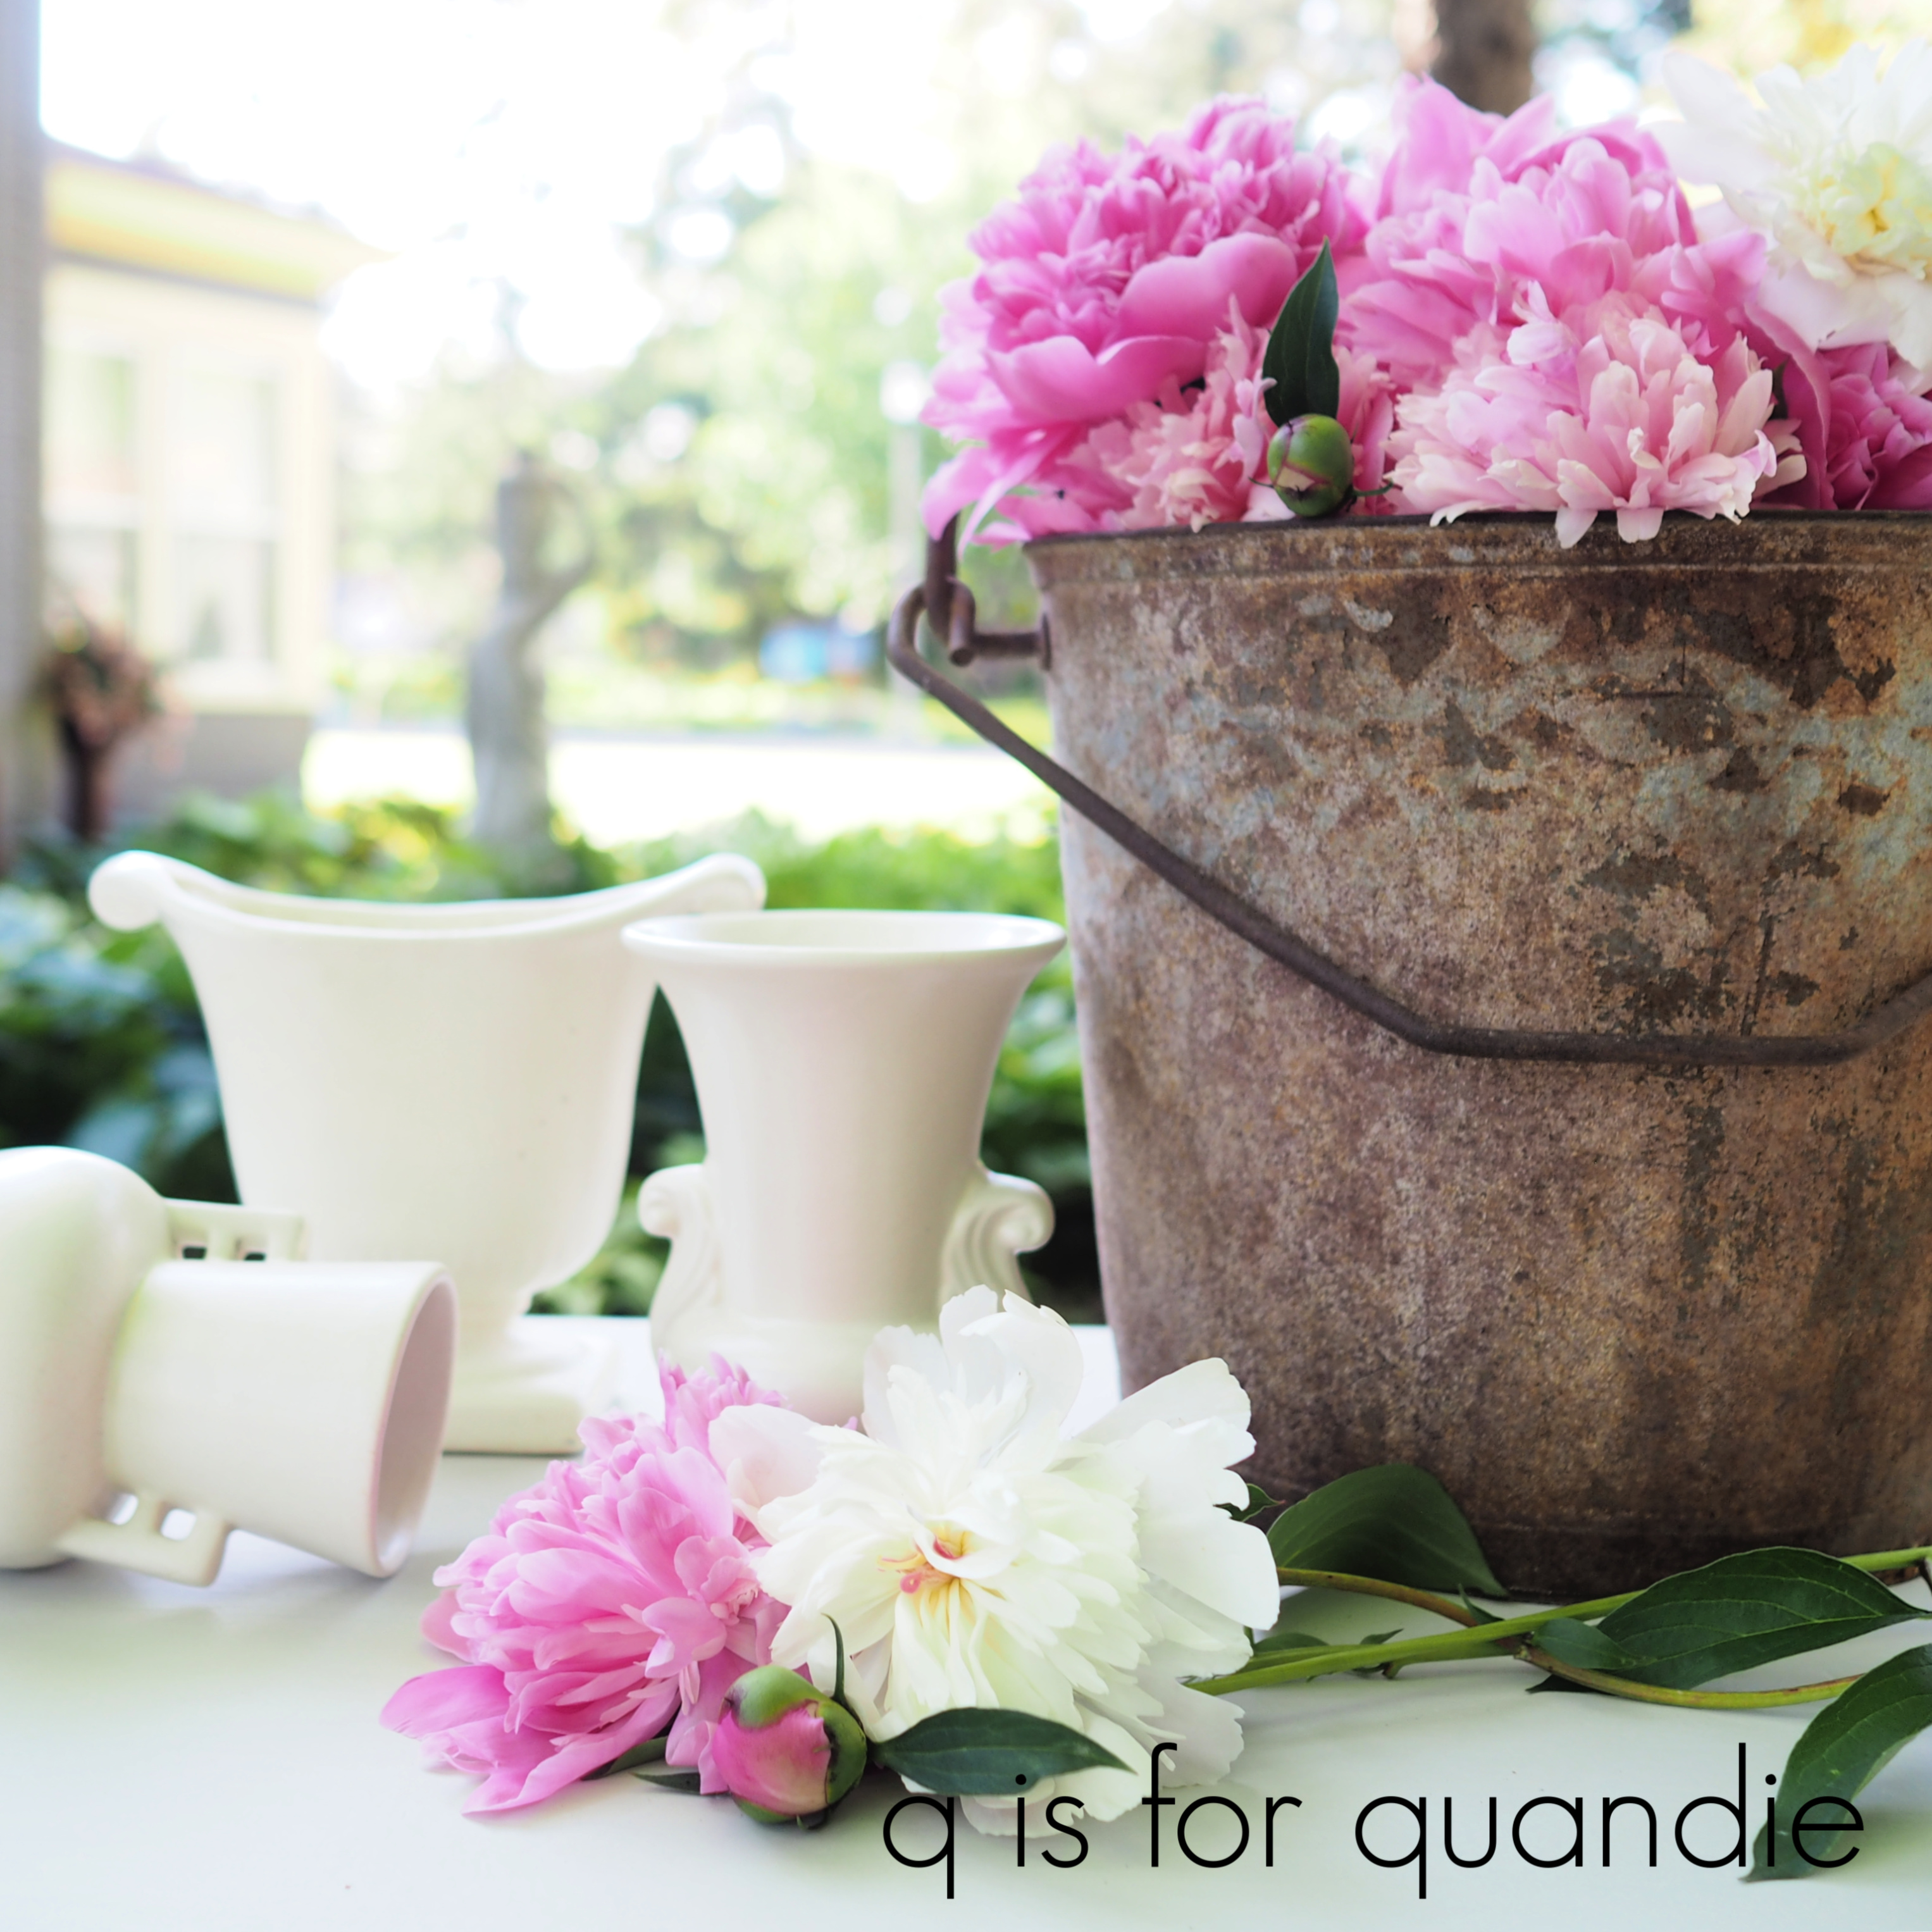
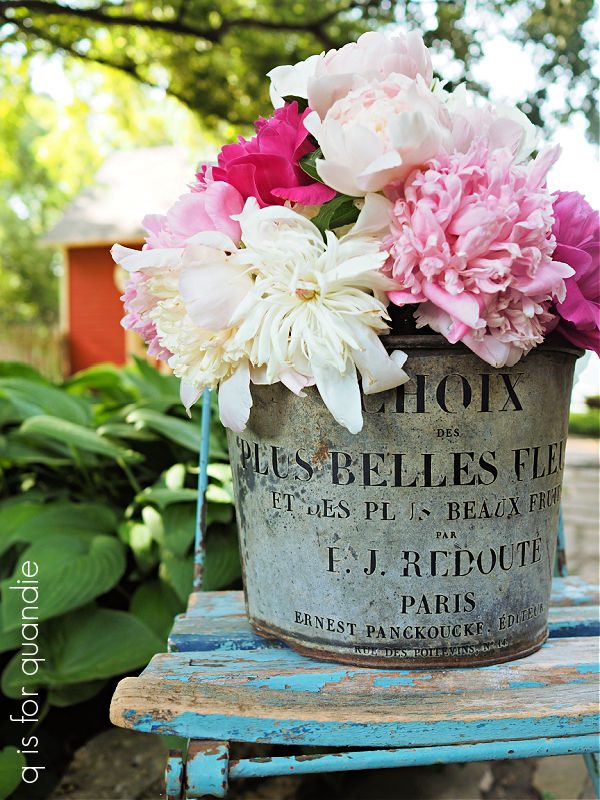
Most of my peonies are planted out back behind the carriage house in my cutting garden.

I put them there so that I wouldn’t feel bad about cutting them and bringing them inside. They aren’t there to look pretty in a garden, they are there to harvest for bouquets.
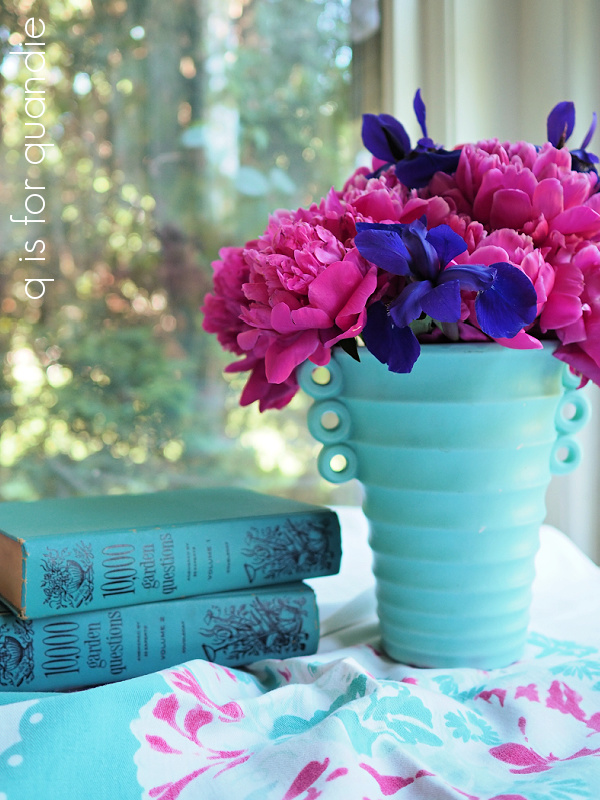
This year has been the perfect peony season because the weather has been relatively cool, our highs have been in the 70’s, and even just the 60’s on a few days. This cool weather definitely helps the blooms last much longer.
I can’t tell you how often we’ve gotten hot spells just in time for the peonies to open, and then they last just a few days.
But this year they are sticking around a bit longer, they even last longer in a vase indoors since we’ve been getting down into the 50’s at night and we have turned our heat off. The house stays nice and cool all day.

Did you know that peony plants are remarkably long lived? I’m not talking about the blooms, but about the plants themselves. They can live for 100 years or more, and once established they basically thrive on neglect. I can vouch for the neglect part since I don’t really do much of anything for those peonies behind the carriage house. I really even only weed that bed once or twice a season.
I also now have proof of that of sorts.
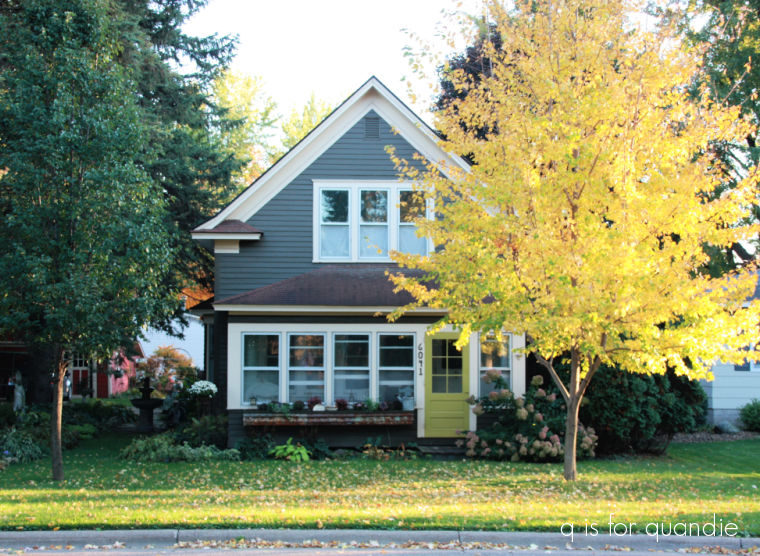
Yesterday my sister and I went to the Nokomis neighborhood garage sales in Minneapolis. We like to go to that one because both of our parents grew up in that neighborhood. We always make a point of driving by their old houses.
This year we got lucky and the people who live in my mom’s parent’s old house were out and about. My sister, who definitely isn’t shy, rolled down her window and said hello, explaining that we weren’t weird stalkers or anything, just making our annual pilgrimage to grandma’s house.
Turned out that the current owners are the very people that purchased the house from our grandparents over 45 years ago! They even remembered their names. I mentioned how happy my grandmother would be to see that they had continued on having a beautiful garden (I’m pretty sure I inherited my gardening skills from that grandmother).

They invited us to take a tour of the gardens, and even to come inside to see the house.
As I was admiring one of the peonies in the garden, the new home owner said “Oh, that one was here when we bought the house”.
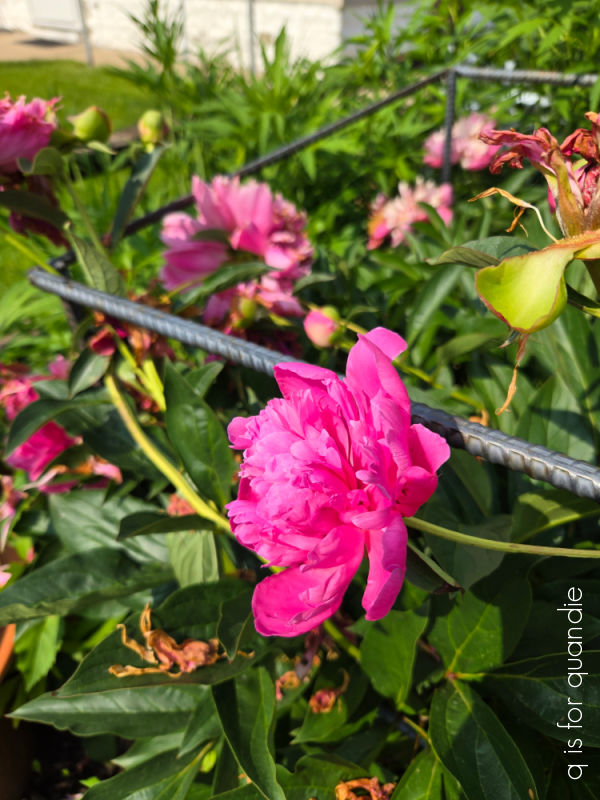
That means it was planted by my grandma! And I’m sure she would have planted it long before they sold the house. I believe they’d lived in the house for more than 50 years themselves, so this peony could be nearly 100 years old.
How fantastic is that? And how special to see that my grandma’s peonies are still happily blooming away in her garden.
Now I wonder how long the peonies out behind the carriage house will be there. Hopefully at least 100 years or more too!


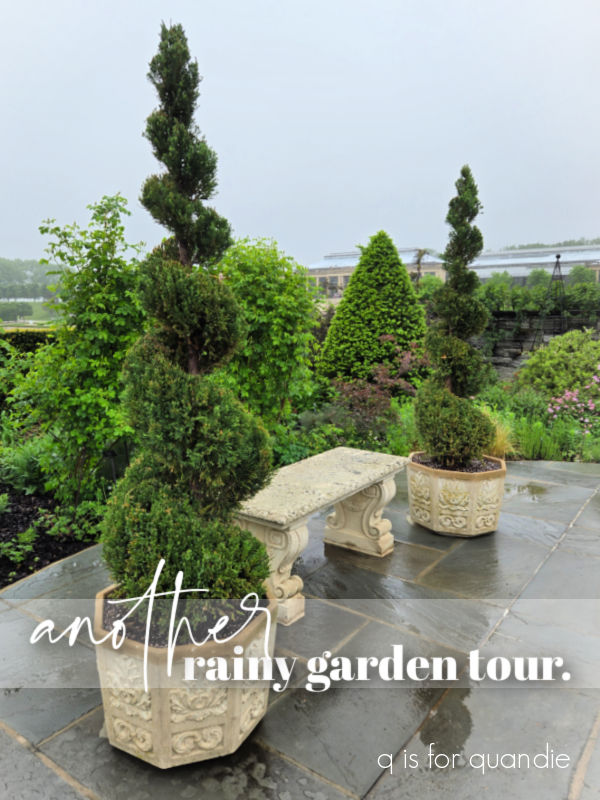

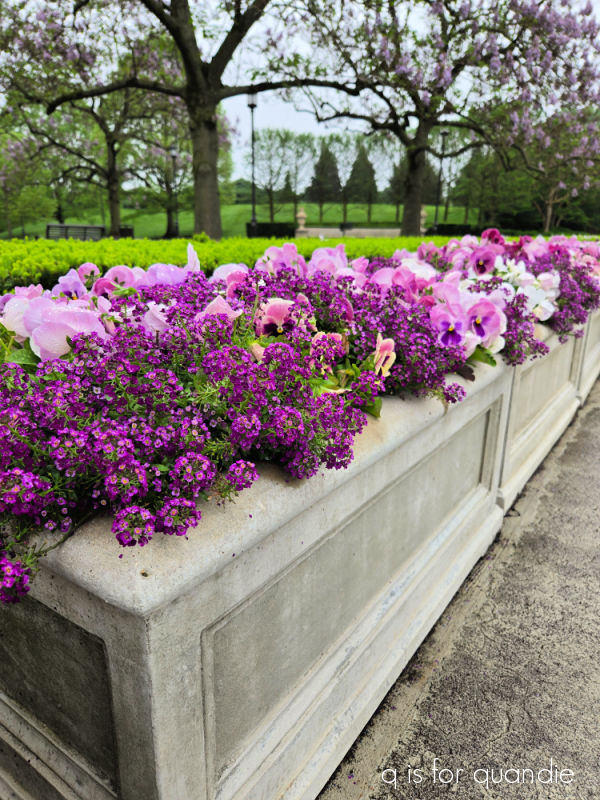


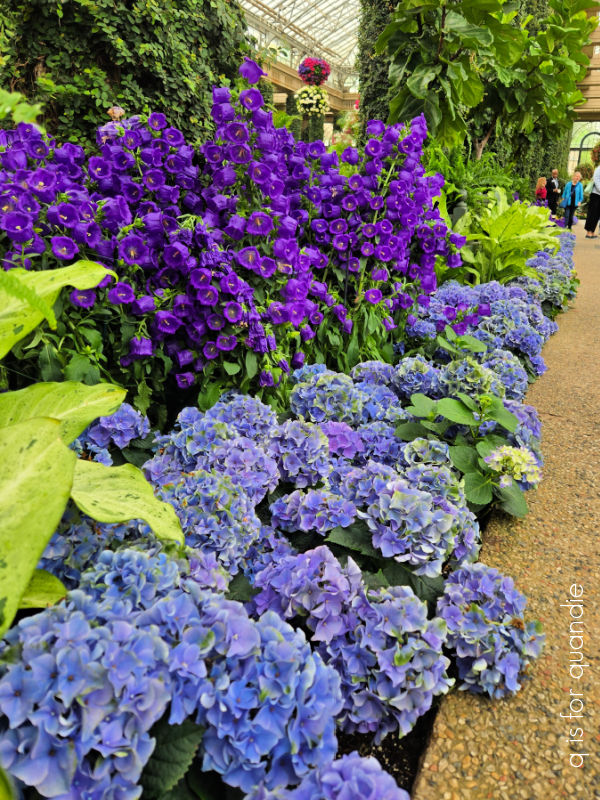
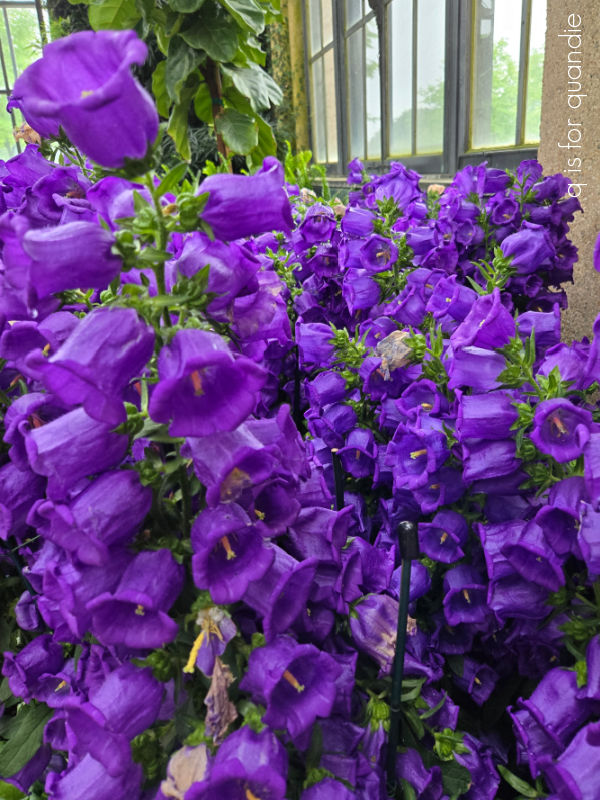
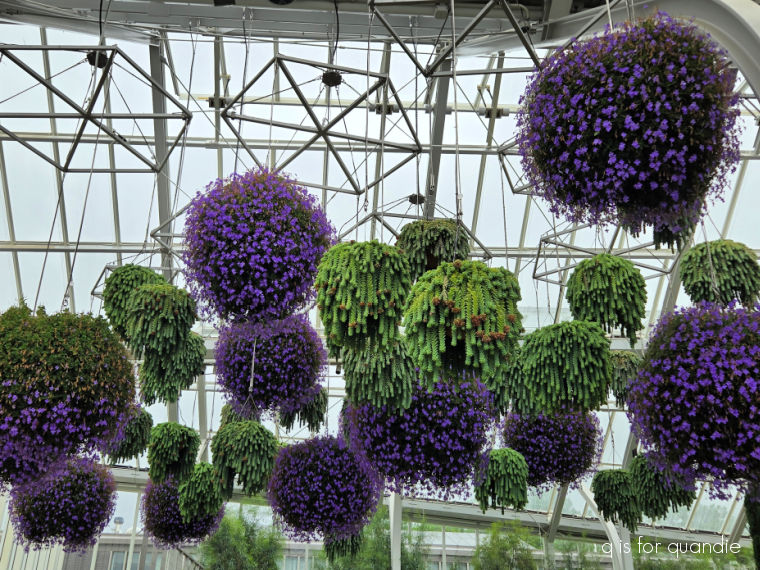


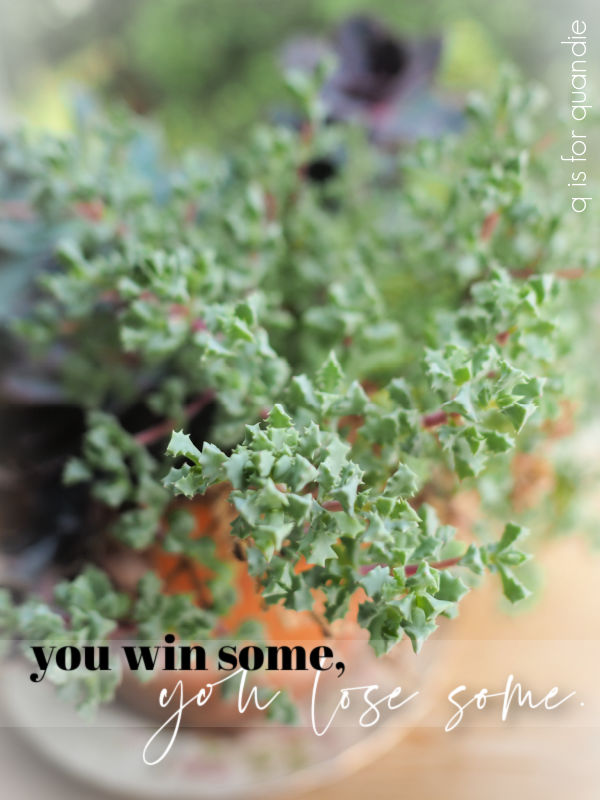


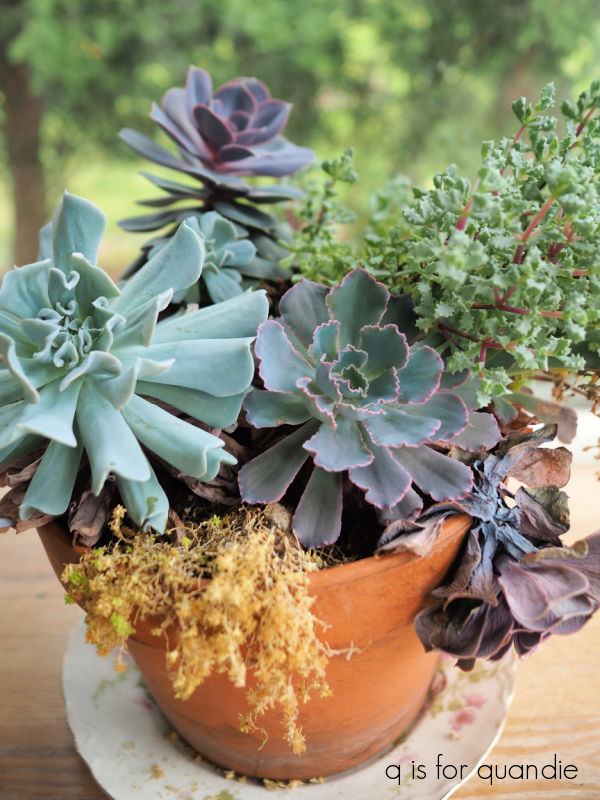


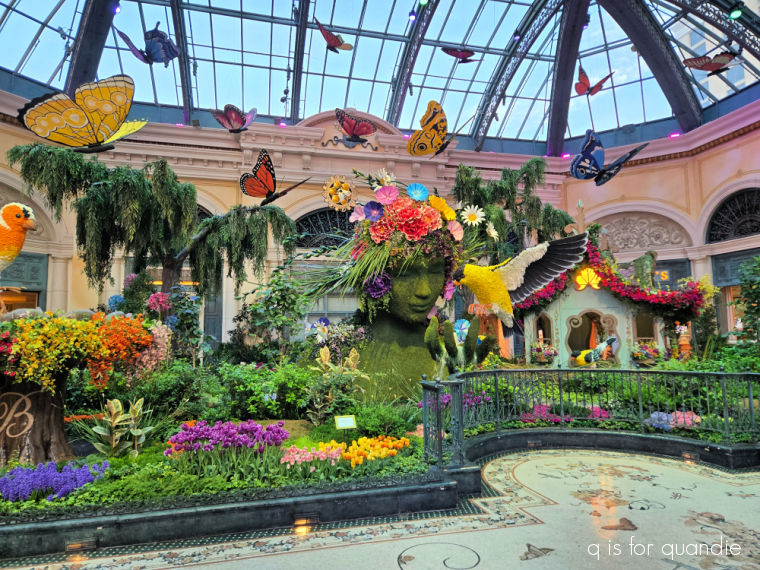
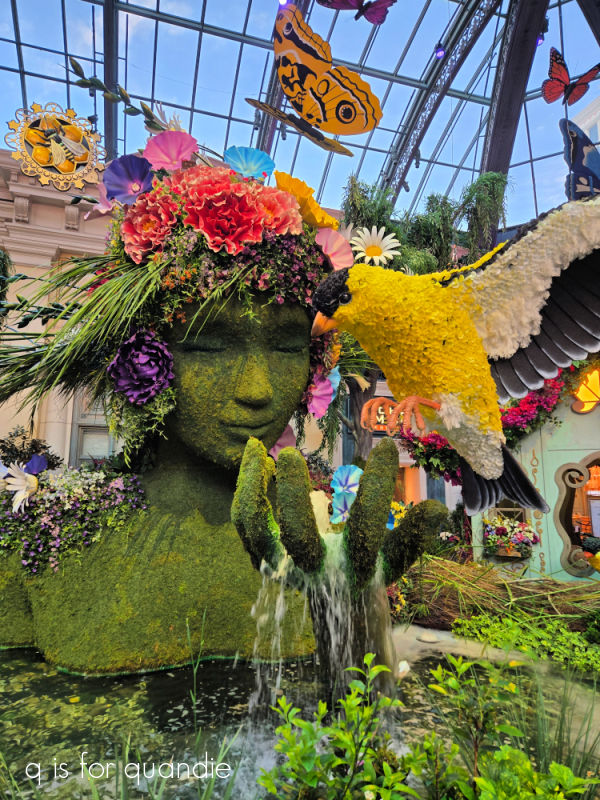
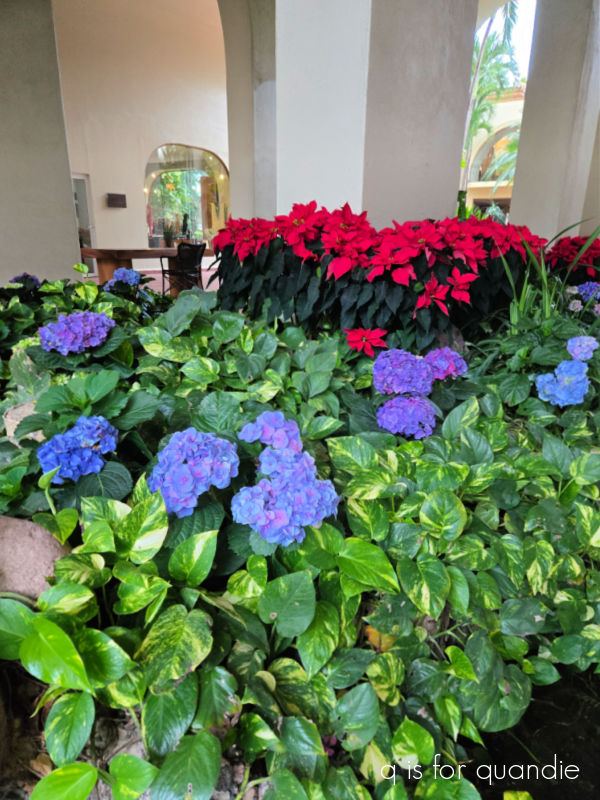
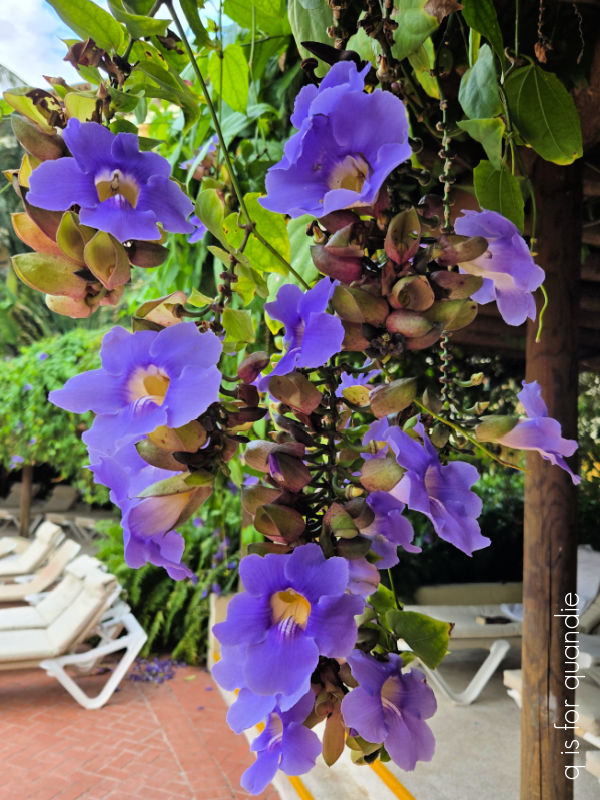
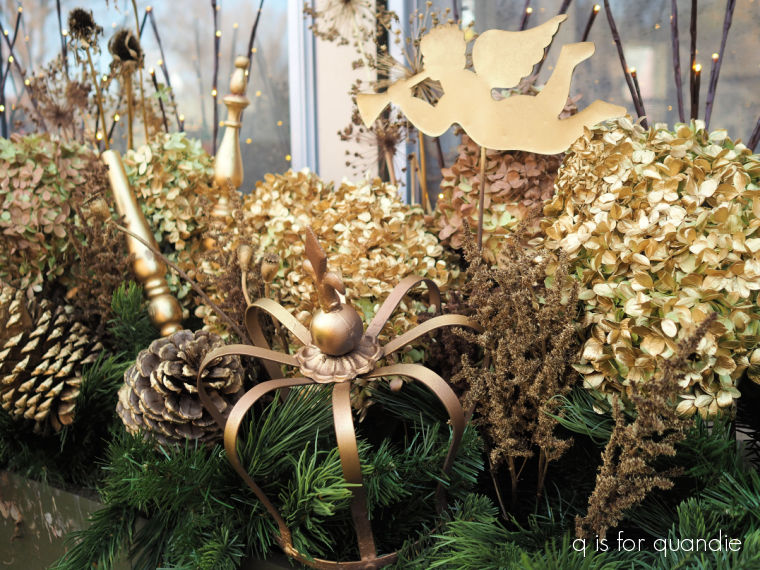
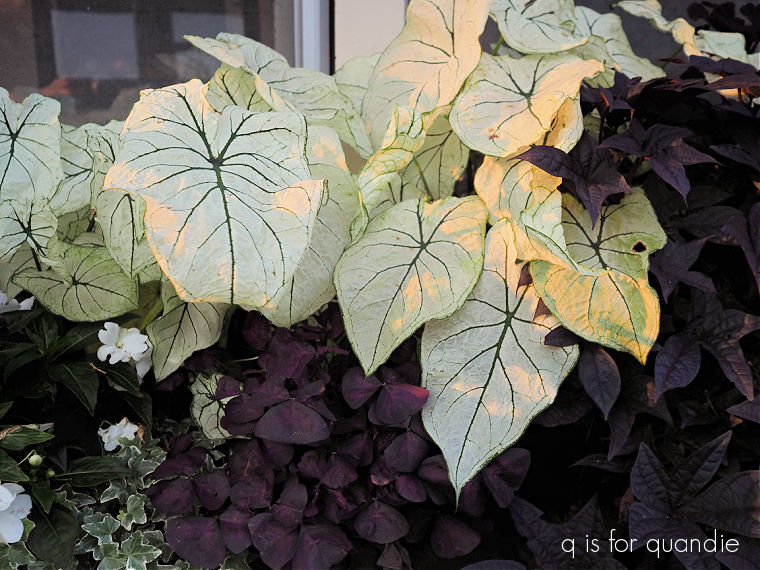
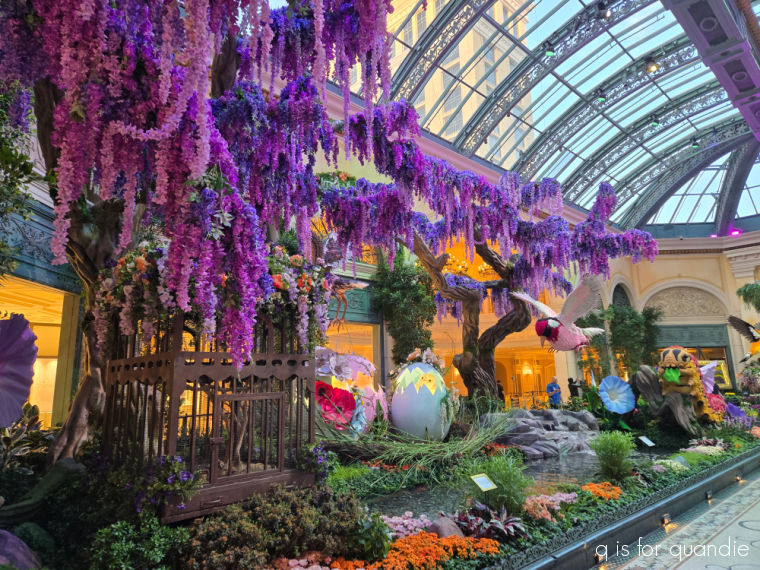 It certainly is a beautiful display, but it was fairly obvious that not all of the ‘flowers’ are real. Certainly that purple vine was artificial.