Good morning from the garden, and Happy Mother’s Day to all of you mothers out there (wait a minute, that sounded a little wrong)!
Earlier this week I mentioned having purchased some plants while out garage saling last weekend. I have always been a big fan of what I call garage sale gardening. So many of the plants in my garden came from garage sales, such as the Bigroot Geranium (or Geranium macrorrizum) that grows like mad in just about any conditions.

So when I saw some of the plants on my ‘wish list’ being sold for $5 each at a sale in Tangletown last week, I couldn’t resist.
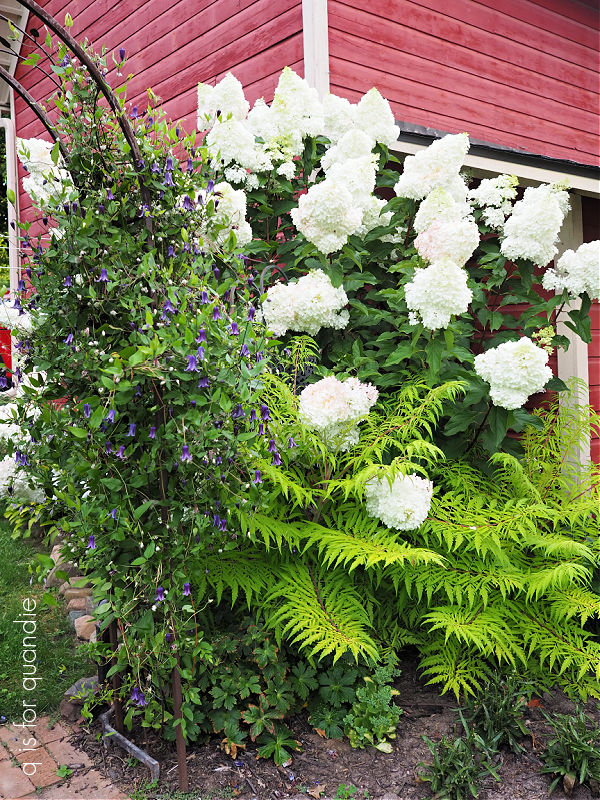
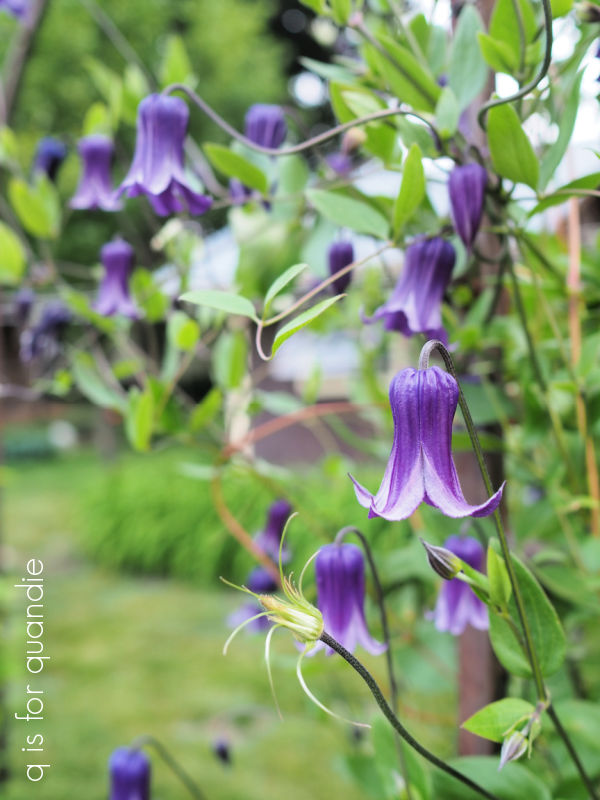
For one thing, I found a Sweet Autumn clematis. You may remember seeing this growing on the side of our carriage house (the vine with the little white flowers on the left below).

It was spectacular in the fall, but last spring it didn’t come back. I find that this happens sometimes with clematis, possibly due to clematis wilt, I’m not really sure.
Anyway, I picked up a new one for $5 and we’ll try again.
But, that brings me to today’s q tip! Have you heard about jumping worms? They are a non-native earthworm that strips the nutrients from top soil. And according to Ramsey County they are an emerging problem in our area. They can be introduced to your garden in mulch, compost and potted plants.
For that reason, I am now hesitating to continue recommending buying plants at garage sales because it puts you at risk of bringing home jumping worms.
However, garage sale perennials can still be a good bargain, so if you have jumping worms in your area (check with your local University Extension program if you don’t know) you should practice some jumping worm safety if you purchase plants at a garage sale, or even at a garden club plant sale for that matter.
Here are some recommendations from the U of M Extension:
- Accept only plants from gardeners that have looked for jumping worms and use these practices to prevent their spread:
- Plants and materials do not come from an area known to have jumping worms.
- There is no reason, like soil that looks like coffee grounds, to suspect there are jumping worms at the site that produced these plants or materials.
- Remove soil from all plants before transporting them to limit the spread of weeds and worms. This helps to remove earthworm cocoons (egg cases) or weed seeds.
- Completely submerge plant roots in water and wash away remaining soil. Actively look for worms. Protect clean roots for transportation and sale.
- Water is sufficient to remove soil and other materials from the roots.
I questioned the person I purchased plants from and she said they were not grown in soil from her garden, but in a potting medium (sorry, my eyes glazed over at the exact details). So they should be jumping worm free.
OK, let’s move on from the worms.
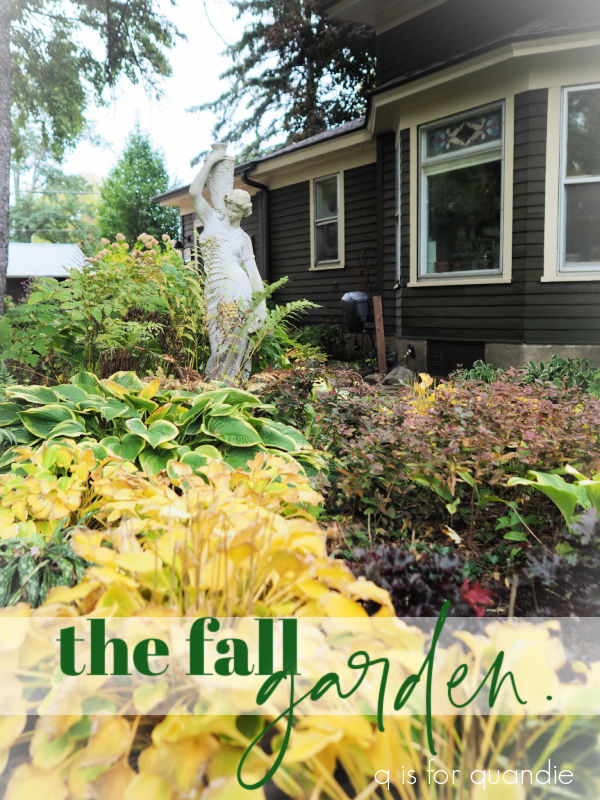
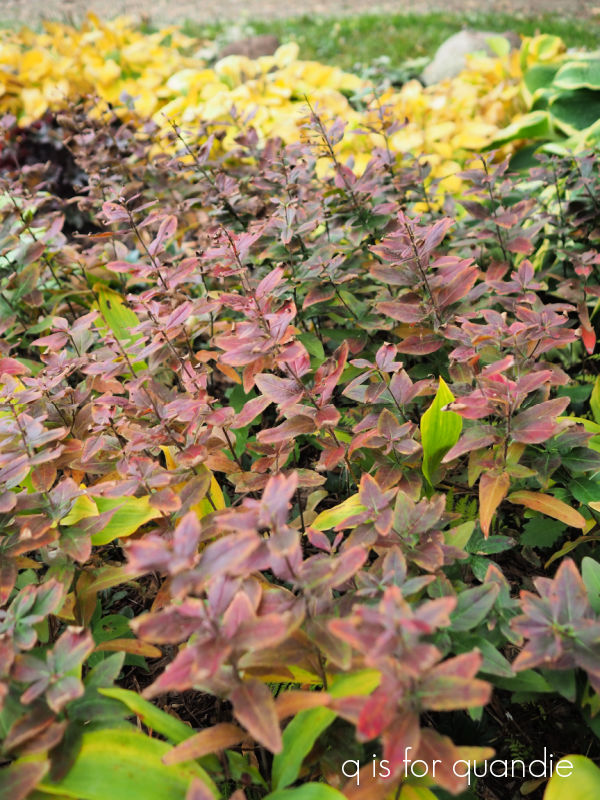
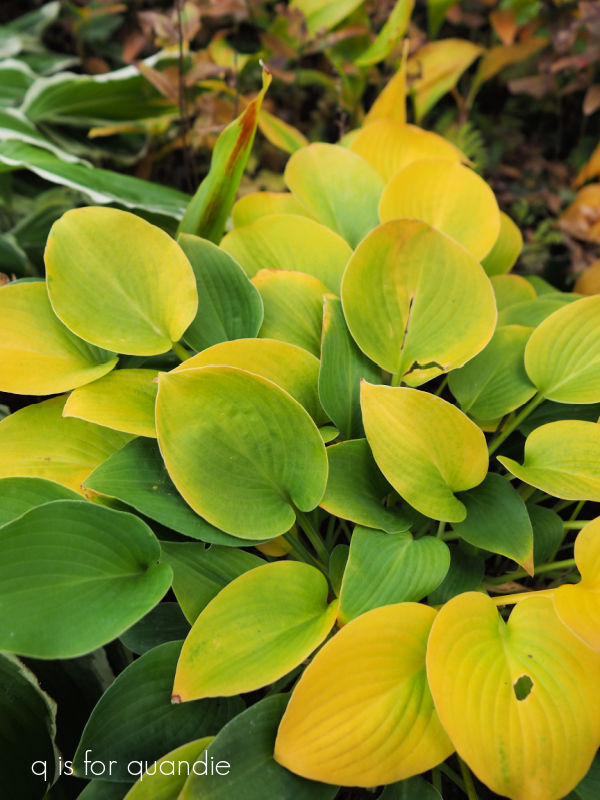
The garden has just exploded over the last week, so I thought I’d share some of my favorite spots with you this morning.
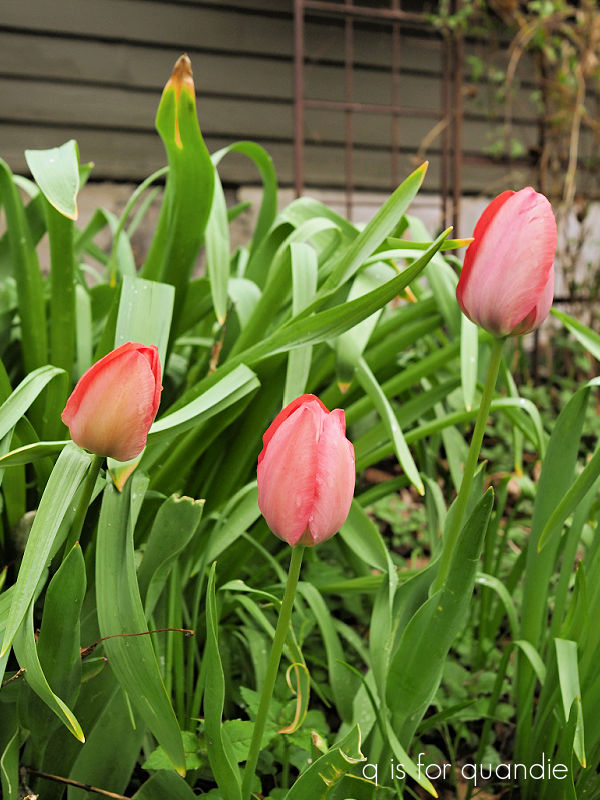
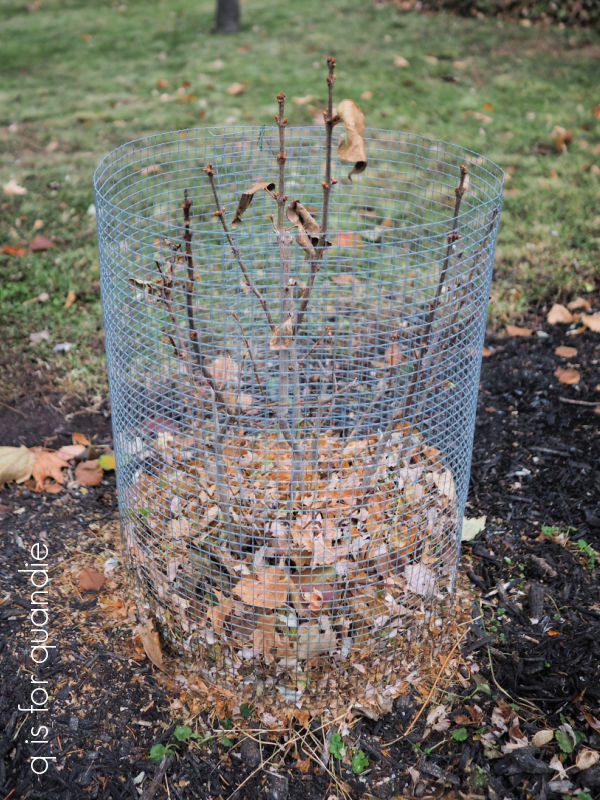
Remember the tulips that the deer like to eat?

I saved a couple of patches of them by enclosing them with chicken wire and they look amazing right now. Unfortunately, only a handful of the patch of 100 that I planted in fall of 2022 came back this year. I had chosen Darwin Hybrid Pink Impression tulips specifically because that variety is one that will naturalize. But apparently not for me. However, I’d also planted 100 new ones this past fall and those look fantastic.

In the end, I have come to realize that I need to treat tulips as an annual in my garden, and an annual that has to be protected from deer at that. I tell myself that they just aren’t worth it, but right now they look so good that I know I’ll be tempted to plant them again this fall!
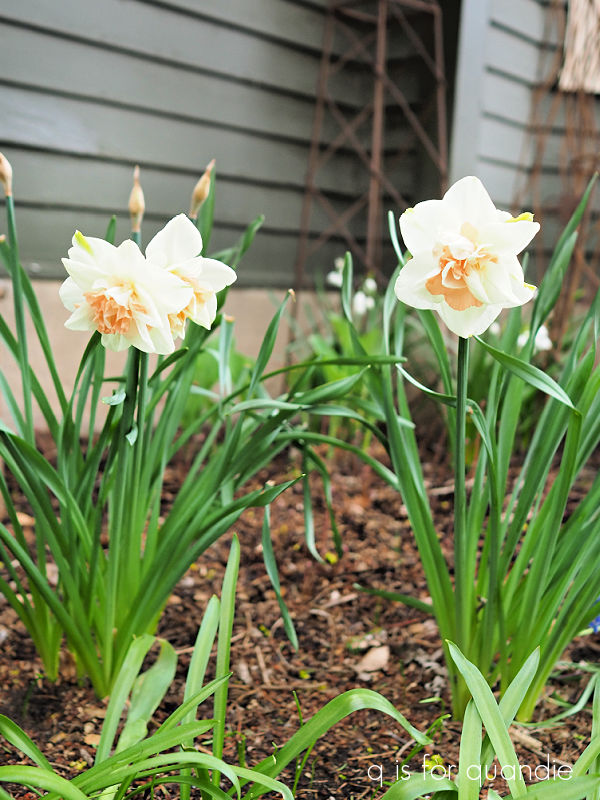
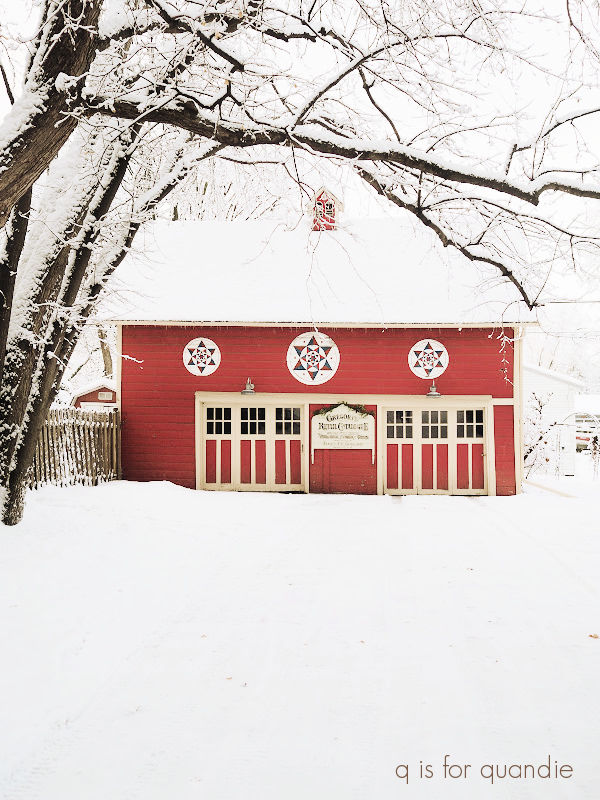
The Double Sherborne Narcissus that I planted last fall are also looking good. They add a bright pop of yellow next to the red carriage house.

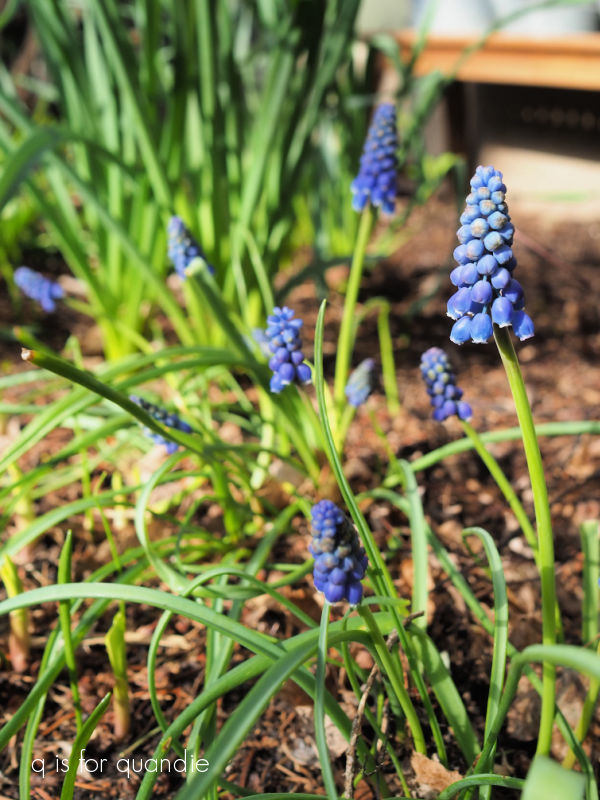
I’ve mixed in some muscari (grape hyacinth) and I love the combination.
In the background of that photo you can see the azalea that I added a few weeks ago.

I can’t take any credit for all of those flowers since this shrub was already covered in buds when I purchased it at Home Depot. This particular azalea is supposed to be hardy in zones 5 thru 9, and my area was bumped from 4b to 5a last year. Will it survive our winter? That remains to be seen. I plan to protect it over winter for a few years until it gets established.
The Sugar and Spice tiarella (foam flower) that I put in last year is just starting to bloom.

As is the Raspberry Splash lungwort.
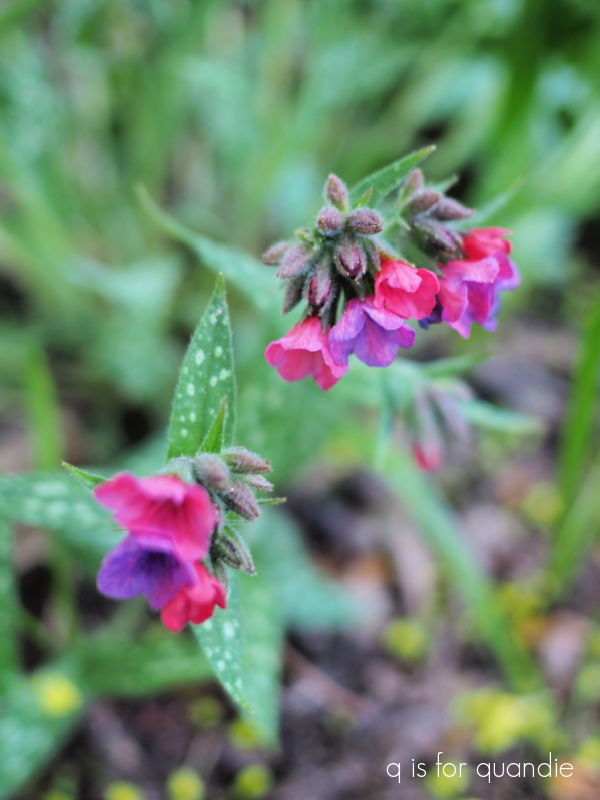
Aren’t those color gorgeous?
The star of the garden this week has to be the Phlox divaricata, or wild blue phlox.
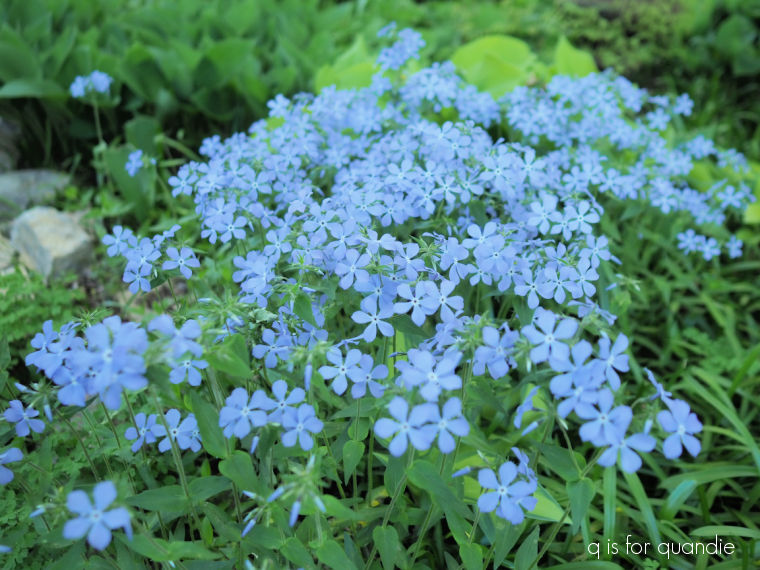
It has created a lovely patch of bright blue. I have it planted ‘under’ a Sun Power hosta. You can just barely see the Sun Power in the early stages of emerging behind the phlox.

I love this combination because although the phlox looks gorgeous right now, after it blooms it looks fairly weedy. But that’s when the hosta takes over and fills in the space and I just cut back the phlox.
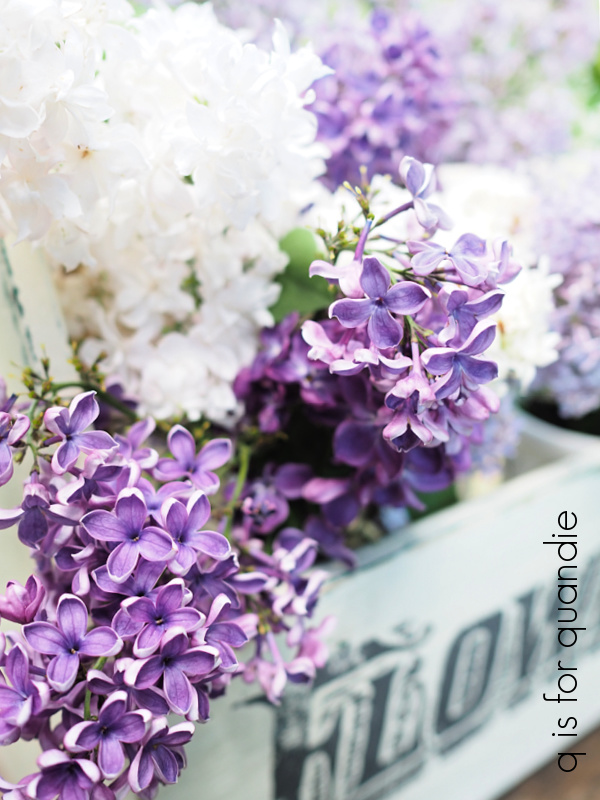
Last, but certainly not least, the lilacs are just starting to pop. We’ve had some cool nights recently (in the 40’s Fahrenheit), and I think that is slowing them down a little.

Also, I’m finding that they last a lot longer in a vase if I cut them before the flowers are completely opened up.
So tell me, do you have jumping worms where you are? Have you gotten many plants at garage sales? And what’s blooming in your garden this week? Leave a comment and let me know.


 They were still looking so good I just couldn’t bear pulling them out yet.