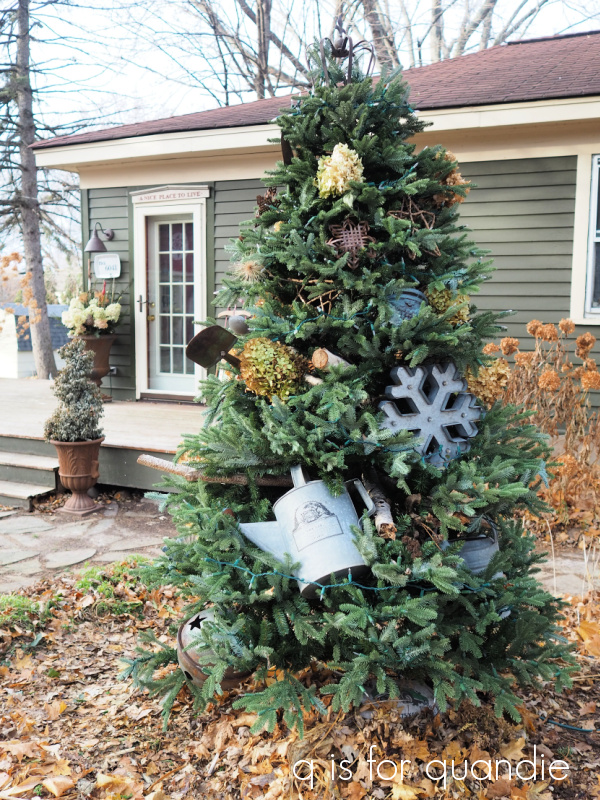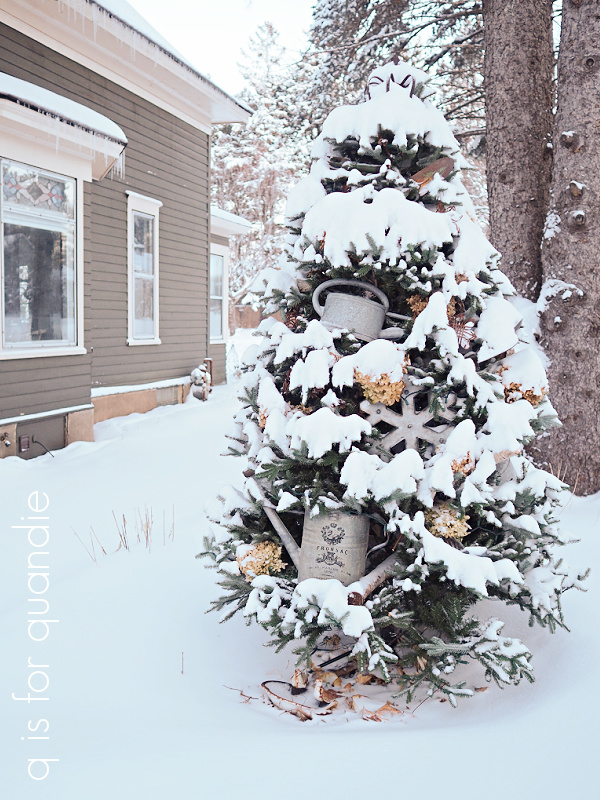
the garden Christmas tree.

Do any of you remember the free Balsam Hill Christmas tree that I found back in the spring?

The photo above shows my haul from the White Bear Lake Trash to Treasure Day, where residents leave items at the curb for anyone to take.  The tree is in two boxes at the back.

At the time, I knew enough to know that the Balsam Hill brand is generally good quality, and I googled this particular style and found that it was their most popular seller.

And it was free.  So I grabbed it.

It’s a pre-lit tree, and I had a sneaking suspicion that the lights wouldn’t be working properly.  Why else would someone be getting rid of an expensive faux tree?  So I can’t say that I was surprised when I got it all set up and plugged in and only about 1/3 of the lights worked (although I was maybe just a tiny bit disappointed).  None the less, I still thought I’d use it in my living room until I dragged it in there and realized that it was really too big for my space.  I’ve mentioned a few times here that our house is not large.  It’s a 1904 farmhouse, and back in 1904 they didn’t see the need for huge rooms.

At that point I debated just boxing the tree back up and putting it at the curb with a ‘free’ sign on it, but then decided why not use it outside?  I’ve done this before and really enjoyed having a Christmas tree in the garden.  So I lugged it out to the garden and Mr. Q helped me weight it down with some sandbags (crucial for an outside faux tree, to avoid having it blown over in a storm).

I knew that trying to remove the non-functioning lights would be a frustrating, time consuming exercise, so I opted to just add new lights on top of the old.  Then I set about decorating the tree with garden items that I already had on hand, including most of my watering can non-collection.

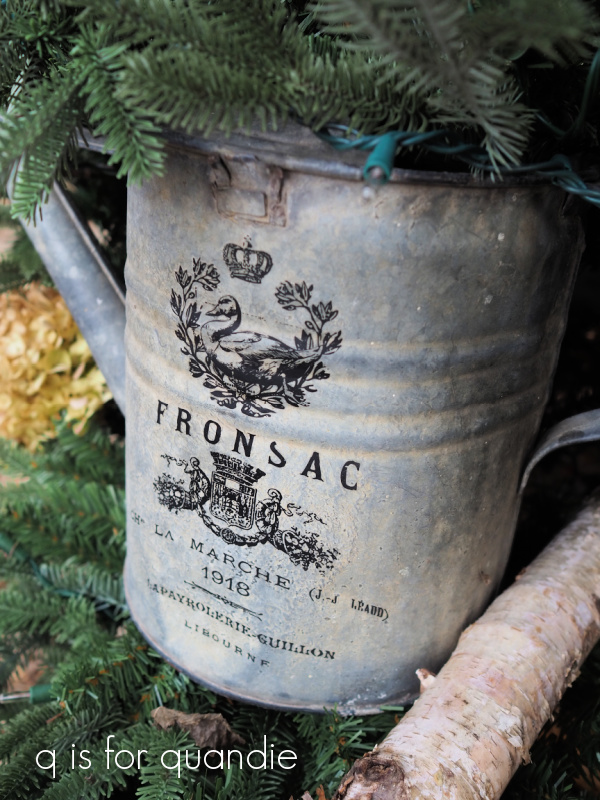
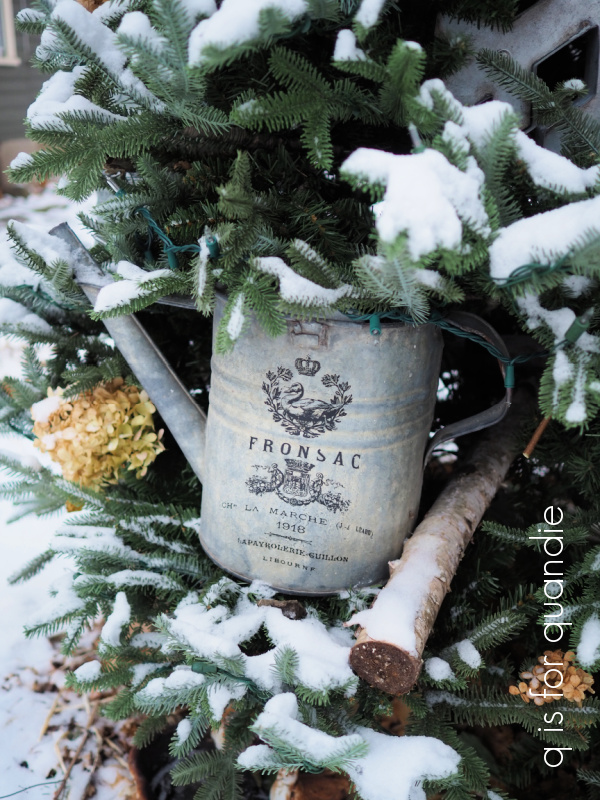
I didn’t attached the cans with anything, I just basically tucked them in between branches.

And by the way, I should throw in here that one of them has an IOD transfer, and one of them has a re.design with prima transfer, and both brands of transfer have held up perfectly on these watering cans that I leave outside year round.

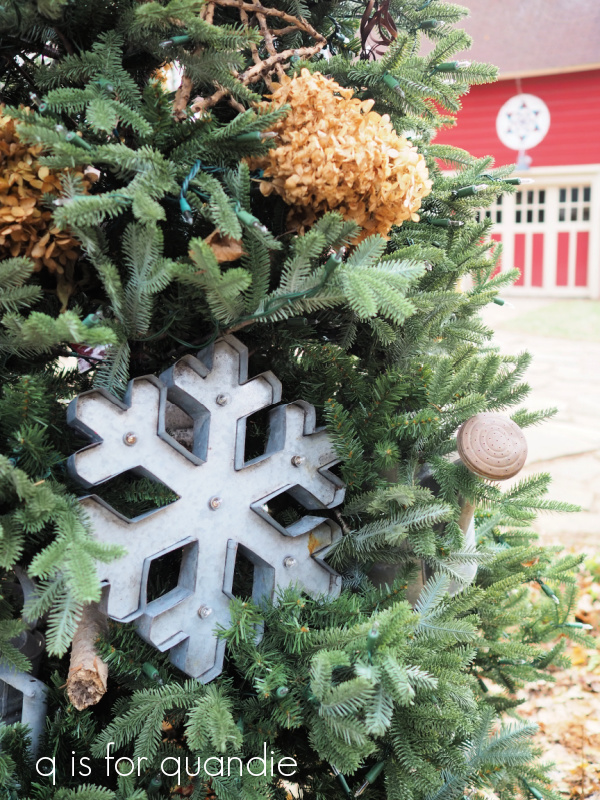
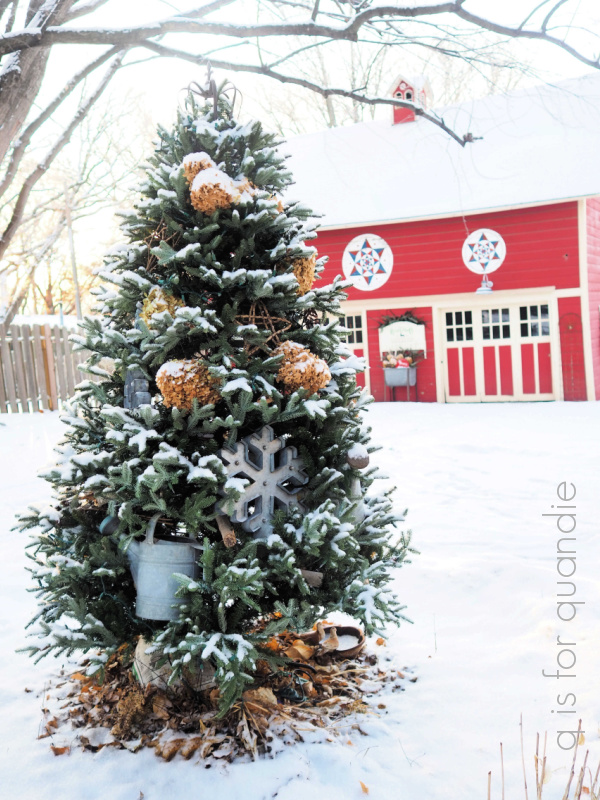
Most of the decorations, including the big galvanized snow flakes, are just tucked in.

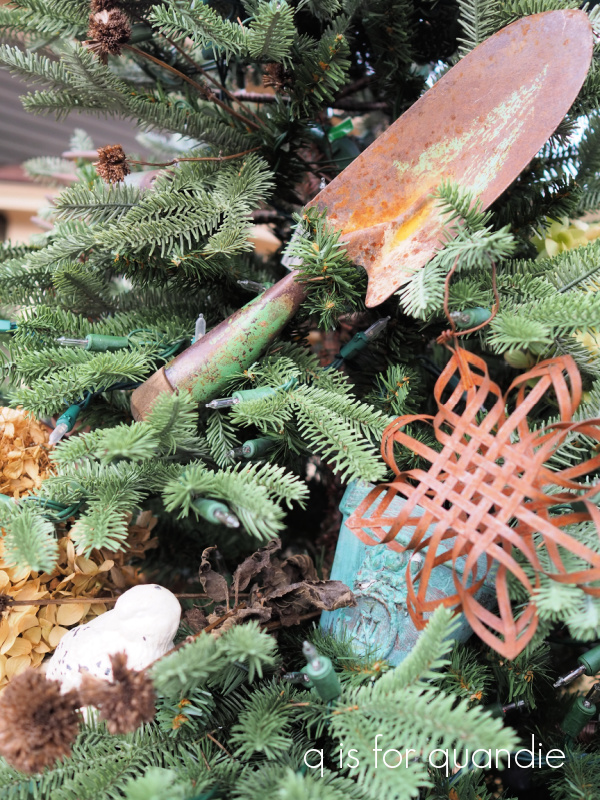
I harvested dried flower heads from the garden and tucked those in here and there too.

Along with some birch logs, vintage garden tools, and even some clay pots.

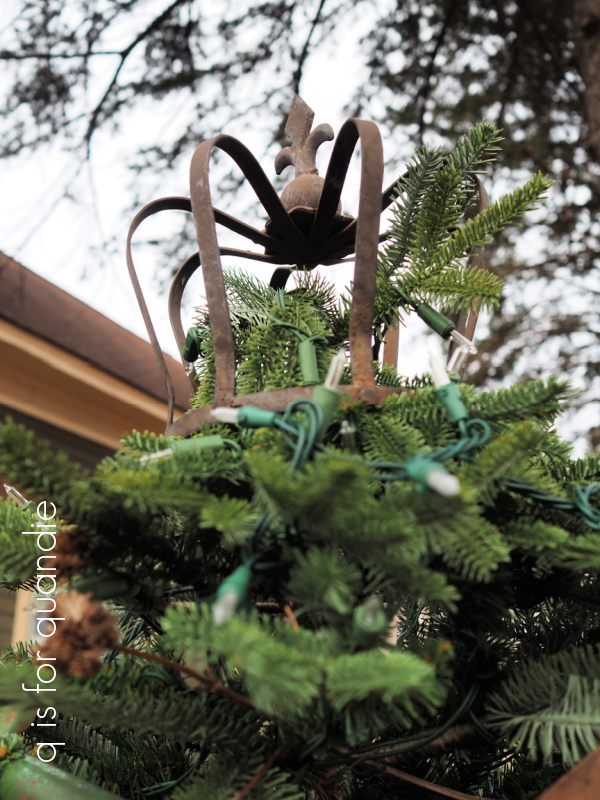
I topped the tree with a rusty crown that usually lives in the garden.

I really wasn’t sure how this haphazard approach to decorating the tree was going to hold up outside, but we had a fairly blustery storm a few days later and nothing fell down, or fell off.

So I think it’s good to go.

I do like the spot I put it in, it’s outside my kitchen window and it’s fun to see it out there, especially at night when it’s lit up.

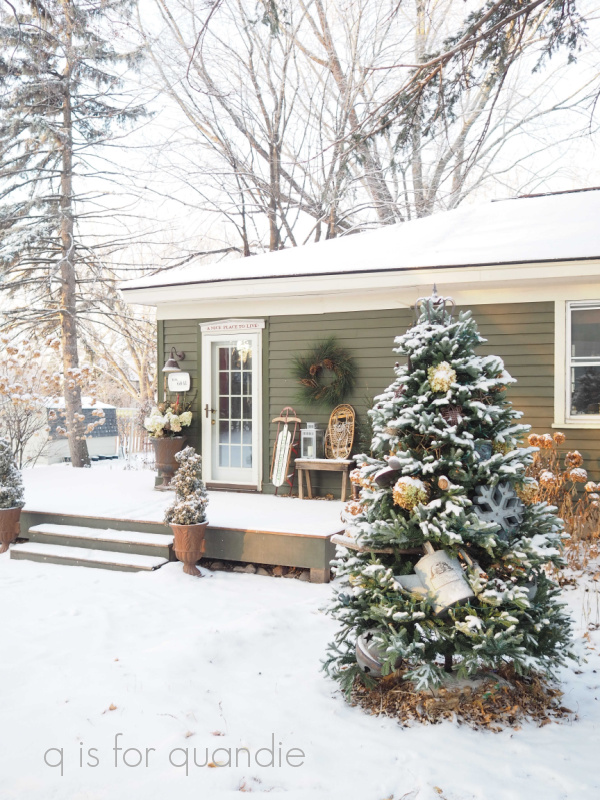
All of the preceding pictures were taken before our big snowfall last Friday.  Now the tree looks more like this …

Still pretty, but a lot of the smaller details have been lost under the snow.  It does make me realize what a good choice those bigger items such as the watering cans and the big galvanized snowflakes were for outside though.

But I’ve been thinking that maybe next year I’ll put the tree in the photo cottage.  If I left the top half of the door open, you could see the tree inside there all lit up.  Hmmmm.  Well, I have another year to think about that idea.

In the meantime, I’ll enjoy the tree where it is.

Do you put any Christmas trees up outside?  Or decorate ones that are already there?

and just like that.

There’s nothing like a good snow day to fill you with holiday spirit.  Last week I mentioned that we could use a little more snow for good outdoor holiday photos, and just like that, we got a perfectly picturesque snowfall last Friday afternoon and evening.

Some parts of the Twin Cities got up to 21″, but we probably got somewhere closer to 8 or 9″ here at our house.  Just the right amount to be festive, but not totally overwhelming.

And I’m sure some of you are tired of hearing about it, but boy, how fabulous to be retired and not have to commute in a snow storm!

Mr. Q and I stayed home and watched it come down.  He made his famous secret family recipe brownies, while I watched And Just Like That.  Any other Sex and the City fans out there?  I was a huge fan of that show.  I knew that they were coming out with a reboot, but I wasn’t quite clued in to the fact that I could watch it on HBO Max, which we just happened to add to our channel line up when Dune came out.  So, I’m a little behind (what’s new there?) and two episodes are out already.  Spoiler alert!  Don’t read the rest of this paragraph if you haven’t seen the show yet!  But wth?  I wasn’t expecting them to kill off Big in episode one.  Then again, it makes sense.  What would be the ongoing story line in ‘happily ever after’?  I love the fact that the characters are all around my age, and their lives have changed accordingly.  I can totally relate to Carrie trying to stay relevant with Instagram and podcasts.

But I digress.

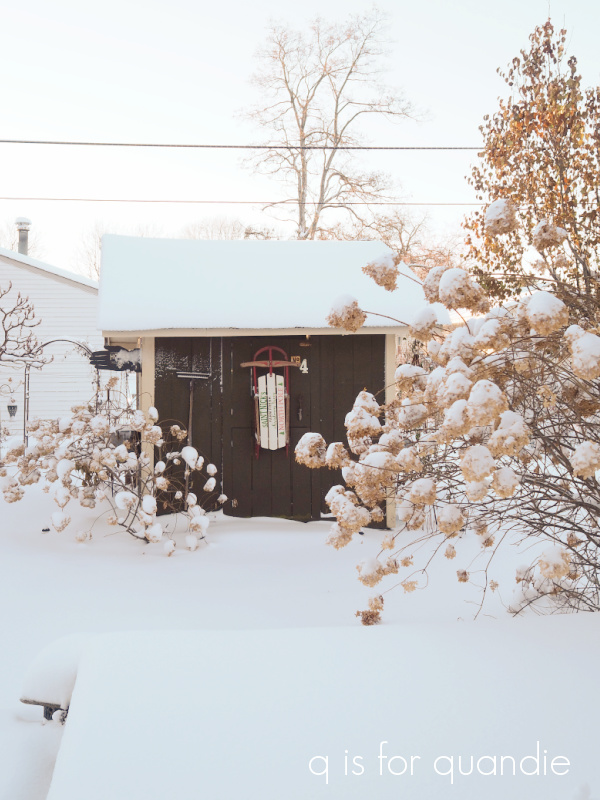
I got up early on Saturday morning as the sun was just coming up so that I could get some photos before shoveling out.

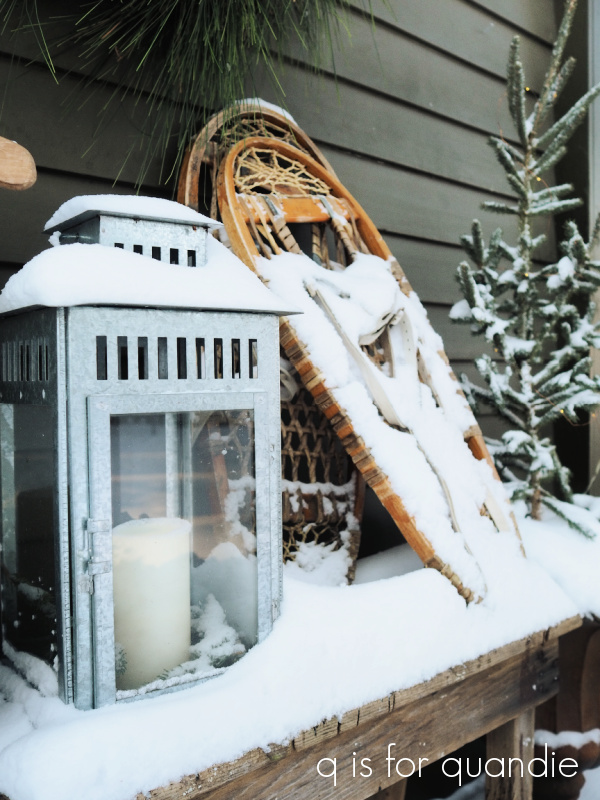
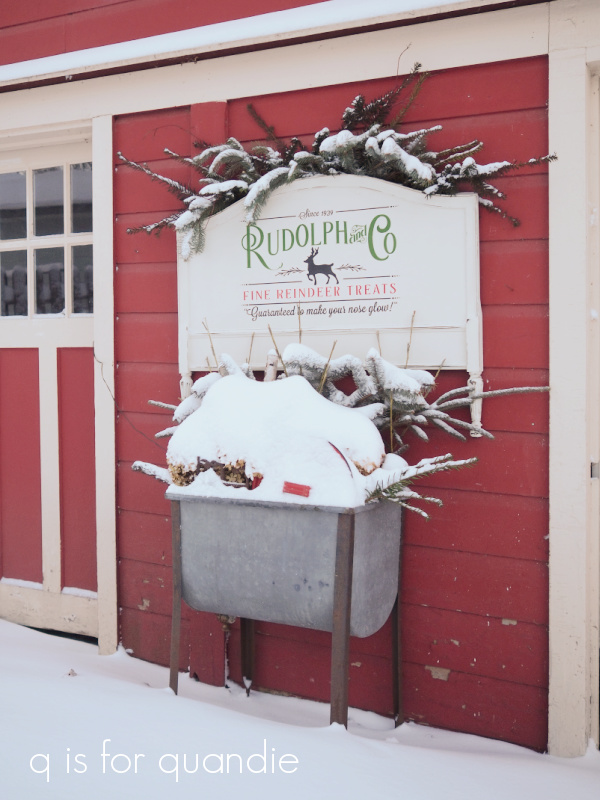
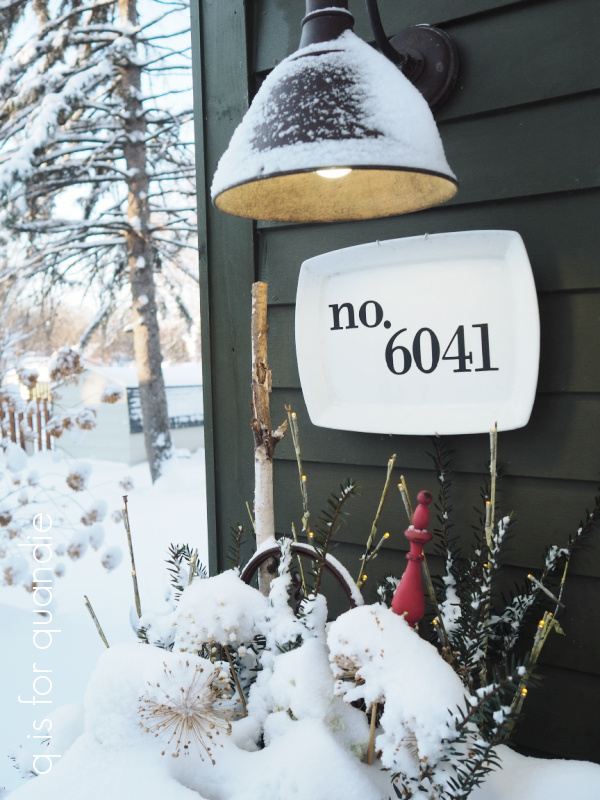
On the one hand, the snow is gorgeous.  On the other hand, it covered up a lot of my outdoor decorations!

Hmmmm.  You can’t even see the arrangement of greens in my various containers.

But not to worry, that snow will melt later in the week and my greenery will be revealed once again, including my garden Christmas tree (I’ll share the details on that soon).

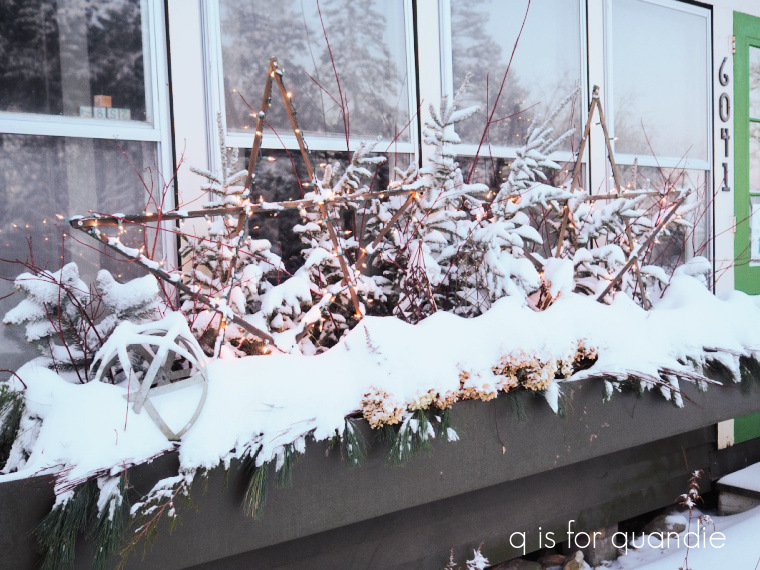
Since I knew the snow was coming, I took some time on Friday morning to finish up my front window box.

Well, more accurately, to almost finish it up.  You see those stars?  One of my readers (thanks again Connie!) sent me three of them.  I only had enough lights on hand for two of them on Friday though.  I’d like to get the third one in there too, hopefully I’ll get to that this week.

In the meantime, I’m just going to enjoy this snowy wonderland for a bit.

There’s nothing like that first good snowfall of the year.  I absolutely love it.  How about you?  Are you a fan, or are you in the ‘snow is a four letter word’ camp?

the war of the styles.

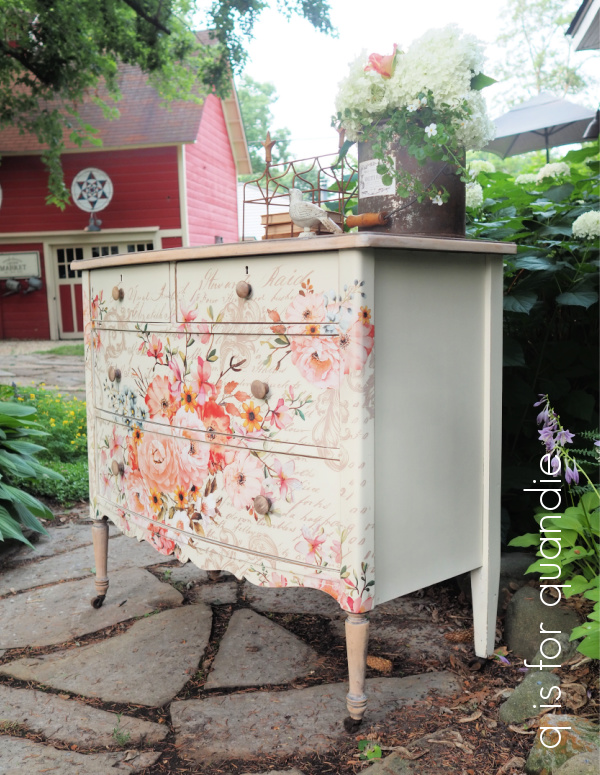
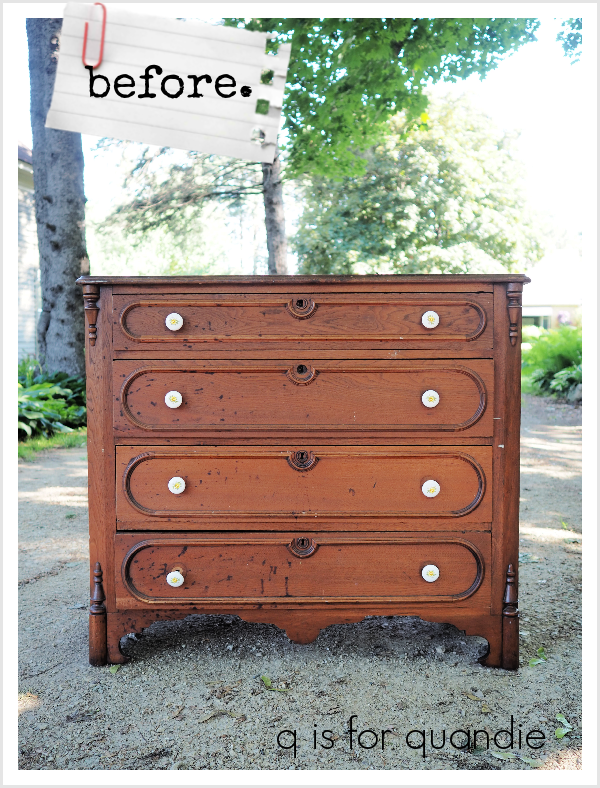
Well, those of you who were paying attention may have noticed that the dresser I posted on Monday sold super fast.

I posted the blog post at 7 a.m., and the dresser was spoken for by 8 a.m.

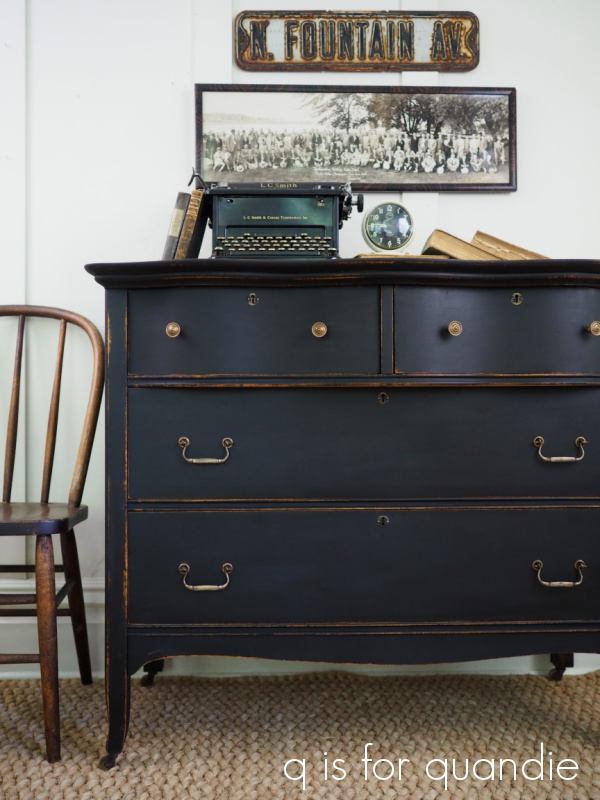
The black dresser from last week was also posted at 7 a.m. and sold by 7:14 a.m.

so I guess technically it did sell faster!

But I think the moral of our story is that there is a market out there for both the team player and the star of the show.

There is going to be a part three to this battle next week when I unveil what I’ve done with this dresser …

This time I’m going on out on a limb with some color rather than playing it safe with a neutral.

I didn’t quite get it finished in time to post about it today though, so you’ll have to stay tuned until Monday to see how it turned out.

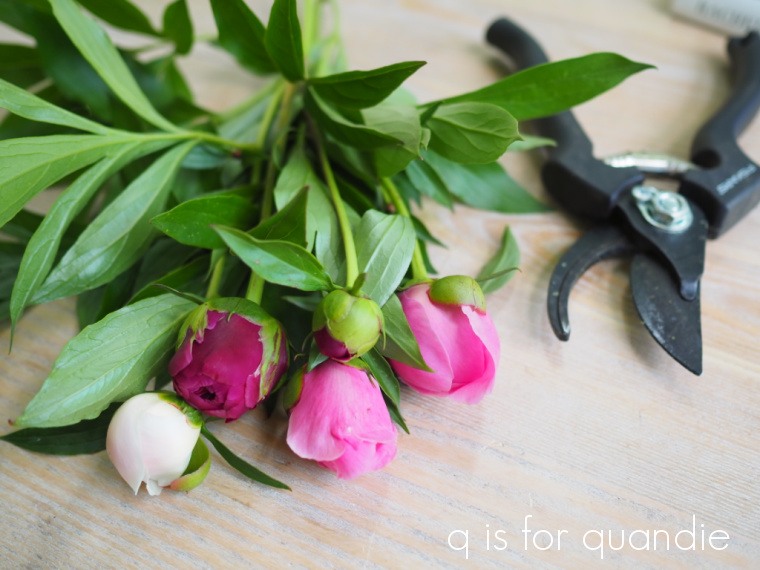
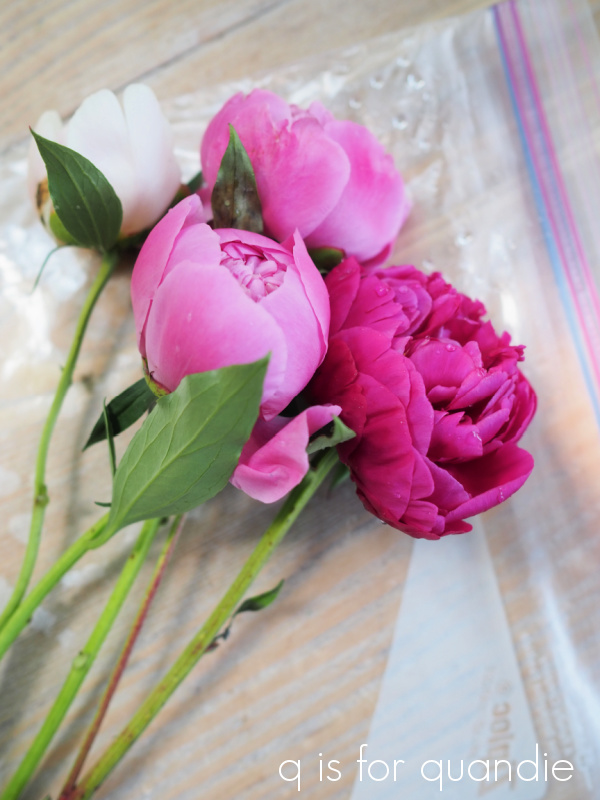
In the meantime, remember that experiment I was trying with saving peony buds in the fridge?  Here’s how the buds looked when I cut them back at the beginning of June.

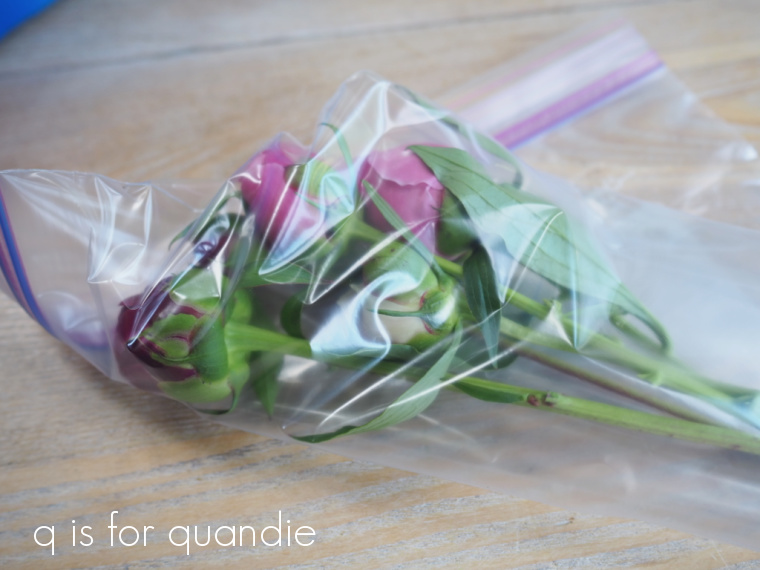
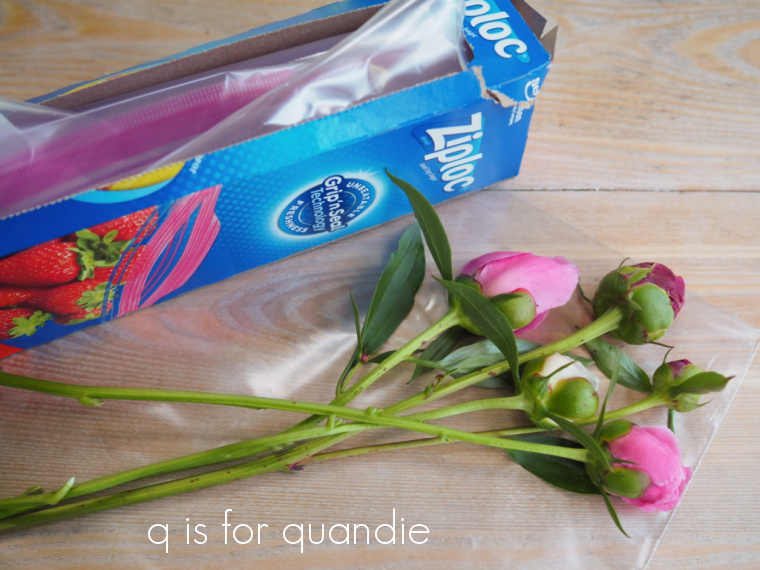
I cut off most of the leaves, and then put the buds into a Ziploc baggie and tucked them into the fridge.

And there they stayed until last night when I pulled them out again.

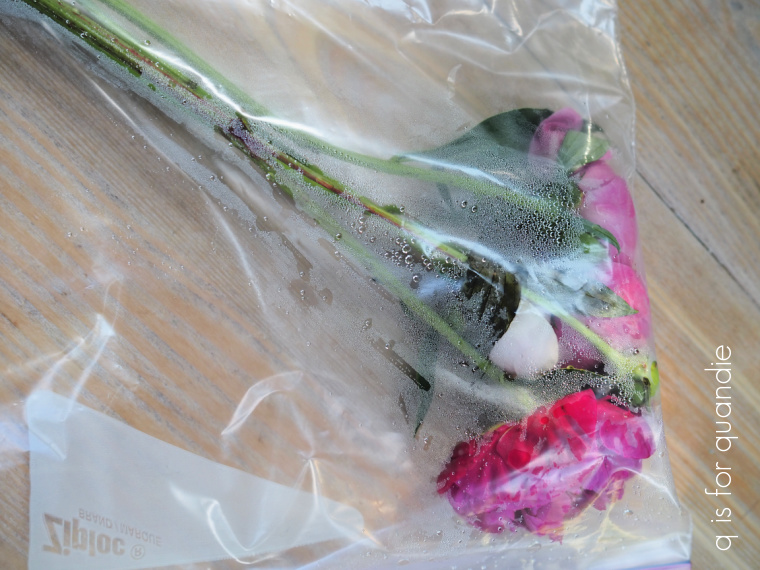
The darkest pink one had opened while in the fridge, which is funny because it was one of the tightest buds going in.

Here’s how they looked immediately after pulling them out of the bag.

Pretty darn fresh looking for having spent about six weeks in the fridge, don’t you think?

I trimmed their stems and popped them into a vase of water, and about an hour later they opened up fully.

How cool is that?

And now I have some peonies from my own garden to enjoy on my desk at work today.  I call that a win.

I only wish I had saved more of them this way.  The weekend after I cut these we had a heatwave with temps in the high 90’s which was totally unusual for us for the first weekend in June.  The temps stayed in the 90’s for 9 consecutive days.  And as you may know, peony blooms do not handle heat well.  The peonies in the garden were pretty much toast within about 5 days.  Such a bummer when you’ve waited a full year for peony season and then it is cut short.

Next year I’ll have to remember that and save more of them in the fridge!

the seed tray tamper.

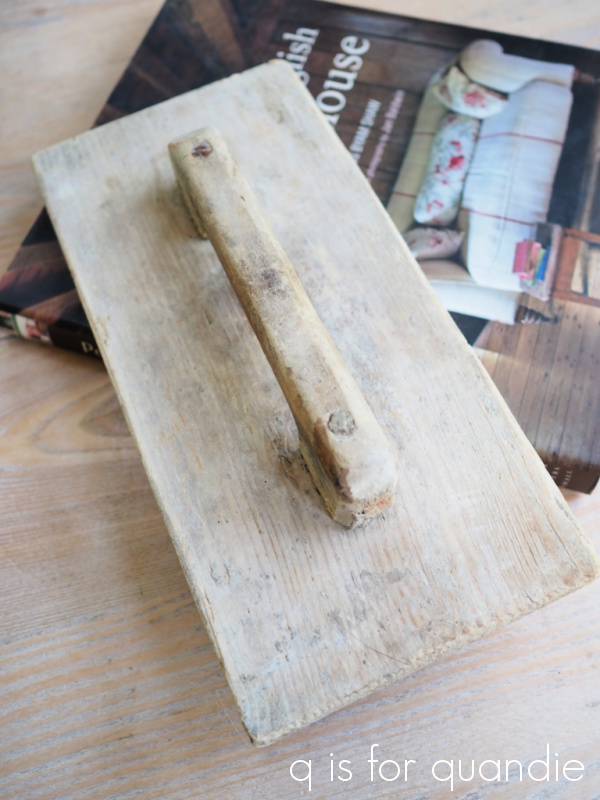
I shared this garage sale find a few weeks ago …

I thought perhaps it was a seed tray tamper, like the one that Monty Don uses on Gardener’s World.

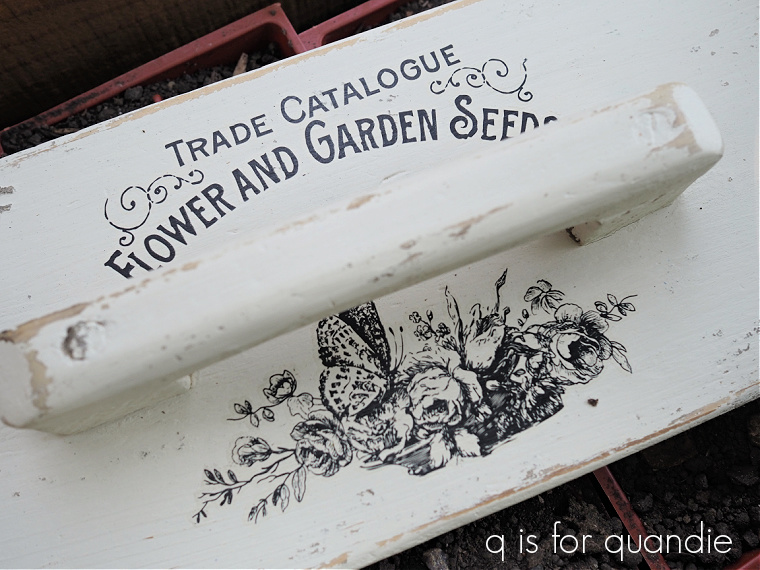
But as a couple of you pointed out, it’s much more likely some sort of trowel and I think you’re right about that.  But I can still pretend it’s a seed tray tamper, can’t I?  And in fact, one could absolutely use it for that purpose.  Especially now that I’ve dressed it up accordingly.

I gave it a coat of Dixie Belle’s Drop Cloth, sanded it back and then added a Classic Vintage Label transfer from re.design with prima.  I followed all of that up with some clear wax.

And voila, a seed tray tamper is born.

While I was at it, I doctored up a couple of old wooden crates that my picker found for me.

This was simply a matter of stenciling them with some garden themed designs.

And now they make great trays for starting seeds in … or for just about anything for that matter.

These items are joined by a vintage watering can that my handyman Ken found while cleaning out his shed.  He was going to just toss it, but thought maybe I might want it.

That was a pretty good bet I’d say.

I added another Classic Vintage Label to the watering can.

I piled all of these things on top of a dresser that my picker found for me last week to get these photos.

She found it at a garage sale near us (we live less than a mile apart), she texted me a picture of it, paid for it after I said ‘yes’, and then I texted Mr. Q to go pick it up.  Talk about team work!

I’ve got two other dressers that I’ll be sharing with you before I can get to this one though, so you’ll have to stay tuned to see how it turns out.

But in the meantime, I’m bringing these some of these items in to the shop where I sell on consignment, Reclaiming Beautiful in Stillwater, MN.  So if any of you locals are in need of a seed tray tamper, be sure to stop in!

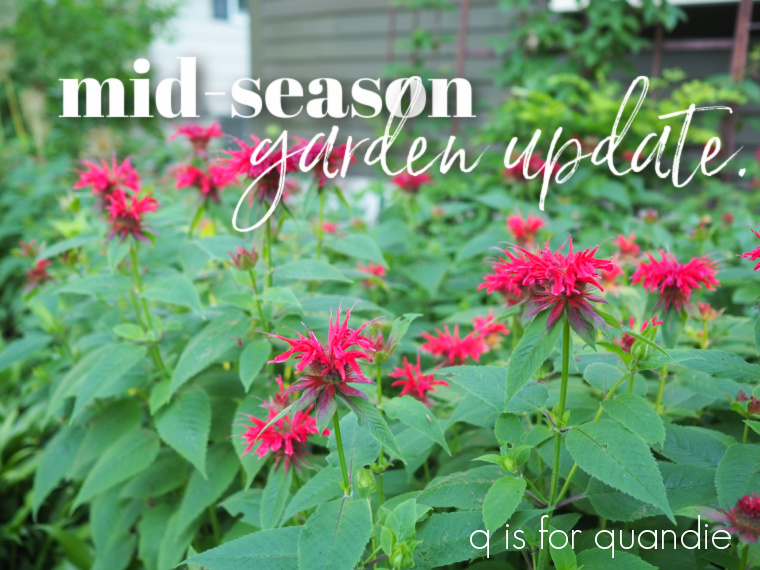
mid-season garden update.

For those of you who are gardeners, I just thought I’d check in with a mid-season garden update.  I suppose that early July is not technically the middle of summer, but I always feel like we’re about halfway through our short gardening season on the 4th of July.

I have to warn you up front, this post got long.  I tend to want to share all of the details about every plant, and that’s probably a mistake.  So here’s your chance to just click out of this post and get on with your day if you’re not interested in gardening.  Run now, while you still can!

Although we have lost five trees in the last two years, we still have quite a lot of shade in our yard.  I much prefer gardening in the shade, so I am glad we still have some big maples that block the heat of the sun.
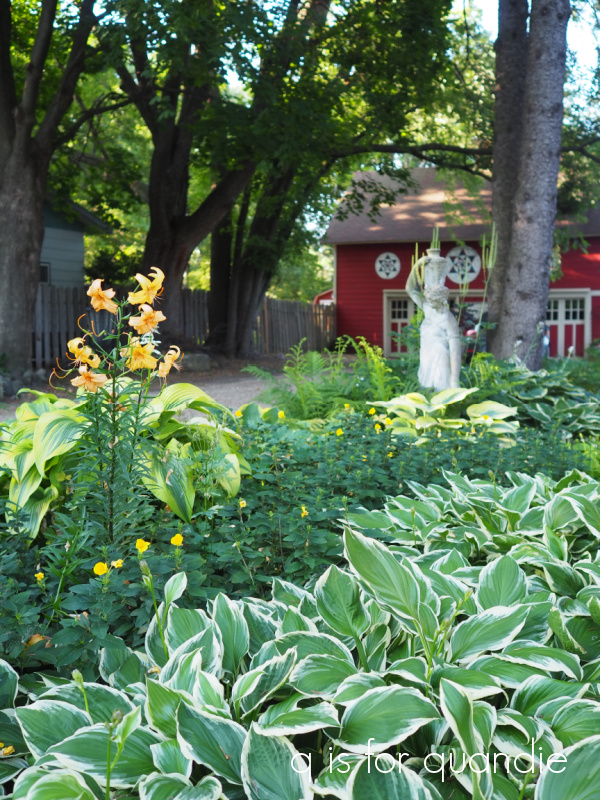
I’ve learned to rely on foliage more than flowers to provide interest in my shade garden although currently there are some Asiatic lilies blooming, and the Evening Primrose is just at the tail end of its bloom time.  A week or two ago there was a solid swath of yellow flowers right through the middle of this garden.

The hostas are still looking fabulous, which is kind of amazing for July.
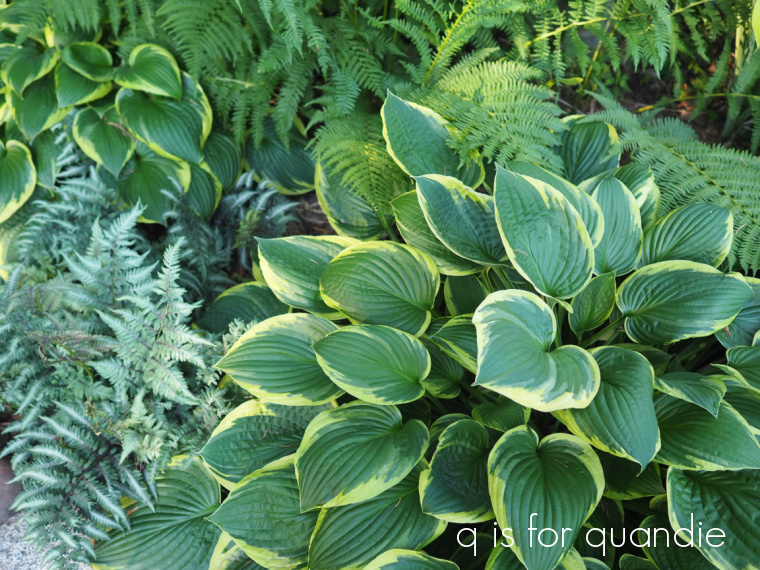
We haven’t had any hail (knock on wood!) so far this summer, and it has also been quite dry so the slugs haven’t taken over.  I’ve had to do quite a bit of watering, and our lawn has lots of brown patches, but the trade off seems to be no slugs so I’ll take it.  It’s also been a bit warmer than usual for us (although nothing like the heat that has been hitting other parts of the country) so everything is growing like gangbusters.
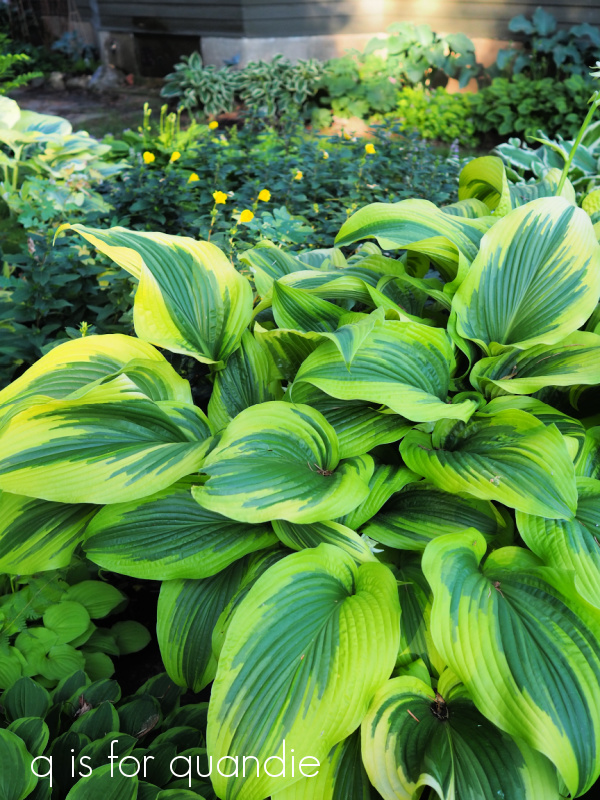
FYI – I’m fairly sure that the hosta above is montana ‘Aureomarginata’ and it’s perfect for adding a bright pop in a shady area.  Isn’t it gorgeous?

I’m working on a curb appeal refresh in the front and I’m going to share that with you when the Limelight hydrangea is blooming.  But for now, I’ll share the window box.  I try to change up the plants I use in it each year so that I don’t get stuck in a rut.

I absolutely love this combination of plants.  I am relying almost entirely on foliage to provide the color this time around.
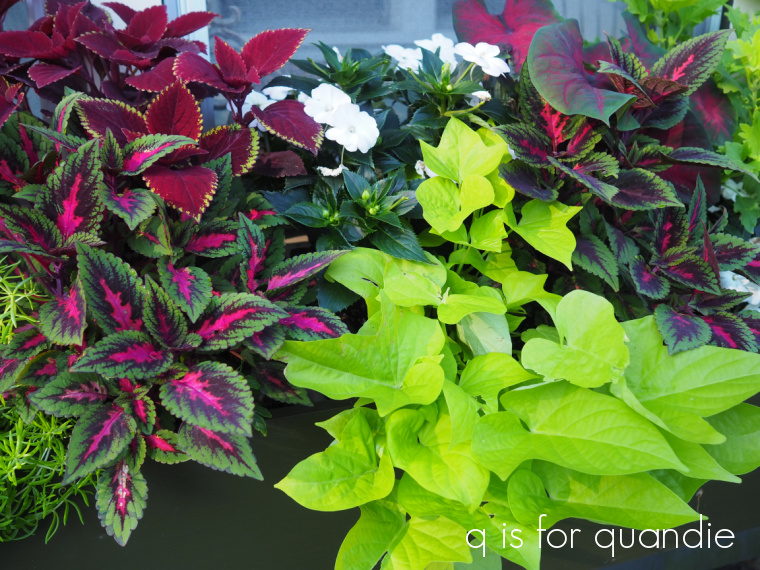
I’ve included several varieties of coleus including Ruby Slippers (the deep red one with the lime green edge), Blackie potato vine, a chartreuse potato vine, a red caladium, and some Lemon Coral sedum anchoring both ends.  I also threw in some white New Guinea impatiens, but they are totally getting crowded out by the other plants.  I’m thinking I will pull them out of there and put them somewhere else at this point.

Back at the end of May we had a really late frost and the coleus really took a hit.  I cut it back and hoped for the best, and now it looks great.  In fact, I think cutting it back so early made it bush out really nicely.  I’ll have to remember that next year.

By the way, since starting to watch Garden Answer on YouTube, I have been using the Espoma Bio-Tone Starter Plus and I did add that to the soil in this window box before I planted everything.  I think it’s safe to say that it’s working quite well.

And while we’re on the subjects of gardening and YouTube, I thought I’d share my latest YouTube favorite, The Impatient Gardener.  There is a long list of the things I like about Erin.  First of all, she gardens in a similar climate to mine (she’s in Wisconsin).  She’s also been in the same house for 20+ years, plus she drinks wine with ice cubes in it (I don’t think you can get any less pretentious).  But I really like the fact that she does all of her gardening herself (with occasional help from Mr. Much More Patient, but no paid staff), and she has a day job, and she has a blog, so the gardening she does is a realistic example of what someone like me can do too.  Check her out if you’re looking for more garden inspiration.

Anyway, back to my garden.

The garden beneath the window box is looking good right now too.
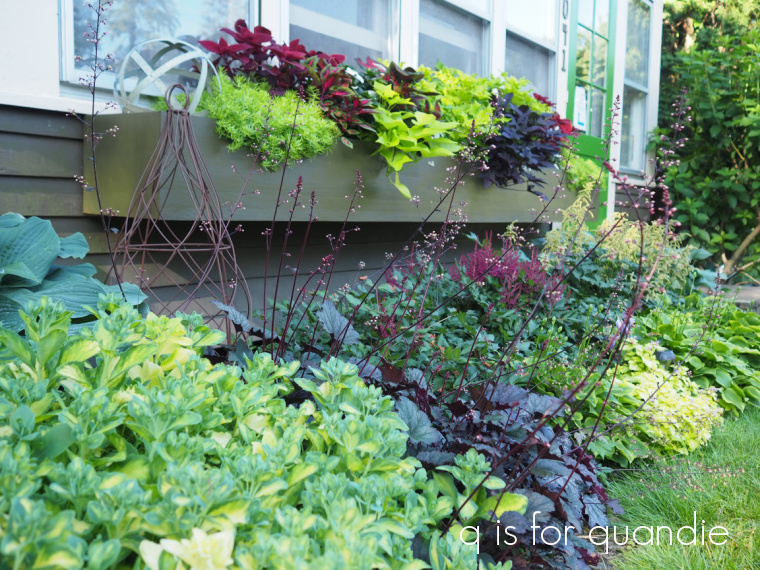
It contains a variegated upright sedum, some Purple Palace heuchera, red and white varieties of astilbe, several hosta varieties and some Lemon Frost lamium.
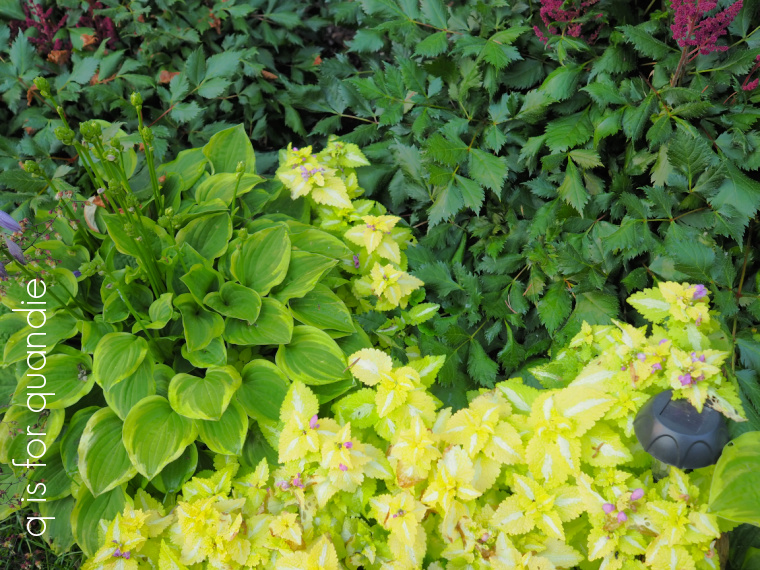
I never used to grow lamium because I thought it was kind of ugly.  But that was back in the day when all I knew was the variety that was medium green with silver veining.  I still think that variety looks more like a weed than a purposely grown plant.  But this Lemon Frost variety is so much better, and again, excellent for providing a bright pop of color in a shady area.  Lamium is super hardy and can be semi-evergreen even in our Minnesota climate.  When the snow melts away in the spring, it often reveals lamium that is still green.  Use caution with this one though, it is a ground cover that will take over if you let it.  Be prepared to beat it back if you have to.

I tried something new to me this year with the upright sedum.
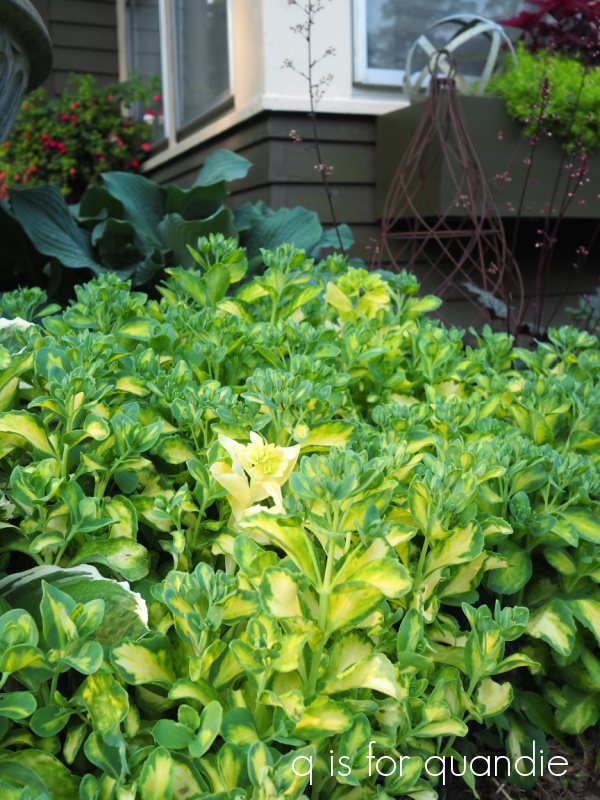
In years past this sedum has always gotten really tall and then flopped over.  There are a couple of reasons this can happen; the plant needs to be divided, or it doesn’t get enough sun.  And in this case, these upright sedums just have a tendency towards flopping.  So last year I divided it and replanted so that I have multiple clumps together instead of one big plant.  The loss of those trees I mentioned means it gets a bit more sun now (although this is a north facing garden, so it still doesn’t get anything like full sun).  But this year I also gave it the Chelsea Chop which encourages the plant to bush out more and not get quite so tall.  Check out Erin’s YouTube video on the Chelsea Chop if you want to learn more about it.

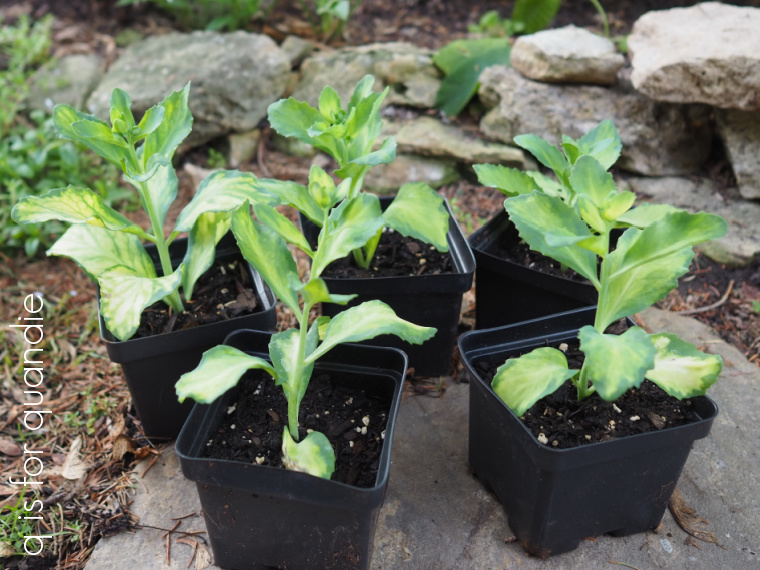
One of the bonuses to the Chelsea Chop with sedums is that you can take all of the tops you cut off and root them giving you more plants (Erin explains this in her video too).  So I rooted up five cuttings and they are looking great.  I just potted them on to individual pots.
I am super excited to finally have flower buds on my fairy candles this year.  Some of you may remember the tour of Jackie’s garden that I shared back in August 2018 where she had these amazing tall, spiky, white flowers blooming …
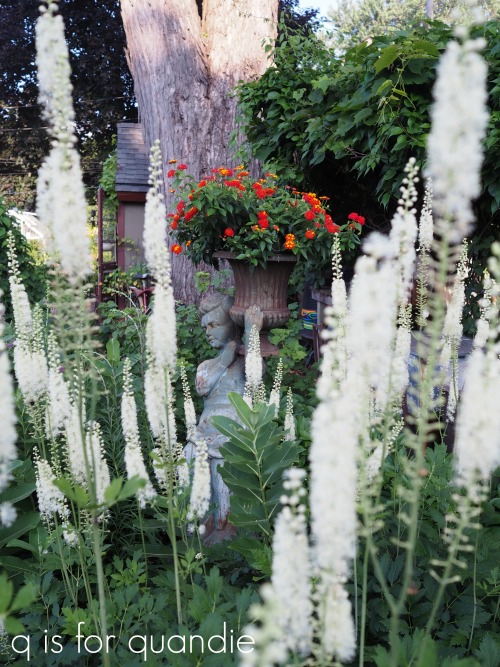
These are one of those plants with many names, they are Actaea racemosa, or Fairy Candles, or Black Cohosh, or Bugbane.  I prefer to call them Fairy Candles myself, because really, who wouldn’t?  Anyway, Jackie kindly shared some with me and I planted them next to Cossetta, my garden statue (a garage sale find).

I’ve been waiting for them to bloom ever since, and finally this will be the year!  They aren’t quite open yet, but I’m watching and waiting.

In the far background of that photo above you can just see the Annabelle hydrangea that is in the garden under the kitchen window.
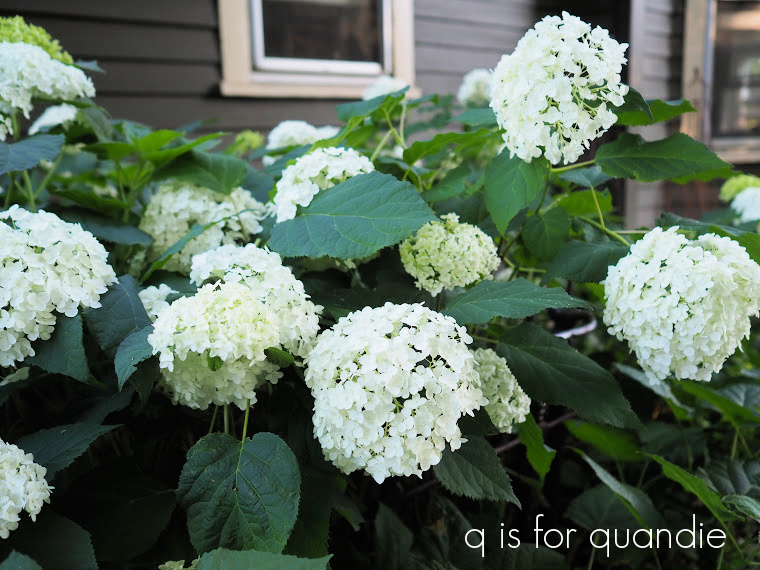
The Annabelles are in full bloom now.  I have two of them (there is another one in the cutting garden behind the carriage house) and they both come from one original plant that I purchased at least 25 years ago.  Personally I would not purchase/plant an Annabelle these days.  There are so many better varieties, like my favorite Limelights for example.  The problem with Annabelles is that they have weak stems and the once the heavy flowers appear they tend to flop, especially after a rain.  Although you can prune these down to the ground in late winter or very early spring and still have flowers (they bloom on new wood), I have read that it’s better to leave at least 18″ of old wood to help support the plant.  Now I just prune out any dead stems, remove the dried flower heads and otherwise pretty much leave it alone.  It has made a little bit of a difference and they don’t flop quite as much as they used to.  But I also have an old brass bed headboard mounted just in front of it to hold it up off the path.
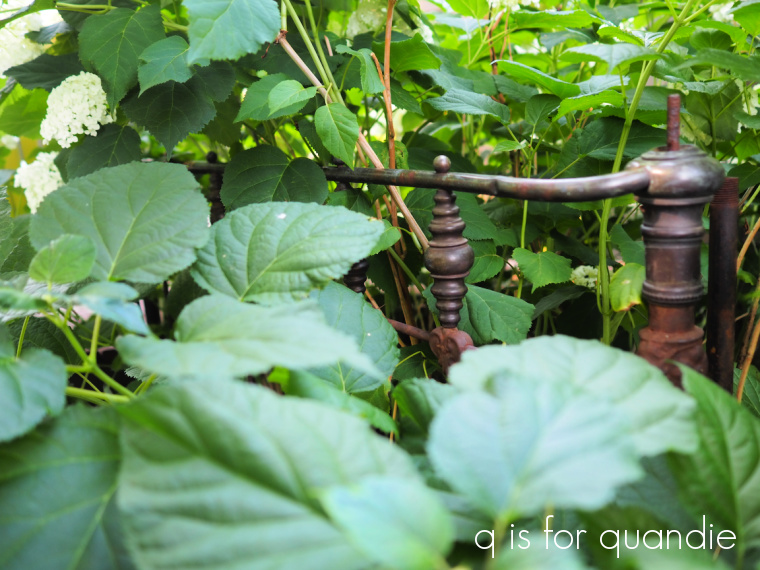
 I don’t currently plan to pull this plant out of the garden, but like I said, I wouldn’t plant it again.  It does make a great backdrop for the occasional furniture photo shoot though.

And it looks pretty good when provided with some support or placed somewhere that you don’t mind it getting a bit floppy.

Remember the galvanized chicken feeder that I picked up at a garage sale earlier this summer?
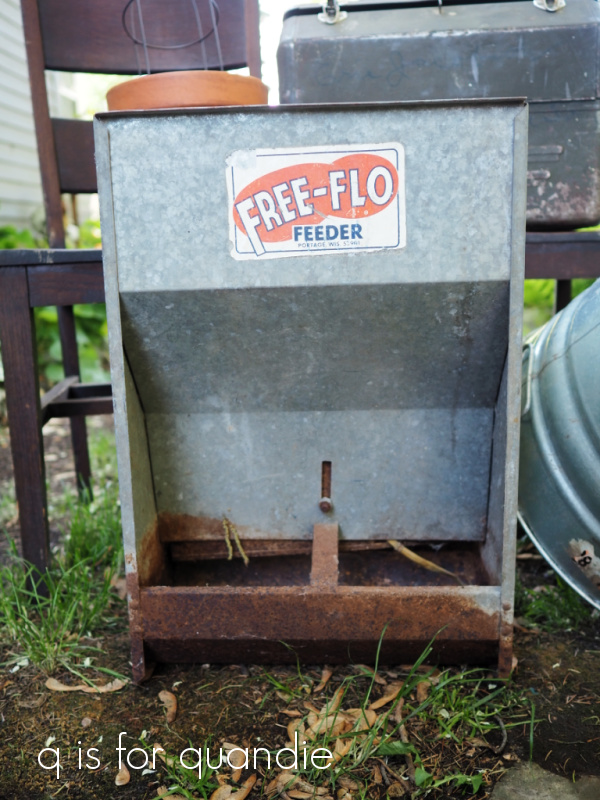
I mentioned at the time that I wanted to turn it into a flower planter, and here is the result.
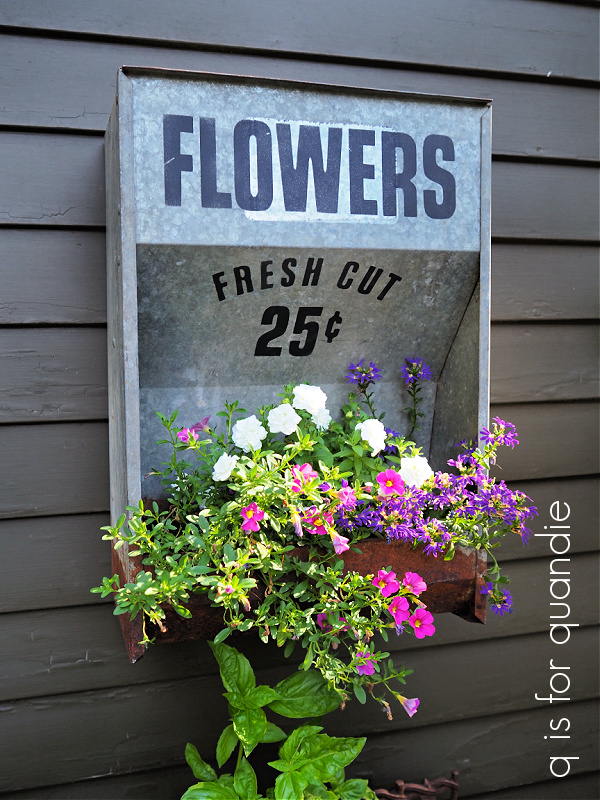
I removed the old label and added a stencil.  Then Ken helped me drill some holes in the back so that I can hang it from a couple of nails.  Easy peasy.

I have one last thing to share before I end today’s post.  Remember the fairy garden from this spring?

That’s how it looked back at the end of May, and here it is now …

Everything has totally filled out except for the little green and pink plant next to the angel statue.  That one appears to have barely grown at all, go figure.

Well, I’d better end this post now.  I need to get out in my workshop and finish painting some furniture.  I hope you enjoyed this mid-season update on my garden.  How is your garden growing this year?

a garden rocker.

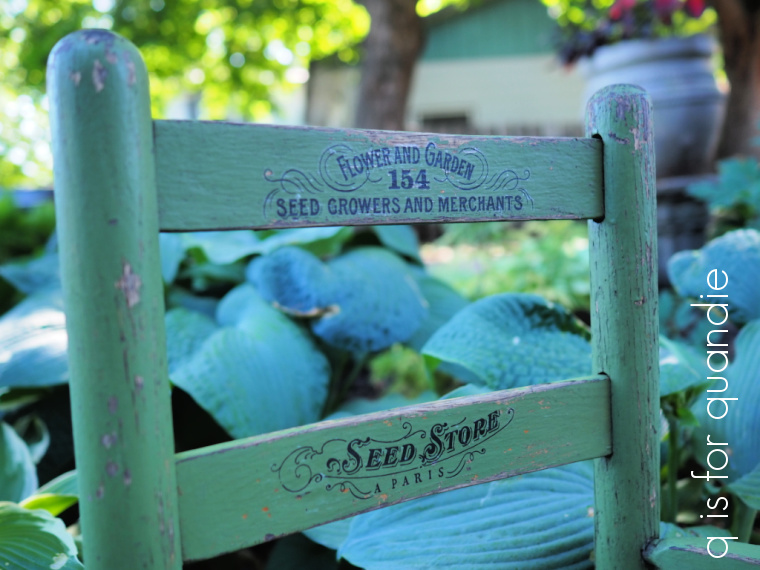
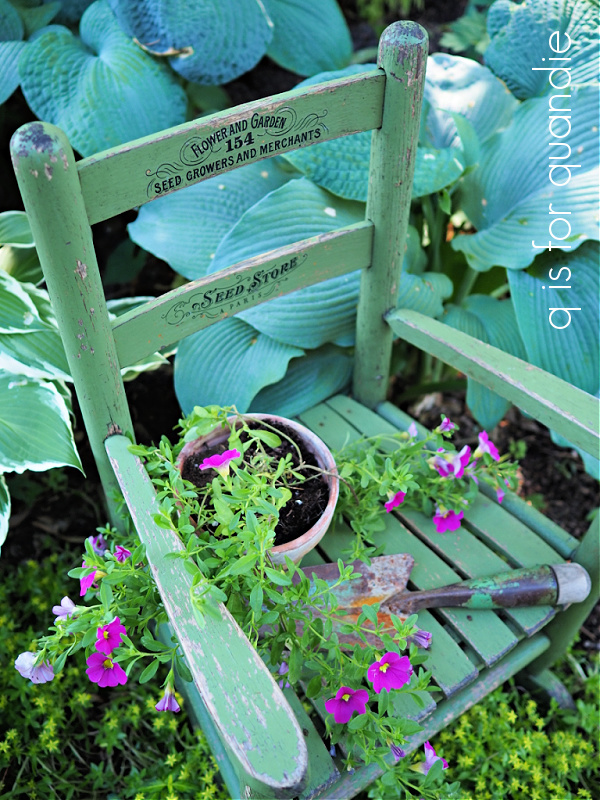
Do you guys remember the little rocking chair that I picked up at the Goodwill last January?
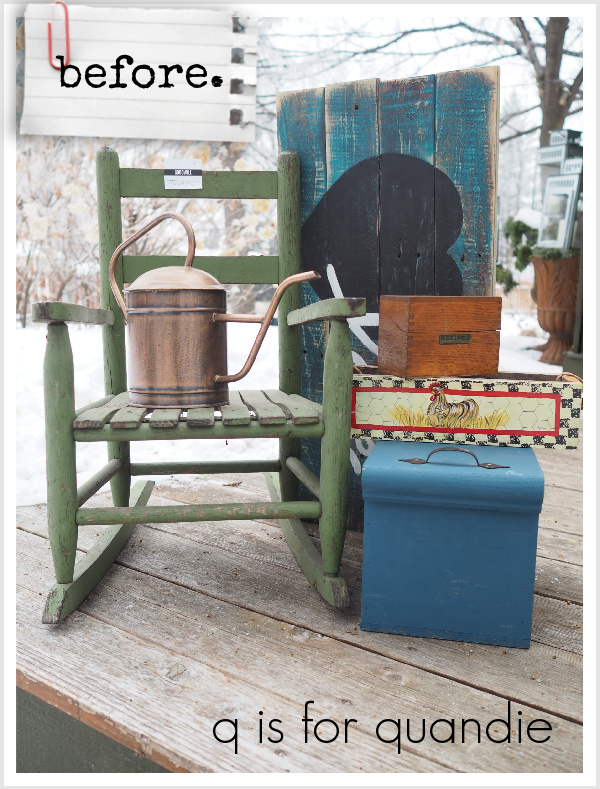
At the time I said I was going to hang onto it until I could give it a bath with the hose out in the yard because it was filthy.  Well, that day has finally arrived!  Or at least it arrived last weekend.  I scrubbed the chair down using some Dawn dishwashing soap.  I let it dry thoroughly and then re-evaluated the situation.  And you know what?  That chippy original paint was just too good to cover up.

I mean seriously, how hard do we work to create a fake version of this chippy look?

Plus the green color was pretty good.  Especially for a garden chair.

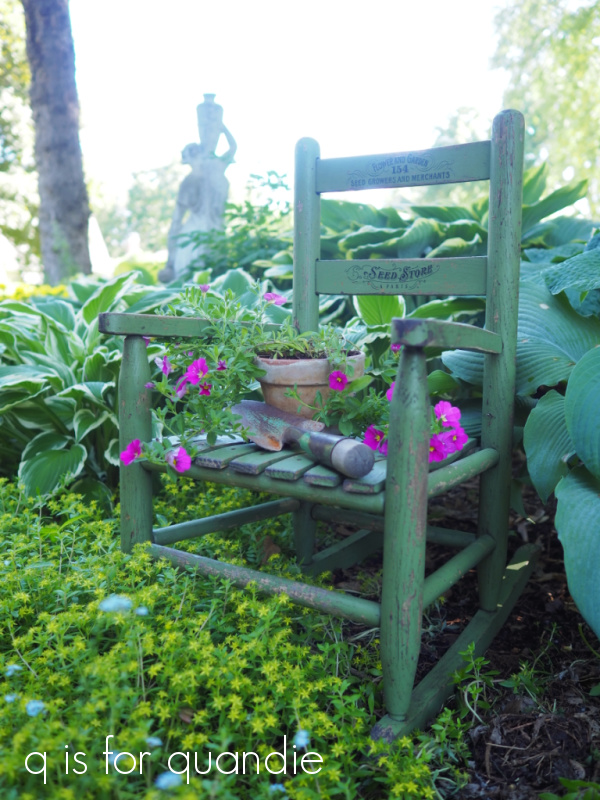
So, in keeping with that theme, I added a garden themed transfer from re.design with prima’s Classic Vintage Labels to the back.

Then I topped the whole thing off with a couple of coats of Dixie Belle’s Flat Clear Coat to seal that chippy paint.

How cute is this rocker just tucked into the garden?  It won’t last forever outside in the elements, but you could probably get a couple of summers out of it.

Or of course you could always choose to keep it on a covered porch or in some other protected location if you wanted it to last longer.

I’m not planning to keep this one, but then again, if no one snatches it up I just might.  It looks awfully sweet there in my garden.

If any of you locals have just the right spot for it, be sure to check out my ‘available for local sale‘ page for more details!

fresh cut flowers stool.

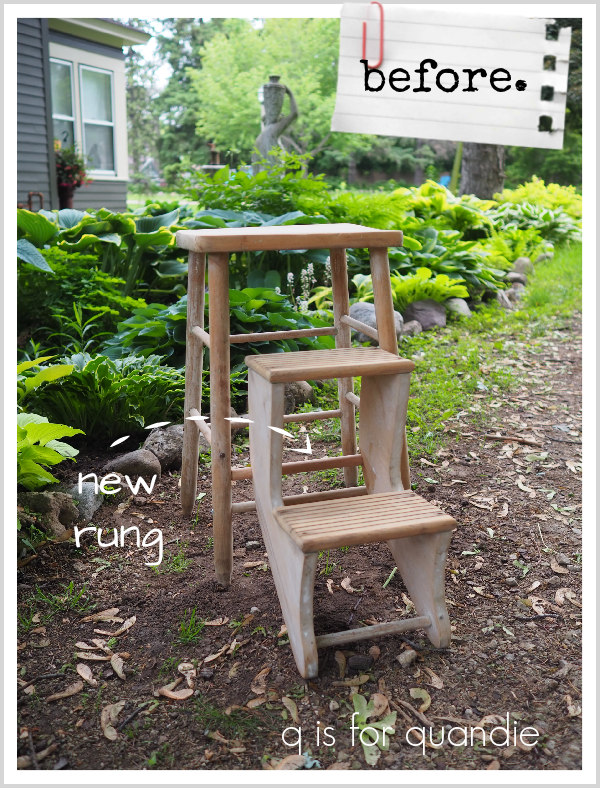
A little while back one of my readers offered me a step stool (thanks again Brigitte!).  It was one of those projects that she thought she’d get around to, but she never quite finished it.

It needed some repairs before paint, so I initially sent it over to Ken’s workshop.  Unfortunately, once again I neglected to get a proper ‘before’ photo, drat.  But basically the wooden rung that held the steps in place was broken.  Ken made a replacement using a dowel rod.  He makes these things appear so simple, he just whisks something off to his workshop and returns it a few days later completely fixed.

This step stool had been stripped of its original paint (maybe Brigitte did that?), I could still see remnants of light green paint here and there.  I felt a tiny bit bad painting it again after someone (Brigitte?) had gone to all of that work to strip it.  But I suspect this piece was always intended to be painted because the wood isn’t especially pretty.

I started out thinking I would use Dixie Belle’s new Silk paint for this project thus saving myself the trouble of adding a top coat of some kind.  So I pulled out the three shades of white I had, Salt Water, Whitecap and Oyster.  I decided to try the Salt Water since that one is described as an off white.  After one coat of the Salt Water I quickly realized that it was still far too ‘white’ for my taste.  But not to worry, I had another project that was perfect for the Salt Water that I’ll be sharing soon.

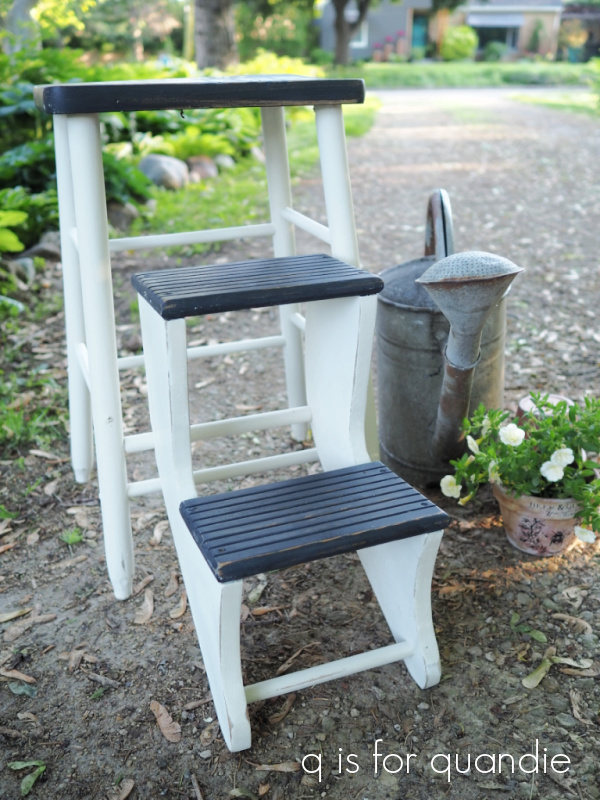
In the meantime, sometimes you just gotta stick with what you know.  In this case, I know that I love the combination of DB’s Drop Cloth and Midnight Sky.  So I painted over the Salt Water with Drop Cloth on the base and then I painted the steps and seat in Midnight Sky.

So just in case you were wondering, yes, you absolutely can paint over the Silk paint with the chalk style paint.

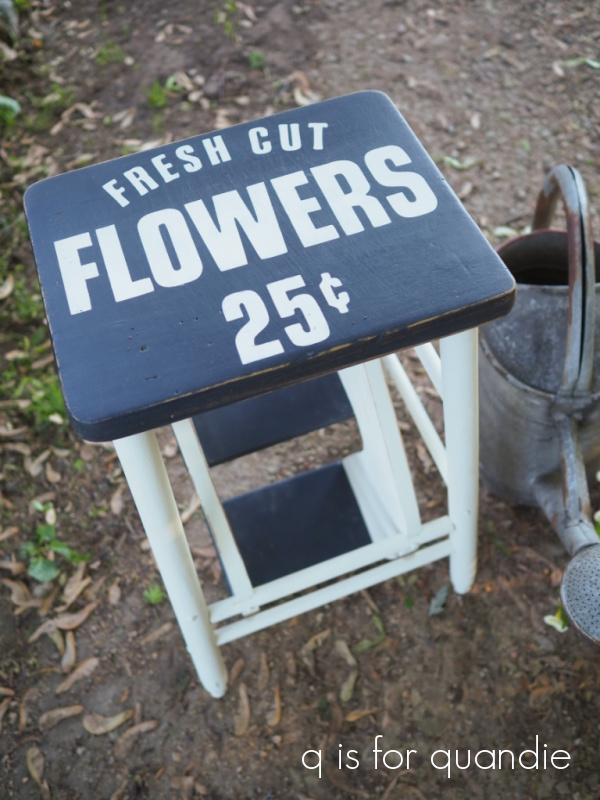
I followed that up with a stencil on the seat, also painted used Drop Cloth.

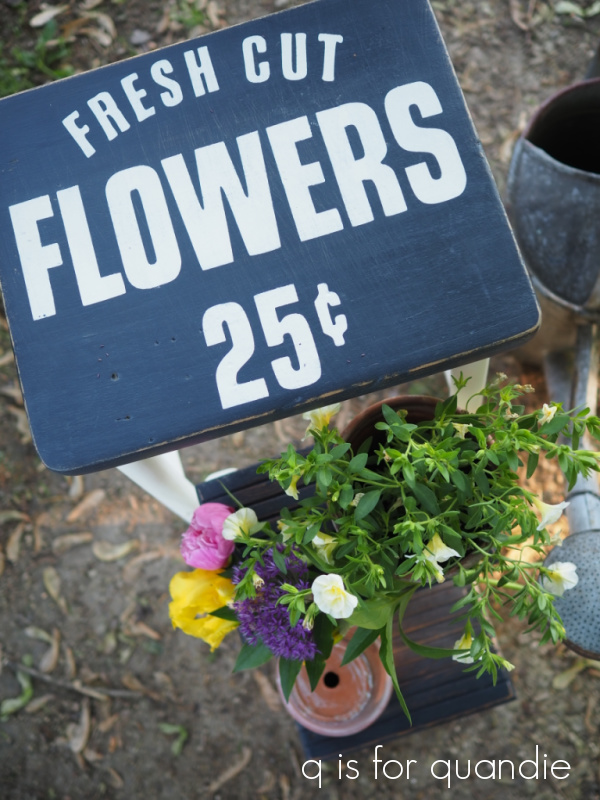
The Fresh Cut Flowers stencil from Wallcutz was the perfect fit.

I used clear wax as a topcoat over the chalk paint.

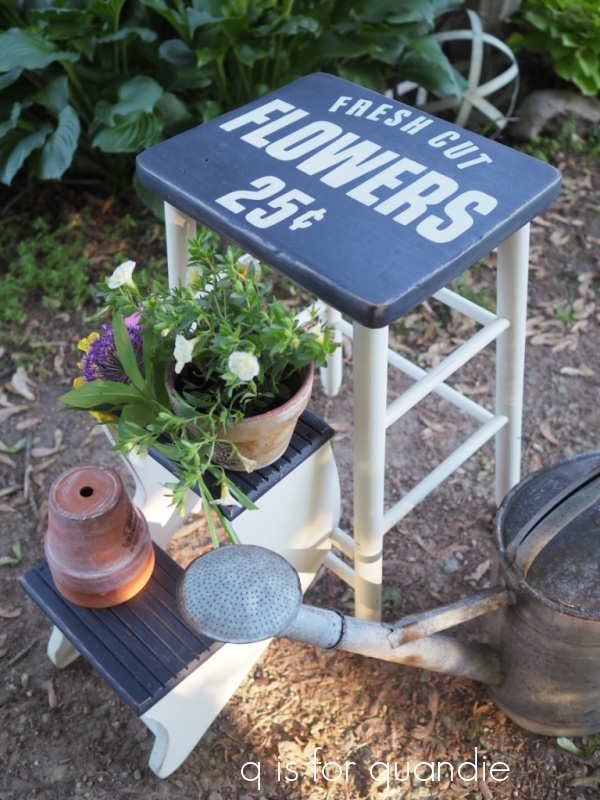
This stool is one where the steps can be folded in.

And then it can be used simply as a stool.

I have to point out that the steps aren’t super sturdy.  I’m not sure I would trust them with a full grown adult’s weight on them.

Instead I think this step stool would make the perfect plant stand.

It would also work really well as a side table.

If any of you locals are in need of a fun side table or plant stand, be sure to check out my ‘available for local sale‘ page for more details.

Thanks to Dixie Belle Paint Co for supplying their products used in today’s makeover.


extending peony season.

I feel like there should be some sort of formal recognition when the peonies are in bloom, like maybe an official holiday or something.  Let’s call it Peony Day.  That’s not terribly creative though, is it?  Give that some thought readers and let me know what you would call it.

Peonies have such a short season though, so I feel like I need to make the most of it each year.

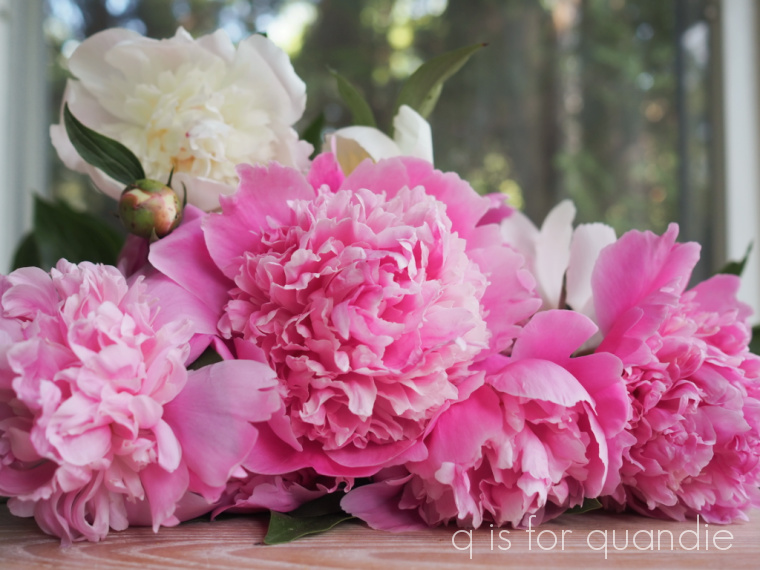
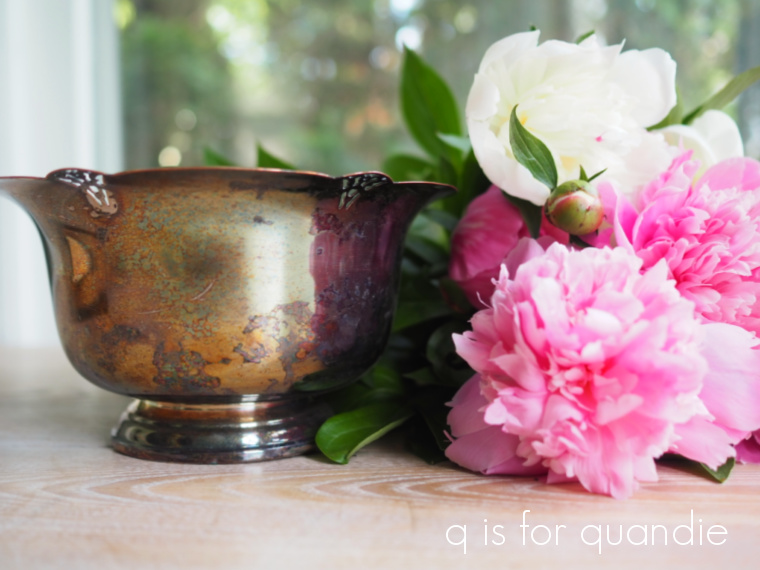
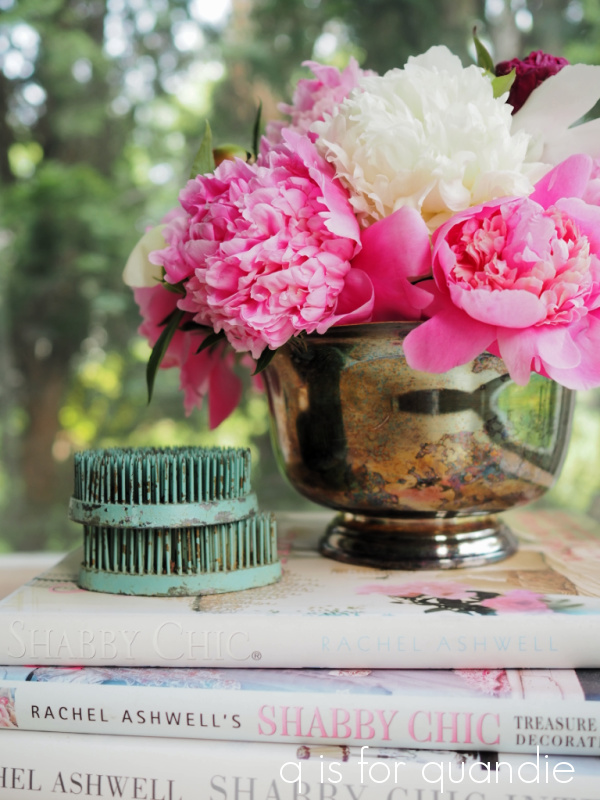
I was heading out to visit my bff yesterday so I thought it would be nice to bring her some of my earliest blooming peonies.  They just started to open up here a few days ago.  I dug through my cupboards looking for a suitable container and I came across this old silver flower bowl.  My friend Jackie had gifted me with a big box of vintage silver last year and this was one of the items in the box.

You might be wondering why I thought it was specifically for flowers, well that’s because it came with a perfectly fitted plastic flower frog …

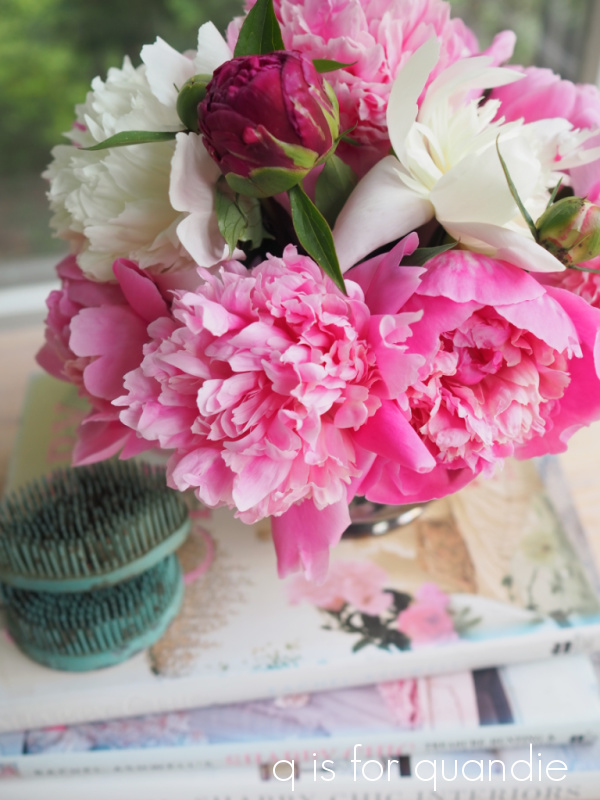
I thought about getting all fancy with my flower arranging and adding some other flowers, and maybe some greens, but in the end I thought it looked amazing with just the peonies.

It smells amazing too!

One way to extend the short peony season is to plant early, mid and late-season blooming varieties.

My old fashioned pink peonies bloom earliest, but my dark pink peonies are still tight buds.  The dark bud in my arrangement below center was the only one that was even partly open.  I also have a white peony that blooms quite late (along with the one I used in my arrangement that opens earlier).

My neighbor nnK recently told me that she read about another option for extending peony season.  You can refrigerate the buds and bring them out in a few weeks time to open in a vase.  I did some googling and found several websites with more info on this technique so I thought I’d give it a shot.

Step one is to cut the stems when the flower is at the ‘soft bud’ stage.

According to Hollingsworth Peonies, this is how to tell if your buds are at the right stage …

“Hold the stem between two fingers under the bud and press with thumb on top. If the center of the bud feels about like a fresh marshmallow, it is at soft bud. For the many-petalled, full double flowers, part of the petals will be unfurled.”

So I chose a few buds that I thought were about right and brought them in the house.  The next step is to remove most of the leaves.

This helps reduce water loss.

I found several different suggestions for how to best wrap the peonies before placing them in the fridge including wrapping them in wet newspaper or wrapping them with plastic wrap.  But Hollingsworth suggested simply using a large Ziploc bag.

That seemed like by far the easiest solution to me, so I went with it.

Be sure to place your peonies in the fridge horizontally, or laid flat.

Now, we wait 3 to 4 weeks.  By then the peonies in the garden will be pretty much done.  It will be interesting to pull these out and see if this technique worked, assuming Mr. Q hasn’t tried to eat them in a salad or something before then.  I’ll be sure to keep you guys posted on the results.

In the meantime, I’m going to enjoy the peonies both in the garden and in cut arrangements in the house while they last.

So tell me, have you thought of any good names for my new peony season holiday?


the grass is always greener.

I’ve been known to bemoan the fact that we just simply don’t have any really spectacular gardens within driving distance of the Twin Cities.  And by driving distance, I mean like within an hour or so.  Obviously one could drive all the way to Butchart Gardens in Canada given enough time (that would take about 29 hours, FYI).

I’ve probably been watching too much Gardeners World, followed by too much of the British version of Antiques Roadshow because now I’m convinced that amazing formal gardens are just around every corner in England.

Or maybe that really is true?  If any of my readers live in England, give us the scoop.  Are gorgeous gardens like this a dime a dozen where you live?  Or is this just one of those ‘the grass is always greener’ sort of things?

Regardless, rather than continue to feel sorry for myself, I decided to do a little research and make sure that I wasn’t just missing something.  So I googled ‘gardens to tour in the Twin Cities’ to see what would come up.

Most of those listed were gardens I’d been to, and sure, some of them are pretty nice.  I love going to the Minnesota Landscape Arboretum, and Como Park.  But I also found Lyndale Park Gardens on the list. I’d been there years ago, but hadn’t been recently.  So last weekend my sister and I decided to head over to Minneapolis and check them out.

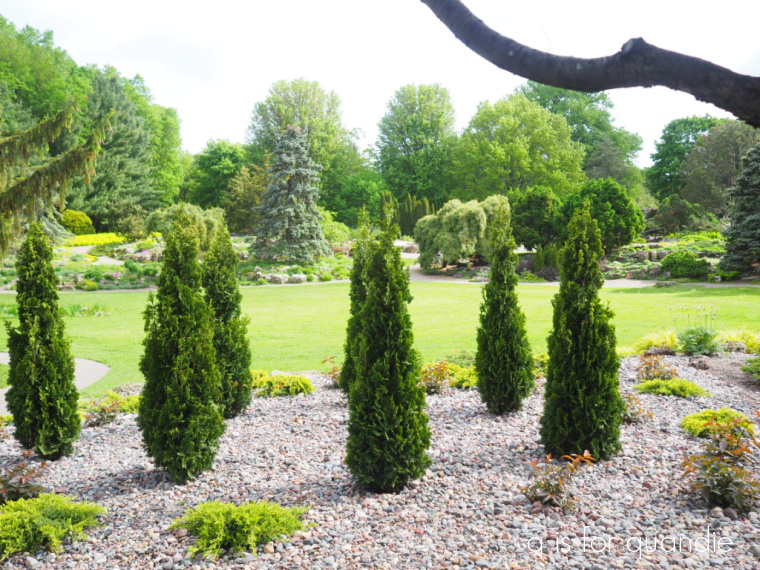
I feel like these gardens are sort of the Minnesotan version of those English gardens.

Slightly manicured but with a little bit more of a wild, north woodsy feel hovering in the background.

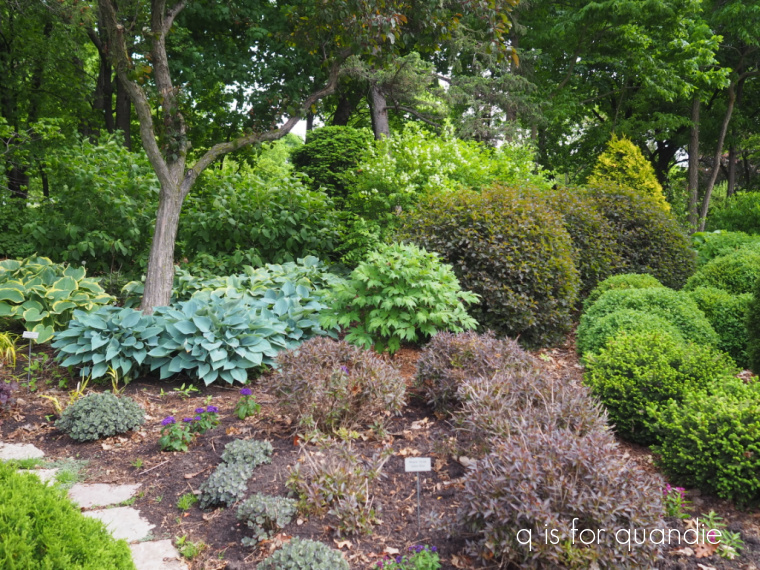
My favorite part of the gardens were the perennial mixed borders.

Probably because this most closely matches my own gardening style … or at least what I would like my gardening style to be.

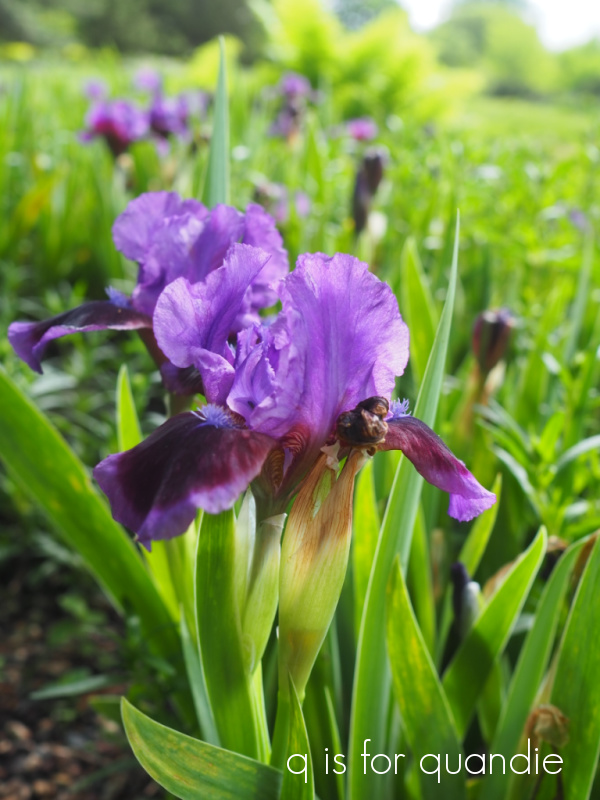
Some of my favorite flowers were blooming, like the irises.

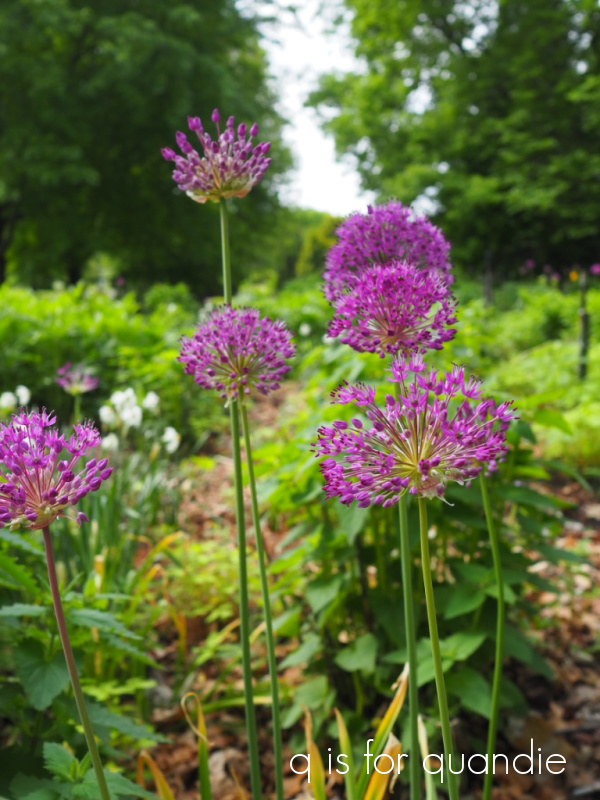
And the Allium.

My sister was really taken with the lungwort (Pulmonaria), and I think you can see why …

Aren’t those gorgeous?

She ended up purchasing one of each of these colors for her own garden after seeing them here.

The peonies and the roses weren’t quite blooming yet, so I think we’re going to have to go back in a couple of weeks to see those.

Of course, we couldn’t leave Lyndale Park without walking down the street to take a look at Lake Harriet.

It was the perfect day for a sail and quite a few people were taking advantage of it.

Before heading home, we stopped off at a local nursery, Tangletown Gardens.

I’m not going to lie though, every time I visit this place I come away with total sticker shock.  The Japanese maple trees were $450.  I saw a clematis priced at $59 and a peony at $129.  Yikes!

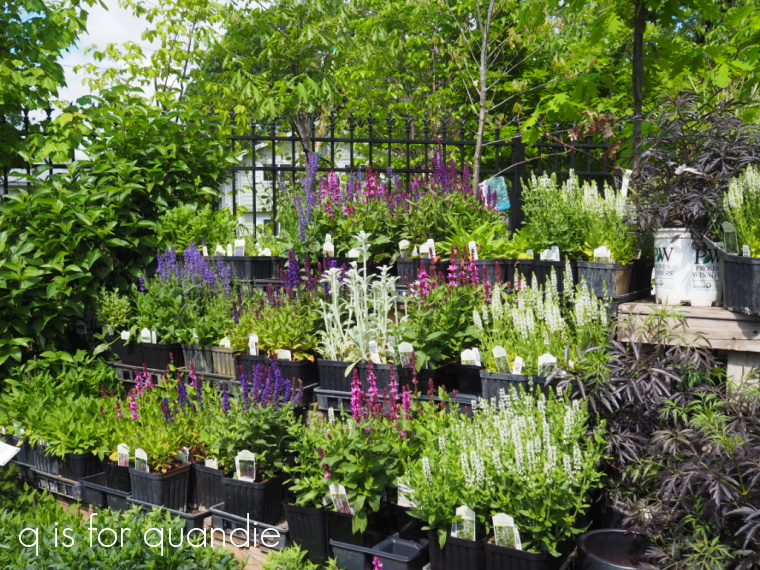
That being said, their plants are gorgeous.

And they have some unique selections.

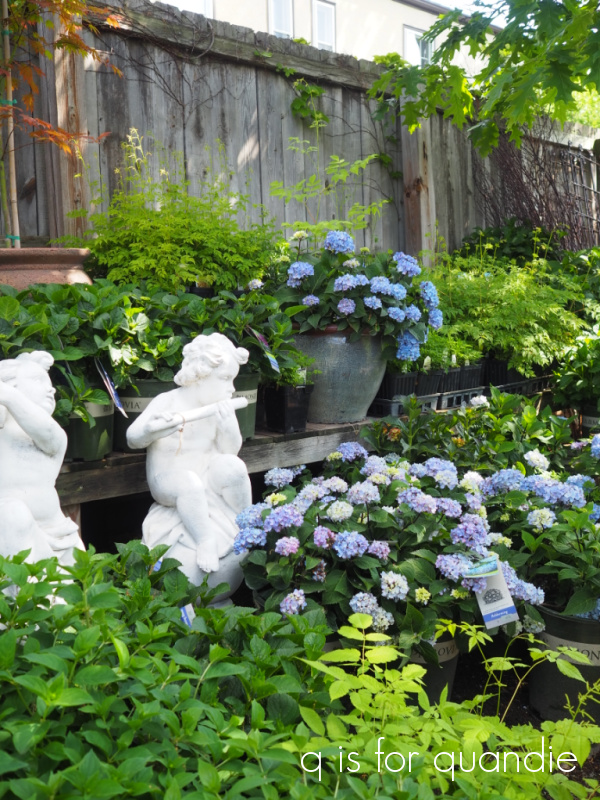
Along with some fun statuary.

I didn’t leave empty handed, I purchased a couple of things to top off my fairy garden including the sweet little succulent that I planted at the base of the arbor.  I love the dark pink stems with the pale green leaves.

I hope it fills out.  I’ll have to check back and show it to you in a couple of months.

In the meantime, how about you?  Have you got any spectacular gardens to tour in your area?  Or maybe you can recommend some gardens to tour near me.  If so, I’d love to hear about them in the comments.

the one where nothing is finished.

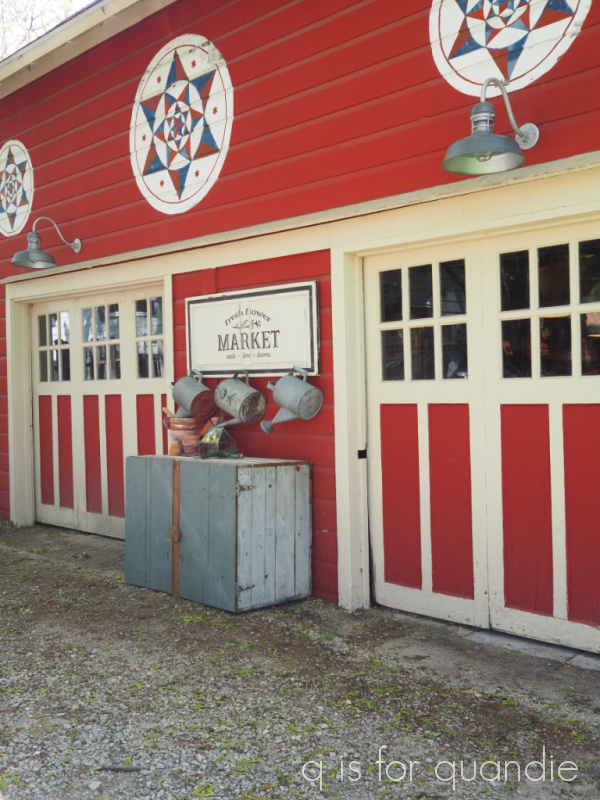
First up, I wanted to say that I was really surprised by how many of the comments on Friday were opposed to using the primitive cupboard in front of the carriage house.  I really thought most of you would tell me to go for it.

I thought it was just me questioning whether it might be a little bit too big for that spot, a waste to use it outside, better without the doors, etc.

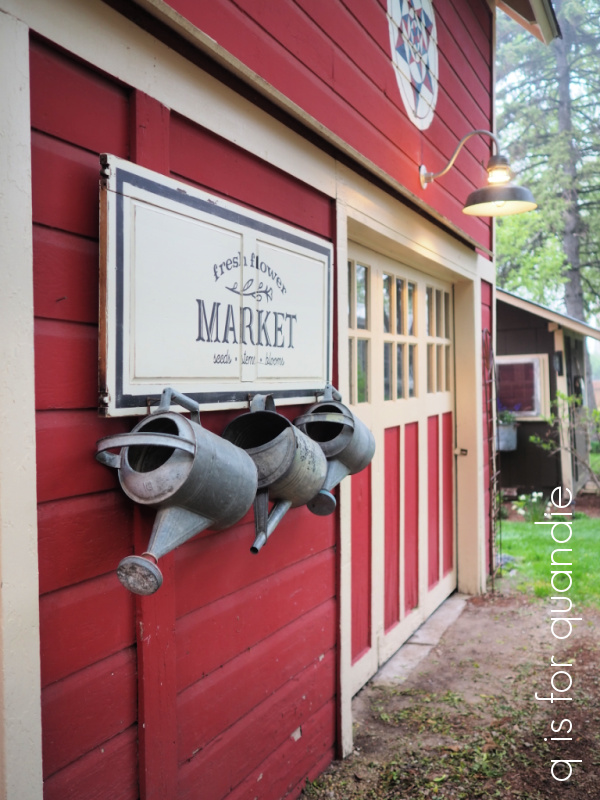
After reading all of the comments though, I realized that it wasn’t just that I was afraid to go for it, it really was not the perfect piece for that spot.  It did compete with the sign and watering cans and they can make a big enough statement on their own.

So, for now, I’m going to just leave that space under the sign empty and live with it for a while.

Maybe the right piece will come along, or maybe I’ll be just fine leaving it like this.

Every once in a while someone asks how I manage to have a full time job and still finish so many projects.  I have to say, lately I am wondering that myself.  How in the world did I manage three posts a week back when I was posting that often?  These days it feels like I am struggling to come up with just two.

I realized yesterday that even though I definitely wasn’t just lazing about all week, I didn’t have anything finished to share here on the blog.  What did I spend all of my time on?

Well, there are the three half-finished toolboxes that I’m painting.  And Ken and I got the wheels added to the primitive cupboard, but it’s not painted yet.  Plus we consulted about the front window box that needs to be rebuilt, and another little stool that he is going to fix for me.  Then yesterday Mr. Q, my sister, niece and I went to the Minneapolis Institute of Art following by dinner out.

But really, the bulk of my time this week was spent in the garden.  And a lot of that time was spent doing projects that aren’t particularly blog worthy.  Like pruning the flowering pear tree, filling in the dead spots on the lawn, and cleaning up the weeds and pine needles on the flagstone path.

Still I did finish up a few small things that are pretty, like planting annuals in my ‘rusty’ planters.

If you’re new to my blog and haven’t seen my posts about using the Dixie Belle patina paint to rusty up plastic planters you can find one here.

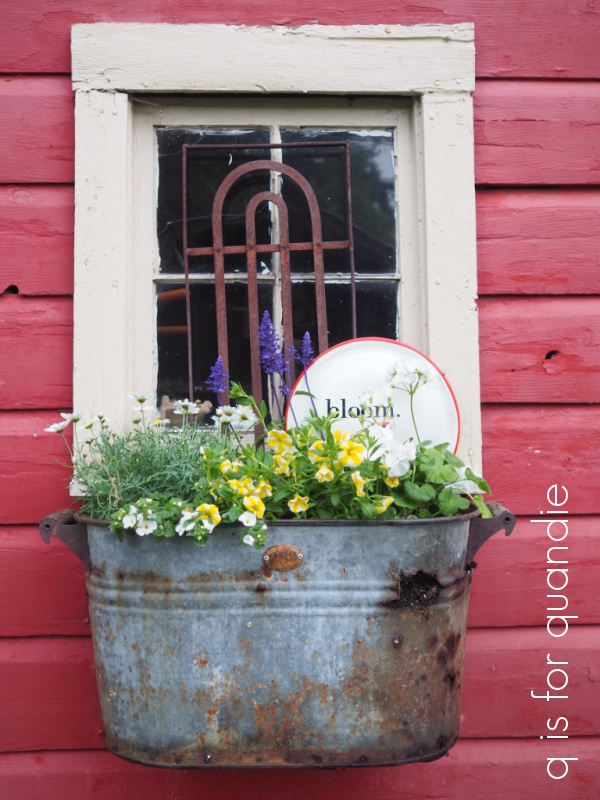
I also filled up my galvanized boiler pot window boxes.

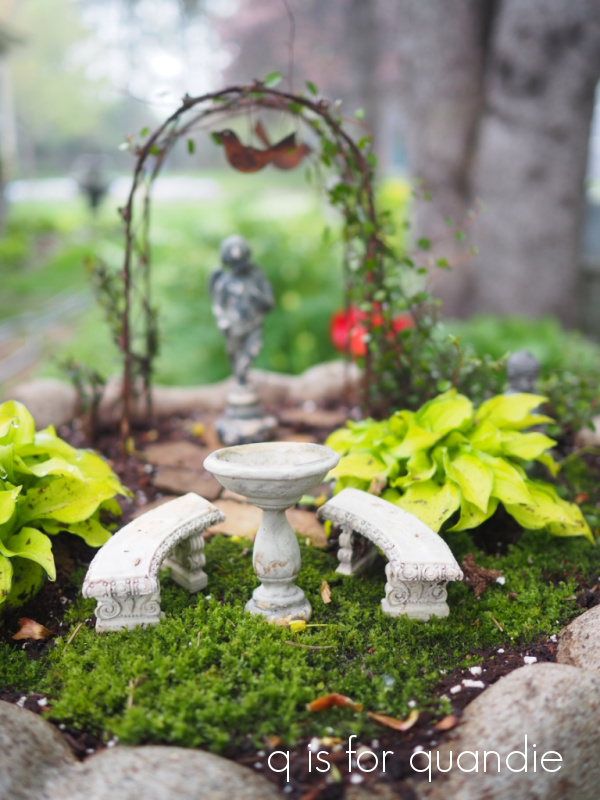
If you’ll remember, the bird bath that contains my fairy garden broke in half over the winter.  But Mr. Q used some concrete adhesive to put it back together again, so I got a good start on planting it back up over the weekend.

I was able to save the two mini hostas, but I need to get a few more plants to fill in.

While he had the adhesive out, Mr. Q also repaired the chinese lantern that I picked up free at the WBL Trash to Treasure day.

And then I found the perfect spot for it nestled in the trailing variegated vinca.  I just picked up a Morden Golden Glow Elderberry that I’m going to plant next to it.

Do any of you watch Garden Answer on YouTube?  If not, I recommend checking her out.  She suggested an Elderberry as a good substitute for a Japanese maple if you live in a climate that is too harsh for the maple (as mine is).  Most Japanese maples do well in zones 5 – 8.  I’m a zone 4.  So I’m going to give this a shot and see if I can create a spot with a little zen in my garden.

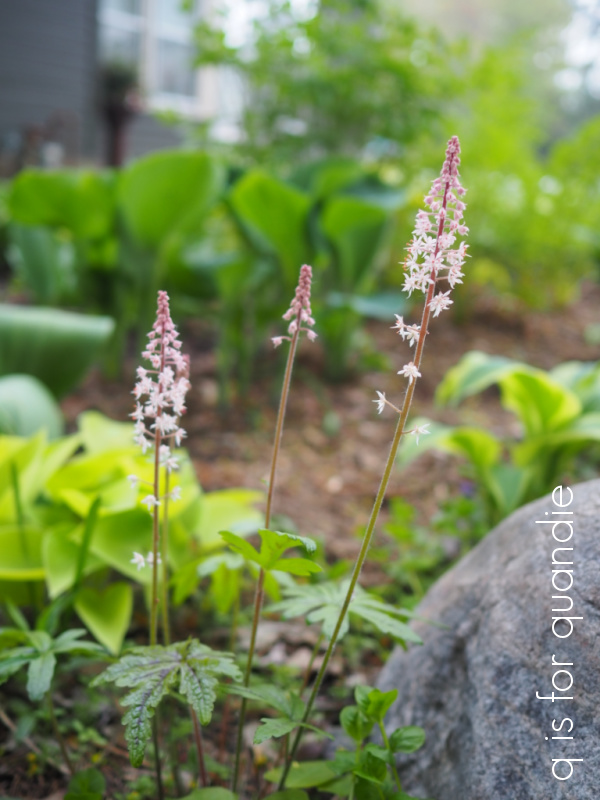
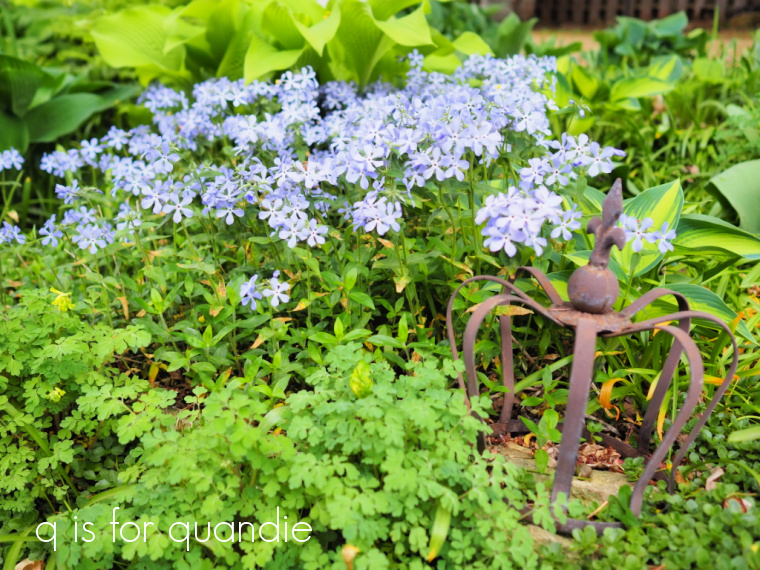
Although the gardens still need to fill in a bit more (and I know that will seem to happen practically overnight), since I was out there with my camera I thought I’d share a few more things that are blooming currently like the foam flower.

These are such pretty delicate little things and they tend to get a bit swallowed up by the bigger plants later in the season.  But right now they look pretty sweet.

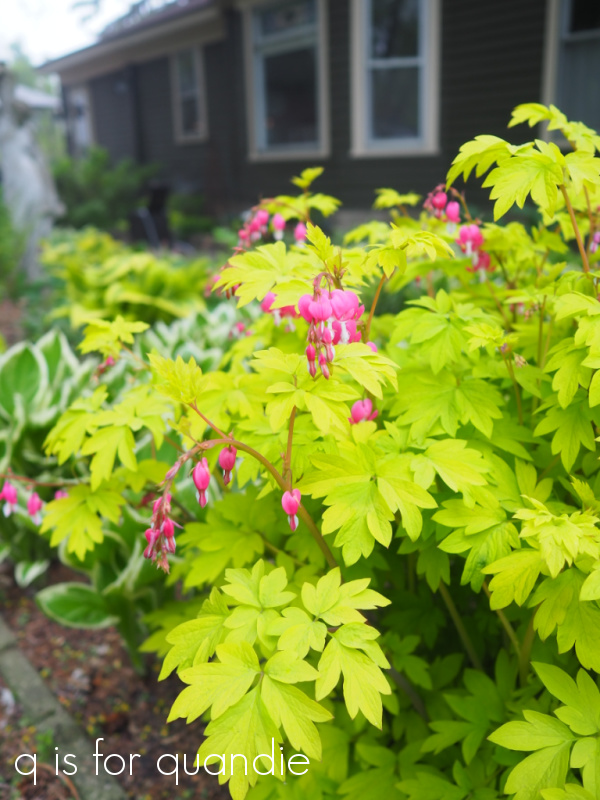
The bleeding heart is blooming now as well.

Just check out the vibrant glow of those leaves!  That is not photo editing, this variety of bleeding heart really is that bright.  It’s perfect for a shade garden because that bright chartreuse really pops.  This variety is called Dicentra spectabilis ‘Gold Heart’ in case you want to find some for your own garden.

This hosta is also does a good job of brightening up a shady spot.

If only I could remember the name of that variety for you.  Sorry about that.  I really should write these things down.

And speaking of not knowing the names of things, this next perennial that is currently flowering is one I picked up at a garage sale.

I have no idea what this is.  Here’s a picture of it in the garden so you can get a better idea what it looks like in situ …

If any of you know what that one might be, leave me a comment and let me know.

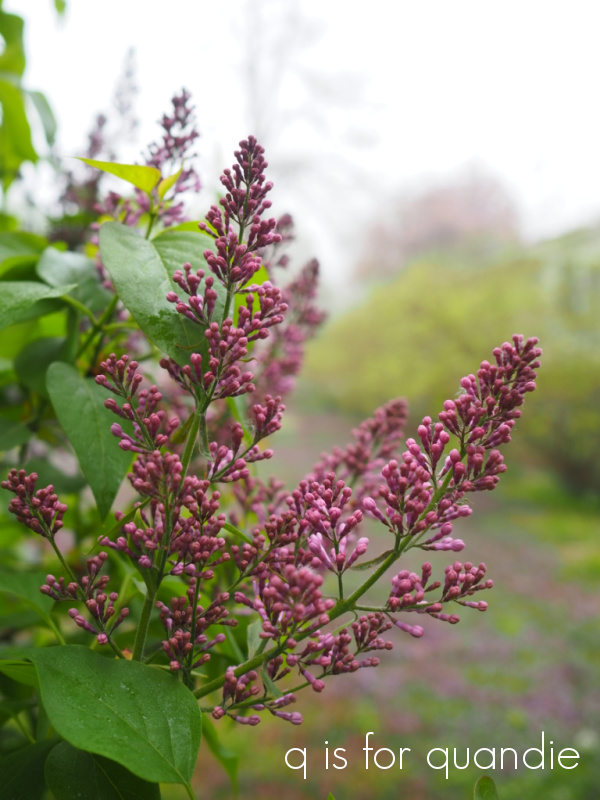
There are also a few things in the garden that are just about to pop, like the lilacs …

I still consider my lilac hedge to be a bit of a fail, but I’ve yet to convince myself to rip them all out and start over.  Especially since I love the flowers so much.  I continue to hope that one of these years they will fill out and provide more privacy.  Hopefully it will be within my lifetime!

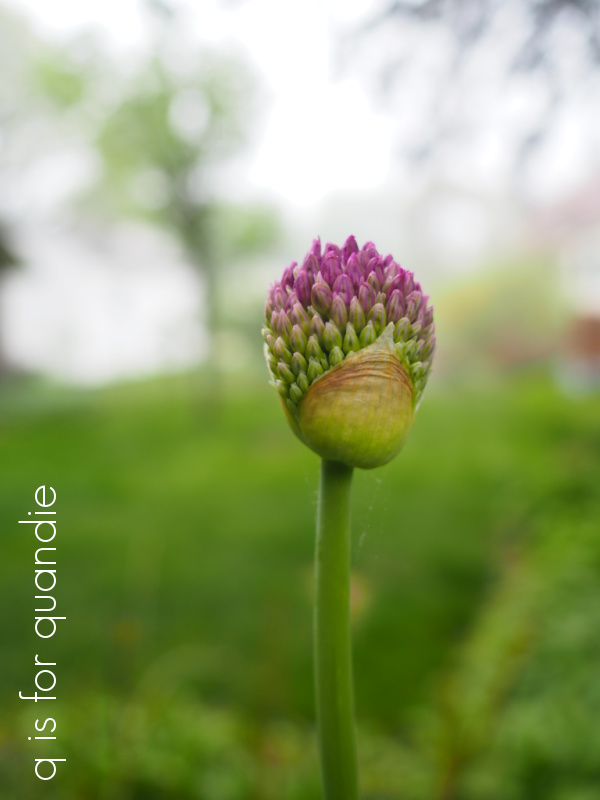
My Allium on the other hand is a raging success …

Last fall I added a few more of them because I just love them.  They aren’t quite open yet but I have tons of buds.

I still have quite a few things to do in the garden, so I can’t promise that I’ll be finding the time to paint up any furniture in the next couple of weeks.  But I hope you’ll stay tuned anyway!