
I had a couple of rusty things at my sale last May including a tall planter, some old iron bedsteads, and a small statuette.
And they were among the first things to sell. I think that must mean that other people love this rusty look as much as I do. So I’ve been stocking up on stuff to rustify (excuse the made up word) for my next sale.
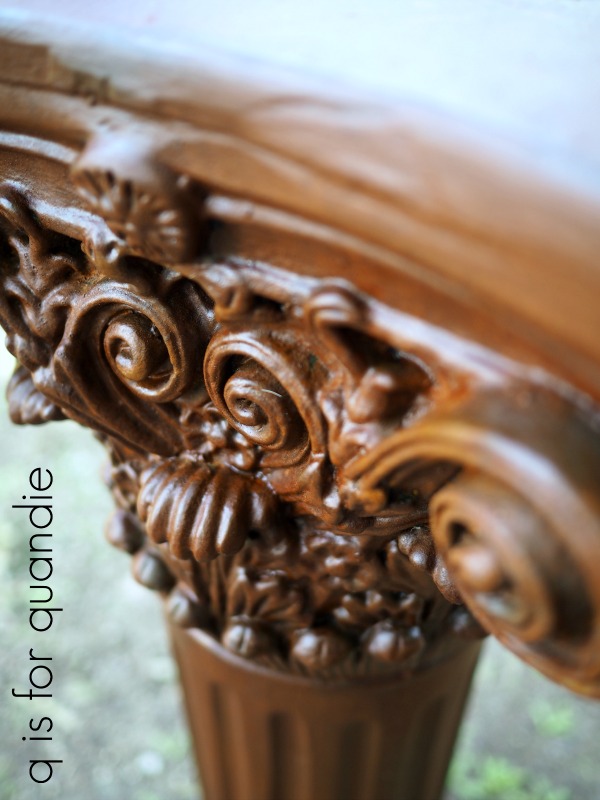
I’ve been salvaging various planters from my neighbors Ken & Arlene. Arlene is no longer able to garden and the pots have been sitting around empty for a couple of seasons now. Ken was just going to toss them, so I saved them from the trash heap.
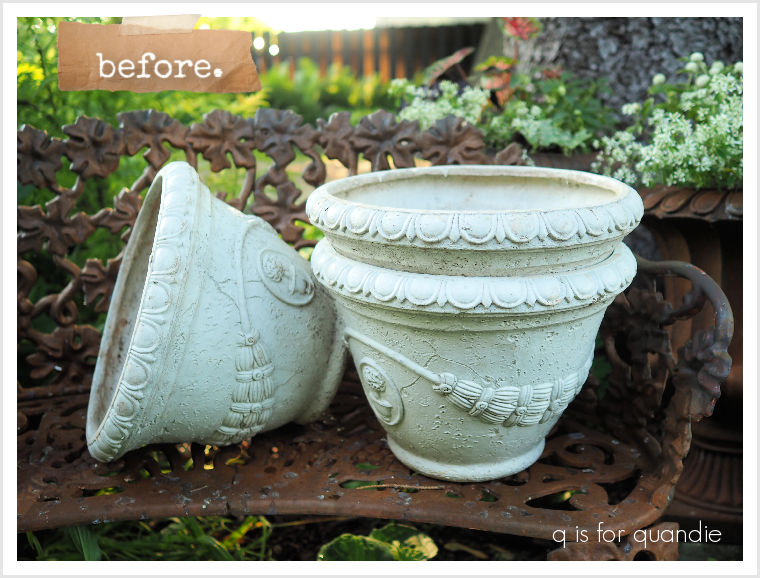
These will look fabulous with the rusty treatment.
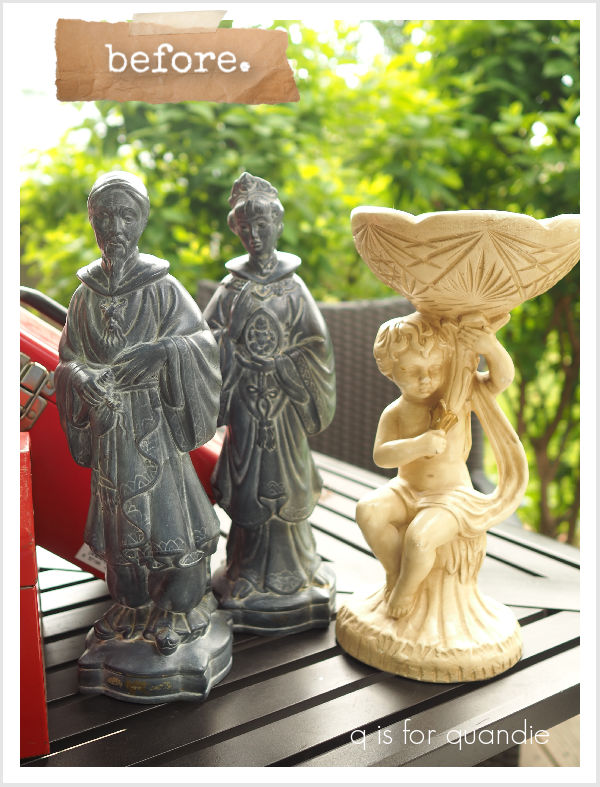
I’ve also got a pile of random stuff like the ‘statues’ that I bought at a garage sale this summer …
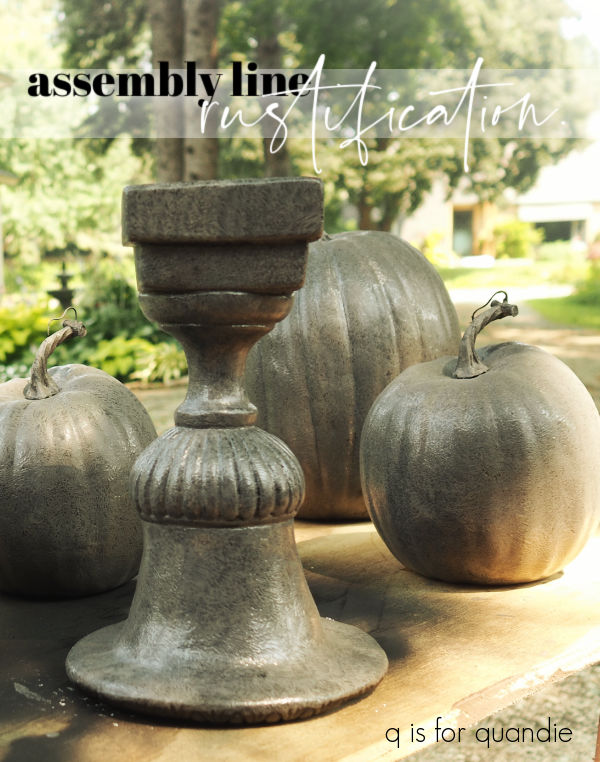
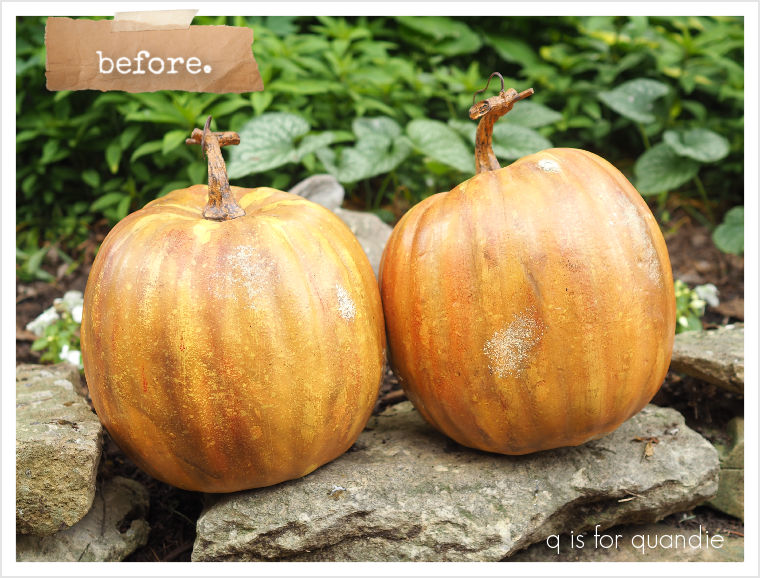
And I also have some faux pumpkins to make rusty for fall.
Since I have so many things to make rusty, I decided to tackle it assembly line style. Basically I put out a variety of worktables, line everything up and then work my way down the row with each step of the process.
Step 1: Wash everything using the garden hose and some Dawn dish soap.
Step 2: Spray everything with flat black primer.

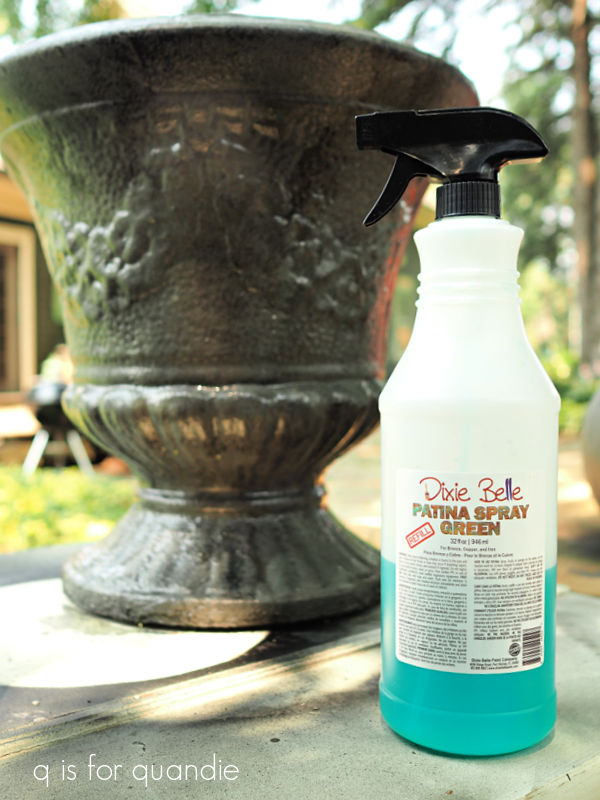
I’ve found this to be the quickest and easiest way to do a lot of items at once. I have also used the red spray primer, which is closer to a rust color, but either one will work. Dixie Belle also makes a primer specifically for use with the patina paints, and it’s also that rusty red color. But it goes on with a brush, and when I’m working with this many pieces at once, spraying saves a lot of time.
Step 3: After mixing it well, I stipple on Dixie Belle’s Iron patina paint using their Oval Medium brush.

Of course, you don’t have to use this brush. You can use pretty much any brush, but the job goes much quicker with a larger brush that holds more paint.

Today’s q tip: applying the Patina paint with a stippling motion rather than a brushing motion prevents brush strokes. The activating spray (which is the next step) tends to pool in brush strokes making them more obvious, which doesn’t look natural on a rusty item.
Step 4: After the first coat of Iron paint is dry, stipple on a 2nd coat and while it’s still wet, spray it with the Green Patina Spray.
Step 5: Wait.
I find that out of all of the various patina paint/spray combos this rusty look takes the longest to develop. If you use the Copper or Bronze paint, the verdigris appears almost immediately. For example, I painted the pumpkin stems with the Bronze paint, added the green spray, and an hour or two later they looked like this.

But the rust takes a bit more time. As in days, rather than just minutes or hours.
Here are the pots after 2 days.
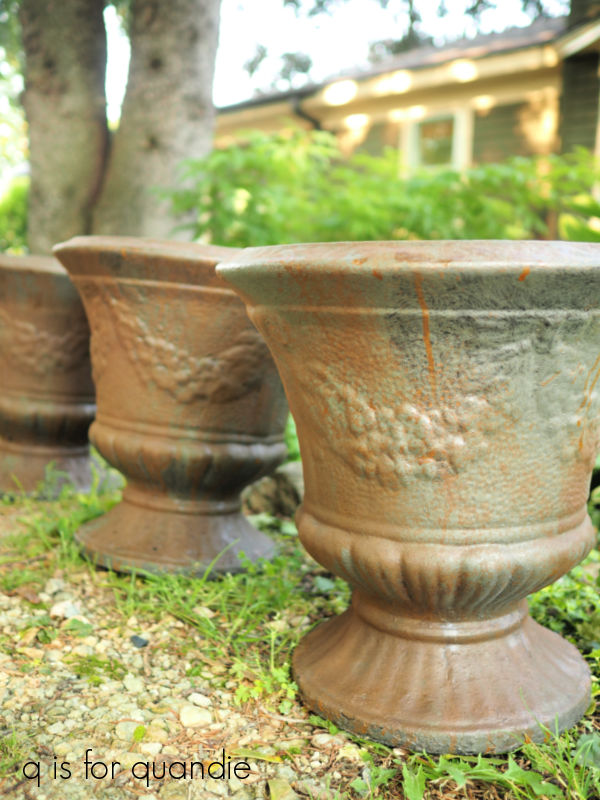
They aren’t quite rusty enough yet, but they’ll get there.
I have found that leaving the item out in the rain will really get the rust going. When the weather doesn’t cooperate, I spray the item with tap water using the Dixie Belle Continuous Fine Mist Spray Bottle and that will help too, just not as much as rain water.
Step 6: You have a few options for the final step. The easiest is to simply skip using any sort of topcoat over your rusty item. That’s my choice for anything that’s going in the garden.

Those items aren’t going to be handled a lot, so no worries about rust getting onto someone’s hands or clothing. I’m also not worried about these items continuing to rust over time.
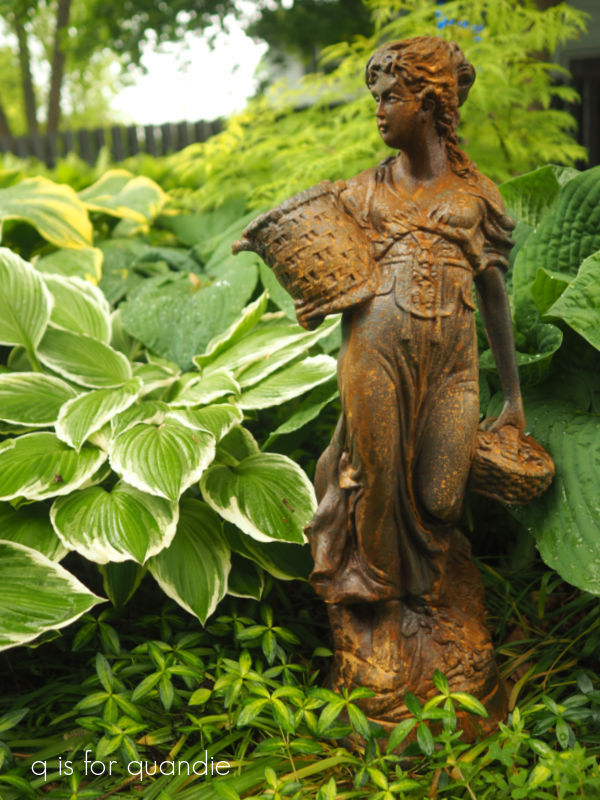
For the most part I have found that this finish holds up quite well outdoors without a top coat on most items with plaster items being the exception. I’ve had to touch up that plaster pedestal shown above after a year spent outside. I haven’t top-coated any of the items in my own garden including this bench and they’ve held up for multiple years now despite our harsh Minnesota climate.
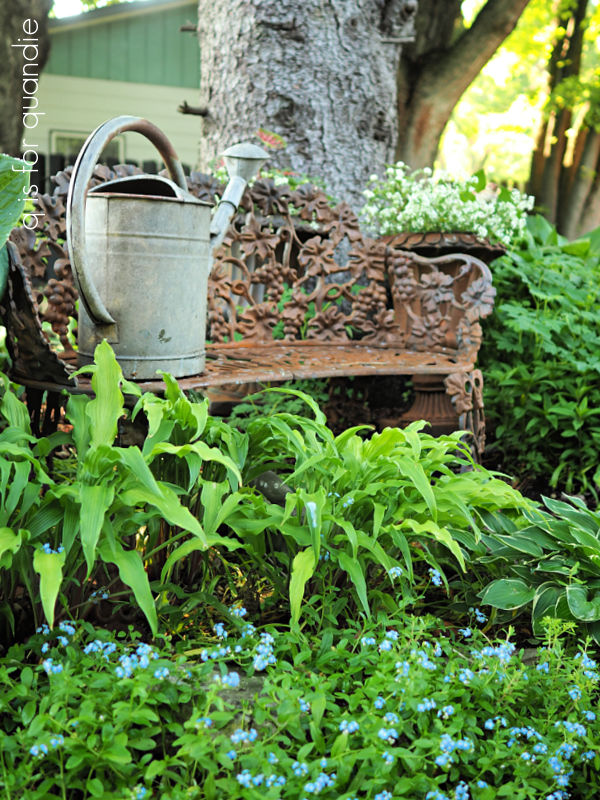
However, I purposely placed the bench in a garden bed so that no one will be tempted to sit on it.
If it were going to be used for seating, I would add a top coat. You have a couple of options. First, you could use Dixie Belle’s Patina Guard.

This product will stop the “rusting” process and protect your patina finish (and also your pants when you sit on a rusty bench).
However, it will also darken the color a bit and add some sheen.
Here is a rusty pedestal I painted before adding Patina Guard.

And here it is after.
So just keep that in mind if you plan to use the Patina Guard.
If you don’t like that look, another option is to use a spray matte sealer over a rusty finish. I like to do that with items that are going to be handled more frequently.
![]()
I hope the info in today’s post has been helpful, or has inspired you to try the Patina Paint. Or maybe you’ve already tried it?
If so, be sure to leave a comment and let me know.
Thank you to Dixie Belle Paint Co for providing the Patina Paint products used in my assembly line rustification process.

The pumpkin stems looks amazing
LikeLike
Thanks! I love the effect you can get with the Bronze patina paint from Dixie Belle!
LikeLiked by 1 person
what does “stipple” mean?
LikeLiked by 1 person
It means to apply the paint with a pouncing sort of motion, rather than a back and forth brushing motion. You keep your brush relatively perpendicular to the item you’re painting and just pounce it onto the surface over and over. I hope that makes sense.
LikeLiked by 1 person