a new adventure.

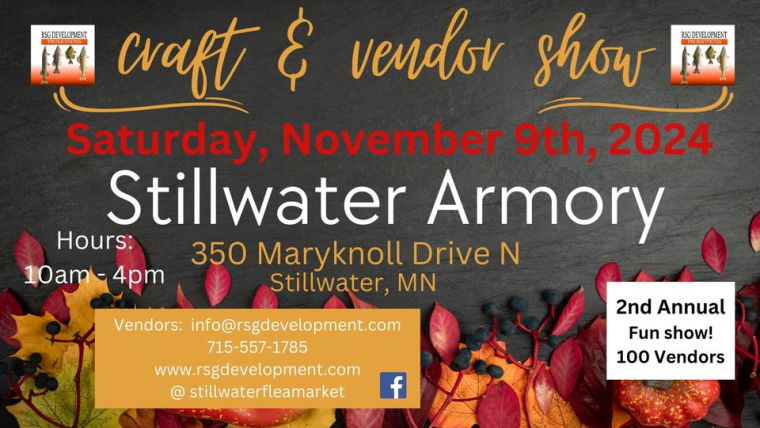
This coming Saturday I’m sharing a booth at a craft show with my friend opK.

This is going to be a mostly new experience for me.  I say ‘mostly new’ because I did share a booth at Junk Bonanza way back in 2014.  You can click on this link if you want to read the full story, but here was my review of that experience in a nutshell after it was over:

“In the end the question is, “would I do it again?” and the answer is, probably not.  It was fun to be a part of it once, but it was a ton of work.  I did make a little more money than I make at my occasional sale, but that was ultimately eaten up by the overhead expenses of renting a truck, paying for half the booth rental, and gas to drive to Shakopee for 4 days.  In addition, there were a lot of ‘rules’!  No merchandise newer than 40 years old, no leaving early even if sales are so low that you are sitting there for nothing, you are supposed to wear official Junk Bonanza shirts, etc, etc.  I have to follow enough rules at my day job, I didn’t need them added to my fun hobby job.”

LOL, I have to laugh at that last part about the day job.  Don’t have to worry about that one anymore 😉

Anyway, this time it’s going to be a much less intense experience.  For one thing, it’s only for one day, rather than 4.  Second, we’re only driving to Stillwater (much closer to me than Shakopee).  Third, I won’t have to rent a truck because I’m not bringing any large furniture.  Finally, I’m pretty sure I don’t have to wear an official shirt.

All of that being said, I also have no idea if the shoppers at this particular craft show will be at all interested in our vintage aesthetic.  I fit right in at Junk Bonanza, but I’m not sure what sort of crowd (optimistically?)  this event will draw.

Speaking of our vintage aesthetic, opK popped over with a few of her items the other day so that I could photograph them.

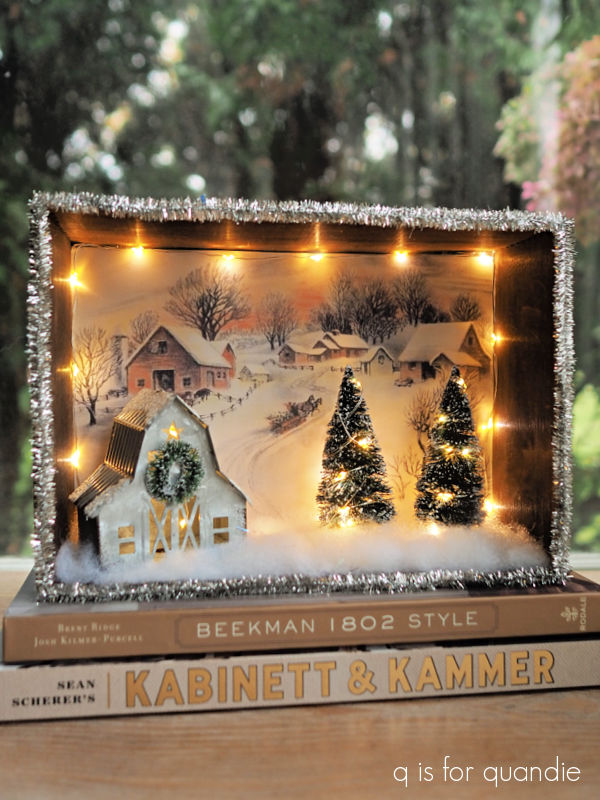
She creates adorable Christmas scenes in vintage clocks and lanterns.

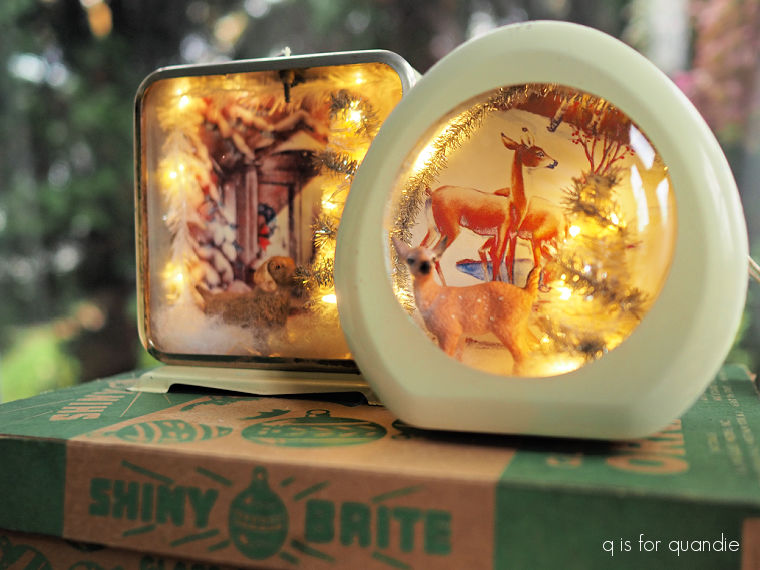
And most (all?) of them light up.

They are totally charming.  This next pink one is one of my favorites.

She has done a few of the lit up scenes in vintage wooden boxes as well.

I’m just in love with this aqua velvet reindeer.
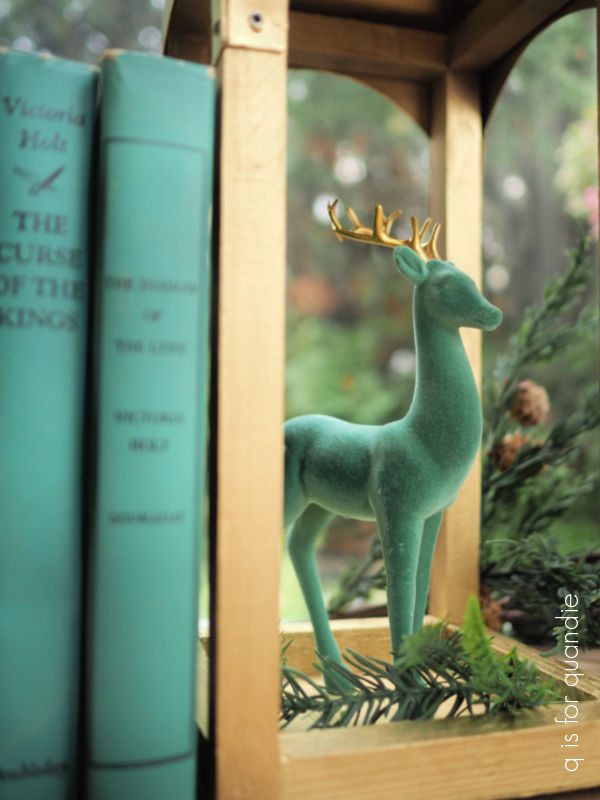
Isn’t he pretty?

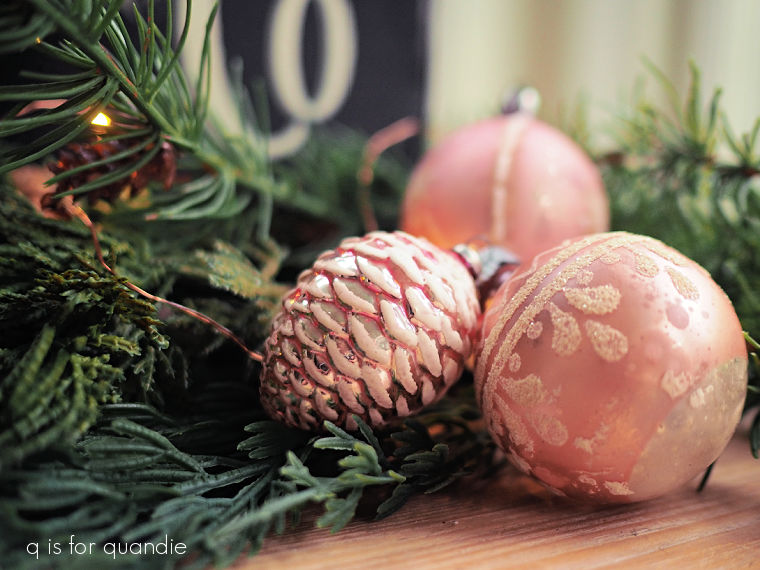
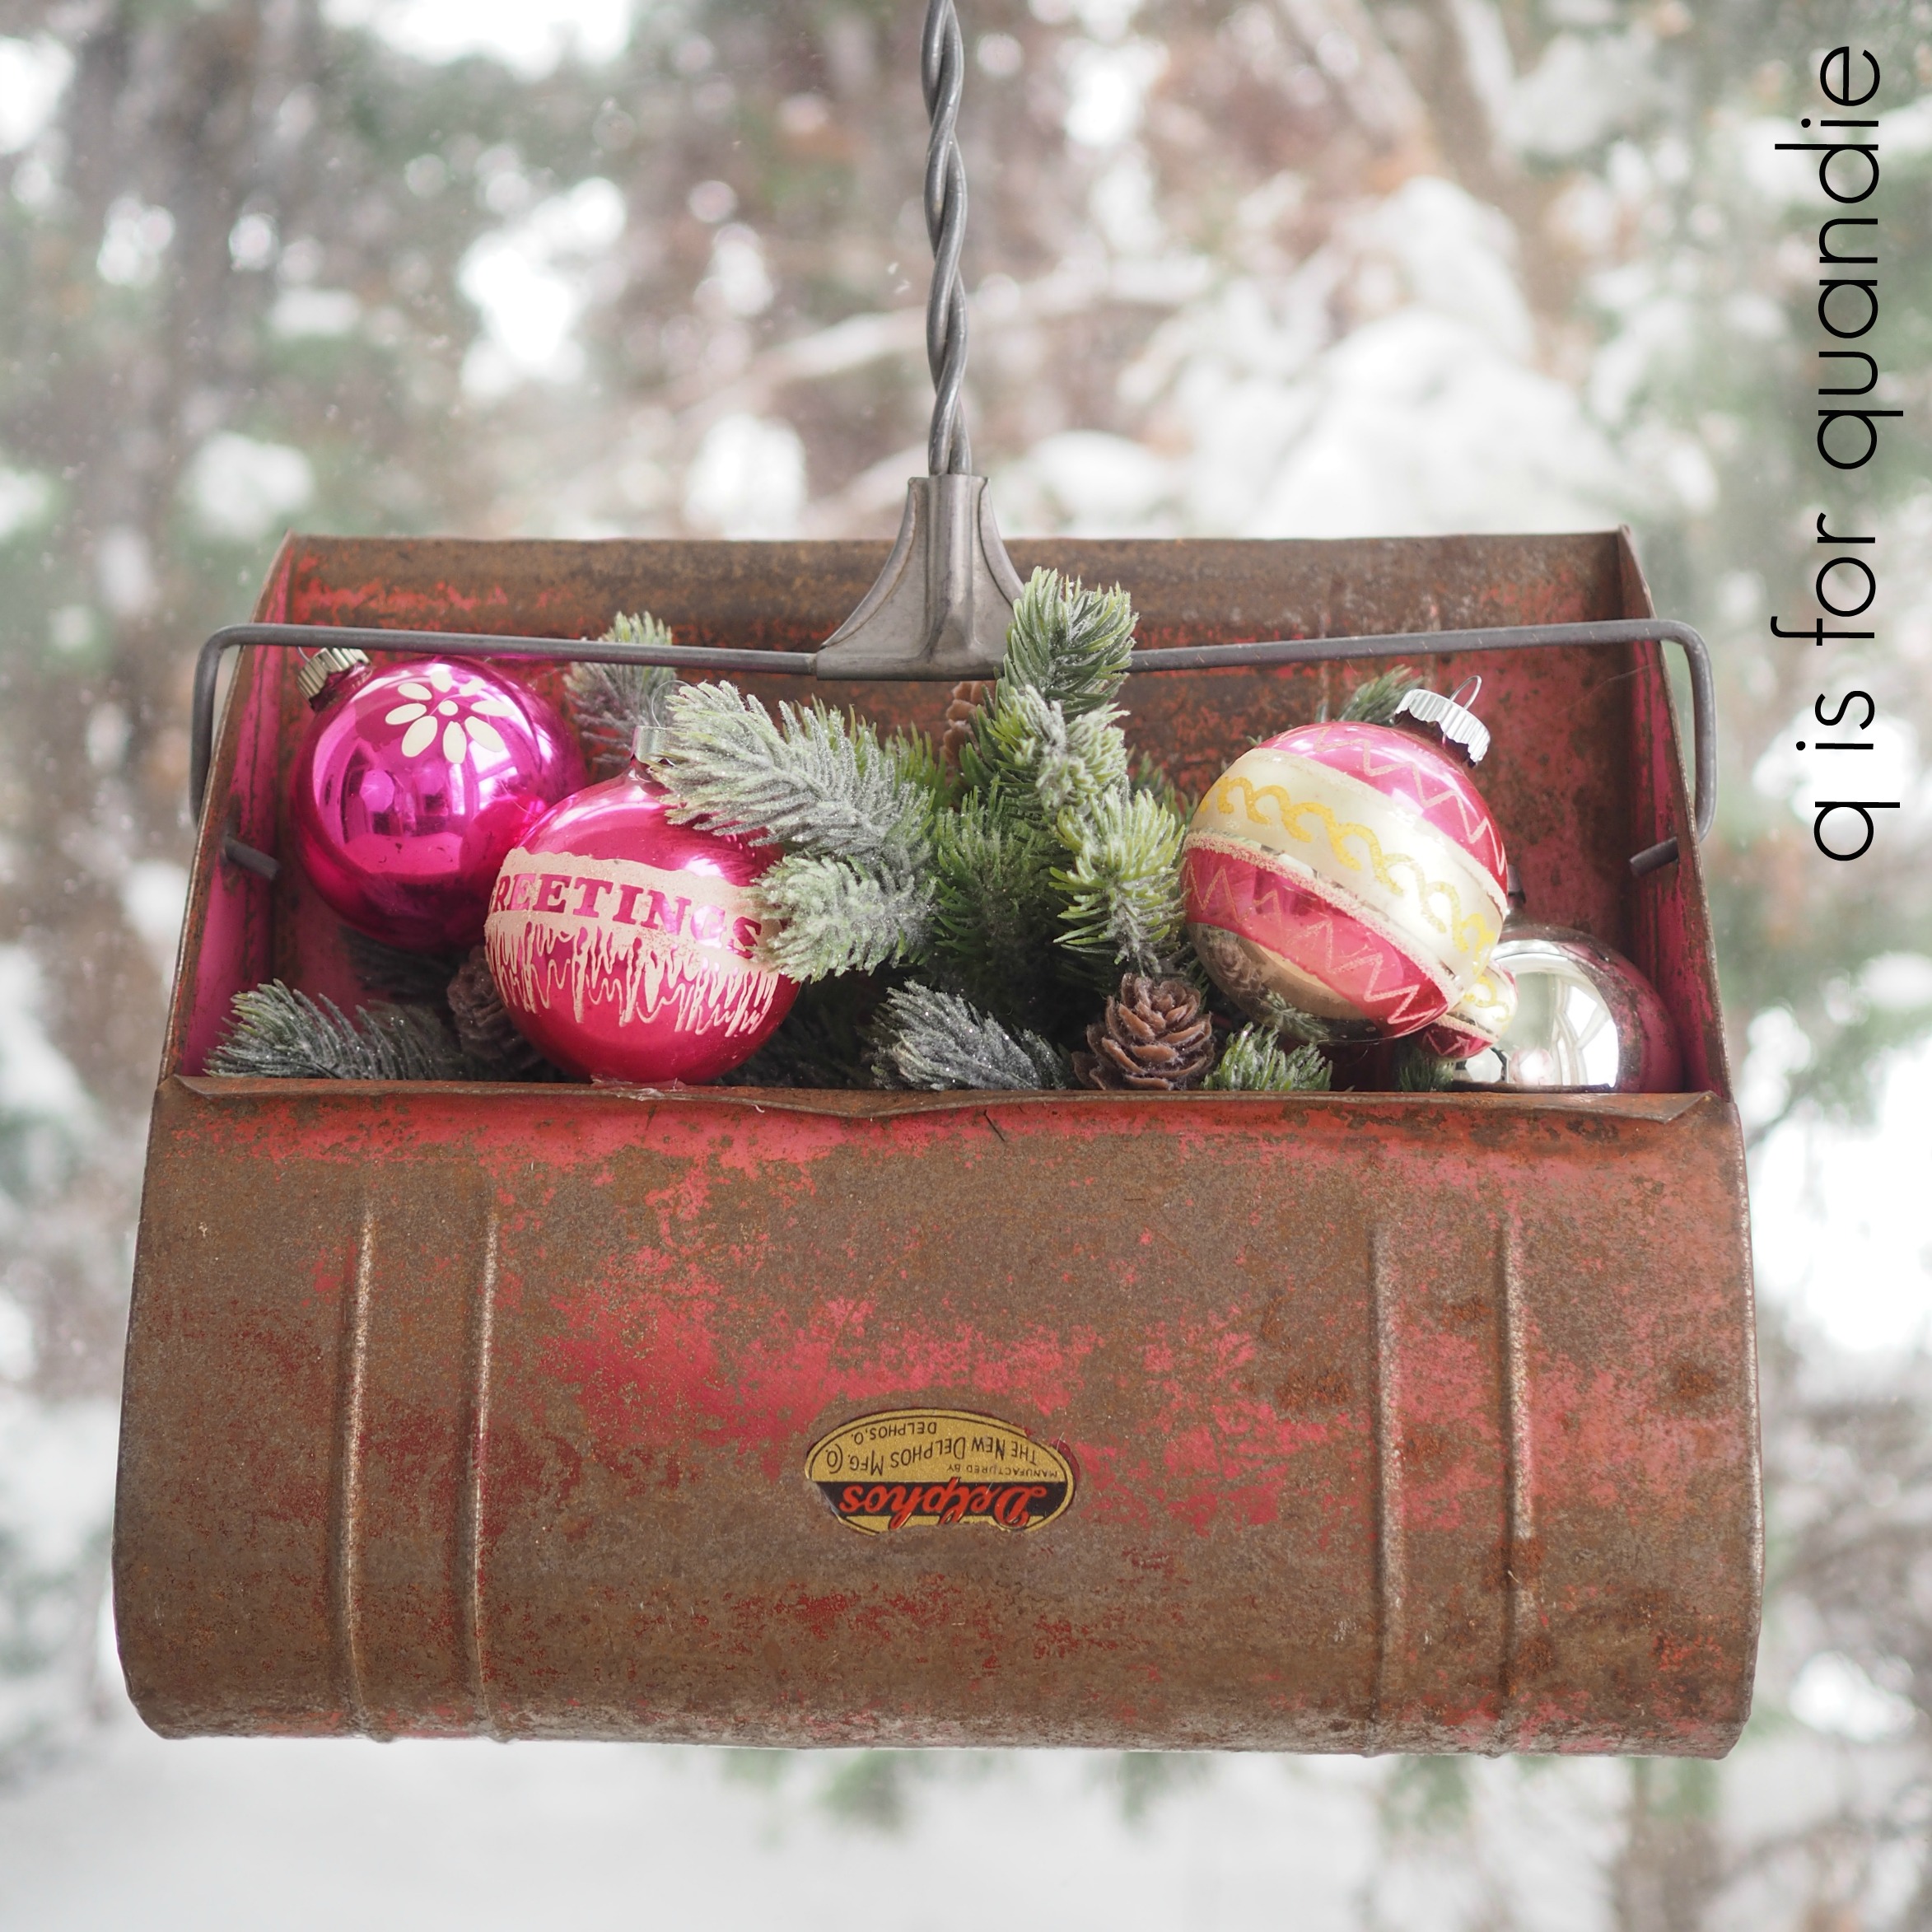
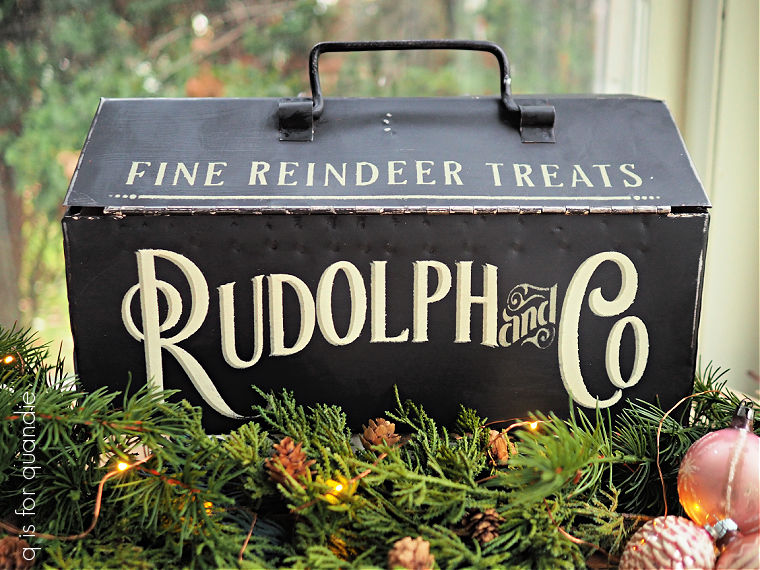
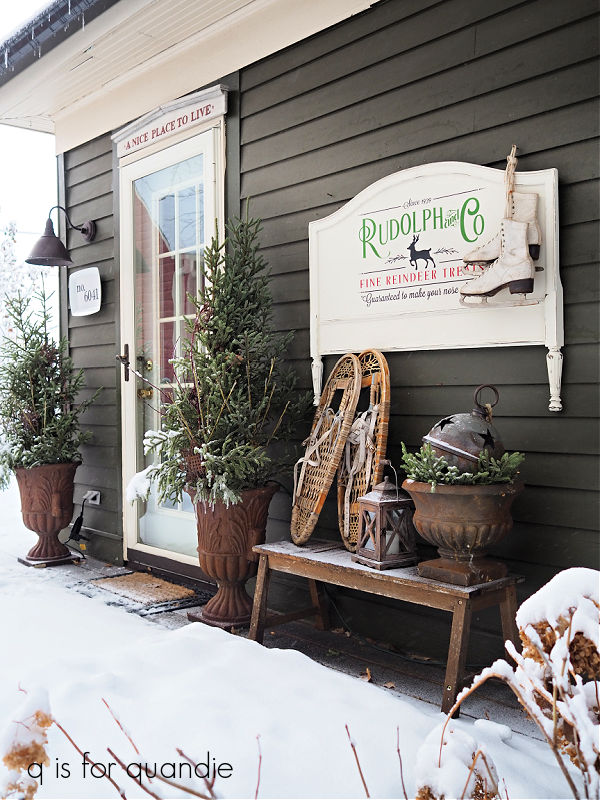
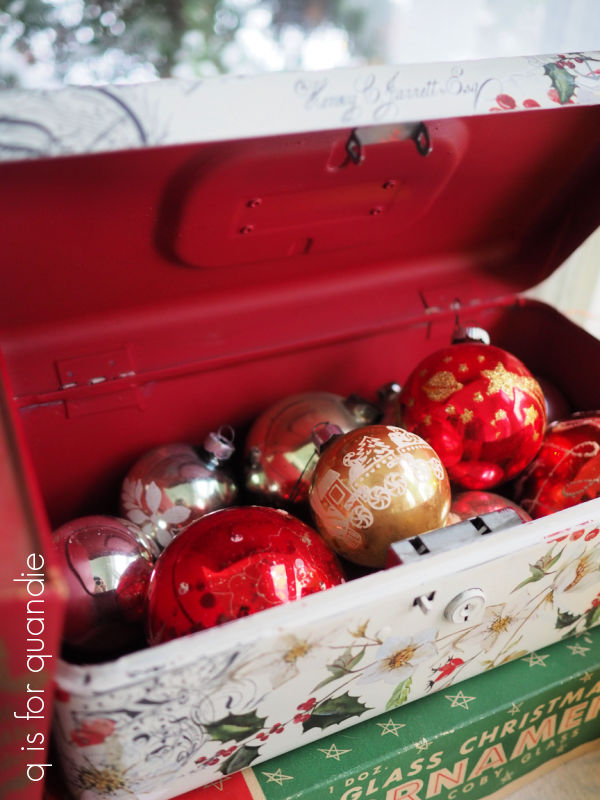
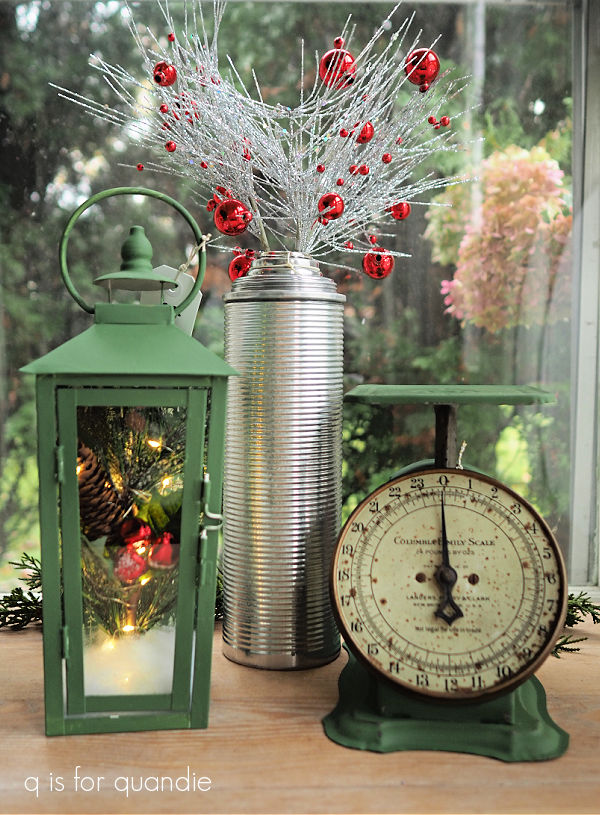
She also has a mishmash of other vintage finds that she has dressed up for Christmas.
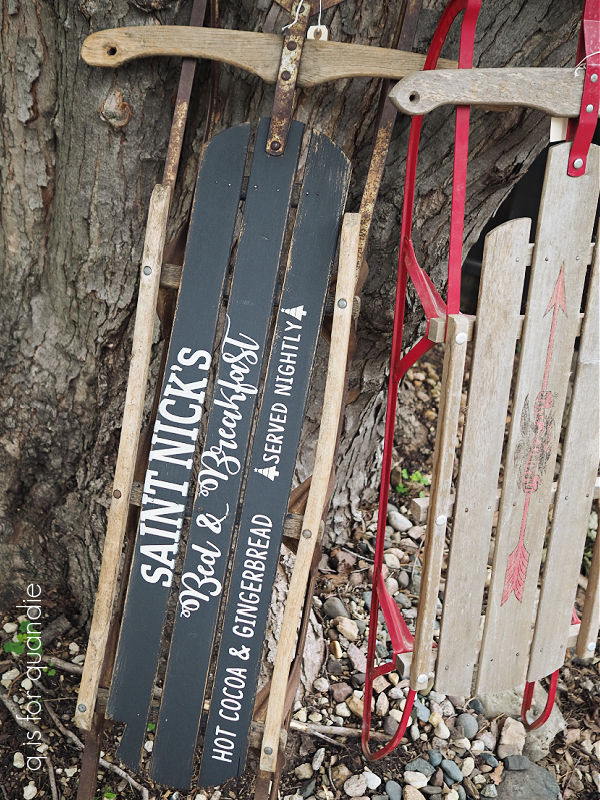
As do I.

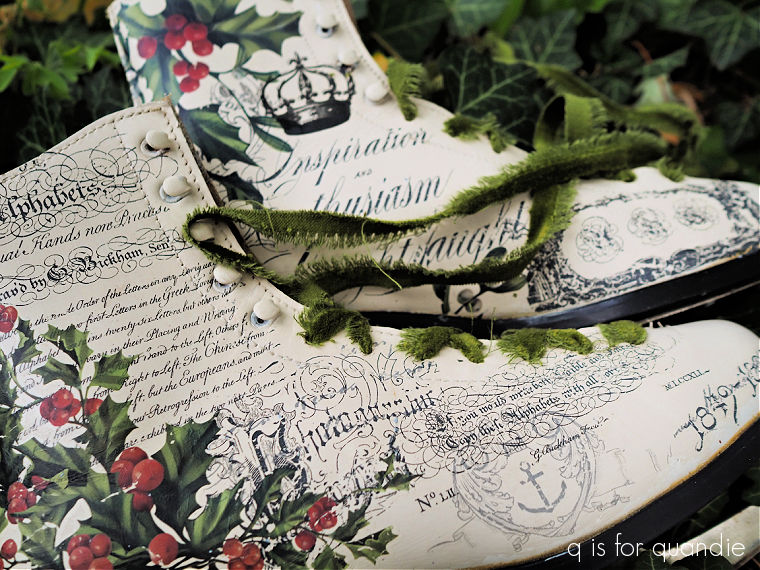
I’ll have a couple pairs of painted skates for sale.

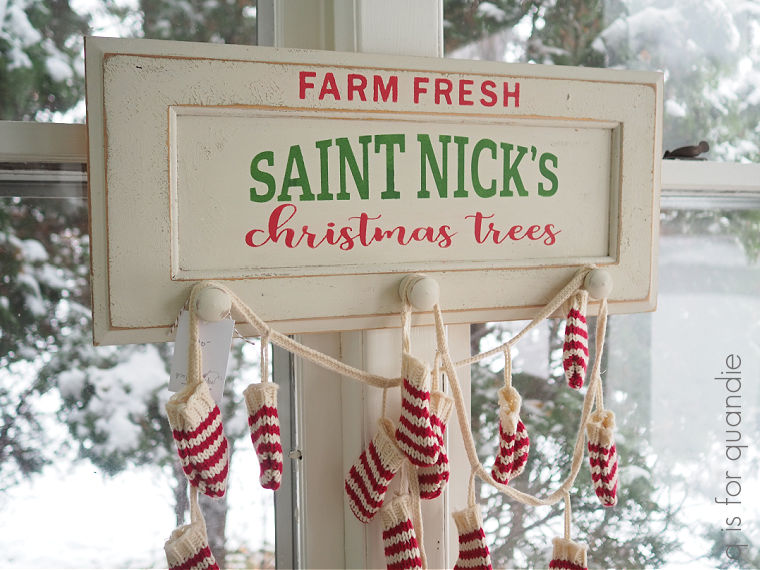
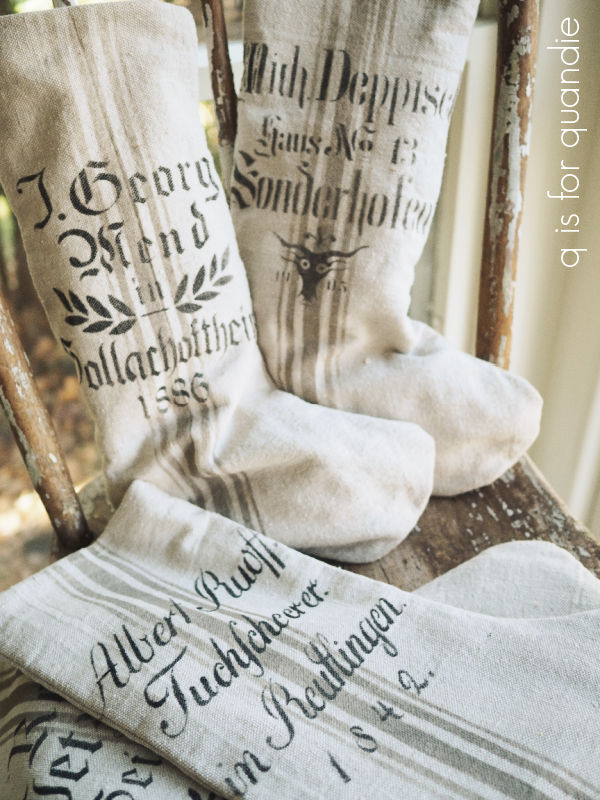
And a few other things too, like my stenciled stockings.

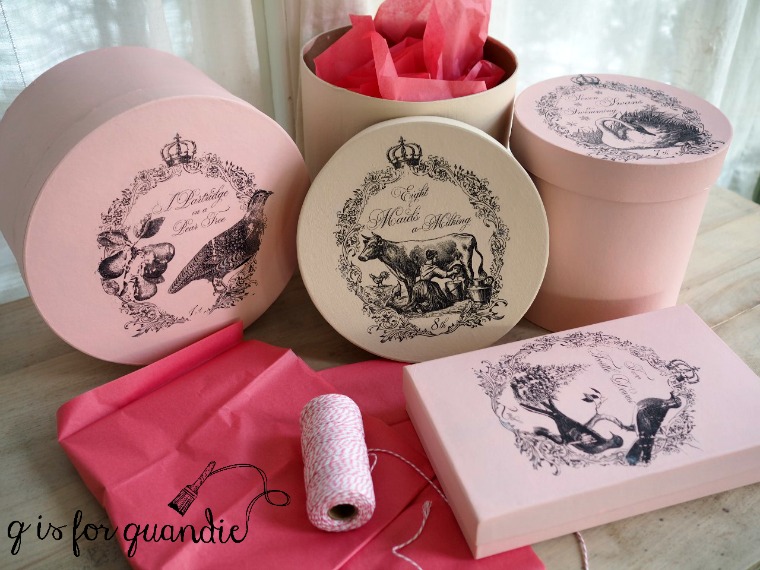
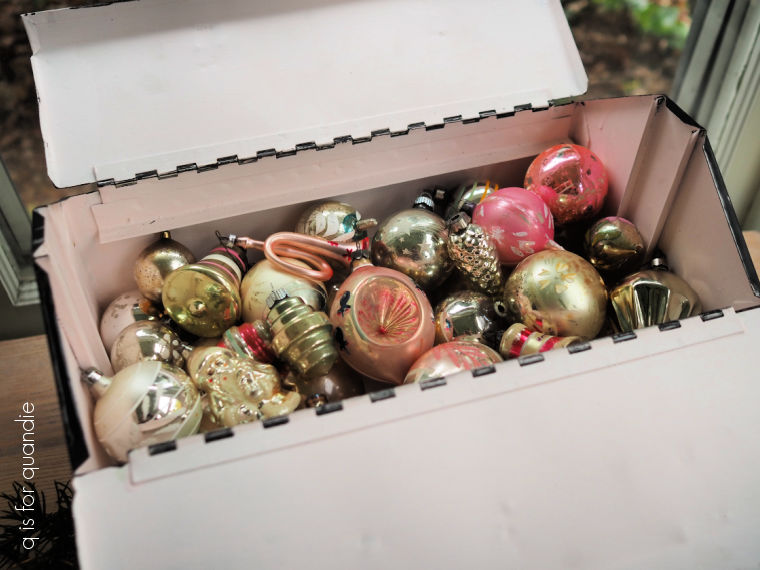
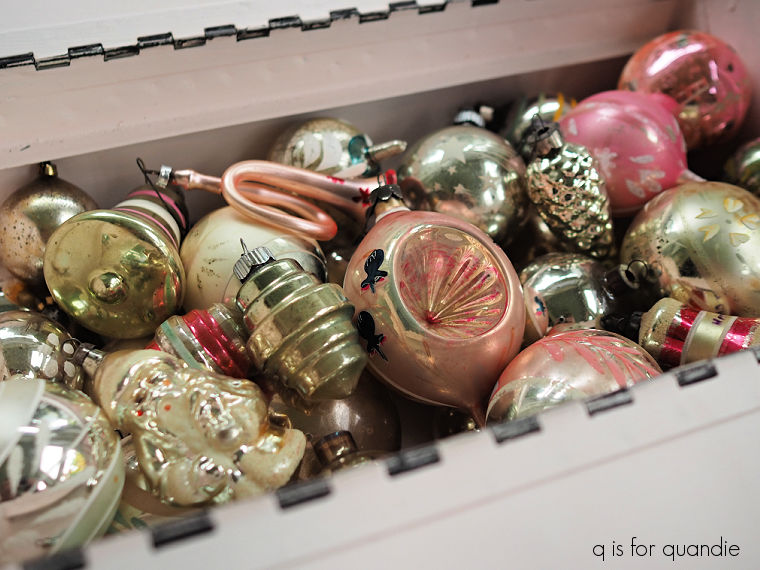
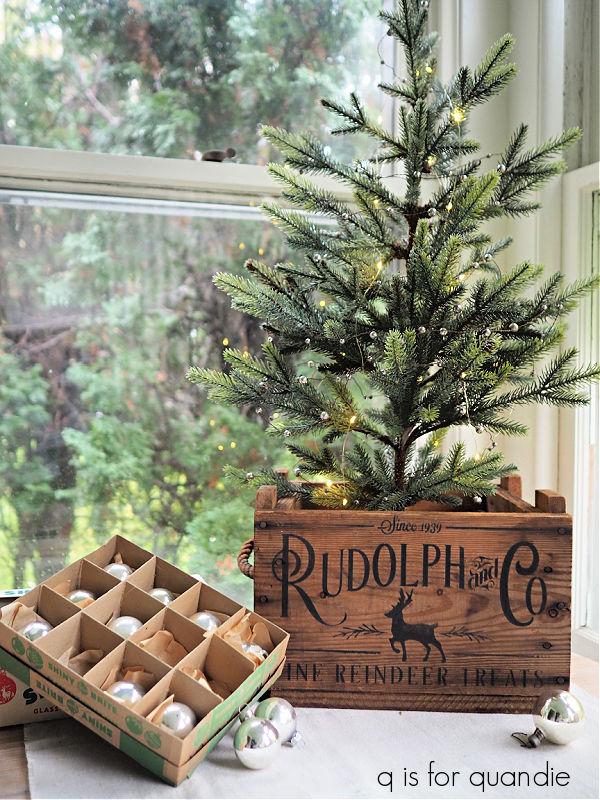
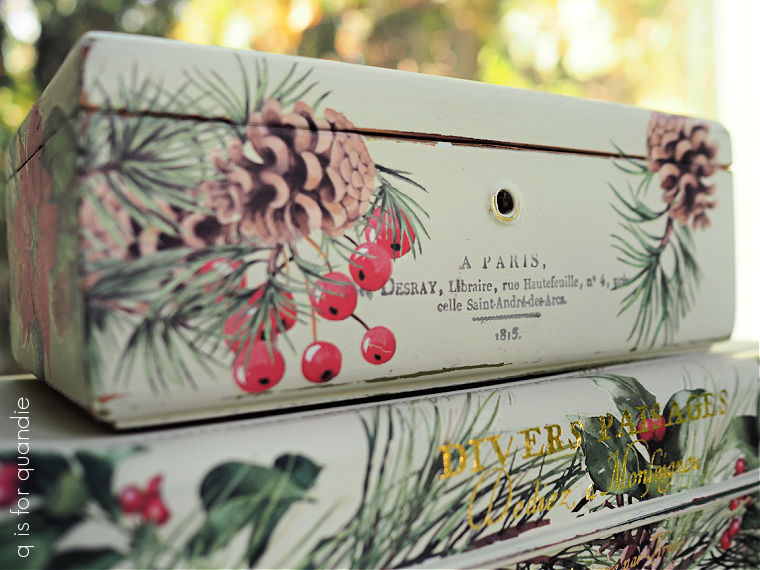
And a few of my boxes.

So if you’re local and you’ve got some free time on Saturday, be sure to stop by.

And if you’re not local, be sure to stay tuned.  I’ll update you next week on how it went and whether or not I would do it again!

dreaming of a pink christmas.

Anybody else out there love a little bit of pink at Christmas?

Back in 2017 I painted all of my Christmas gift boxes pink and then used Fusion’s transfer gel to add some graphics that I printed out.

And then there was my Venetian velvet inspired pink and gold stenciled wrapping paper from 2018.

In 2019 I turned an old vintage pink dustpan into Christmas decor.

So when I was going through my paint cabinet trying to decide on a color for the inside of the toolbox that I’m sharing today, I saw Dixie Belle’s Pink Champagne and thought “yes, perfect!”

But let’s go back and start at the beginning.

My friend Sue gave me this toolbox for my birthday many years ago.  She had added a number sticker on either side.

It was simple, but I like simple.  I used it to store scrapbook supplies.

A while back I used it as a guinea pig to try out the then new I.O.D. white Traditional Pots transfers.  I removed the number stickers and painted over just that bit of the box with black chalk paint, and then applied the white transfer.

I liked that look quite a bit too.

But recently as part of my Swedish Death Cleaning kick, I really pared down my scrapbooking supplies and I ended up emptying out this entire container.  Then I put it in my stash for a makeover.

I pulled it out recently thinking that it would be fun to give it a Christmas look, but using a stencil this time rather than a transfer.  I wanted to keep the black outside, but the original interior was a dull white that definitely needed a refresh.  And that brings me to the Pink Champagne.  I love the idea of pink for Christmas, and I also think pink pairs beautifully with black.

The Pink Champagne is a cool and quite pale pink, sort of an icy pink.  Perfect for a pink Christmas.

And by the way, I did clean the box, sand it lightly and then add a coat of Dixie Belle’s Bonding Boss before I got started with the painting.  After two coats of the Pink Champagne, I applied a coat of Dixie Belle’s flat clear coat over it.

Now this box would be perfect for storing all of my pink and silver vintage ornaments.

Next up I added a coat of Dixie Belle’s Midnight Sky to the outside of the box to freshen it up a bit.  Once the Midnight Sky was dry I started stenciling.

There were several steps involved in the stenciling, with drying time in between.  I first added the “Rudolf and Co” section in DB’s Dried Sage on both sides of the box.  Then I went back in and added the “Fine Reindeer Treats” to both sides of the lid, also in Dried Sage.  Then I came back in and went over just the “Rudolph” and the “Co” in Drop Cloth.

I’ve gotten so much use out of this stencil from Wallcutz.  I have it in two sizes (it comes in 7 different sizes), the bigger one was perfect for making the ‘foot board sign’ that I kept for myself and put up every Christmas.

I’ve used the smaller one on countless items like boxes …

and trucks …

and grain shovels.

I’m not always good about cleaning my stencils after use, so this one is getting a bit worn out after so many uses and it’s not as crisp as I would like it to be.  I may have to order a new one.  I used it on a couple of other items this year that you’ll be seeing soon, so be sure to stay tuned!

In the meantime, I’m not really going to store my pink and silver ornaments in this box.  I really just store them in a bigger box along with the other colors.  So this box is for sale locally (check out my ‘available for local sale‘ page for more details).

Are you a fan of pink at Christmas?  Leave a comment and let me know.

Thank you to Dixie Belle Co for supplying their products used in the this makeover.

the perfect christmas red.

Are you looking for the perfect shade of red paint to use on some of your Christmas projects?

The red I’ve used the most has to be Honky Tonk Red from Dixie Belle.

It’s a lovely cherry red, perfect for pairing with white.

It’s definitely my go-to red for stenciling Christmas signs.

If you prefer using a no-fuss acrylic style paint with a built in primer and top coat, then Dixie Belle’s Fiery Sky from their Silk Paint line would be a good option for a Christmas red.

I like to use this color on the inside of toolboxes.

Miss Mustard Seed milk paint in Tricycle is also a great choice for a Christmas-y red.  I used it last year on my North Pole Bed & Breakfast sign.

If you like the chippy look that you can get from milk paint, this is a great option.

Or if you like your red a little darker, Homestead House milk paint in Barn Red is another option if you want something chippy.

I used it on this pair of wooden skis way back in 2017.

Dixie Belle also has a Barn Red and I just finished using it on today’s project, this sled.

My friend opK found this sled for me at a garage sale.  Unfortunately the previous owners had given it a sloppy blue paint job.  After giving it a good cleaning, I decided to try a monochromatic look on this one, and I wanted to match the existing red as much as possible.  My usual Honky Tonk Red was just a bit too bright, so I pulled out the Barn Red.

I decided to work smarter rather than harder with this paint job, and this is today’s q tip for you.  When working with a combination of red and white paint, it’s pretty much impossible to prevent the white from turning pink if you sand the red after the white is applied.  It’s best to distress and then seal your background color first (whether it’s the red or the white), then add the stencil over it.

So after the Barn Red paint was dry, I sanded the edges to distress, vacuumed away any dust and then applied Dixie Belle’s flat clear coat before adding the stencil in DB’s Drop Cloth.

And here’s one more q tip for you, always put the approximate amount of clear coat you’ll need into a separate container when applying it over a vibrant color like this.  You don’t want to contaminate your entire jar with flecks of red, which are inevitable.

I like to use the Dixie Belle Finishing Pad to gently smooth out the stenciled paint without breaking through that clear coat down to the red, but you could also sand very gently with 220 grit paper, or just skip this step altogether.

Unfortunately, I did a terrible job of capturing the Barn Red color in my photos.   The color looks different in all three of my photos, but I think this next one is closest to reality.

After completing this project, I think I might actually prefer the Barn Red over the Honky Tonk Red.  I may have to switch up my go-to Christmas red.

I’ve painted up a total of four sleds this year.

I have this one in black …

And I also ended up painting the one that is to the right of the black one above.

These three will be making their way to Reclaiming Beautiful (the shop where I sell on consignment in Stillwater, MN) in time for their Christmas open house next Thursday,  unless one of my local readers wants to snatch one up before then.  Check out my ‘available for local sale‘ page for more details.

As for the 4th sled, you’ll have to stay tuned to see what I did with that one.

In the meantime, which red do you prefer?  Or do you like a more neutral color scheme for Christmas?  Leave a comment and let me know.

Thank you to Dixie Belle Paint Co for providing their products for this makeover.