
Have you ever checked out my ‘how to.’ page? If you’re on a computer or tablet, you can find it up above, just under my header photo collage right after ‘available for local sale’. If you’re on your phone, click on MENU in that same spot. Or you can click here.
The ‘how to.’ page is where I keep all of my posts that go into specific detail on certain techniques or products such paint inlays, milk paint or how to remove paint from old drawer pulls.
I like having these ‘how to’ posts handy so that I can refer to them in future posts and I don’t have to outline all of the steps for particular techniques each time I use them. That would get so boring for those of you who either already know how to use them, or really don’t care.
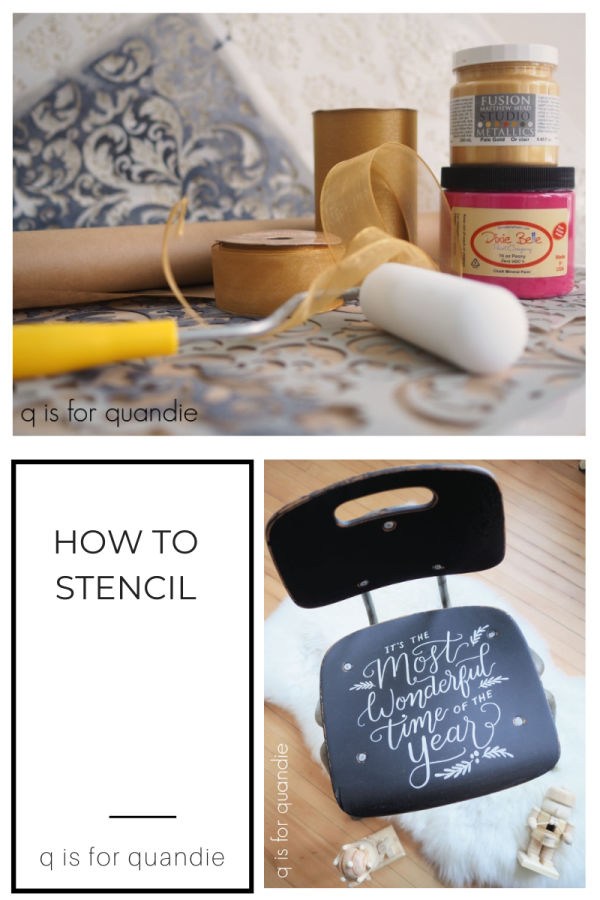
I hadn’t added to my ‘how to’ page in a while, but I recently added the post on how to use the Dixie Shine. I’d also been thinking that I should add a post on stenciling techniques, so here it is.
I know that some people struggle to get a good result while stenciling. This vintage suitcase that I picked up at the thrift store a few years ago is a rather dramatic example of a bad result.

I’m sure none of you have quite that much trouble, but you still may be able to use a few q tips on how to stencil.

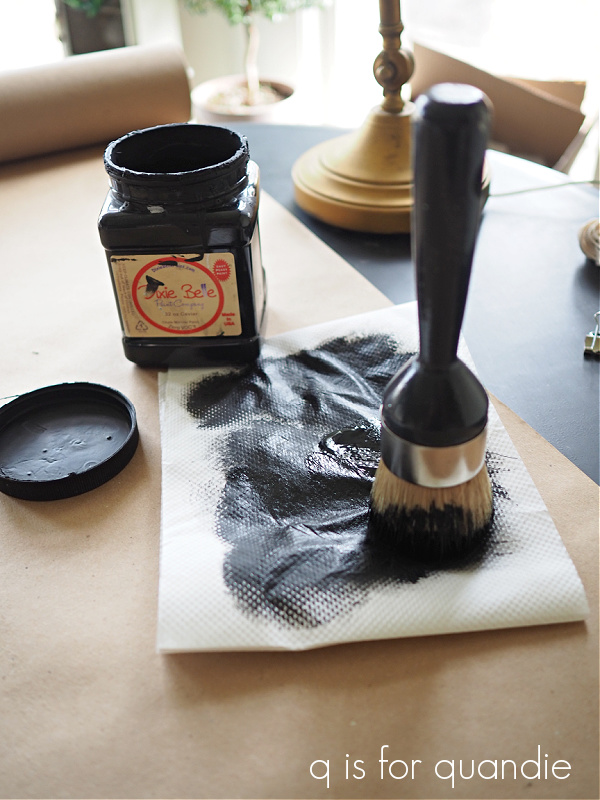
Tip no. 1 – First and foremost, my number one tip is to use chalk paint for stenciling projects if possible. This is one instance where a chalk style paint is going to be superior to an acrylic paint (such as Fusion or Dixie Belle’s Silk paint, or those little bottles of paint from the craft store). The chalk paint has a rougher surface that doesn’t allow your paint to slide around as much as it can on the slicker acrylic paint. In addition, chalk paint is thicker (less runny) than acrylic paints, so that also helps you avoid allowing your paint to bleed under the edges of your stencil.

Tip no. 2 – The second most important tip I can give you is to use a dry brush. I can’t stress this enough, and this may be the biggest mistake most people make. Just tap your brush very lightly into your paint, and then wipe most of that paint off on a paper towel. Even if you aren’t getting perfect coverage with the first pass, you’re better off going over that with a very dry brush for a second coat rather than having too much paint on your brush.
Tip no. 3 – Use the right brush. Your stenciling brush should have densely packed bristles and a flat end. The Best Dang Brush from Dixie Belle is my current go-to brush for stenciling.

It’s a big one though, which works great for larger stencil projects but will require taping the edges on smaller projects like the one above.
I’ve seen a few people use sponge tipped applicators for stenciling, but I found that the application tends to look a bit sloppy when I’ve tried using one of those.
Tip no. 4 – Use an up and down, stippling motion with your brush. This helps you avoid pushing paint under the stencil, thus creating a smudgy looking result. I’ve seen so many YouTube tutorials where the person uses a swirling, circular sort of motion to apply the paint and I always cringe a little. You may be able to get away with that technique if you’re using an adhesive stencil of some kind, like a silk screen stencil or a stencil that you cut out of adhesive vinyl on a Cricut machine.

But I say always stick with that up and down stippling motion to be on the safe side.
Tip no. 5 – So far I’ve only mentioned using a brush to stencil, and 99.9% of the time that is what I do. However, you can use a roller, which can make things go faster with a larger stencil.

I like to use a small foam roller for stenciling larger, all over patterns such as the one on the Venetian velvet inspired gift wrap I made a few years back.
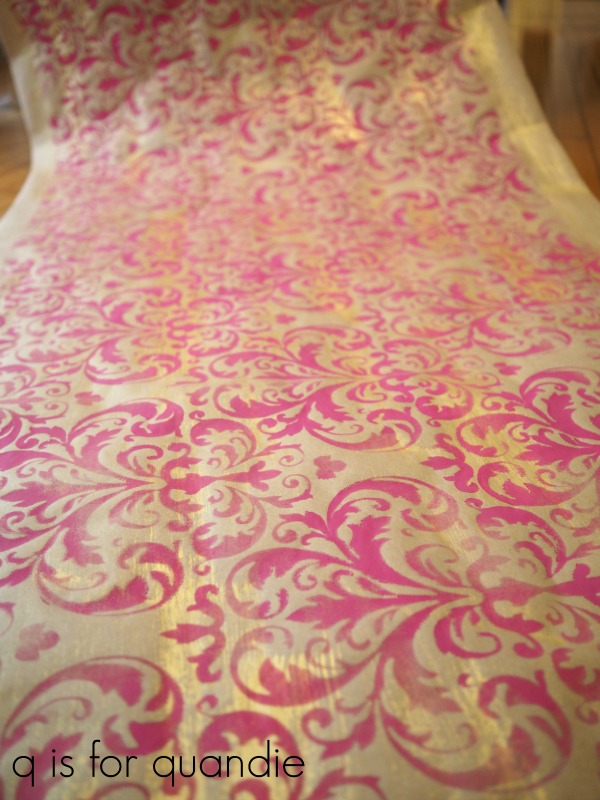
Do be sure to follow the same principle of off-loading some of your paint first when using a roller, and don’t press too hard.
Tip no. 6 – My next tip is to know your surface. Part of the reason the stencil job on that vintage suitcase is so bad is because the surface of the case is very bumpy. Even the most practiced stenciler is going to have a tough time with that. The flatter the surface, the easier it is to get a crisp result. That doesn’t mean you absolutely can’t stencil over an uneven surface, but it will be trickier.

My advice for stenciling over a bumped up area like on the piece above is to stencil lightly and cautiously over that area, then when you take the stencil away, go back and fill in by hand around those curves using a small brush.
Tip no. 7 – Fill in the bridges for a more hand-painted look.

Bridges are those spaces in the lettering in a stencil that hold the inner pieces of the stencil in place. I like to go back in with a small artist’s brush and fill those in.

Of course, you don’t have to do that. Sometimes you may want a more industrial looking result, in which case you should just leave the bridges unpainted.

Tip no. 8 – Add a shadow to wording to give your piece more dimension. This is one of my favorite tips! It’s so easy to do and adds so much.

Just start by placing your stencil slightly (about 1/8″) down and over to the left of center (or wherever you want your final stencil to go). Stencil the darker shadow color. Once that’s dry, just move your stencil up and to the right by that same 1/8″ and stencil again with your final color. It’s a super simple technique that adds so much, but keep in mind that it works best with chunkier lettering.

Tip no. 9 – If you are new to stenciling and nervous about giving it a shot, practice on fabric first.
These inexpensive flour sack dish towels were a quick and easy stencil job.

As were these pillow covers.

When stenciling fabric, be sure to have a hard, flat surface beneath your fabric. I placed a piece of thin hardboard inside the empty pillow cover to give me a nice firm surface to stencil on and also to prevent my paint from bleeding through to the back of the pillow case.
Brown craft paper is also a good choice for getting in some practice as a beginner.

Both of these surfaces have a lot of ‘tooth’ making it easier to get a crisp result.
I hope some of you will find these tips useful. Stenciling is a great way to add some detail to a piece without breaking the budget.
Be sure to leave a comment if you have any questions about stenciling that I haven’t answered in this post.

I love all of your Qtips! I have used your stenciling techniques on all of my stenciling projects and have had great success. 😊
LikeLike
I’m so glad my tips have been helpful Monica! P.S. thanks for the card 🙂
LikeLike
I love the “how to” tab and refer to it when needed. Great update on stenciling-it is an art – it is clearly an art.
LikeLike
Thanks Laura!
LikeLike
I really enjoy having your how to tab. It’s always a good reference.
Smile,
Alice
Ps hope you are having a good time with your Momm😉
LikeLike
Thanks Alice!
LikeLike
Thanks for a great new reference section – I like that I can go back to one place easily and have a little tutorial whenever I need it. Thanks too for preparing posts even when you are out enjoying your freedom to travel. I look forward to them. Enjoy your visit!
LikeLike
I do try to plan ahead so that there is some content while I’m gone. I have another trip coming up soon, and I’m not sure I’ll be able to do as good a job at that. We’ll see …
LikeLike
All great tips-thank you for sharing!
LikeLike
You’re welcome Melissa!
LikeLike