Everybody’s doing it.
It was only a matter of time before I jumped on the bandwagon.
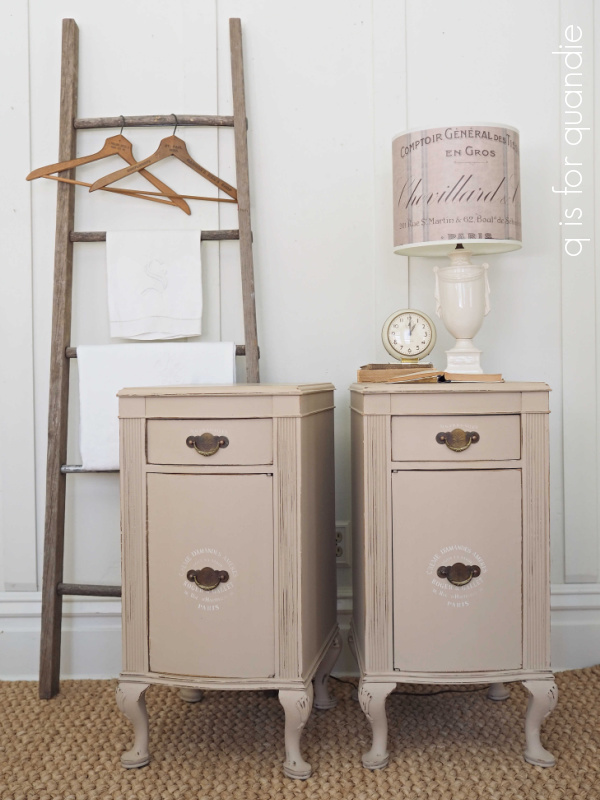
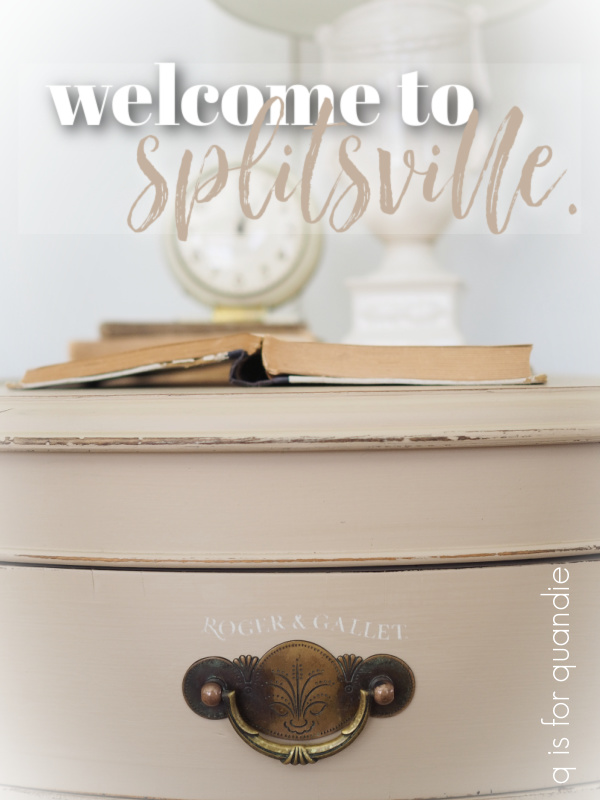
I’m talking about taking a vanity/dressing table like this one and splitting it up into a pair of nightstands.

I don’t think there would be much of a market for this piece as is. It didn’t even have a mirror with it (and I imagine it must have had one originally, right?). With that step down in the middle, it really couldn’t have functioned as a writing desk.
I called Ken over to help me with the actual splitting. That center section was held in place with pegs and glue (not screws), so he took a pragmatic approach and sawed right down the middle of that piece first using a reciprocating saw. Then he was able to use a chisel and a hammer to break pieces free from their glue and pull them out of their pegs. Then Mr. Q used our Porter Cable Oscillating Tool to cut the pegs off fairly level with the surface. This process did a fair amount of damage to the veneered surface, but after some gluing, filling, and sanding I think those sides look pretty good after being painted.

I have to mention though, after completing my photo shoot, dismantling the whole set up and moving the nightstands into another area I realized that I photographed the better one. The patched side of the other nightstand is not quite as smooth.
But how about that color?
That is Dixie Belle’s Burlap. I recently decided that I should branch out and try some new neutral shades. So I ordered this one, and also their Spanish Moss and Dried Sage. I’m looking forward to testing out both of those colors too. But in the meantime, boy is that Burlap pretty.
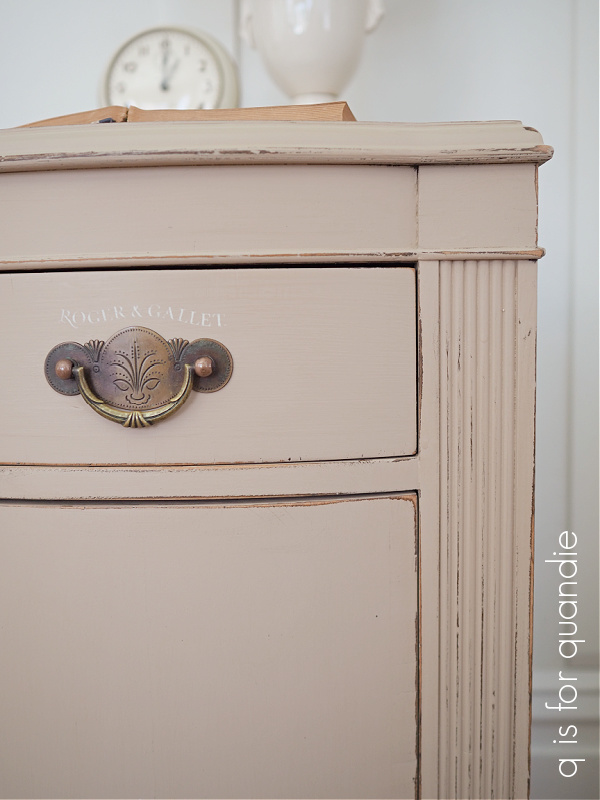
My original plan was to use some transfers on the fronts. However, after going through all of my transfers, and studying the drawer pulls and how they were situated, I decided to rethink that plan. So next I went through all of my stencils and discovered that this stencil from Jami Ray Vintage actually fit fairly perfectly around those pulls …

And part of another stencil from that set was perfect for the drawer.

Both of these are from their Crock Minis stencils.

They are super subtle, I know, but I think that’s part of their charm.
Speaking of the drawers, they didn’t really need to be lined but I had the perfect paper for them so I went ahead and did it anyway.
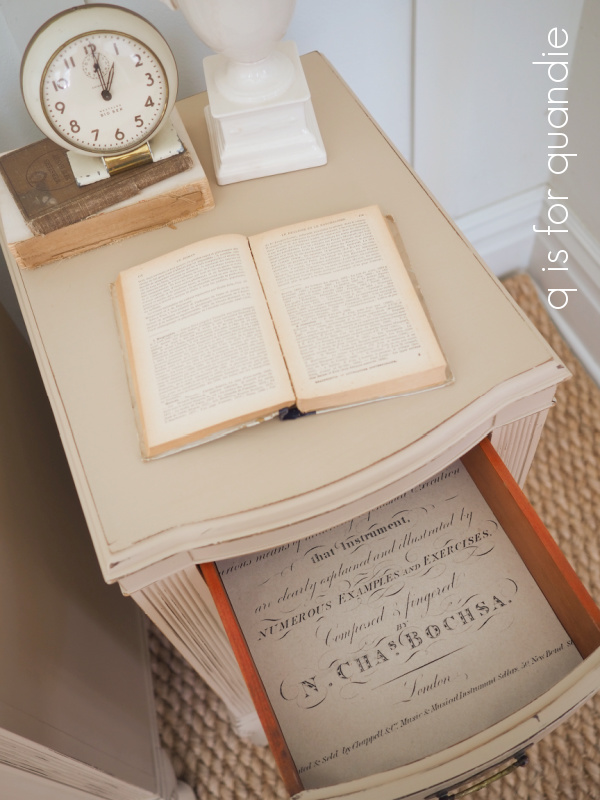
The bottom section of each side has a little shelf inside. I just cleaned that interior up with some of Dixie Belle’s Big Mama’s Butta in Suzanne’s Garden (a floral, rather rose heavy, scent).

The feet on these pieces are pretty charming.

They were in pretty rough shape though. Several of them have some chunks missing, a couple of them had split at some point and someone gave them a very sloppy repair job, and a couple still needed to be reglued. I did what I could with them, and luckily paint hides a multitude of flaws.
I finished these pieces off with some clear wax on the sides and three coats of Dixie Belle clear coat in flat on the top. Are you curious why I chose to use different top coats? Well, the clear coat is more durable than wax and since people tend to put water glasses on their nightstands (or coffee, if you like to read in bed with your first cup of coffee in the morning, oh, the simple pleasures of being retired!) I thought some durability was in order. But I tend to struggle with drips when using clear coat on a vertical surface like the sides, so I went with wax there instead since the sides don’t need quite as much protection. The combination of topcoats worked out quite well I think.
So after a bit of teamwork and some elbow grease, this vanity is now splitsville.
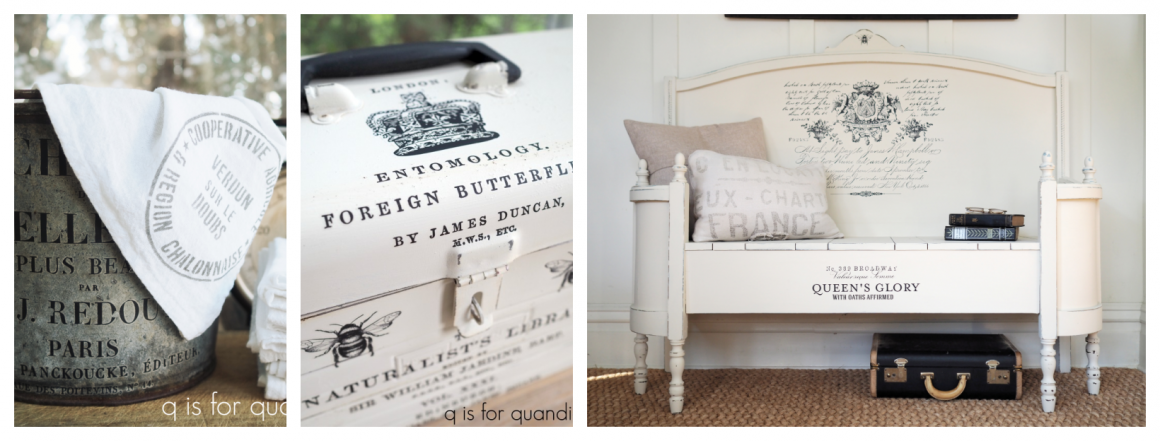
Actually, this isn’t the first time I’ve split up a vanity. I did that once before back in 2017 and I learned a lot about using stamps over paint that time around.

You can revisit that post here.
Splitting this one was a definite improvement I think.

What do you think?
This pair of nightstands is for sale, so be sure to visit my ‘available for local sale‘ page if you’re interested in more details.
Thanks to Dixie Belle Paint Co for providing the products used for this project.

These are just beautiful! The color is gorgeous and those pulls! Love!
LikeLike
Thanks Meggan! Funny, I didn’t really love the pulls with that original finish, but once it was painted the pulls really popped.
LikeLike
I think they turned out nice. Can’t even tell they were one piece once.
LikeLike
Love the feet, and the drawer pulls! You did a great job with color choice 🙂
LikeLike
Thanks Laura, aren’t those feet sweet?
LikeLike
Nice makeover, taking them apart definitely made them more useable. I love the way you stage and photograph your creations, every little detail.
LikeLike
Thanks so much Jill!
LikeLike
Love them! That project is on my bucket list for 2022!
LikeLike
There is something satisfying about giving something an entirely new purpose, hope you get to it in 2022!
LikeLike
That piece went from blah to wow! The putty color is gorgeous, the split is perfect and is now so much more usable. This is one of those projects that needed a whole lot of prep work before you could even start the actual makeover. Glad you had the foresight to save it and give it a new life.
LikeLike
As usual a beautiful job with just the right amount of beautiful details. I only wish I had your eye for design!
LikeLike
These are soooo pretty Miss Quandie! I love the subtle white graphic and think it’s just perfect for these pieces…….and it translates as bitter almond cream, which also describes the color!
LikeLike
Gosh honey, you had me worried for a second.
LikeLike
These are so lovely! It was a definite improvement to split them up. All their details are so charming and the stenciling is spot on. What a pretty pair for a bedroom!
LikeLike
Another beautiful piece!! I’m so happy you post more often Linda – love all your work!
LikeLike