
In Monday’s post about the ‘catalogue dresser’ I mentioned that it came with a bed.

Although they aren’t pictured, it did include side rails and slats as well as the headboard and foot board. But have you noticed anything odd?
Here’s a closer look …

Wow, right? The seller told me that the bed was too tall for her elderly grandmother, so her dad’s solution to that problem was to cut off the original feet and replace them with a block of wood and tacky white plastic wheels.
And I am guessing that this bed probably originally had ball and claw feet on the foot board to match the dresser …

Sigh. Let’s all observe a moment of silence over the loss of those feet, shall we?
OK, moving on. Once I had this bed home, I asked Ken to come over and consult about the feet … or lack thereof. After discussing some options, both Ken and I agreed that it was going to be difficult to add new feet and to attain the kind of stability that you really want in a bed. More difficult than it was worth anyway.
Obviously it was time for this bed to be put to rest!
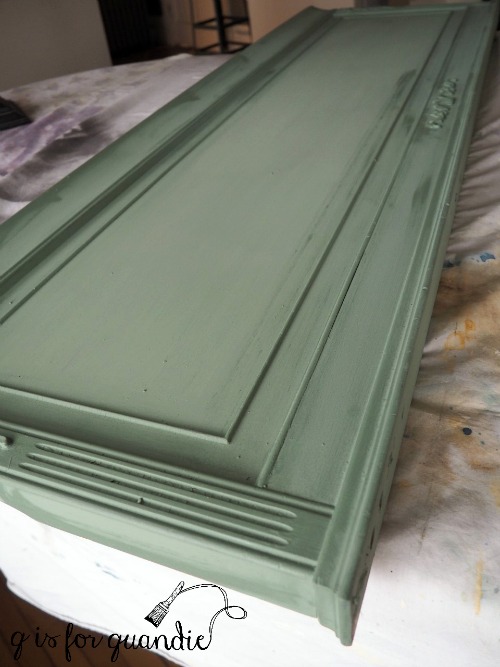
So I decided to turn it into two separate pieces. I started with the foot board and simply removed the blocks of wood and the tacky wheels. Then I painted it with a coat of Rachel Ashwell Clear Primer to prevent stain bleed-thru later. I had some of my custom Blue Alligator milk paint left over from the dresser I painted a couple of weeks ago, so I started with a base layer of that. To clarify: once mixed, milk paint can only be saved for 2 to 3 days. I painted this base coat at the same time as that dresser not two weeks later. Once the paint was dry I added beeswax in areas that I wanted to chip. You can see those smears of beeswax in this photo …
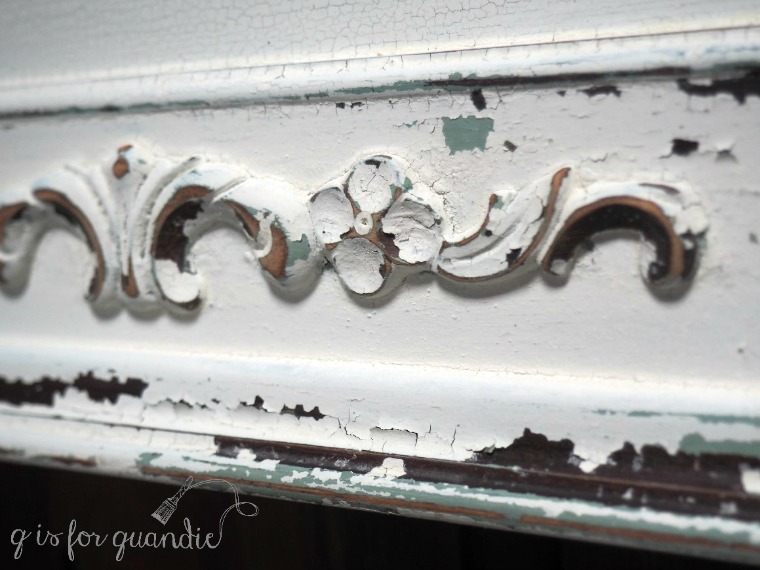
Next I added three coats of Miss Mustard Seed milk paint in Farmhouse White.
Sure enough, I got amazing chipping wherever I had smeared on the beeswax.

I really love how this one crackled and chipped!
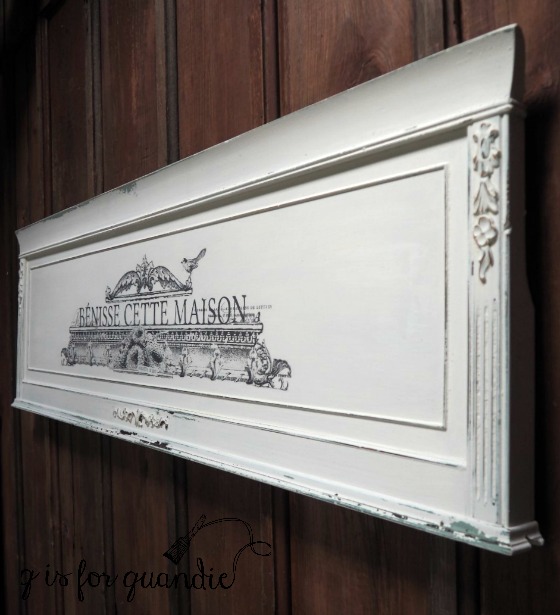
For the the pièce de résistance, I added another fabulous transfer from Iron Orchid Designs (FYI this design is not available at Sweet Pickins, I found it at Red Posie) …
![]() I sealed the whole thing with General Finishes Flat Out Flat, and added a couple of hangers on the back.
I sealed the whole thing with General Finishes Flat Out Flat, and added a couple of hangers on the back.
And voilà, the foot board has been reinvented as a sign.
Although I currently have hung this on the wall in my dining room, I have other plans for this spot at some point so I’m going to go ahead and list it on my ‘available for local sale’ page.
I did something similar with the headboard, except I got a little help from Ken to add a shelf at the bottom. The shelf was made from the support board that went between the two legs of the headboard. Basically Ken cut off the legs just below the headboard, and then turned the support board perpendicular to the headboard and screwed it on from below.
Ken made an executive decision to leave just a 1/4″ below the curve on the two sides of the headboard. He thought it would look more intentional that way, and he was absolutely right.
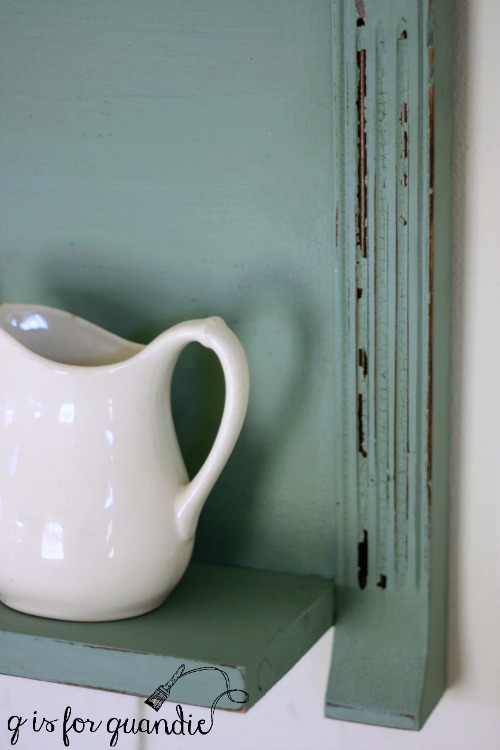
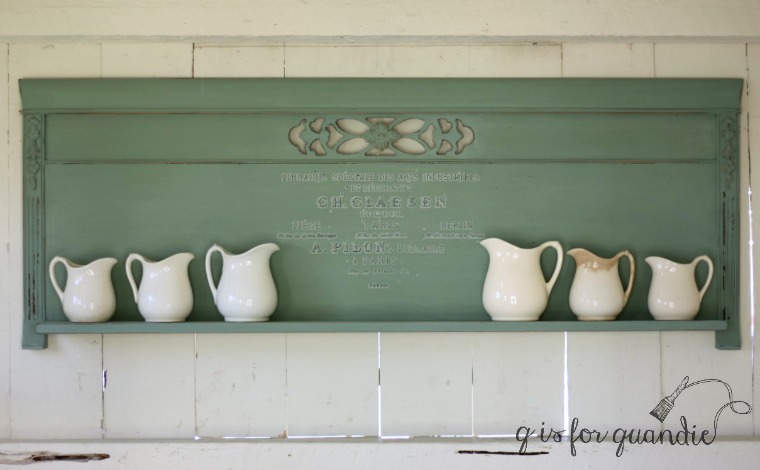
I mixed up some more Blue Alligator for the headboard shelf, and this time I left it that color.
I used the bottom section of the Iron Orchid Designs ‘Specimens’ transfer on this one.

I think this piece would be perfect hanging over a desk, or on the wall above a sofa. And it’s the perfect spot to display your collection of ironstone pitchers or maybe vintage alarm clocks.

Unfortunately I definitely don’t have a spot for this piece myself, so check my ‘available for local sale’ on this one too!

They both turned out really nice. I like the shelf added on to the bottom. Nice nic nac show off spot.
LikeLike
Thanks sis 🙂
LikeLike
Ken to the rescue again! They are so unique with the detailing and I particularly love that shelf on the bottom.
LikeLike
Both the headboard and foot board had such pretty details, I’m glad I found a way to re-purpose them to show those off.
LikeLike
What a great idea! You are truly gifted. I love the color! Thanks for sharing.😊
LikeLike
Thanks Monica! I love the color too. I’m about out of MMS Kitchen Scale though (one of the ingredients) so not sure how many more Blue Alligator pieces I can crank out. Obviously I could buy more, but I have such a huge stash of milk paint that I’m trying to use up what I have before buying more. I’m going to have to continue to mix up new creative colors with what I have on hand.
LikeLike
Beautiful upcycle of a bed that didn’t have much hope of living on! Both turned out beautifully but my preference is the white one. I really like the transfers you are using, thanks for the inspiration.
LikeLike
You’re welcome Laura! I like the white one best myself, but I can’t paint everything white … or can I?
LikeLike
You know what….. I now think you are not just a pretty face. I think these ideas are pretty sharp. Bu that does not mean I am going to start chipping yet.LOLYou are a talented lady. Betty ( your other Mom) from Ontario, Canada.
LikeLike
LOL, thanks mom 😉
LikeLike
Great repurposing of the head and footboards. I do love me some chippy paint, and the white with the blue underneath is perfect. You could also add some old fashioned coat hangers, then it would look really pretty in an entry while also serving a purpose. Just sayin. 😉
LikeLike
I love that idea Cyndi! I even happen to have a big stash of old coat hooks. Thanks for sharing this with me 🙂
LikeLike
nice job repurposing…love the title of this post as well…
LikeLike
Thanks Robin 😉
LikeLike
Those are beautiful, Linda! Love the white one…thinking it might just work for me! Contemplating….hmmmm….
LikeLike
Well, you know where to find me Patty! or more precisely, where to find the white foot board sign. See if you have a spot on a wall that will work for it 🙂
LikeLike