
Welcome back to part two of brush week (still not a clever name)!

On Monday I wrote about the brushes I use for painting furniture, today I’ll share some info on brushes I use for other things like waxing, stenciling and applying a sealer.
Using a brush for waxing.
When I first starting using wax I always applied it with a rag and it does work out perfectly well to do so, but there are a couple of downsides. First of all, you’ll waste some wax that will be absorbed into your rag. Then you’ll throw that rag away (I have found that they don’t wash up well). We all know that a good wax isn’t cheap, so I prefer not to be tossing any of it in the trash. Secondly, it’s hard to get into creases and crevices with a rag, a brush works much better for that. On the plus side, an old rag made from your worn out t-shirt is free and a good wax brush isn’t. If you are only ever going to wax one or two things in your lifetime, don’t bother investing in a brush. But if you do a lot of waxing, I highly recommend getting a brush.
I have four different wax brushes.
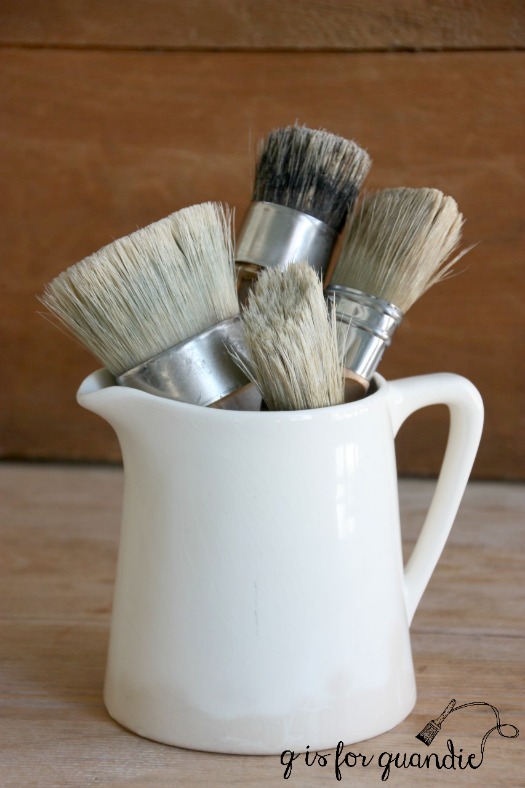
My wax brush collection is sort of a Goldilocks and the Three Bears situation. The first brush I purchased was this one …
I purchased this at a local paint shop, Hirschfields, because I wanted it ‘right now’. I suspect that this brush is meant more for painting than for waxing. It’s not really big enough for waxing a large piece of furniture and the bristle are just a tiny bit too long and not quite stiff enough for a good waxing. Now I mainly use this brush for white wax, and recently for the grey wax that I custom mixed.
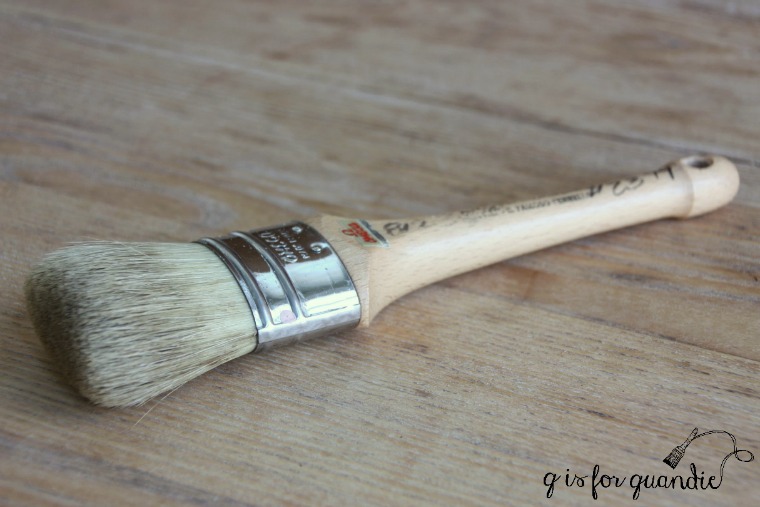
Next I purchased this Purdy brush for waxing.

I thought the angled bristles would help get the wax into crevices more easily. In reality the bristle are far too soft for waxing. This brush is pretty much useless and I never use it anymore.
My next wax brush purchase worked out a little bit better.

Unfortunately, I don’t remember where I got this one or what brand it is and there are no markings on it. This is like Mama Bear’s brush, it’s almost right but it isn’t perfectly right. It’s a little smaller than I would prefer for waxing a piece of furniture, but I still use it exclusively for antiquing or black wax.
I finally found the wax brush that is ‘just right‘ with the large Miss Mustard Seed wax brush.
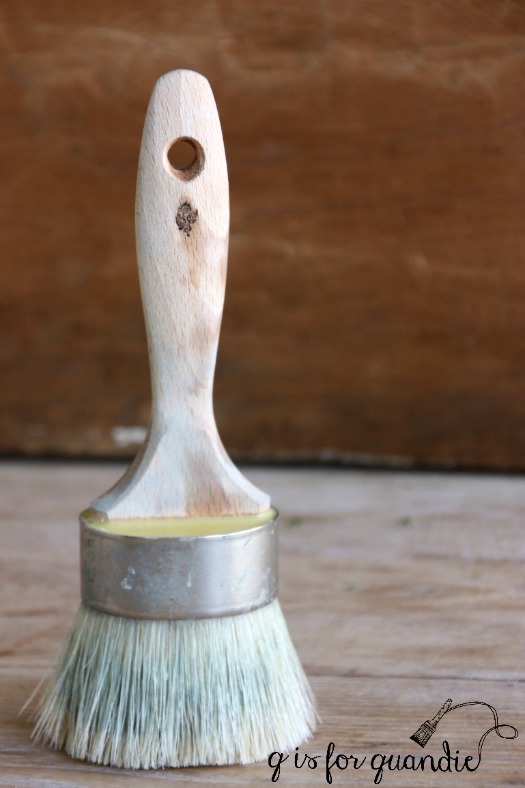
It’s the perfect size for waxing a piece of furniture efficiently, and it’s also the perfect size for dipping it right into the larger jar of Miss Mustard Seed wax. It has shorter, stiffer bristles that work really well for applying your wax in a circular, scrubbing sort of motion. You have to use some pressure to work the wax into your painted finish and this brush is perfect for that.
If I had to do it all over again I would skip wasting my money on all three of the former brushes and just buy more of these. For any of you locals, it sells at Carver Junk Co for $26. If you do a lot of waxing, it’s worth every penny.
Using a brush for stenciling.
I always use a brush to stencil. I have tried both a small roller and a sponge applicator in the past, but in the end I prefer a brush. In my opinion it gives you the most control over the amount of paint you are using and that is crucial if you want your stenciled design to be nice and crisp. Remember to dip the brush in your paint, and then remove most of the paint on a paper towel giving you a nearly dry brush for stenciling.
It’s also important to have a variety of brush sizes available when you are stenciling. With a big openings in your stencil you’ll want a big brush to cover that large area more quickly. If your stencil is smaller or has tiny details, you’ll want a smaller brush.
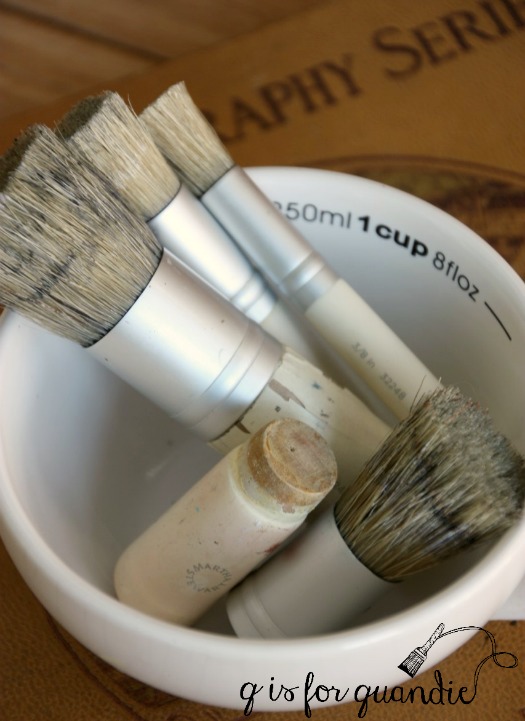
You definitely want to use a brush that is intended for stenciling. You need a brush with short stiff bristles and a completely blunt end for pouncing or stippling the paint on.
I purchased my set of Martha Stewart stencil brushes a few years ago and as you can see they are beginning to fall apart. But I’ve done a lot of stenciling with them and I’ve also forgotten to wash them out right away and had to resort to letting them soak overnight which really is hard on a brush. So this is not entirely the fault of the product, more my own user error. I would definitely buy these again. They aren’t expensive and are available at most craft stores. In fact I may need to buy another set soon since this one is on its last legs.
Other brushes.
I do have a mishmash of other brushes on hand for some miscellaneous uses.
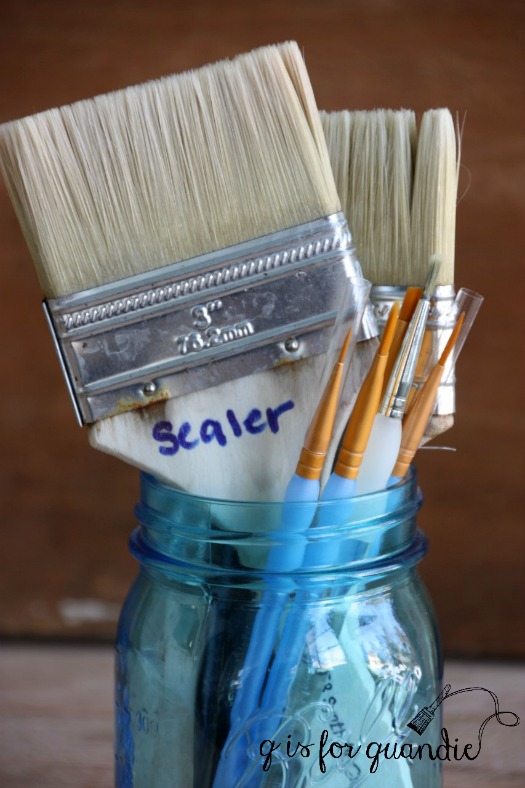
I like to use inexpensive flat brushes for applying sealers such as the Rachel Ashwell Clear Coat or the Miss Mustard Seed Tough Coat Sealer. Let me specify that I mainly use both of these product to seal pieces before I paint them to prevent bleed thru of some kind. At that point I’m not too worried about the quality of the finish, so an inexpensive flat brush will do. I will also use this sort of brush to apply Fusion’s Ultra Grip or Transfer Gel or to coat a piece with stripper. I write the use on each brush (sealer, stripper, ultra grip, transfer gel) and keep a separate brush for each product just to be on the safe side. These brushes don’t last forever, but I don’t spend much on them so I’m OK with tossing them and starting fresh every now and then.
Let me warn you here against using the really super cheap ‘chip brushes’ that you find at most hobby stores for less than a dollar.
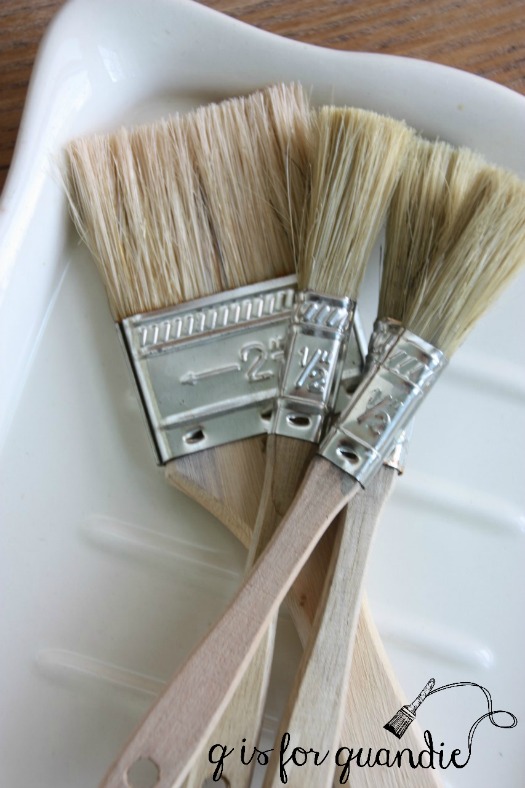
These things are awful. They are not even worthwhile as a ‘disposable’ brush because they just lose too many bristles. You’ll be constantly picking bristles out of your project with these. Don’t waste your money. When purchasing an inexpensive flat brush be sure to give the bristles a good tug first, if lots come off in your hand then pass that one by.
Finally, I’ll mention tiny detail brushes. I always keep these on hand for a couple of uses. First of all, I use them to touch up details on stencils. Basically all stencils leave gaps in certain letters in order to hold the stencil together. For example a “D” will have some gaps because otherwise that middle would fall right out of the stencil. Does that make sense? Well, I usually fill in those gaps to make the design look less stenciled and more hand painted. This is a personal preference sort of thing. And of course some designs are meant to look stenciled. But sometimes you want to fill them in. You can see an example of that here …

See how the A’s, the P and the D in Esplanade don’t have any gaps? I filled them in with a small detail brush like the two on the left…

I use small flat brushes like the two on the right for painting details like the spoon carving on this dresser which is painted in a brighter white than the rest of the dresser to help it stand out …

These sorts of brushes are nice to have on hand and easy to find in any hobby shop.
You’ll notice that I’m not sharing any information about what kinds of brushes to use for applying a poly finish. I rarely do a poly finish, but when I do I use a wipe on poly rather than applying something with a brush. So I have no knowledge to share on what kinds of brushes to use with poly. You’re on your own with that one. Unless any of you want to chime in with a comment about your preference for a finish brush.
Otherwise, I hope you’ve found some of today’s information useful! Be sure to check back on Friday to learn more about cleaning your brushes.

I may be a little late to the party, but “Brushing Up” ? 🎨
LikeLike
So much better than brush week! Where were you on Monday? 😉
LikeLike
Ooooh, Meggan’s “Brushing Up” is good! I was going to suggest Brush Week in French, because everything sounds better in French, right?! All great tips. Thanks for sharing, Cynthia
LikeLike
French would have been awesome too. Well, maybe. According to the google online translator it would be “Semaine des pinceaux” Hmmm … that makes me immediately picture a lobster claw … you know … pincer …
LikeLike
A lot more good info…I love the look of the Martha Stewart stencil brushes, they seem like they would do the job well!
The way you highlighted the spoon detail on the dresser is so charming…
LikeLike
Thanks Linda. I’ve done a couple of spoon carved pieces this way and I love the results every time!
LikeLike
Wow! Not at all like the old days when I would go into the general store (wooden floor – the truth, really) and the guy would shove a gallon of paint at me with a brush on top (his pick – an easy pick because there was only one brush to pick from) accompanied with a wooden stirring stick that mysteriously had vestiges of another color paint almost entirely wiped off, and then he’d scratch himself and wait for me to pay up. Easy peasy. Now it’s all science. Thanks for taking the time to give me a headache. 🙂
LikeLike
You paint such a vivid picture Ruth. It makes me think of the very first piece of furniture I ever painted … which was more years ago than I care to mention. In those days ‘oil based’ was the only recommended paint for furniture. I hated working with oil based paint and at the time I’m sure I swore to never paint another piece of furniture. Ha! You can see how that turned out 😉
LikeLike
May I first say, I just recently stumbled upon your site, and I love your posts and your work! As far as poly finishes are concerned, believe it or not, I’ve found foam brushes are the best. Yes, those inexpensive foam brushes at the hardware store. They don’t leave any brush marks, so you get a nice smooth finish. I get mine at Home Depot – they have a bag of 9 (3 one-inch, 3 two-inch, 3 three-inch) for $5 and change.
LikeLike
First of all, welcome! Good to know about those foam brushes. I’ll have to try that the next time I want to use a poly! Thanks for sharing that info 🙂
LikeLike
My goodness you have a ton of brushes Linda. I appreciate all the info you are sharing. I have an angled Purdy brush that I use for the big stuff like dressers. I agree the round brushes are better for waxes and stencils. You’re right you will probably chose the brush based on the finish one prefers. That said I probably have painted ten things vs 300 which I think is a closer estimate to all the stuff you have painted.
LikeLike
Yes, I do have a ton of brushes, and you might be right about the 300 too 😉
LikeLike
Thank you for the link to the MMS brushes! 🙂 Hope you’re well. And if my $.02 is worth anything, I agree with the comment above about the foam brushes for poly!
LikeLike
You’re welcome! And nice to get some more confirmation about the foam brushes. I’ll definitely have to give that a try sometime.
LikeLike
Thank you so much for the tips on different types of brushes and their use. Very enlightening as always. You have the best tips!
LikeLike
I’m glad my tips are helpful! Have a great day Monica.
LikeLike