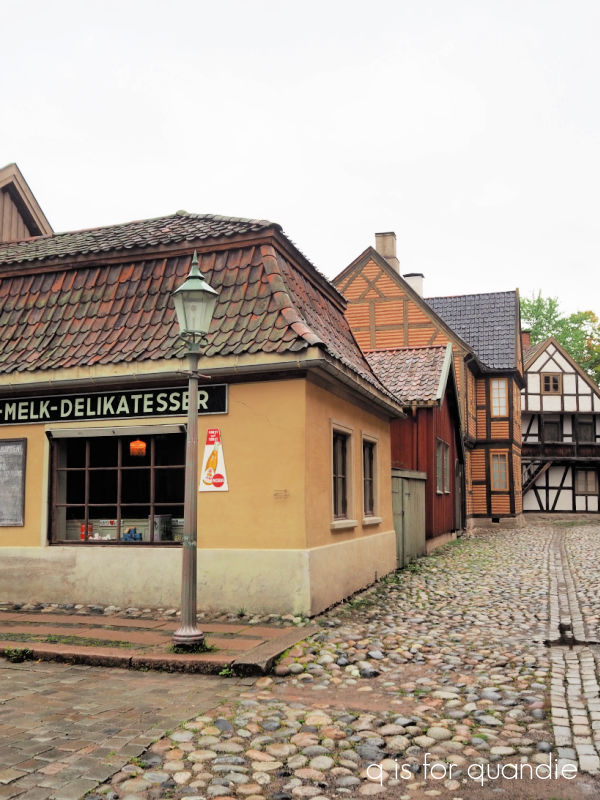
If you’ve been following along with my posts about our Azamara cruise in Canada, we’ve reached the point in the trip where I came down with Covid.
Just in case any of you are wondering what happens when you get Covid on a cruise ship these days, I thought I’d share some of those details. First of all, some fellow passengers that Mr. Q befriended while getting me some hot tea offered us some Covid tests because we hadn’t thought to bring any. We both did a test, Mr. Q was negative, but I was definitely positive.
Because I am one of those rule following sort of people, and because you’re supposed to report any highly contagious illness to the ship’s medical center, I called them from our cabin. They sent a nurse to our cabin and he administered another Covid test, still positive. However, I did not have a fever. The Azamara policy was to quarantine me to our cabin for 24 hours, and if I still did not have a fever after 24 hours, I could leave the cabin wearing a mask. Mr. Q, being negative, was free to do as he pleased.
The nurse returned the following day to take my temperature, and I still didn’t have a fever, so I could leave the cabin.
Getting Covid on vacation was definitely a major bummer, but I will say that the timing was better than it could have been. The first day that I felt really poorly was a port day in the Magdalen Islands, and I was in no condition to go ashore. The 2nd day, which was the day I reported my illness and was quarantined, was a day at sea. Honestly, I would have stayed in bed all day regardless. So ultimately I only missed one port of call.
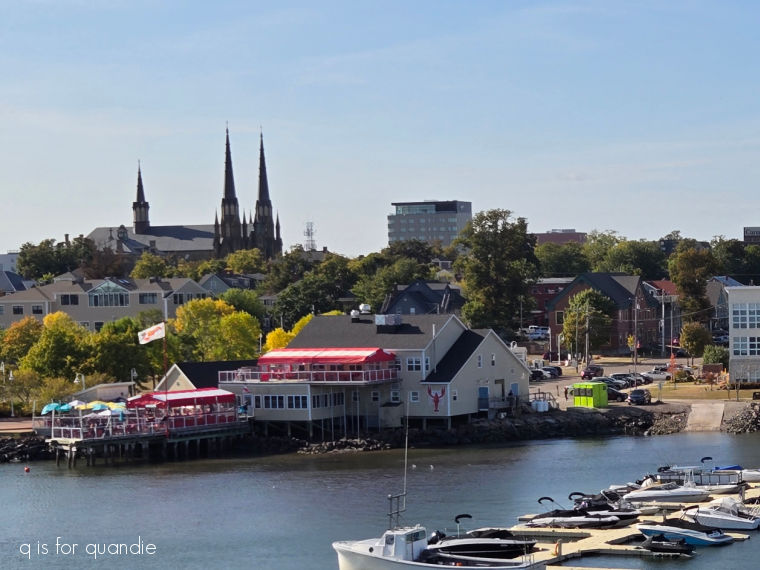
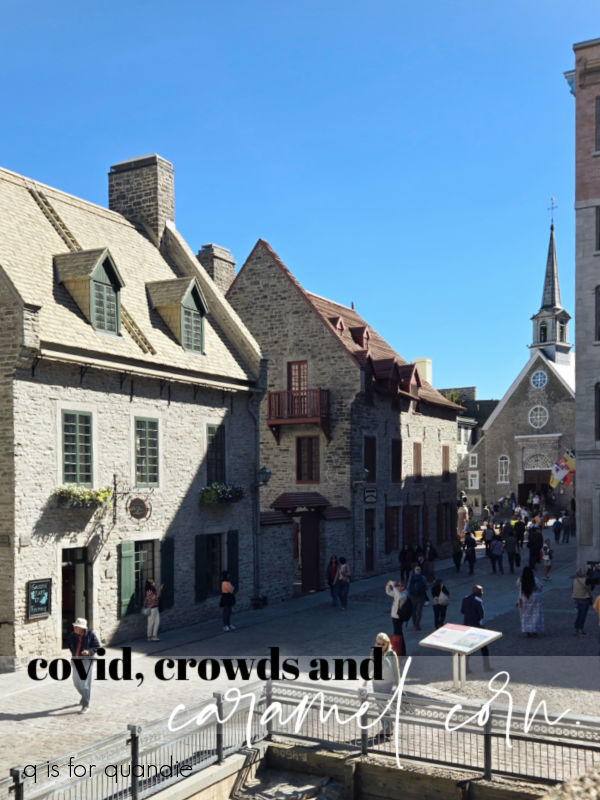
The day that I was released from quarantine was the port that I was most looking forward to, Québec City. Although I still didn’t feel great, I put on a mask and got off the ship. Then Mr. Q and I spent a couple of hours wandering around.
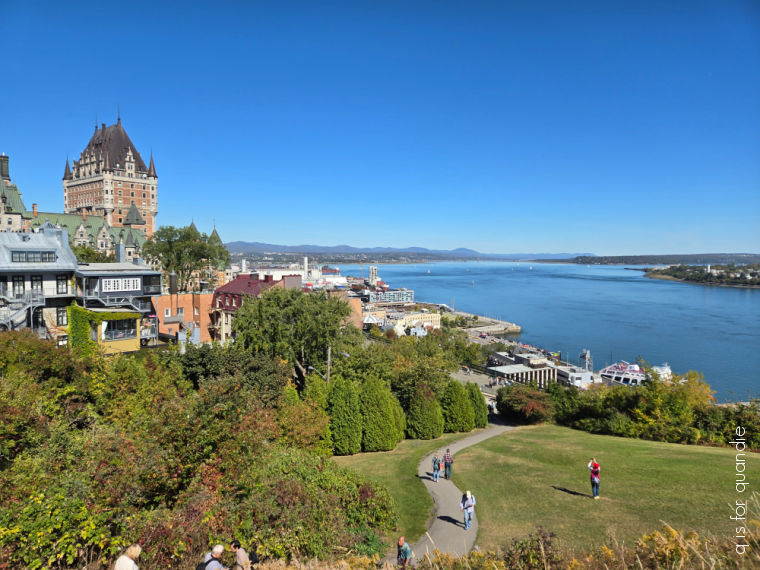
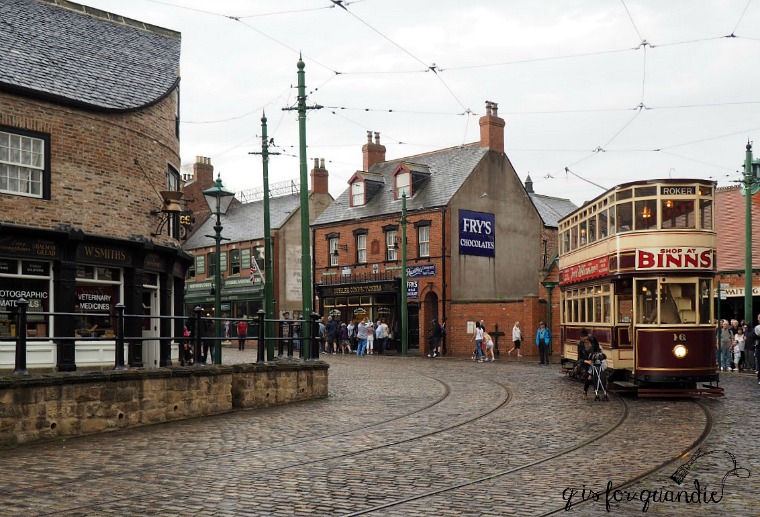
As you can see in my photos, it was another absolutely spectacular day weather-wise.
And as you also might be able to see, Québec City is very hilly. There were lots of stairs to tackle.
Which isn’t exactly ideal when you have Covid.
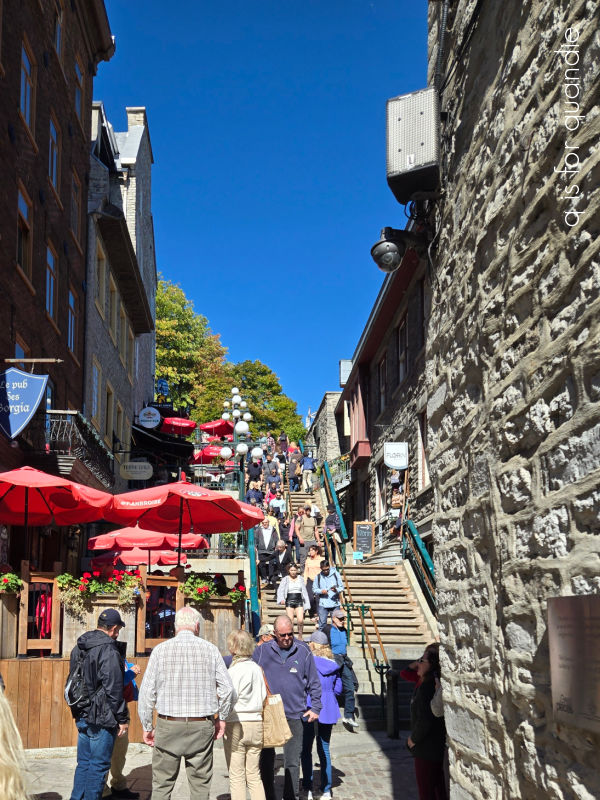
They do have a funicular though, if you want to skip some of those stairs.

Having been on a few funiculars before like the one in Bergen, Norway and the one in Santorini, I was expecting something a little more elaborate. This was more like a small elevator that traveled on an angle rather than straight up and down.
Another thing I have to note about Québec City, it was very crowded. I should have expected that, but since we were there in the shoulder season (September), I thought the crowds wouldn’t be as bad.

I was wrong.
But it was a beautiful day, and it also was a Sunday and there seemed to be quite a few locals out with their dogs in addition to all of the tourists. So it was definitely busy.
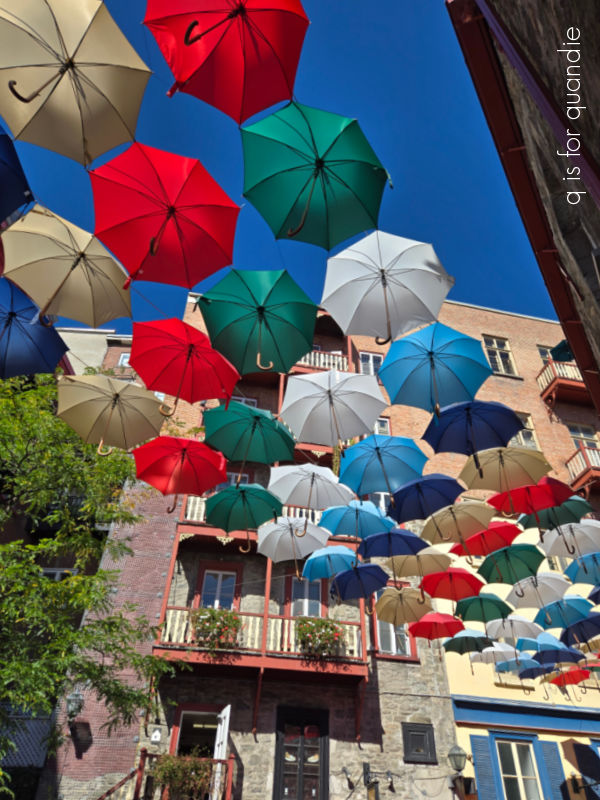
We walked around for a bit checking out some of the things I wanted to see, like the umbrella street …
and Place Royale, which is where where Samuel de Champlain founded the City of Québec in 1608.

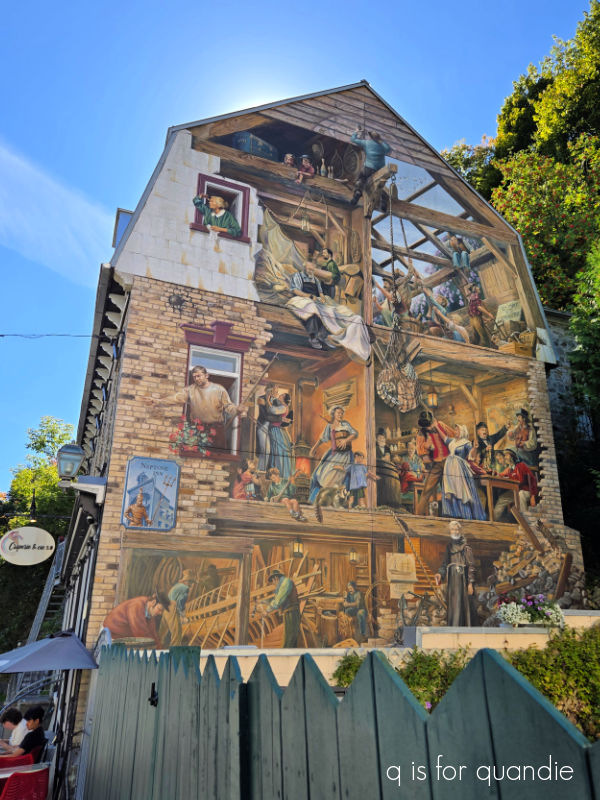
We checked out a couple of really cool murals on the sides of buildings.
We found a bench near this next one …
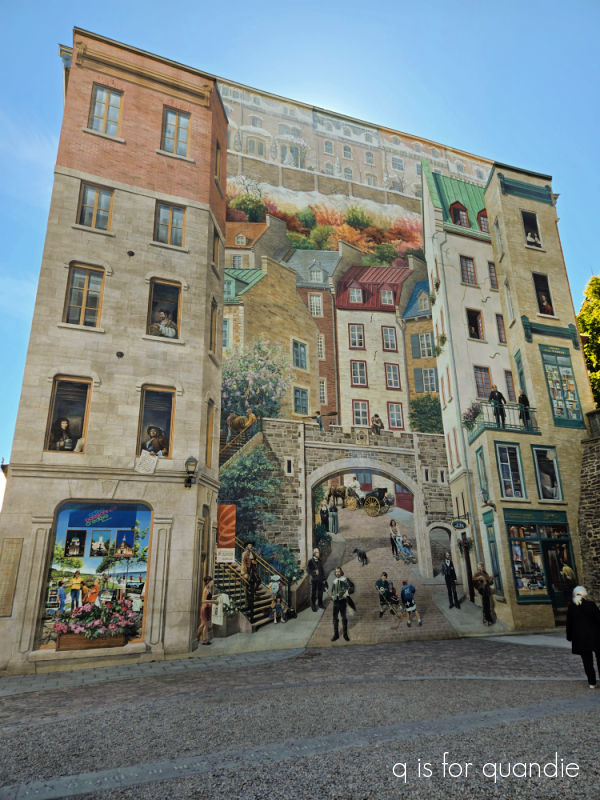
and I have to admit that I found it very amusing to sit for a bit and watch people setting up their very elaborate selfies in front of it.
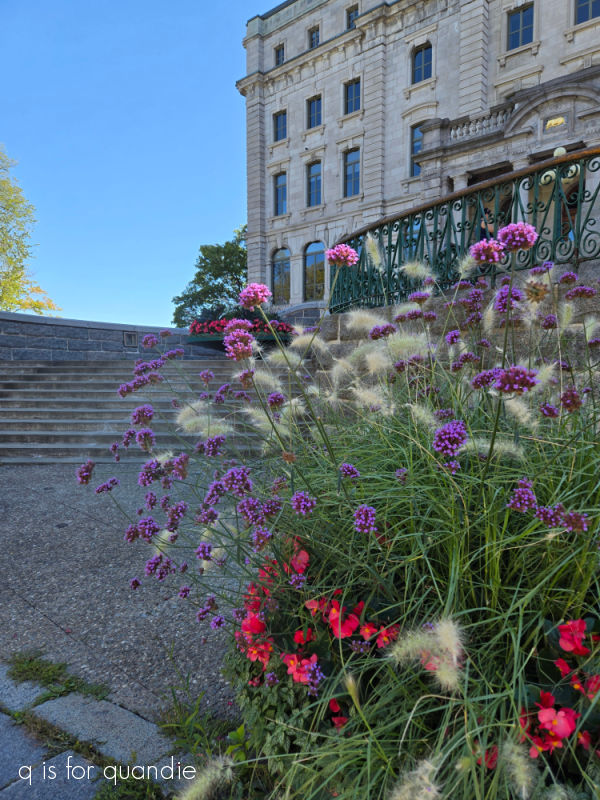
There was one thing I enjoyed seeing lots of in Québec City. Can you guess what is was from this picture?

Verbena bonariensis! You know I love it, and for those of you not in the know, it’s the tall purple flower shown above. It was everywhere!
We eventually ended up in Mary’s Popcorn Shop where we purchased the most delicious maple syrup and pecan caramel corn.

Quite honestly, this was probably the tastiest thing I had on the entire trip. And really, if you go to Canada and don’t have maple caramel corn, have you really gone to Canada?
FYI, sidebar, you can also go to fake-Canada in Disney’s Epcot and get maple caramel corn …

In fact, I might even stop in there today and get some (I’m at DisneyWorld with my niece and sister this week). I wonder if their maple caramel corn is as good as the stuff from Mary’s Popcorn?
I enjoyed seeing Québec City, but I’d definitely love to go back and explore it more in depth one day. We just barely skimmed the surface before I ran out of energy. By they way, in case you’re wondering, despite sharing a very small cabin and an even smaller bathroom, Mr. Q never did get Covid. He has an immune system of steel.
Have you been to Québec City? Or maybe you’ve tried that amazing caramel corn in either real Canada, or fake Epcot Canada? If so, leave a comment and let me know.