
I suppose most people would have been inclined to turn the small room in the center of the 2nd floor of the free dollhouse into a bathroom.
![]()
And I did consider that possibility. It’s certainly too small to be a bedroom.
So it could have been a bathroom. It also could have been a small home office.
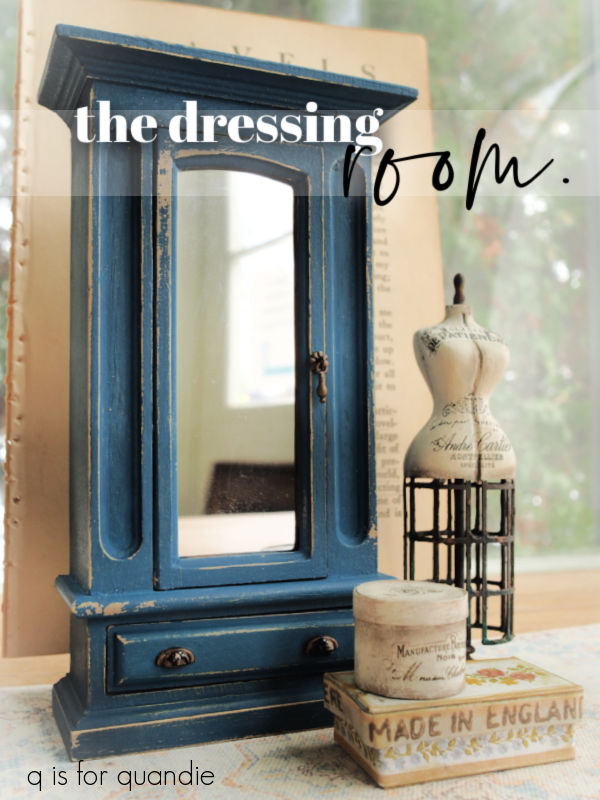
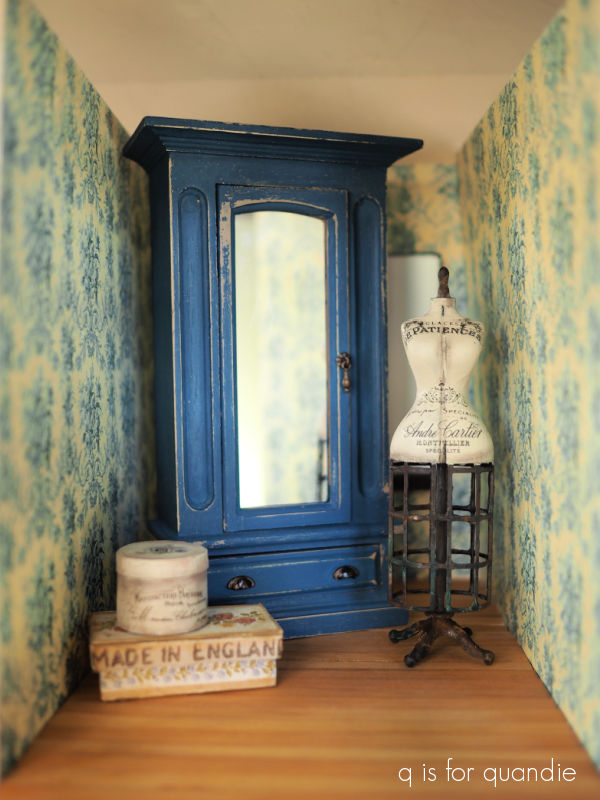
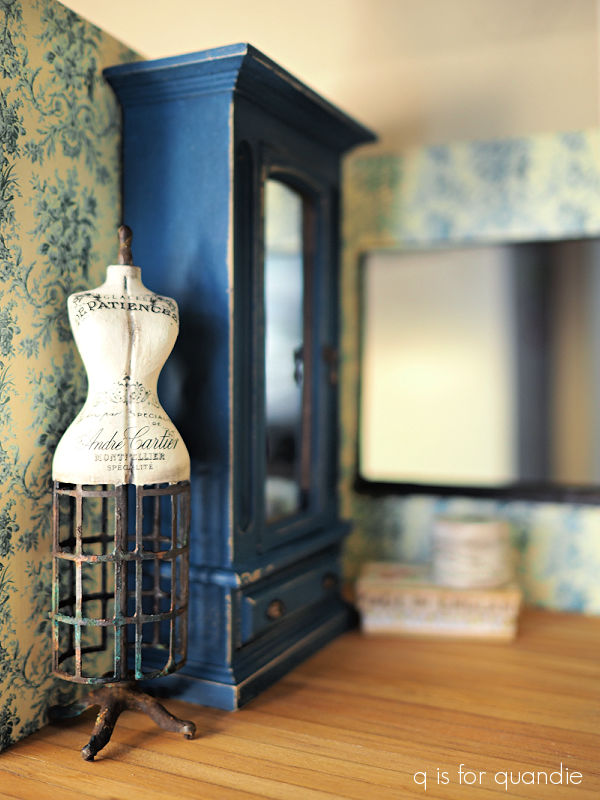
But I thought it would be more fun to style it as a dressing room. Especially when I found this fabulous mirrored armoire at Miniature Crush.
But before we get to that, let’s look at the wallpaper.
This is the French Rose Tapestry wallpaper, also from Miniature Crush.

By the way, as I mentioned in my last post, I have a referral link for Miniature Crush. Basically if anyone orders something from them using my code, they get 15% off, and I also get 15% off my next order. So if you’re thinking about ordering something, and don’t mind helping me out (and getting 15% off your own order!), please use this referral code link to set up an account with them.
The flooring in the dressing room is the rest of the sheet of pine wood flooring from Hobby Lobby that you saw in my last post about the Rose Bedroom.
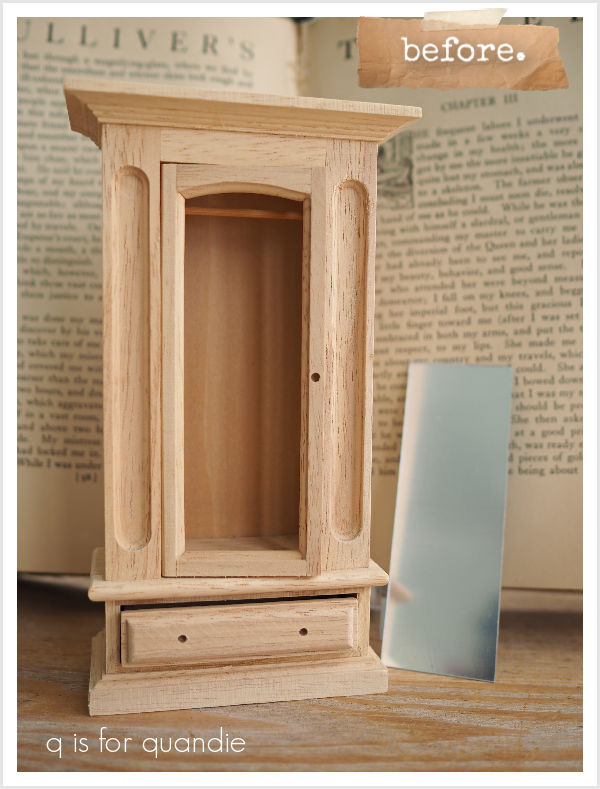
Now, back to that armoire.
I wanted to go for another chippy milk paint finish. This time I chose Dixie Belle’s Putty as my base layer of color. Once the Putty was dry, I mixed up some Homestead House milk paint in Soldier Blue.
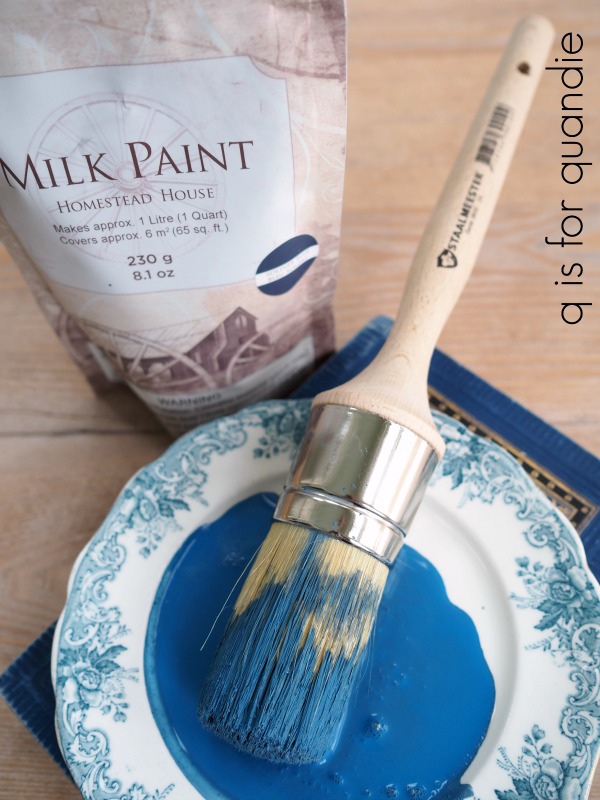
If you’ve followed me for a while, you’ll have seen me use this color a number of times. It’s the most beautiful vibrant blue.
And it chipped perfectly over the Putty with the help of some strategically placed clear wax. I rub the wax over the base color in spots here and there before brushing on the milk paint which encourages chipping in those areas.

Once the milk paint dried, I glued on some hardware, none of which came with the armoire.
The drop pull on the door is from Miniature Crush. I’d ordered a pair of these for a project last year, and ultimately didn’t end up using them, so I had that on hand already.
Same with the cup pulls on the drawer … except I don’t think I got those at Miniature Crush. Unfortunately, I’m not sure where I got them. Also, they were a shiny black plastic to begin with. I added some Bronze Age metallique wax from redesign with prima to make them match the drop pull.
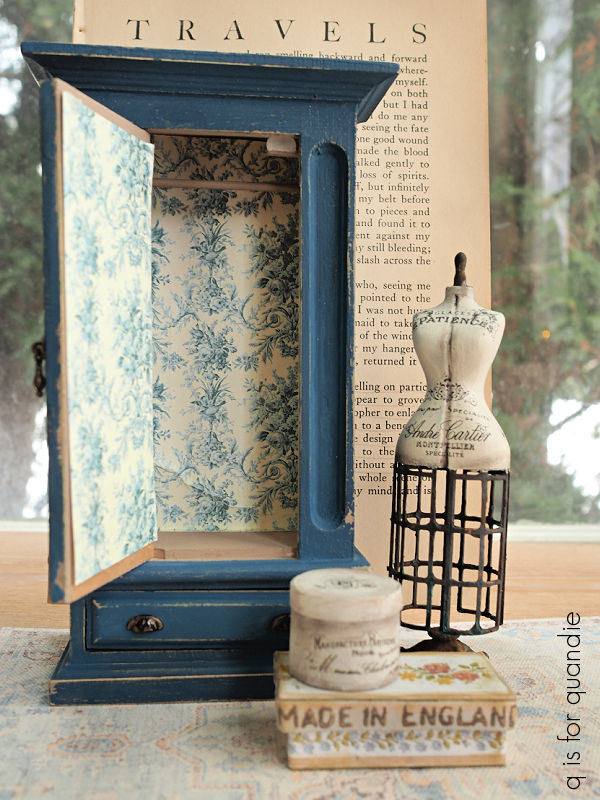
I wallpapered the inside of the armoire with some scraps left over from doing the walls.
You may also remember that I painted up a couple of miniature dress forms last year. I kept one of them for myself, and gave away the 2nd one thinking I’d never have a use for it. But here we are, in need of another dress form.
After all, no dressing room is complete without a dress form, right? So I ordered another set of 2 from All About Miniatures via Etsy to paint up.
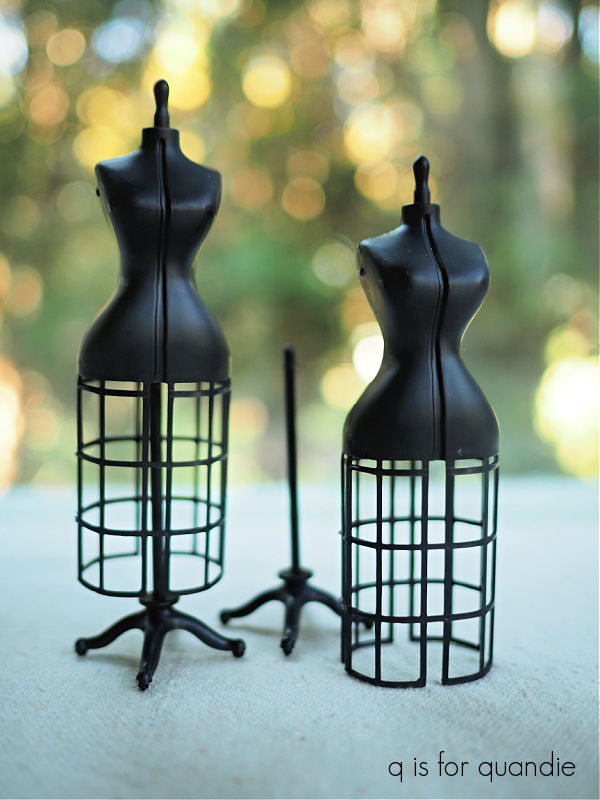
They are made out of molded plastic, and when they arrive they look like this …

After assembling them with some super glue, they are ready for paint.
I started with a coat of Dixie Belle’s Bonding Boss to ensure that my paint would stick to the plastic. Next I gave them a quick coat of Dixie Belle’s Coffee Bean as a base.
Next I used Dixie Belle’s Patina Paint to give an aged metal finish to the ‘cages’ at the bottom of each dress form. Unfortunately, I had a heck of a time trying to get my camera to focus on those!
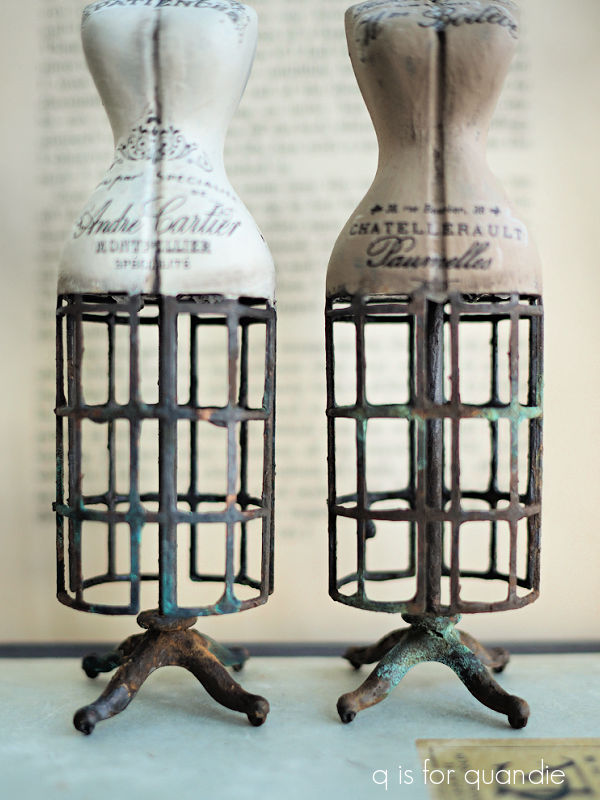
But they do look really cool. I used both the Iron paint and the Bronze paint. I also used both the green and blue activator sprays. Rather than spraying that on, I dabbed it on strategically using a small brush.
I followed that up with a coat of Putty on one torso, and Ecru on the other. Once dry, I dressed up the dress forms with some bits from re.design with prima knob transfers.

Those knob transfers are really coming in handy for miniature work!
As a final step, I applied some of Dixie Belle’s clear wax and then brushed on Dixie Dirt in Earth to add shading here and there.
I’ll be adding the one painted in Ecru to the dressing room.

For one last touch to the room I decided to try my hand at making a miniature hat box. I simply cut two circles out of paper using a circle cutter left over from my scrapbooking days. They became the top and bottom of the box. Then I used one of them as a pattern to cut a few more circles out of foam core board. I glued them in a stack, glued on the top and bottom paper circle and then cut some strips of paper to wrap around the foam core board to create the sides of my hatbox.
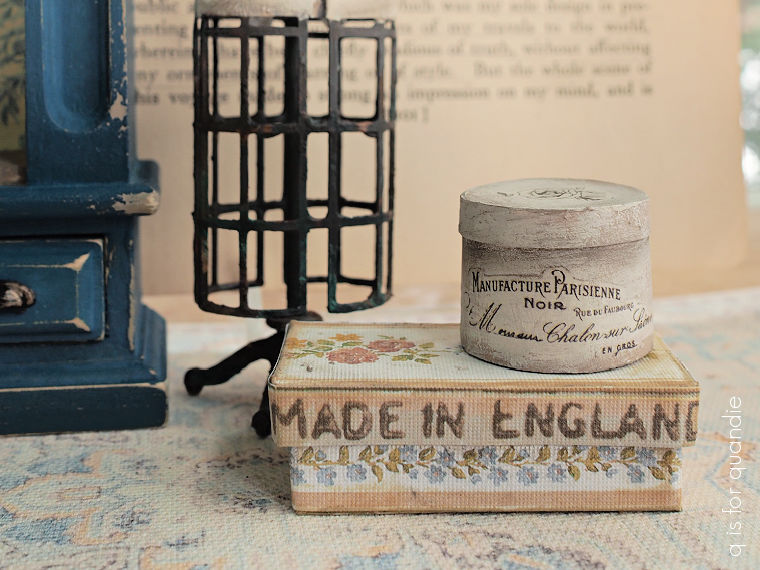
I then glued a skinnier strip of paper around the upper edge to give the illusion that the box has a lid that comes off. Next up I painted it in Dixie Belle’s Putty, followed by a dry brushed coat of Ecru. After adding a re.design with prima knob transfer, I applied a coat of Dixie Belle’s clear wax. I added a little Dixie Dirt to this too.
I had so much fun making the hat box that I decided to make a rectangular box using a similar technique. I wrapped paper around some foam core board. This particular paper is from the Tim Holtz Worn Wallpaper Scraps set. When I saw that little strip at the edge of one that said “Made in England” I just knew I had to use it on something.
I initially arranged the pieces in this room in front of the large window.
That’s the easiest way to see them, but not the most realistic way of arranging them.
I also find it difficult to capture them in a photo when they are up against the wall.
Either way, I hope you like what I’ve done with the dressing room.
Before I leave you, I’ve been sharing how much money I’ve spent on each room in this reno. I’m not going to count the flooring since I already counted that for the Rose Bedroom. The wallpaper was $13, the armoire was $19, and the dress form was $9 for a total of $41 for this room.
Leave a comment and let me know what you think of the dressing room!

The dressing room looks “Great” ♡
I Love all the decor and colors!!
LikeLike
Thanks so much Diane!
LikeLiked by 1 person
I cannot decide what piece I love the most! Those dress forms!!! The incredible armoire!! And the boxes are perfection! As usual, it all amazing and who says OSB cannot be beautiful…not you! Beautiful job, fabulous details….
LikeLike
Thanks Paula! I’m certainly happy with how easy it has been to cover up that OSB!
LikeLike
Wow. That’s all I really have. Just wow. The detail is amazing. The wallpaper and armoire divine. I think a dressing room was the perfect choice for the little room.
LikeLike
Thanks Marguerite!
LikeLike
stunning, that blue is perfection! I love how much fun you are having! My Mom and love miniatures, she even more than me, so I will be sharing all your posts to show her all the cool stuff in the market these days. Those dress forms look like the real thing I have in my bedroom from Brimfield a few years back!
LikeLike
How fun that you are able to go to Brimfield. I’ve never been, but I bet it’s amazing!
LikeLike
Absolutely wonderful! What a great space for a dressing room!❤️
LikeLike
Thanks Monica!
LikeLike