
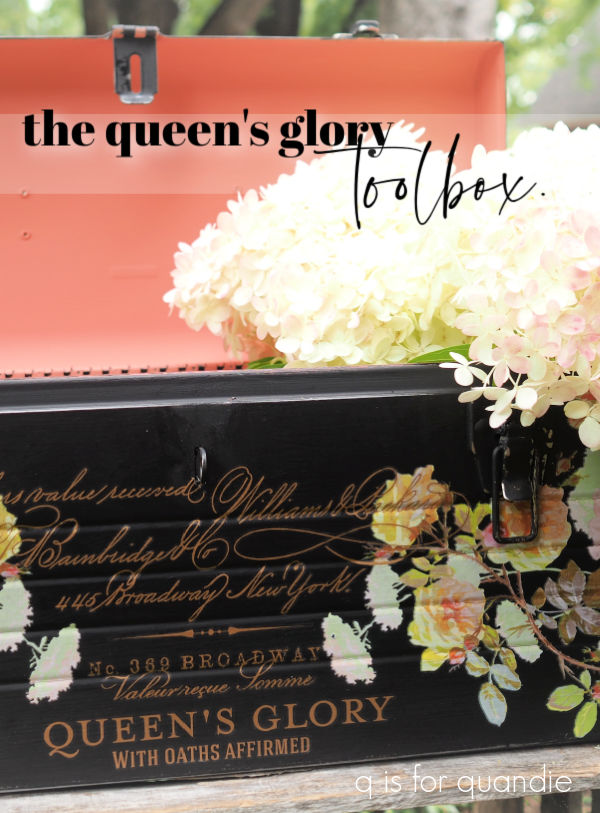
I actually completed the project that I’m sharing today more than a month ago. It was one of the several projects that I cranked out before our trip to Canada, and it’s this toolbox …
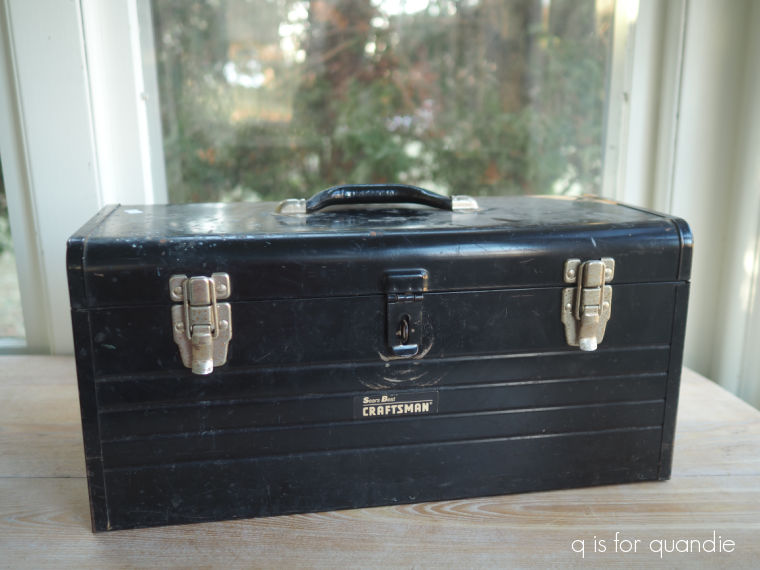
I purchased this toolbox way back in January at the Habitat for Humanity ReStore and it has been sitting in my stash ever since.
Since it was already black, I decided to go ahead and keep it that color on the outside. That being said, I did scuff sand it, clean it and then give it a coat of Dixie Belle’s Bonding Boss to both help my paint stick, and keep any bits of rust from bleeding through.
Once that prep was done, I painted the inside in Dixie Belle’s Cottage Door.
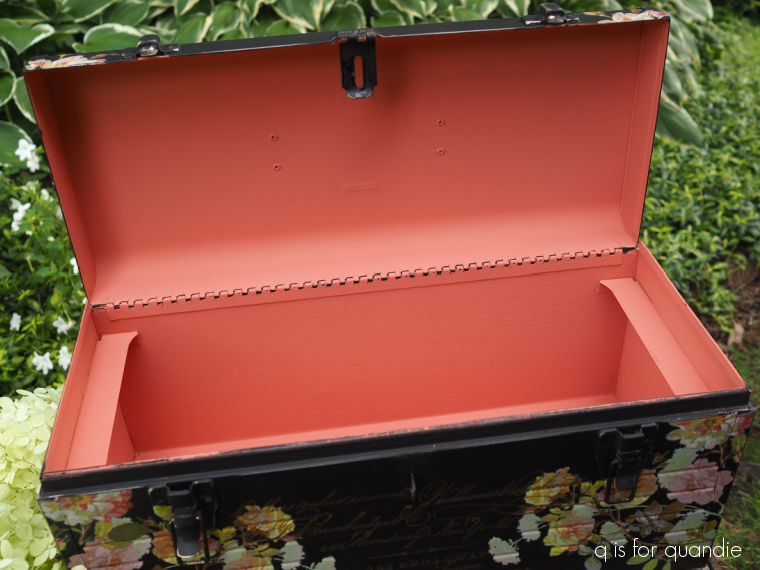
After all, who doesn’t love a gorgeous pop of color on the inside?
Next up I gave the outside just one coat of Dixie Belle’s Caviar. Since I was painting black over black, just one careful coat was all that was needed.
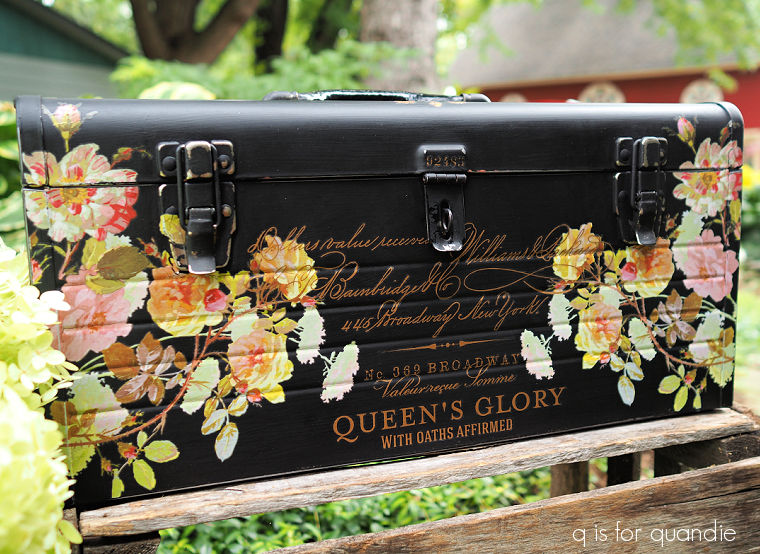
Next up I applied some of those gorgeous florals from I.O.D.’s Saint Germain transfer.

I wrapped them around each side.

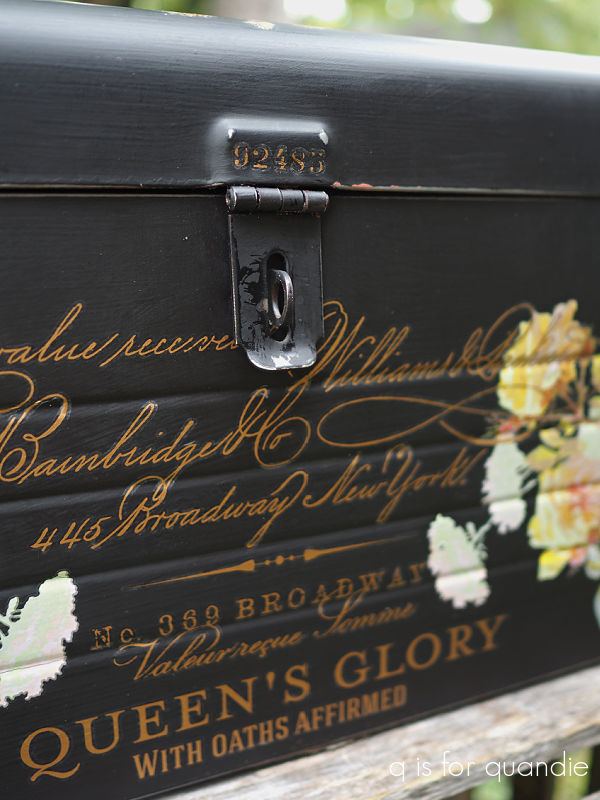
Next up I pulled out the Queen’s Glory transfer from re.design with prima. This is another gold transfer, but it isn’t like the gilded transfers from I.O.D. that I’ve been using lately. It goes on like any other transfer, whereas the I.O.D. gilded transfers require a bit of a more delicate touch when applying them.
![]()
It isn’t as ‘gilded’ looking though either. The gold is a bit darker and not quite as shiny.
![]()
But I also think the smaller details are much better defined. For example, compare the re.design with prima transfer above to the I.O.D. transfer below …
![]()
Another plus to the re.design with prima version is price point. I paid around $20 for two 12″ x 12″ sheets of the Queen’s Glory transfer (so two sheets of the same design, I used just one of them on this toolbox). The I.O.D. Etiquettes gilded transfer is around $50 for four 12″ x 16″ sheets. So granted, yes, you’re paying about the same price per square inch, but if you just want to do one project, the Queen’s Glory would accomplish that at a much lower price.
So, six of one, half dozen of the other. Both products have pros and cons.
And both products are fun to use to add a little bling to your project.
I finished off the toolbox with a coat of Dixie Belle’s clear wax.

FYI, the final waxing step really brings out the richness of the Caviar paint, and it also helps add contrast between the transfers and the black paint. So if you decide to try something similar, don’t panic if it doesn’t look great right away. Adding the wax really pulls it all together.
Normally this is where I would say that this toolbox is for sale locally. However, I already sold it at my Carriage House Sale. But I hope you enjoyed seeing it here anyway.
Have you tried both the re.design with prima and I.O.D. gold transfers? And if so, which one did you like better? Leave a comment and let me know.

What a beautiful box! I love the color choice and the transfer. I have used both Prima Redesign and IOD transfers, but not the gold ones. You do a beautiful job with them.❤️
LikeLike
Thanks so much Monica!
LikeLike
Nice toolbox! I do like the cleaner look of the bronze gold transfers versus the shiny gold, but I have not used these gold transfers myself. I did use some gold Tim Holtz transfers a while back and they were difficult to use so I have stayed away from metal transfers. Like anything difficult though, I guess you get better with practice! I love the way the bright colors of the flowers pop against the black background and the interior in coral is beautiful! Thanks for sharing your tips as you go – that is so helpful.
LikeLike
Yep, you’re right, it does get easier to apply the I.O.D. gilded transfers with practice. I plan to use a few more of them on some Christmas items this year 🙂
LikeLike