

I’ve got another toolbox from the stash to share today.
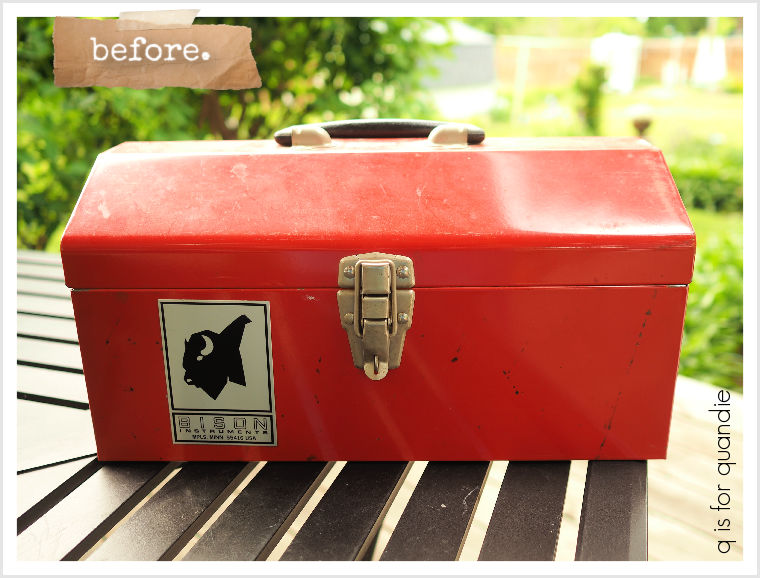
First up, I have to admit that I don’t love working with these newer, shinier toolboxes. Especially when they are red. That red is going to show when I distress the edges (although after finishing this one I did come up with an idea for the next one that I will report back on when I try it).
That being said, I really like the shape of this one, and the price was right so I went for it.
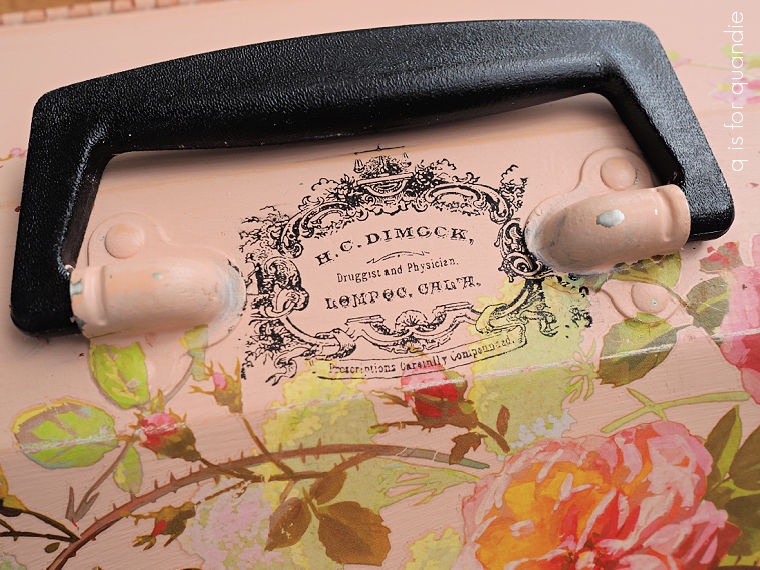
I started by removing that ‘BISON’ label. It was made of metal and I was able to pry it off fairly easily. I then gave the toolbox a good cleaning with hot water and Dawn dish soap.
I followed that up with a coat of Dixie Belle’s clear Bonding Boss. I didn’t need to block any rust stains this time around, but I did want to improve the adhesion of my paint over that slick, shiny surface.
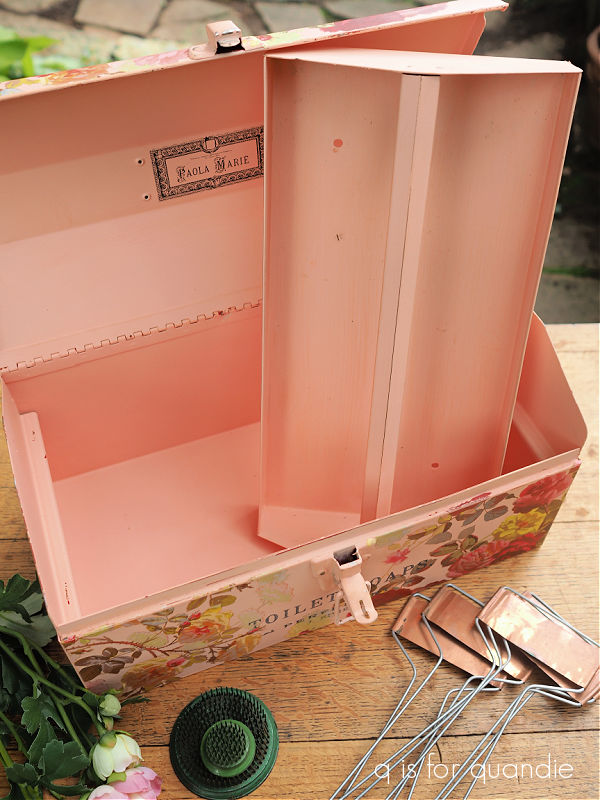
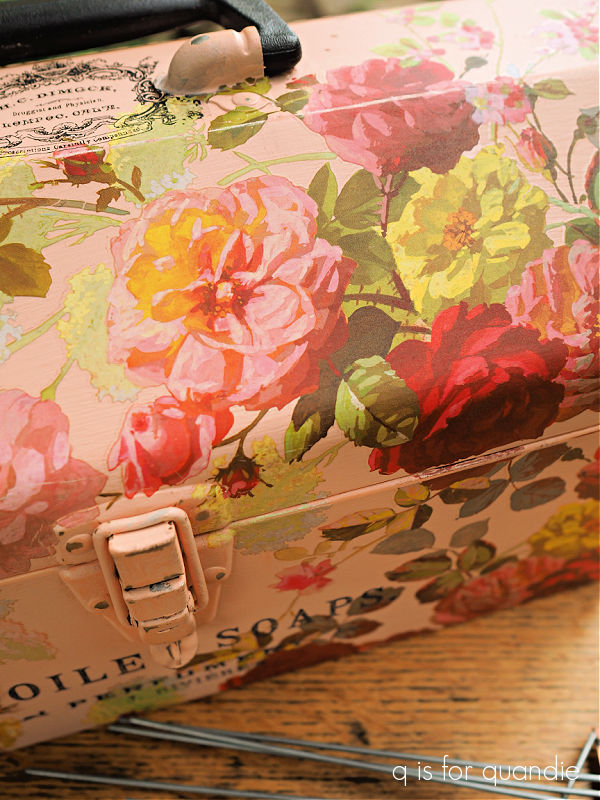
Next up I added two coats of Dixie Belle’s Apricot inside and out … and I forgot to mention … this one has a tray, so I gave that the same treatment.
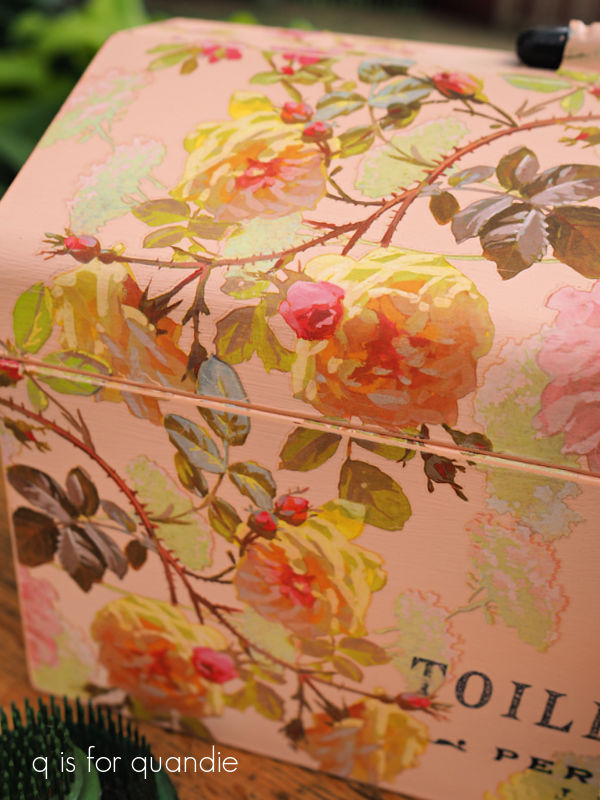
Once the paint was dry, I pulled out one of I.O.D.’s newest transfers called Saint Germain. It has the most gorgeous florals in lovely rich colors.
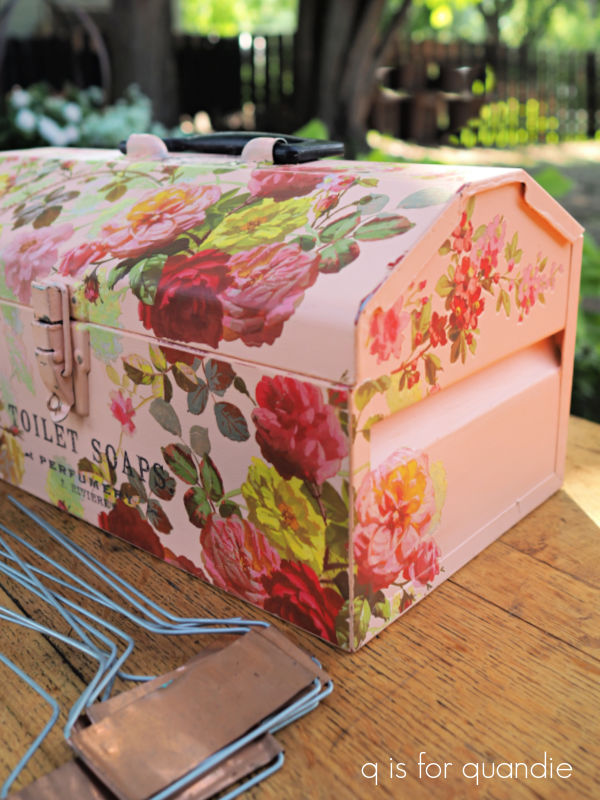
I wrapped the florals around both sides of the toolbox …
as well as up and over that top.
Once all of the florals were in place, I pulled out the I.O.D. Floriography paint inlay and chose a few things to layer over them.

You may be wondering how to apply a paint inlay over a transfer, since typically you have to apply it to wet paint. The trick is to apply the inlay into a wet clear topcoat instead. In this case, I used Dixie Belle’s flat clear coat. I’ve been doing a little experimenting with this and so far it’s working out beautifully.
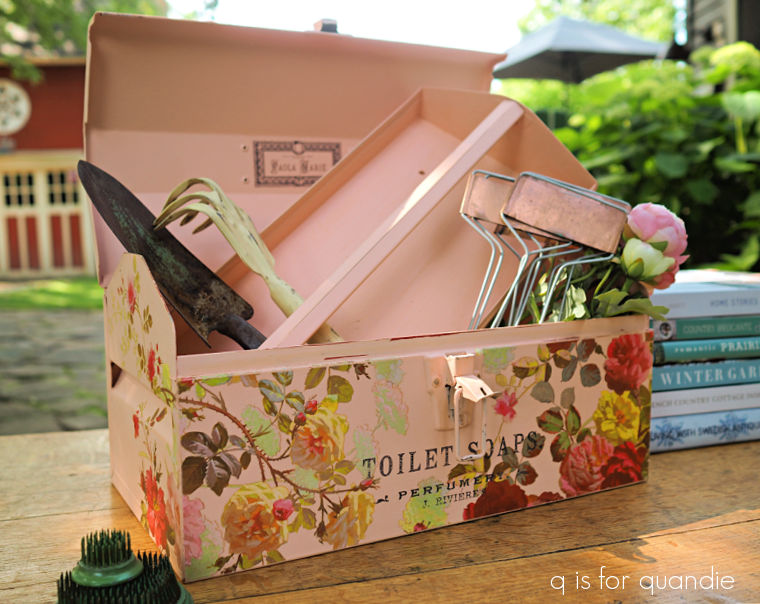
I also added a paint inlay to the inner lid of this toolbox by applying it into wet paint (see this post for full instructions on applying a paint inlay).

I finished off the embellishments with one more paint inlay on the top of the box.
To avoid smearing any of my paint inlays, I gave the toolbox a final top coat using Rust-Oleum matte spray sealer.
Oftentimes people ask me what in the world do people do with these dressed up toolboxes? My standard response is that they can use them to hold art supplies, which is what I use most of mine for. Or, you could store your old photographs in it. Some people use them to hold sewing or knitting supplies.
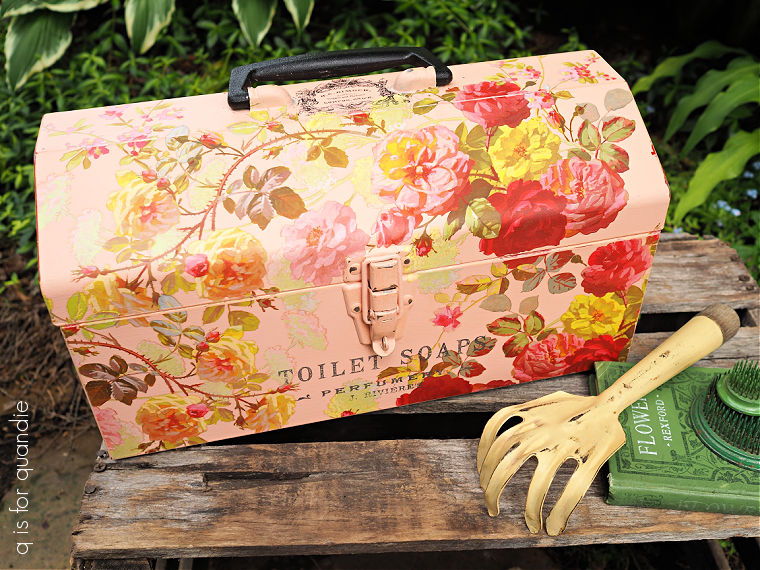
Of course, you could keep your gardening tools in this one.
But last week I sold the ‘rusty crustiest’ toolbox to Ellie and she intends to use that one in a totally unique way. She’s going to put it in the outhouse up at the cabin! It will be perfect for keeping the extra t.p. dry, and she can also add in a can of air freshener and some hand sanitizer. I absolutely love that she’s doing that, and that toolbox with its array of bugs and wildflowers is perfectly themed for an outhouse in the woods.

She has promised to send me a photo of it when it’s in place, so I’ll be sure to share that with you guys too!
And now that I think about it, today’s toolbox with its ‘toilet soaps’ wording would also be perfect in a bathroom!
This toolbox is for sale locally, so be sure to check out my ‘available for local sale‘ page for more details. As always, thank you to Dixie Belle Paint Co for supplying their products used in this makeover.

This is so pretty!! I think it would be great for makeup, perfume, and face wash etc. would make such a sweet box to place a gift in!
Sent from my iPhone
LikeLike
I love the toilet paper/ soap idea. Spare bathroom to hold shampoos, face wash etc for your guests. Darling piece! smiles, alice
LikeLike
I think it’s beautiful. And as others stated what a great idea to keep toilet paper and sundries easily available but so beautifully hidden.
LikeLike
Wow! I really think this one is beautiful! I love the color and the transfer. So pretty😊
LikeLike