
I’ve been scoring a lot of toolboxes lately. I seem to be finding them at nearly every garage sale. Last week my friend Sue texted me on a Tuesday to let me know that there were a couple of toolboxes at a garage sale just down the road from me.
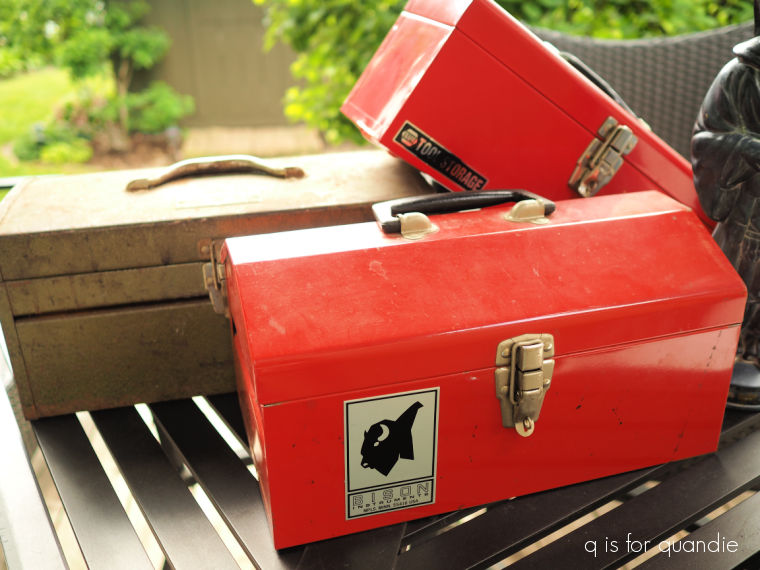
A garage sale on a Tuesday? Weird, right? I guess any day is a good day for a garage sale now. Anyway, I popped over there and brought home these two toolboxes.

Meanwhile, I also had these toolboxes from a previous garage sale day.
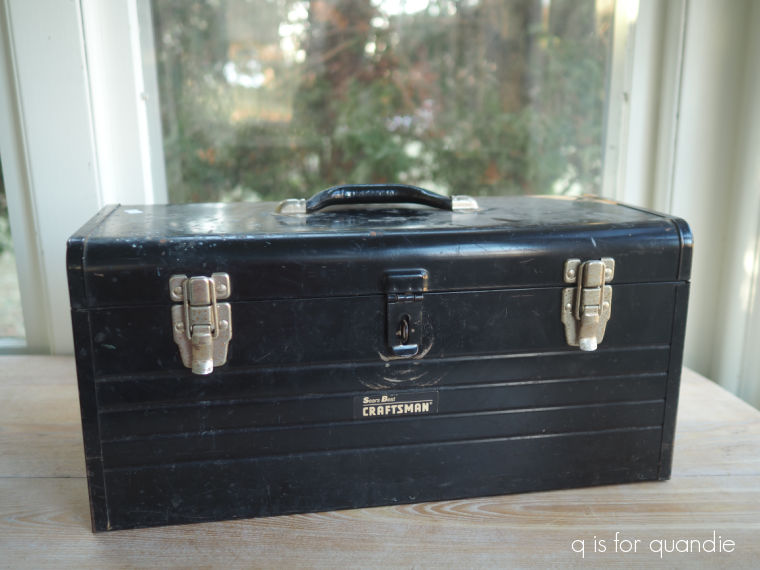
Plus I still have a couple that I acquired over the winter including this black one.
So, some toolbox makeovers were definitely at the top of my to-do list this week.
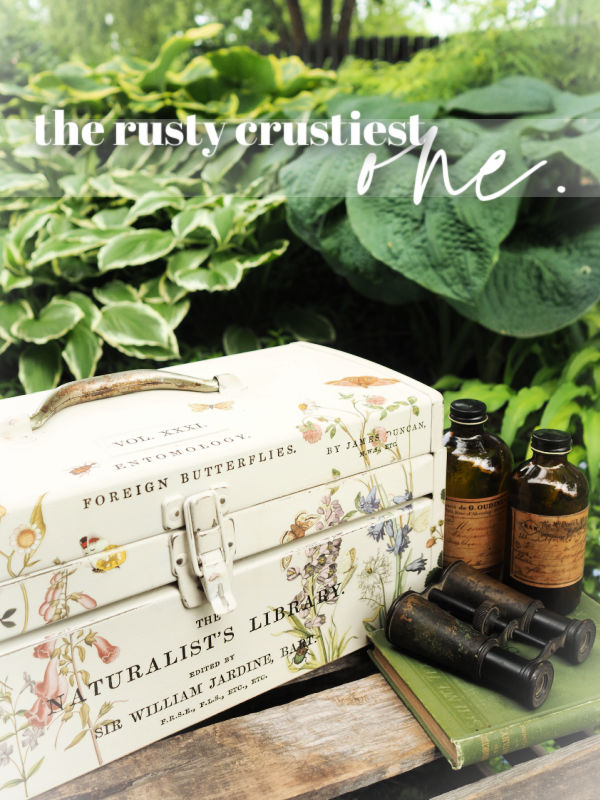
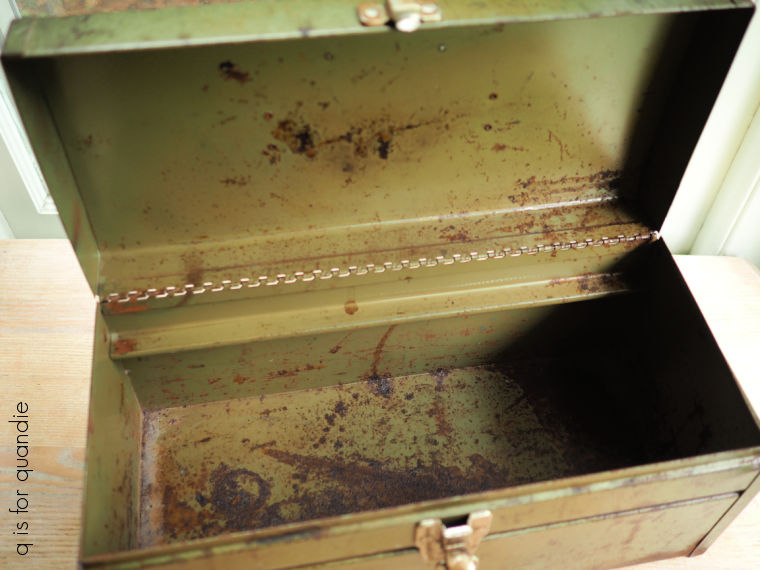
I decided to start with the rusty crustiest one.

I also decided to try a little different prep this time around to see how it worked. I started by giving the toolbox a good scrub with hot water and Dawn dish soap. Next I sanded it inside and out with my Mouse sander. My goal with the sanding is to knock down the texture of the rust a bit, but I don’t go so far as to sand all of the rust away by any means.
Then after another good cleaning to remove any loose dust, I gave it a couple of coats of Rust-Oleum satin clear coat.
Here’s a look at the result.

And here’s the inside.
My goal was to see if this would work just as well as the Dixie Belle Bonding Boss that I usually use to prep my toolboxes.
Next up I painted the inside of the box in Dixie Belle’s Cactus Silk Paint.

The Silk Paint line is an acrylic paint with a primer and top coat built in. So two coats of Cactus and the inside was done. No need to add another top coat.
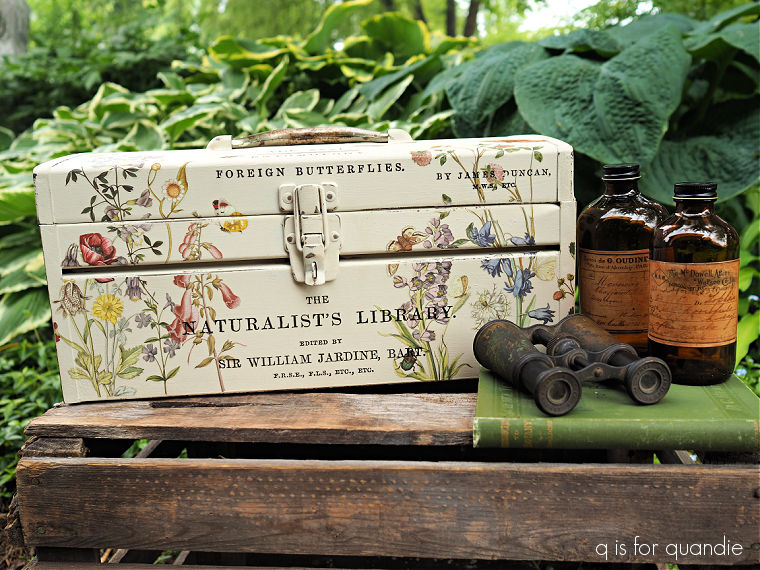
Next up I painted the outside of the box in one of the colors from Dixie Belle’s new Southern Roots collection called Ecru.

How can I describe this color? A very warm white? A less yellow cream? A pale beige? It’s something like that.
As you can see above, I then added some lovely florals from the I.O.D. Wilde Bloemen transfer, wrapping the florals up and onto the top of the box.

The little daisy below is my favorite!
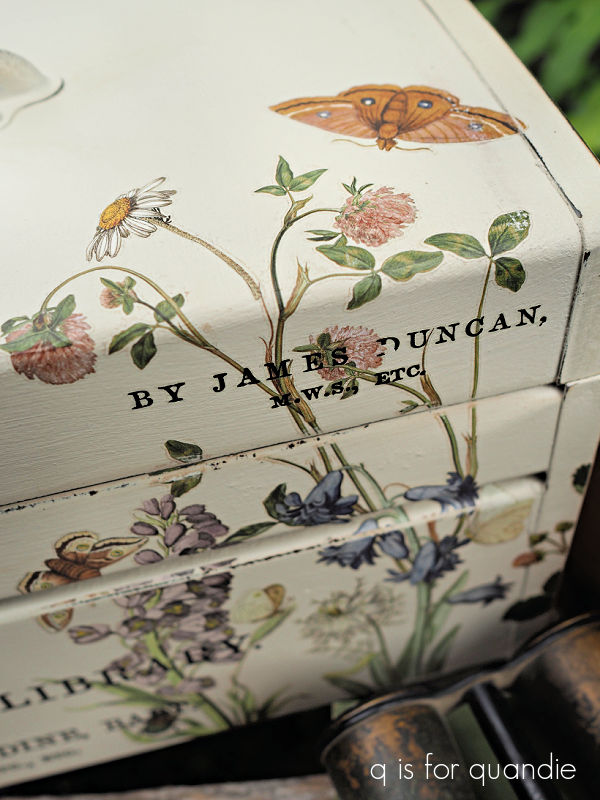
I also added a few moths, butterflies, dragonflies and bugs. Not to mention a frog or two around the sides.

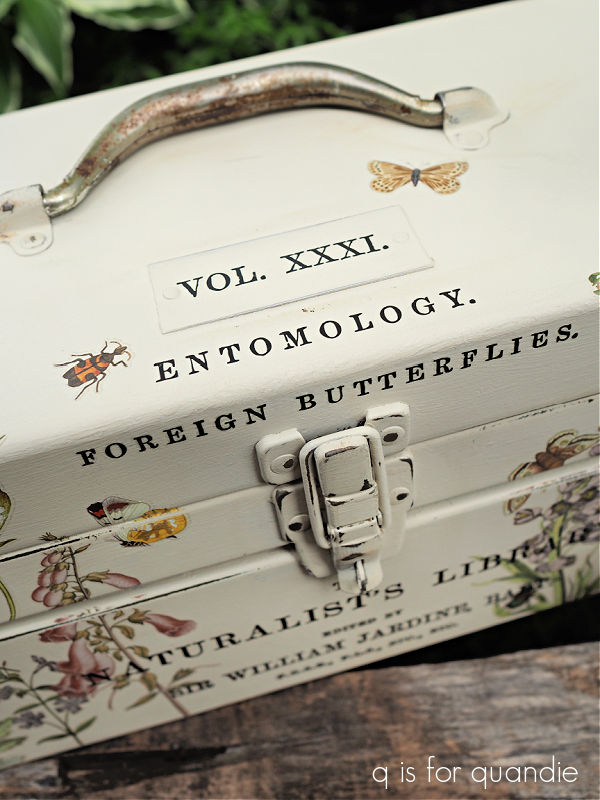
All of these elements from nature made this toolbox perfect for some typography from the I.O.D. Label Ephemera transfer.

If I was a naturalist, I’d certainly love to keep my tools in this toolbox.
Wouldn’t you?
Although I have to admit, I’m not sure what those tools would be. Certainly some binoculars, and maybe a magnifying glass or two.
As for my experiment using a spray sealer rather than the Bonding Boss, I think it worked out just fine. The benefit of using the spray is that it’s a bit faster and easier to spray something like a toolbox rather than applying Bonding Boss with a brush. On the downside, there is a good chunk of the year here in Minnesota when I can’t really use spray paint because I don’t have a heated workshop. In addition, if you’re painting a lot of toolboxes (which I seem to be), it’s definitely more cost effective to use the Bonding Boss. But either one of these options might work for you.
This toolbox is for sale locally, check out my ‘available for local sale‘ page for more details.
As always, thank you to Dixie Belle Paint Co for supplying their products used in this makeover.

I love this box! It reminds me of my childhood. My sister and I use to collect the fuzzy caterpillars from the woods outback of our house. We would paint them with water color paints and then let them go. We thought that they would become beautiful butterflies!
This box is beautiful ❤️
LikeLiked by 1 person
That is an awesome memory! Hey, maybe they did turn into beautiful, colorful butterflies 🙂
LikeLike
One never knows❤️
LikeLike
This might just be my all time favorite! 🤩 Sent from my iPhone
LikeLike
Thanks so much Susan!
LikeLike
That is a real beaut! Love seeing your toolbox iterations! I keep wondering if I need to increase my non-collection, ha ha! Can’t wait to see all the upcoming toolboxes! 🧰
LikeLike
Well be sure to stay tuned because I have a lovely one coming up next week 🙂
LikeLike
Love this tool box! The colors and transfer are beautiful!Sent from my iPhone
LikeLike
Thanks so much Debra!
LikeLike
Hi Not sure this will come back to you or not but here goes… I put a Re-Design floral transfer on a vintage dresser I had already spray painted with chalk paint (yes, I know, ha). Although it was my first project using a rub-on transfer, unless you get up close, it looks pretty good. My biggest obstacle was where I had cut in the middle of the design with scissors to get it to fit the bigger drawer. Neither edge adhered to the dresser. There was about a 1/8″ section along both cut lines that would not adhere. Should I have used an exacto knife instead of scissors? Or something else? I looked on your website for ‘tips’ on this but didn’t find anything. Another search mentioned using a ‘craft knife’ – it looked like an exacto knife to me. Any q-tips and/or suggestions would be greatly appreciated!! Thanks! ~ Lora in Iowa
LikeLike
I don’t think I’ve ever run into that problem, and I do use scissors when I need to cut a transfer. Is it possible that you got dust or something onto that 1/8″ edge while you were cutting? Did you cut it with the backing in place? Or had you already removed the backing? I’m sorry I can’t be more helpful on this one 😦
LikeLike
Yes, the backing was in place. The edges actually met in the middle of the drawer so I don’t think any dust got on it. Thanks for the reply! I’ll keep trying 🙂
LikeLiked by 1 person
This lovely tool box is so pretty…. I love the color you chose along with the transfer… the frog and butterflies look so natural. My question is did you wait any certain time, then put on the empherma. Once again, you designed a lovely creation❤❤❤
LikeLike
Thanks so much Lorri! I do typically let my paint dry overnight before applying transfers.
LikeLike