
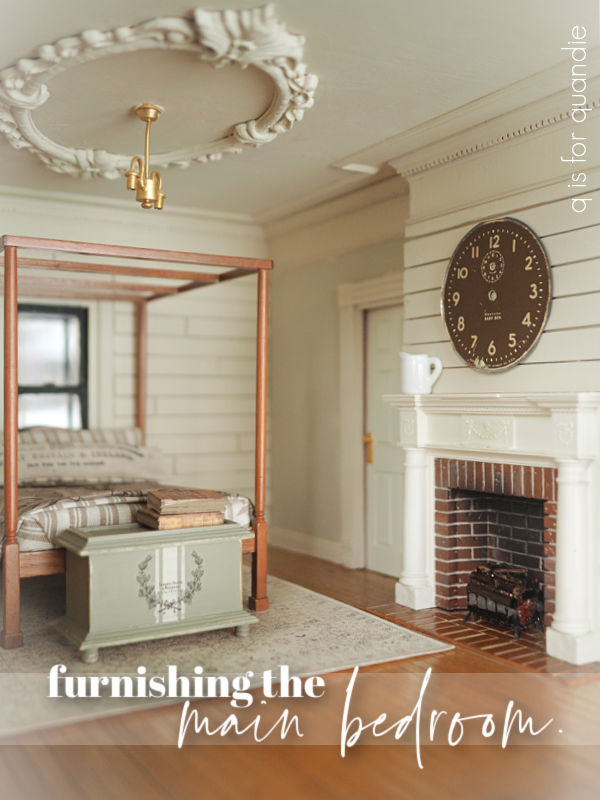
Now that the shiplap is in place, it’s time to furnish the main bedroom.

I’ve mentioned before that my in-laws had misplaced most of the dollhouse’s original contents. But there was one piece of furniture still in the house, the bed from this room.
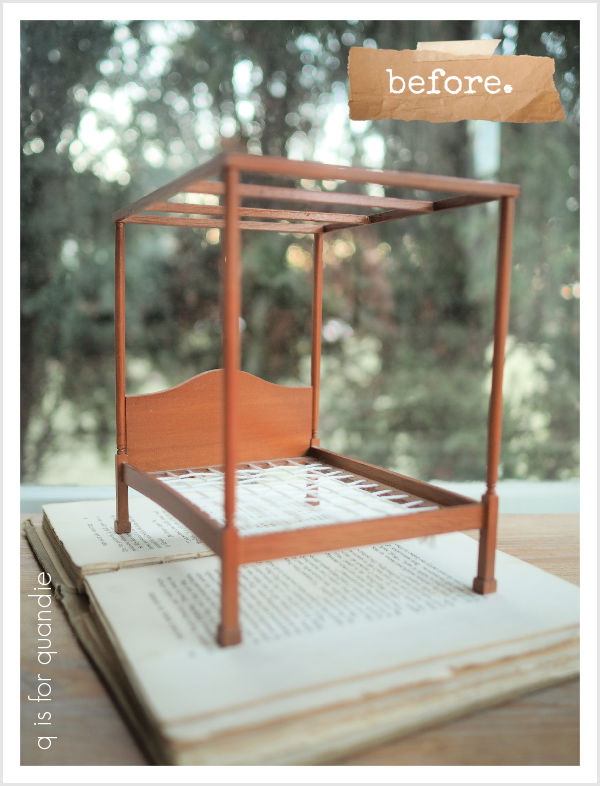
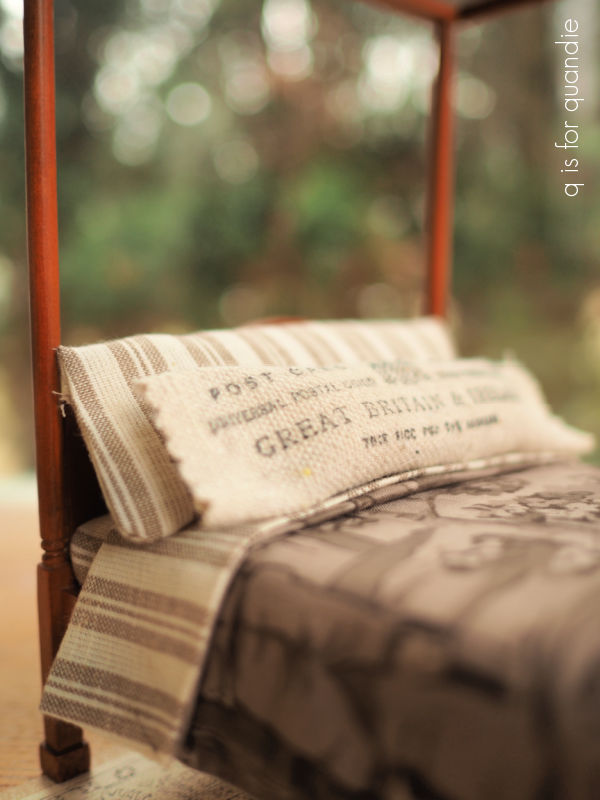
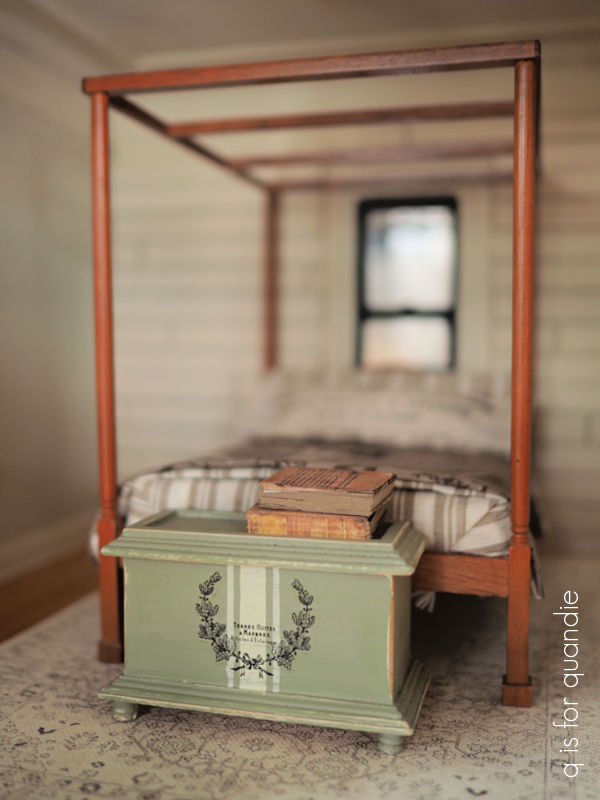
And that’s kind of cool because I still like this simple four poster canopy bed (most of the other original furniture is no longer my style).
The bedding however had gone missing.
But that’s OK because I purchased that sewing machine a few months back just so that I could create bedding and such for the dollhouse.
Well, as it turns out, I needn’t have bothered with a sewing machine. Pretty much all of the tutorials for creating dollhouse bedding that I’ve found just use glue rather than a needle and thread. Who knew?
I’ve also learned that the common kitchen sponge works well for creating a miniature mattress from watching YouTube videos.
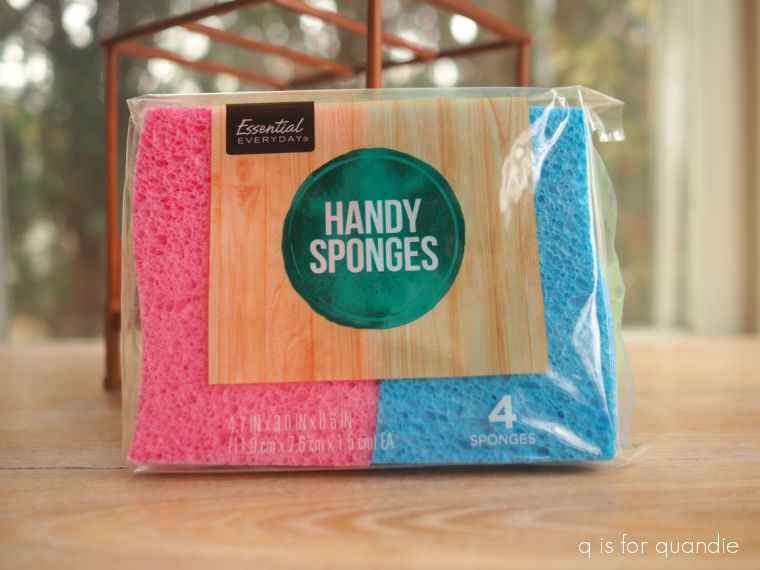
So when I was in the grocery store the other day I picked up a pack of 4 for $1.99. I didn’t notice that they had curved edges until I got them home. But that’s OK, they were easy to cut and fit to a piece of cardboard that I was using as the base for my mattress.

After gluing the sponges to the cardboard with Tite Bond Quick and Thick, I then simply cut a piece of fabric with an inch or so extra around all four sides. I wrapped that extra fabric around and glued it on the bottom using hot glue.
Speaking of fabric, I had a couple of remnants that I wanted to use on this bed. I’d found a very small piece of brown and cream ticking at Hobby Lobby for .97, and I found some interesting horse hunt toile fabric while thrifting a while back for $2.
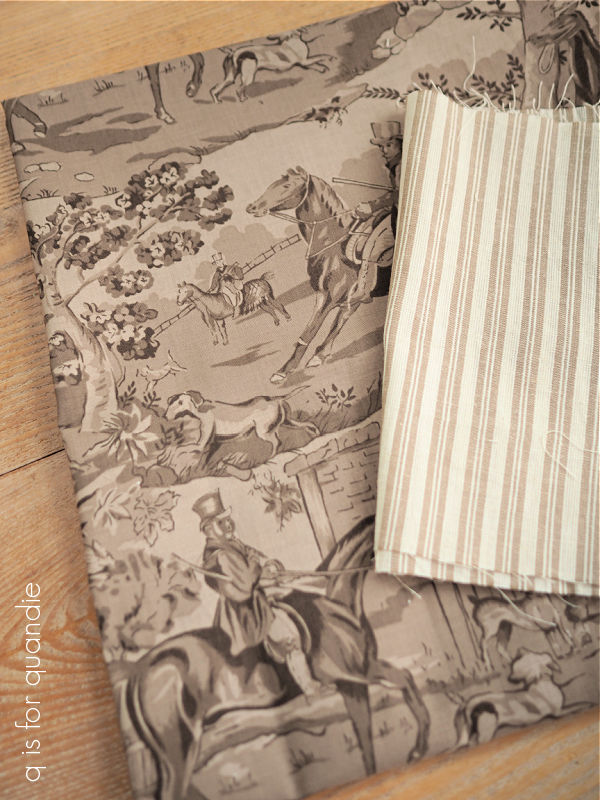
So I cut a piece of each of those fabrics to size, glued three edges together with the right side of the fabric facing in, and once the glue was dry I turned it right-side out. Then I gave it a quick press with the iron to flatten it out a bit, and also folded in the remaining seam and gave it a quick shot with the iron. Then I just glued that shut.
At this point I will say that I think I achieved a neater looking finish when I actually sewed the seams for the bedding on my previous project v. the glued seams on this one, mainly in the corners. But technically it did work to glue them.
I placed the coverlet on the bed, folding the top edge over by about an inch so that the ticking striped underside was visible.
I then used hot glue to attach the bedding to each side of the bed itself.

I made a couple of pillows for the bed, also just using glue. One is just simply made out of the ticking fabric, but for the 2nd one I used a scrap of drop cloth that I stamped using one of the I.O.D. Ephemeral Type stamps.

That one was a bit of an experiment. I was just playing around trying to figure out how I could incorporate some of those stamps into dollhouse items. I stamped the drop cloth, rolled it around a piece of foam, glued the edges without turning them in, and then trimmed the glued edges with pinking shears. Easy peasy.
And that’s the bed done.

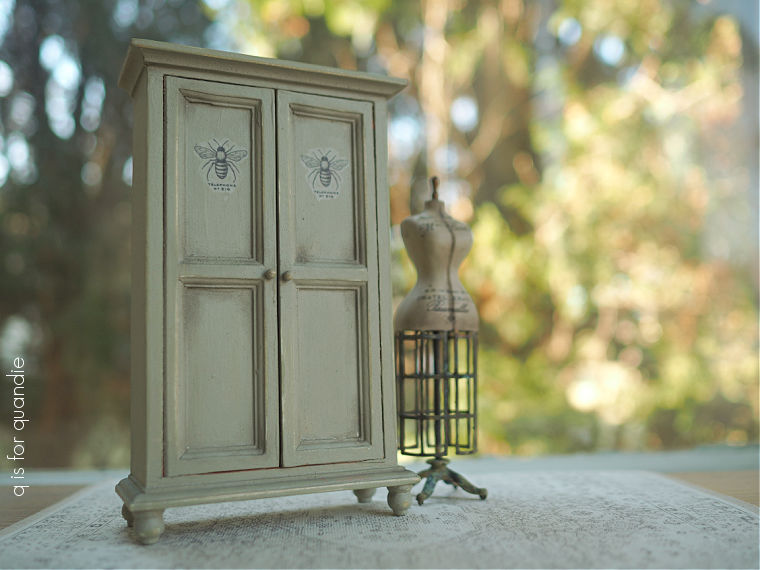
Next up, I ordered this armoire from Miniature Crush.

It opens up to reveal shelves.

After giving it a light sanding to smooth out any rough spots, I started by painting the interior in Dixie Belle’s Cottage Door.
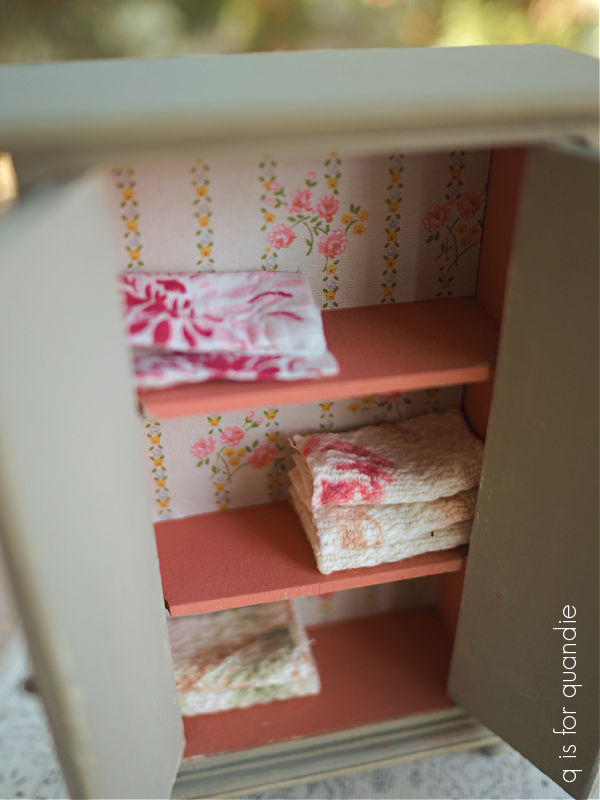
Then I lined the back with more of Tim Holtz’ Worn Wallpaper Scraps.
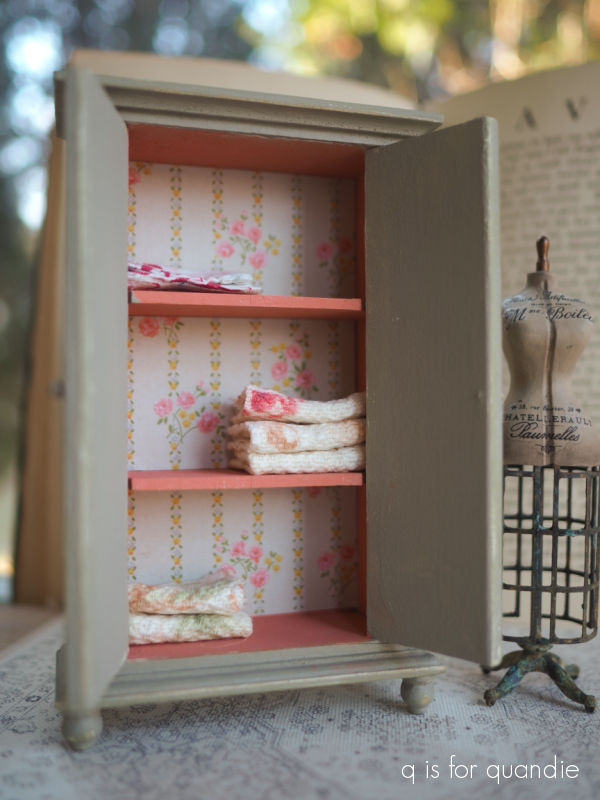
I cut some small bits of fabric from an old piece of bark cloth and an old floral apron that I had in my stash. Then I just folded them and dabbed some hot glue in each layer to make them lie somewhat flat.

Now, I’m aware that the pink interior doesn’t really work with the overall neutral color scheme in this room, but for the most part this armoire will just sit in place with the doors closed. So I enjoyed adding a little pop of color inside. Maybe it’s my secret little homage to the original pink color of the room.
Next up I painted the exterior of the armoire in Dixie Belle’s Dried Sage. It was originally meant to be an undercoat, because I then put two coats of Drop Cloth over it.
But in the end, I didn’t love the Drop Cloth, so I went back over that with the Dried Sage.
After sanding to distress, I added two bees from one of re.design with prima’s knob transfers to the doors.
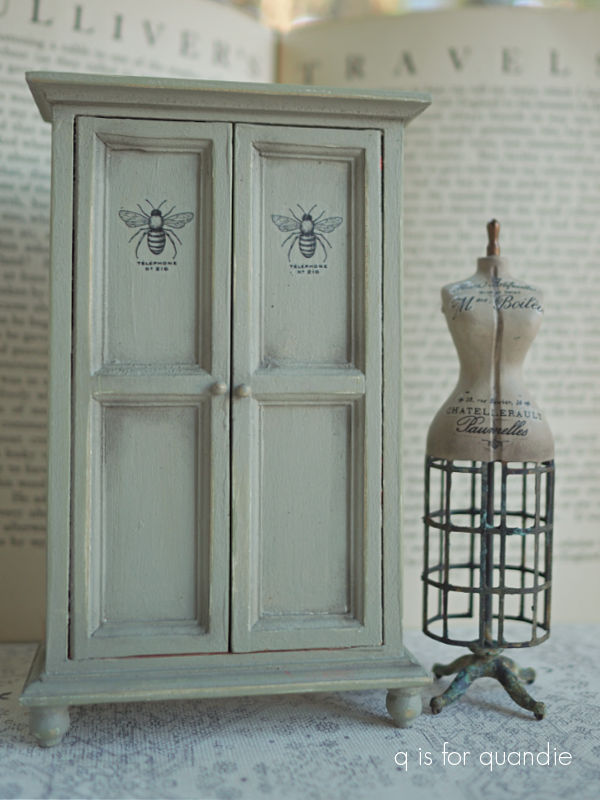
After sealing the piece with some of Dixie Belle’s Big Mama’s Butta, I used a small brush to apply some of the Dixie Belle Earth to the corners of each panel.

This is a powder pigment that you can use to add subtle shading to your painted pieces.
A little goes a long way, especially with miniatures.
But that bit of shading adds a lot of dimension to miniature pieces.
One last quick painting project for this room (for now) was the radiator.
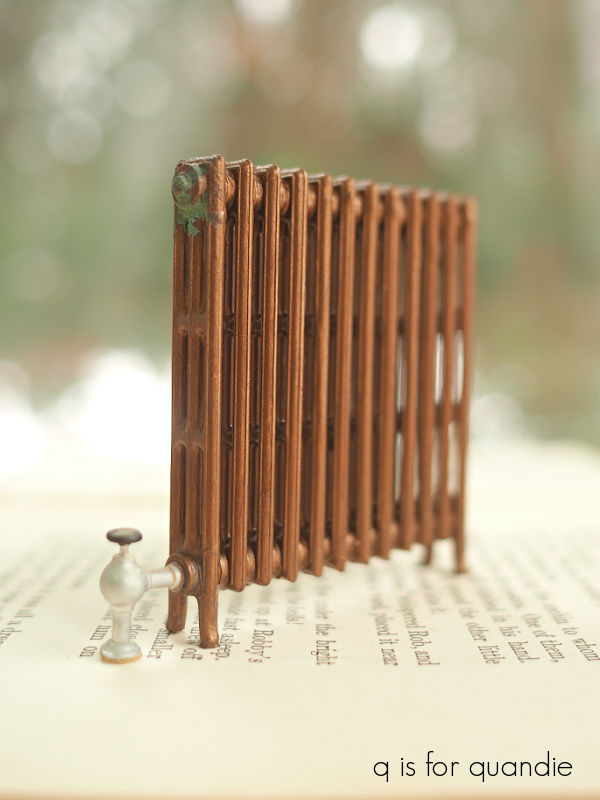
My dad put a few plastic radiators into the dollhouse here and there, although not in every room. This one was originally in the hallway, but I have another plan for that spot so I moved it into the main bedroom.
But first I painted it with Dixie Belle’s Bronze Patina Paint. To give it a super realistic look, I dabbed just a tiny bit of the green activating spray onto the bleed valves.

And with that I’m calling the main bedroom ‘furnished for now’.

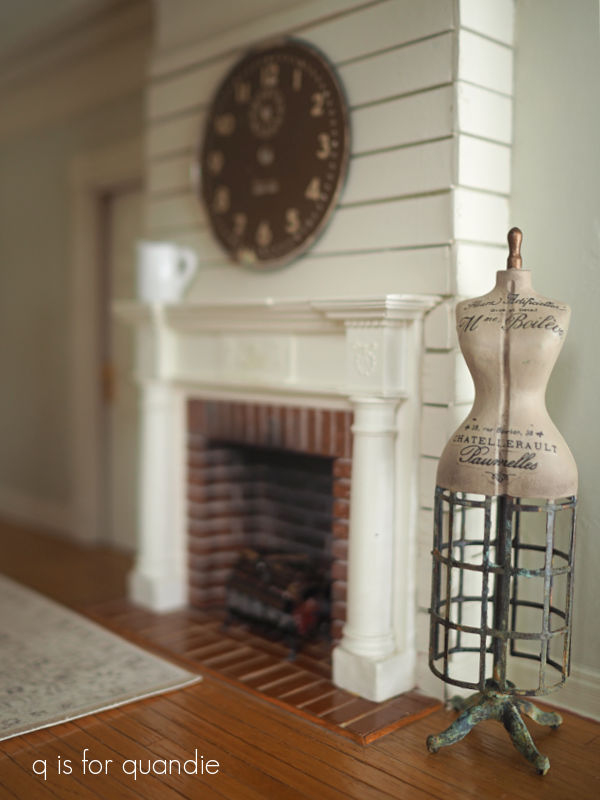
I salvaged a discarded vintage alarm clock face from my friend opK to hang over the fireplace.
By the way, normally that fireplace insert lights up and looks like it has glowing embers. Unfortunately, I am now unable to get any of the electrical to work in the dollhouse. Mr. Q suspects there is a short somewhere, but to fix that would require ripping out floors and/or ceilings to get to the wires, and that’s not going to happen.
So all of the lights are out for now, I’ll save that problem for another day.
The armoire is in place.

I moved the trunk, or blanket chest, from its temporary position in the dining room to the foot of the bed.
I also moved the dress form that I painted up a few months back into this room.
You’ll notice that I don’t have any bedside tables yet. I have a plan to try and make a stack of miniature suitcases to use on at least one side of the bed, but that project will be a bit down the road.

I also have some battery operated bedside reading lights on order.
I definitely need some artwork for the walls too, but that’s the sort of thing that I can work on over time.
But for now, what do you think of the mostly completed room no. 2 of my dollhouse reno? Leave a comment and let me know.

WOW…can’t wait to see the reading lamps! The room looks amazing!
LikeLike
Thanks so much!
LikeLike
Very cute, very creative! You really do think up some adorable accessories. I don’t love the non-painted bed though in this situation. It kind of looks unfinished (to me, my own personal opinion) in a room with painted items. I get that it gives it variety, though! Maybe black ?
LikeLike
I do like combining some unpainted wood with painted pieces, and I think the bed ties in nicely with the color of the wood floor. Yep, variety is the spice of life 🙂
LikeLike
I’m fascinated! Love this room!
LikeLike
Thank you!
LikeLike
Spectacular! The bedding is just spot on! Am enjoying this makeover a lot!
Sent from my iPhone
LikeLike
Thanks Sheri!
LikeLike
Incredibly adorable! I just love all of it!
LikeLike
Thanks Paula!
LikeLike
The whole house is amazing! I love the colors, the style and the whole shebang ☺️
smiles, Alice
LikeLike
Thanks Alice!
LikeLike
I thought of you when I saw this and thought it might be of interest to you
https://estatesales.org/estate-sales/md/college-park/20740/vintage-dollhouse-furniture-all-items-2355445
[s-2355445-tcgxmqmmtwwy0oug.jpg]
VINTAGE DOLLHOUSE FURNITURE (ALL ITEMS CAN BE PICKED UP OR SHIPPED)https://estatesales.org/estate-sales/md/college-park/20740/vintage-dollhouse-furniture-all-items-2355445
estatesales.orghttps://estatesales.org/estate-sales/md/college-park/20740/vintage-dollhouse-furniture-all-items-2355445
Sent from my iPad
LikeLike
Thank you for sharing that Susan! What’s funny is how many of those ‘vintage’ dollhouse pieces are pieces that I originally had in my dollhouse. I had the Chrysnbon parlor stove, the sewing machine, the dining room set and the white wire wicker furniture.
LikeLike
So amazing!! 👏 👏 👏
LikeLike
Thank you!
LikeLike
I love it!! I’m going to try and copy some of your ideas. Thank you for putting some very helpful information on how you did your blankets and pillows etc.
LikeLike
Have fun! If you’re looking for some YouTube tutorials on creating miniature bedding I recommend the videos from Julie Warren (just search for her by name).
LikeLike
I love the bedroom and all the decor ♡ Amazing colors too!!
LikeLike
Thanks Diane!
LikeLike
I love it! It looks amazing. You are so talented. I love the armoire. The inside is beautiful. The bedding is perfect. What a stunning little room.❤️
LikeLike
Thanks so much for saying so Monica. I am really enjoying working on this project 🙂
LikeLike
Absolutely perfect!
LikeLike
Thanks Robin!
LikeLike
love the “soot” on the fireplace! Well done!
LikeLike
That little detail is compliments of my dad. He was nothing if not detail oriented. I still remember how tickled he was by how that turned out 🙂
LikeLike
And that being said, I guess the acorn doesn’t fall far from the tree. I took the time to add a little corrosion to the radiator, LOL.
LikeLike
I am really enjoying your doll house makeover. I think it is one of the prettiest houses I have seen. Love all the molding, how you have painted the outside, and what you are doing to the inside. The bedroom is amazing. You seem to be having lots of fun with it. Can wait to see what you will do next.
LikeLike
I really am having a lot of fun with this project! Thanks Valerie 🙂
LikeLike
It’s lovely….and so realistic. It looks like you live there…your taste for sure.
LikeLike
Thanks Regina!
LikeLike