
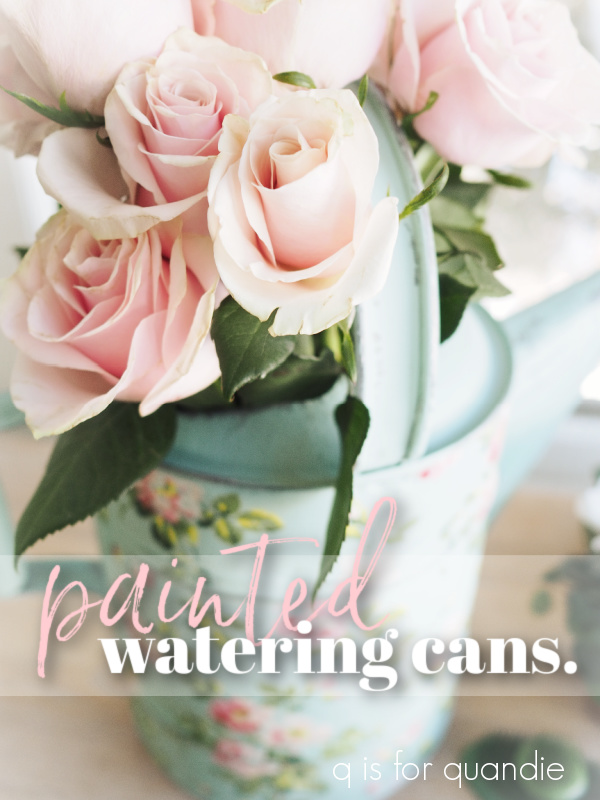
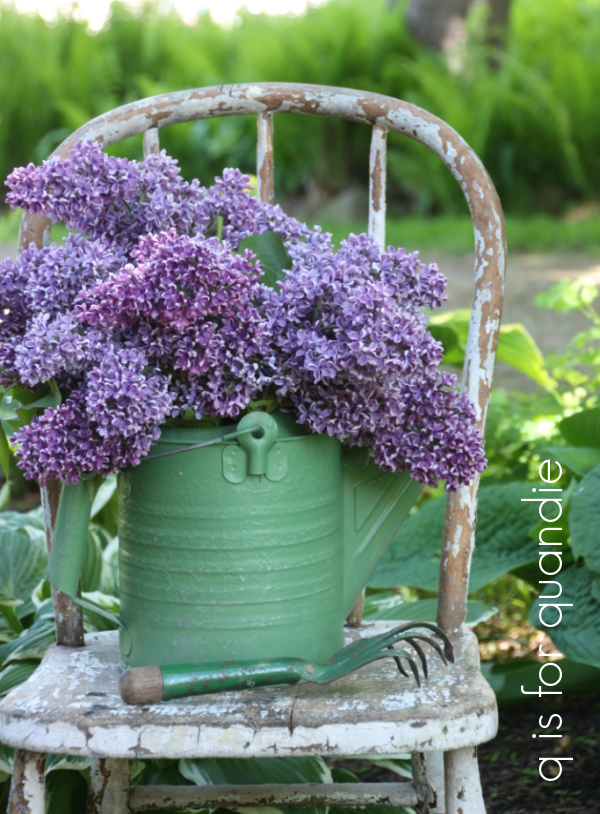
Continuing my experiments with the IOD Rose Chintz paint inlay, I pulled out this watering can to see how hard it was to apply the inlay to a non-flat surface.

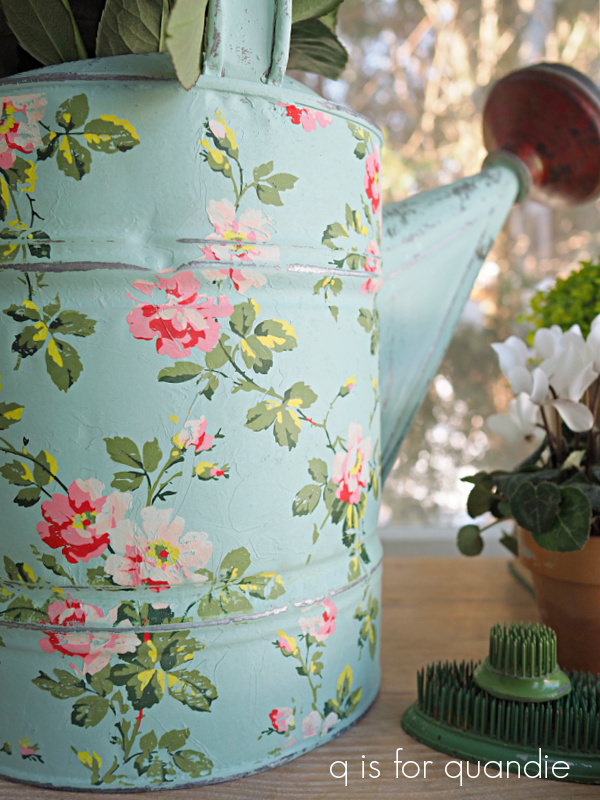
Normally I don’t paint galvanized cans like this one, but I had attempted to add an IOD French Pots transfer to it a couple of years back and as you can see, that didn’t really work out very well.
![]()
The French Pots transfers from IOD were the first generation of this design, and they were a charcoal grey color. The color wasn’t really dark enough to show up well on galvanized metal. Although I can see where that faded appearance might appeal to some.
Just for reference, the newer black Classic Pots and Traditional Pots transfer show up much better on galvanized metal.
But for this watering can, I felt like my best option for ‘fixing’ it was to paint it. The only way to get that transfer off would have been to sand it off, which would have compromised the patina in that spot. It never would have looked right.
So I painted it with a coat of Dixie Belle’s Sea Glass. Then I applied the Rose Chintz paint inlay (for details on how to apply a paint inlay click on the image below to see my how-to post).

It really wasn’t difficult at all to work with the inlay on the curved surface.
Rather than use a brayer to press the inlay into the wet paint, I just used a wet cloth to smooth it into place. I was worried I would have problems with the design getting smudged, but even over the curved surface it was easy to get crisp results.
One sheet of the paint inlay was not quite enough to go all the way around one side of the can. I wanted to be sure and share this with you because there is a very definite line where the inlay ended.

I wasn’t expecting the line to be quite so obvious, so just be aware of that.
Since a) I’m a total cheapskate, and b) I was doing this watering can just for myself and therefore knew that this wouldn’t be noticeable where I was putting it, I decided to just try to soften that line rather than use another sheet of the inlay to piece in that space.
Before you seal the inlays (with a spray sealer), the paint (because they are indeed just paint) can be manipulated when wet. So you can use a small artist’s brush and some water to reactivate the paint and move it around a bit.

Hmmm. I may need a bit more practice at that. I think I succeeded at softening up that edge a bit, but clearly I need to work on my fine painting skills.
Regardless, I’m quite happy with how this project turned out.

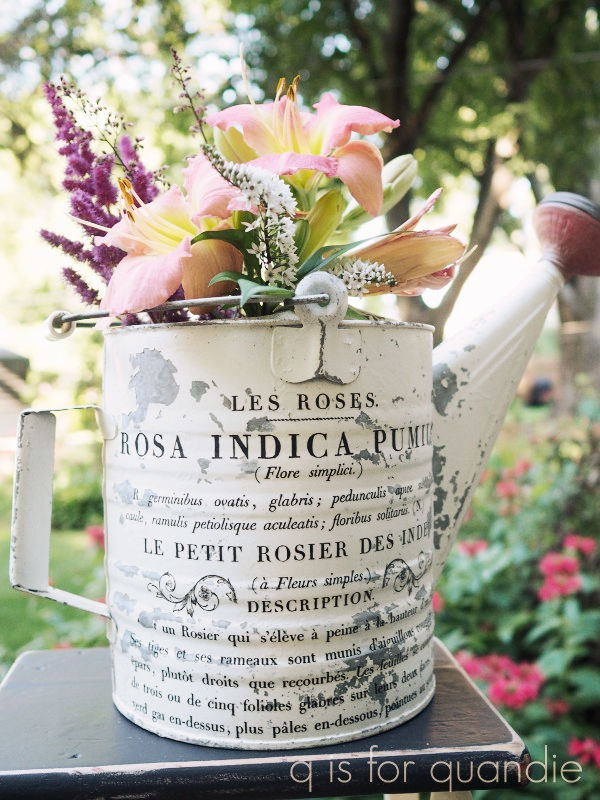
This watering can is joining a few other painted versions that live above the shelves in my pantry.

The 2nd one in line is one that was already painted white when I found it, but I added the IOD Petit Rosier transfer to it.
The 3rd can in the lineup was also already green when I purchased it.
So far I’ve left it alone, but you never know, I may add something to it one day.
And the last one in line is one I painted in Homestead House milk paint in a color called Maritime Blue.

I just fell in love with that pretty shade of blue.
I’ve done one more quick project to show how the paint inlay looks when re-using a previously used sheet and I’ll be sharing that on Wednesday. Otherwise, I still have quite a few sheets left and I’ll be on the lookout for more fun ways to use them! Have you tried them yet? If so, be sure to leave a comment and let us know if you liked them or not.

Wow your talent is amazing!
LikeLike
Thanks so much!
LikeLike
I love how the watering can turned out! The pattern of this inlay really reminds me of your bridesmaid dresses.
LikeLike
I hadn’t thought of that, but you’re so right. Especially when applied over the Sea Glass color!
LikeLike
Pretty results and great tip on softening that hard edge!
LikeLike
Thanks Netti!
LikeLike
I thought the soft edge painting looked well blended. The water could have dribble down 😉.
I love all your watering can. I like the transfers better. Another fun project!
Smiles, Alice
LikeLike
I think my favorite is the white one with the Petit Rosier transfer on it for sure.
LikeLike
I love all your watering collection and the inlay looks beautiful, line was hardly there. you did a great job.
LikeLike
Thanks Marlene!
LikeLike
Love your watering can non-collection. I was thinking maybe to soften that edge, just clip a few of the flowers and/or leaves off before you start the process. Not sure if that would work, but if it did, would take away the straight edge. 🤔
LikeLike
That would work. Great idea Terri!
LikeLike
Interesting Miss Quandie! Didn’t realize that the inlays were actually paint themselves…….wonder if they’ll come out with some that aren’t floral? But your watering can is pretty and you did a good job!
LikeLike
That turned out lovely and looks great with the others in your non-collection. 🤣 I have to say, I think the DB sea glass is my favorite base color you have used so far in your experiments.
LikeLike
I would love links to what you use! Every time I want to go buy!
LikeLike