
While out garage saling a little while back I purchased this wicker picnic basket.

It’s definitely not a fabulously vintage picnic basket, but it was in great condition and I loved the shape of it, and the slatted lid. Plus it was priced right, so I grabbed it. I thought it would be fun to try and give it an update.
Have you ever painted wicker? It can be a real pain. If you spray paint it (which seems like the logical solution), you have to do a lot of spraying to get in all the cracks and crevices. You have to come at it from all angles to make sure you haven’t missed any spots. And I usually end up using most of an entire can of spray paint.
It can also be a test of one’s patience to paint it with a brush.
So I decided to try whitewashing it (or in this case, greywashing?) it instead.

All you need for this technique is your paint, some water, a brush, your container of choice (I went with the classic red solo cup) and some paper towels.
I used Dixie Belle’s French Linen paint, a chalk style paint like this one works beautifully for creating a wash. This pale, warm grey was the perfect color for this technique too.
First up, water your paint down alot. I probably had about 2/3 water to 1/3 paint in my cup. Then just ‘wash’ this mixture onto your piece with a brush and quickly wipe away the excess with the paper towel. You’ll want to act fairly quickly and not give the paint a chance to dry before you wipe it away. In other words, you do this in sections. You can’t paint the entire basket and then start wiping.

There are two big benefits to whitewashing on wicker. First the paint is really liquid-y so it tends to settle into those cracks and crevices without any extra effort. Second, the end result is a semi-transparent look so it doesn’t really matter if you missed some spots because you aren’t aiming for 100% coverage.
I went with just one coat of whitewashing to keep the look quite sheer. If you want a more solid look you could add a second coat.
Once the paint was dry, I decided to add a little extra something to the basket with a transfer.
![]()
This is the French Ceramics transfer from re.design with prima.

It’s such a lovely transfer. I used it on the interior drawers of this linen press dresser …
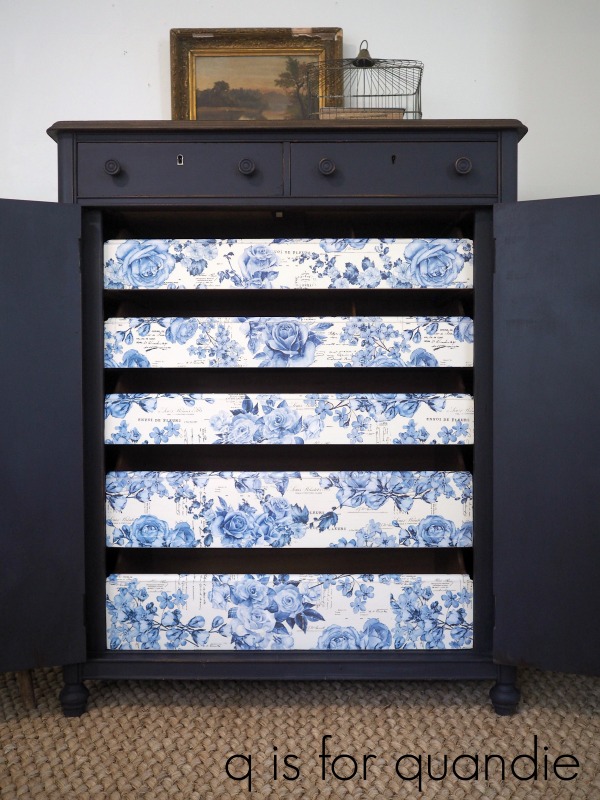
The only downside was that it took two sets of the transfer to cover all of those drawers and that can be a pricey proposition for most people. Although, that being said, I do think it would be worth it!
Anyway, back to my basket.
The top of the basket only took one of the three sheets that come with the French Ceramics transfer, so I have two sheets left to use another day.
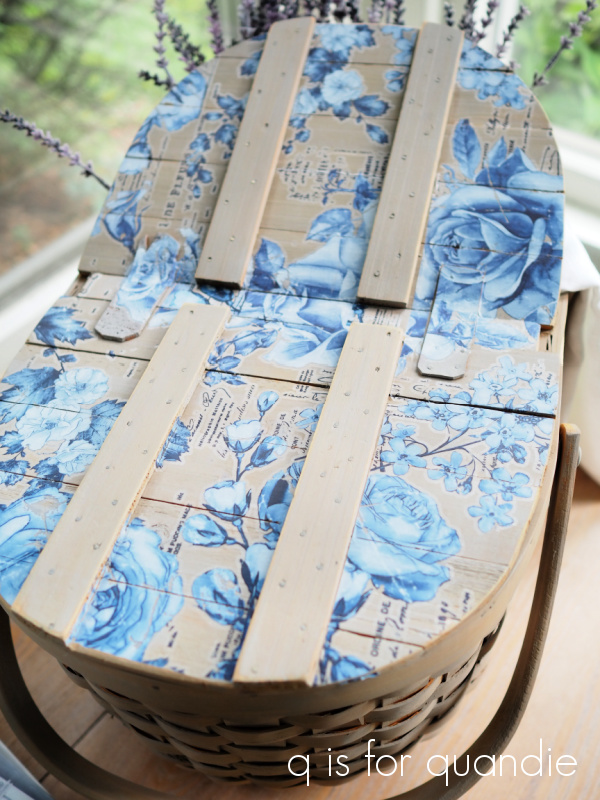
To apply the transfer between those cross pieces, I took some measurements and then cut my transfer into three strips before removing the backing paper.
Once applied, I sanded the edges of the basket top to distress and then I ran my fingernail down the transfer between all of those vertical slats to give them more definition.
![]()
Finally, I added a very light coat of clear wax over everything. When I say a light coat of wax, I basically put a little wax on a cloth and then wipe it gently over the surface, focusing a little extra on the handles for better durability where the basket is likely to get worn.

And that’s it. A little white greywashed wicker basket.
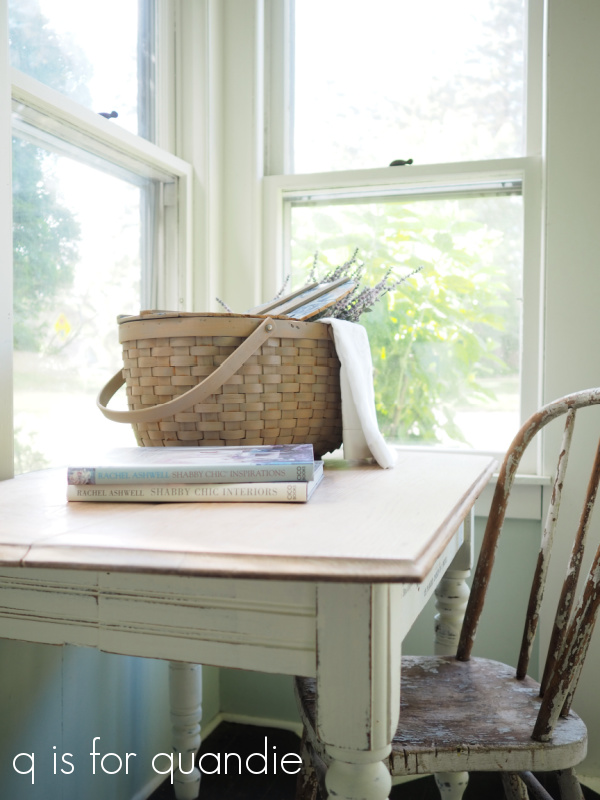
What do you think? Would you give this technique a try yourself?
As always, thanks to Dixie Belle for supplying the very teeny tiny amount of paint that it took to greywash this basket!

Love the basket! Would like to try the grey-washing. I might try two coats. Thanks for this idea!
LikeLike
You’re welcome Linda!
LikeLike
The basket turned out really cute.
LikeLike
Thanks sis!
LikeLike
Never would have thought to try to paint wicker because it would be so tedious. This really updates the basket with a minimum of work and paint. Another great job of updating!
LikeLike
Thanks Terri! Yep, this is a great solution for wicker. I’ll definitely whitewash a few more baskets.
LikeLike
Really pretty Miss Quandie!
LikeLike
Thanks Connie!
LikeLike
Love how it brought this little gal right into fashion! The transfer is the icing on the cake!
LikeLike
Thanks Sheri!
LikeLike
With every new item you paint, my own ‘must-have-from-garage sale’ list of things keeps growing 🙂 The basket turned out very nice!
LikeLike
Hope you find some baskets!
LikeLiked by 1 person