
It finally feels like spring is here, and you know what that means? Garage sale season is coming!
Since I have a 9 to 5 day job, I have to do all of my garage saling on Saturday mornings. So I only have a few more Saturdays that I can spend lounging about with a cup of coffee and my favorite books and magazines. Starting the first weekend in May I’ll be getting up early and heading out to hit the sales.

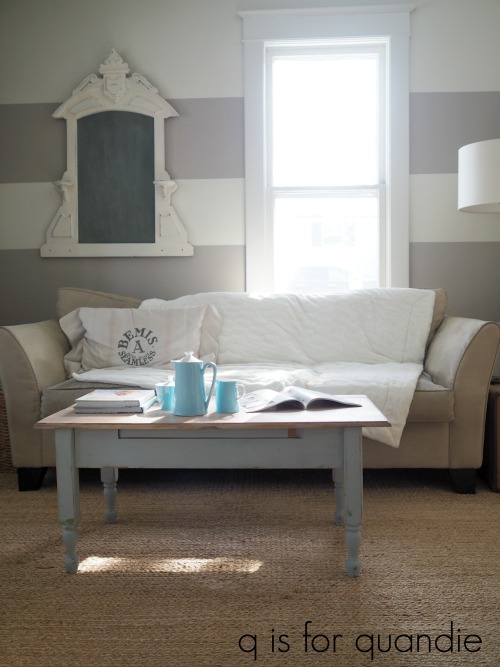
So this past Saturday morning I took some time to chill out, enjoy the sunshine streaming in through the windows and get some photos of the coffee table I just finished up before my sister and I headed out to Junk Bonanza in the afternoon.
I purchased this table way back in January, brrrrrr ….
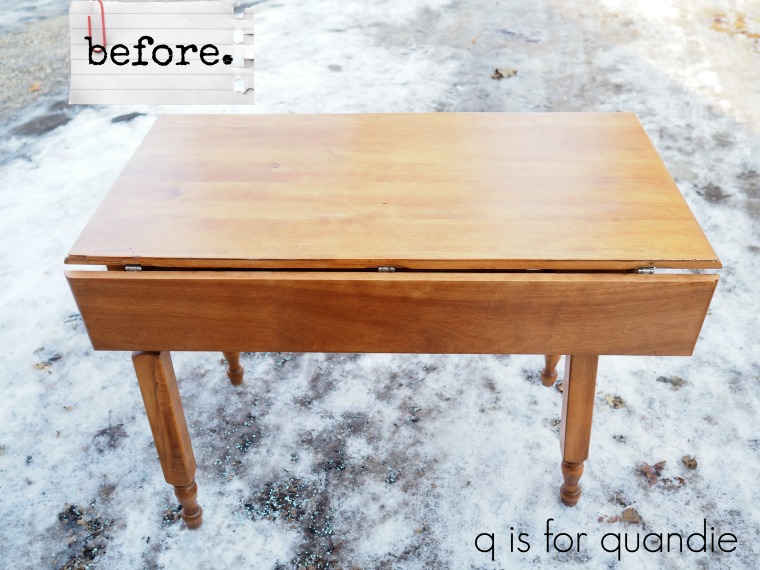
and I’ve basically been working on it in bits and pieces since then.
I’ve refurbished a few of these tables in the past. Usually I remove the drop leaves and turn them into signs and then use the table without the leaves as a desk. I have one in my Q Branch and Mr. Q has one in his study as well. I also have one on my front porch with casters on it that I use for staging close up photos of random small stuff.
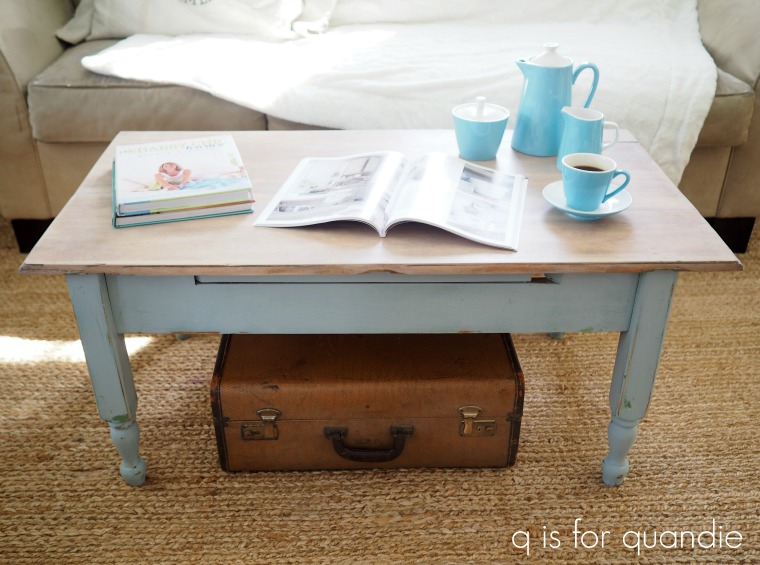
Although I still removed the leaves and turned them into signs, this time I decided to try something different with the rest of the table. With the help of my handyman Ken, I converted it to coffee table height.
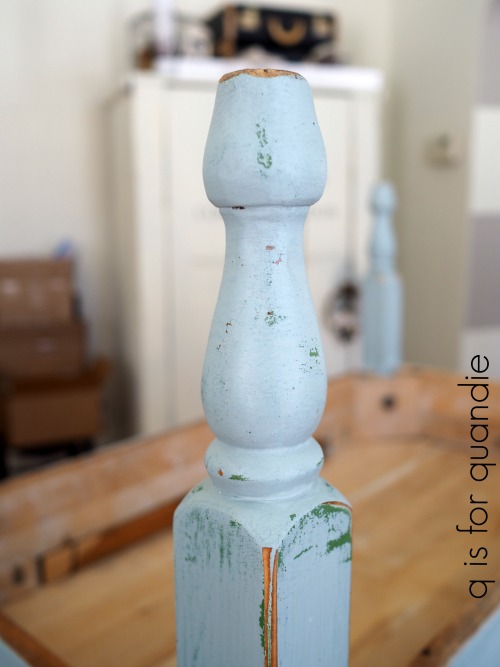
Since I wanted to keep the detail on the lower part of each leg, I removed all of the legs and then Ken cut them down from the top and re-attached them to the table. I neglected to get a photo of that before I added a coat of paint, so you’ll see that in a minute. But before I painted, I stripped the top of the table.

Since it was winter in Minnesota, I had to do this inside my house. I like to use Citristrip for that simply because it’s safe for indoor use. I like to avoid using any toxic chemicals inside the house, and I try to keep sanding to a minimum inside as well.
Here’s the top after cleaning off the stripper.

Once that was done, I flipped the table over onto some horses and started painting the base. I began with a coat of Fusion acrylic paint in Inglenook or maybe that’s Little Tea Pot. To tell the truth I did this part so long ago I don’t remember!
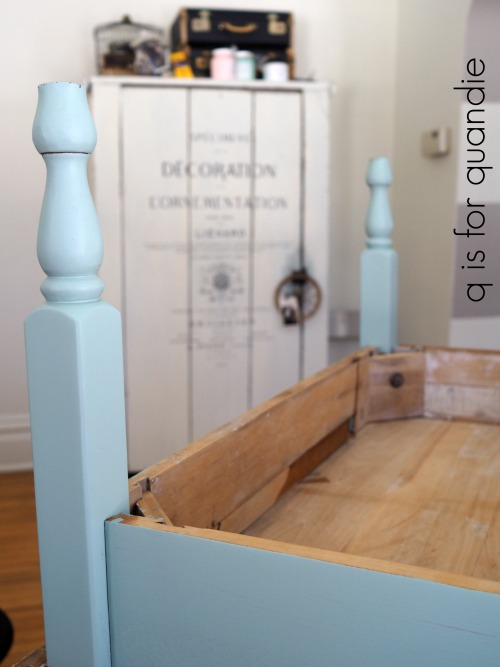
The existing finish on the table was pretty shiny, so most likely milk paint would not have adhered well without a lot of sanding prep work. Since I wasn’t in the mood to sand those legs (ie. was feeling lazy), I used Fusion for the first coat of paint instead.
Next I applied some of the Homestead House Salad Bowl Wax to various spots as a resist, and then added a coat of Sweet Pickins’ In a Pickle. You can see the spots where the wax resisted the milk paint.

Next I added more Salad Bowl Wax to other spots to resist my final paint color which was Miss Mustard Seed’s Shutter Gray.
After that dried, I sanded lightly to distress and then added clear wax. Here is the result.
After that it was time to flip the table back over and work on the top some more. I started by sanding the stripped wood with 220 grit sandpaper. Then, looking at the wood closely, I realized that I didn’t like the color of it. It still had a bit of a yellow/orange cast to it. What I wanted was more of a washed out, driftwood sort of look.
So I decided to white wash it using watered down Dixie Belle paint in Drop Cloth (see this post for more detail on white washing). I just used one coat of watered down paint. One that was dry, I sanded lightly, wiped away any dust and then added a coat of Dixie Belle’s clear wax.
I felt like the piece looked a little too fresh and new at that point so I pulled out Dixie Belle’s new Grunge Gray wax. Dixie Belle sent a can of this wax my way to give it a try. I used to make my own grey wax by mixing black and white wax, but this is so much easier.
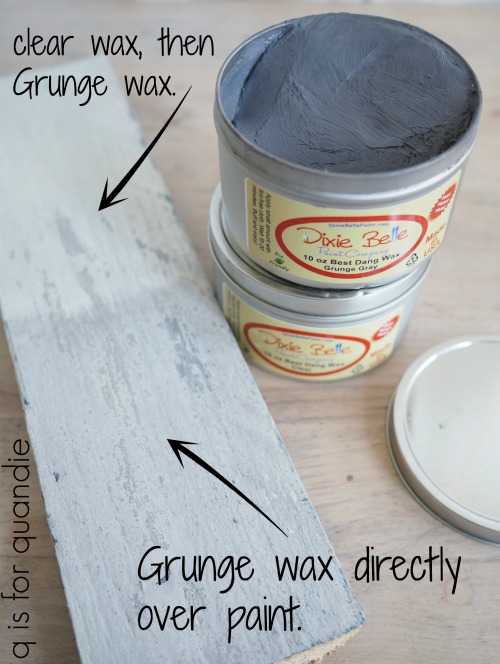
As with all colored waxes, if you want a heavier application of the color you can apply the wax directly to your bare wood (or over a painted surface). If you want more subtle results wax your surface with clear wax first.

When using a new product for the very first time, I always recommend testing it on an old board like I did with the Grunge Gray wax. That way you can get a feel for how it looks and the best way to apply it before you get it on your piece of furniture.
I already had that coat of Dixie Belle clear wax over my white washed table top so I got a more subtle result from the Grunge Gray wax.
I really worked the Grunge wax into the creases on the edges of the table.

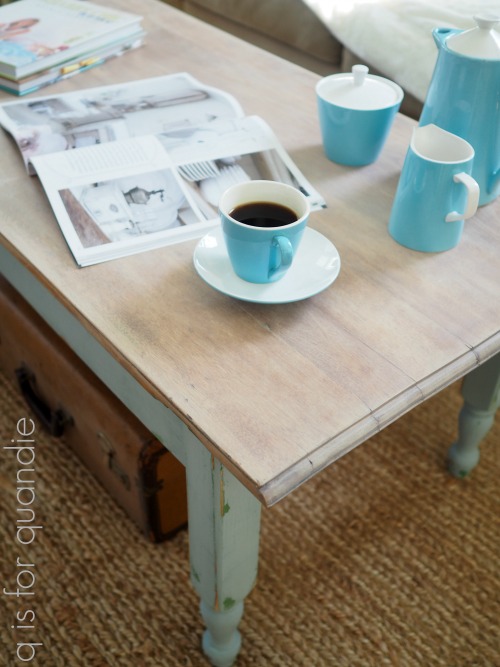
I ended up with a table top that has that sort weathered gray appearance of a piece that has been left out in the elements for a while.
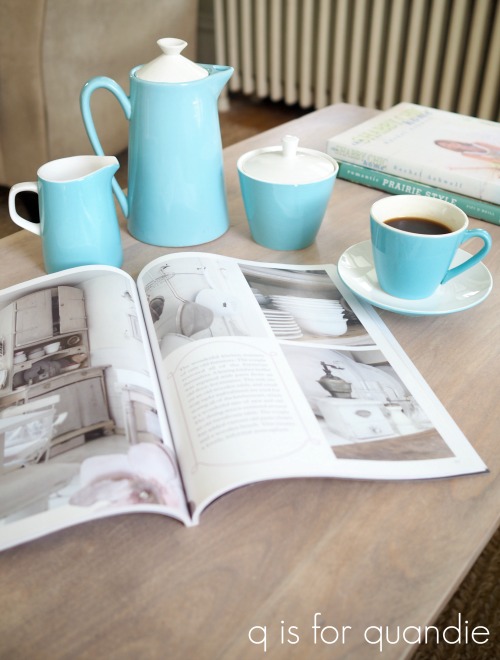
 It makes a great spot for a little Saturday morning coffee, don’t you think?
If any of you local readers need a spot to enjoy your coffee (sunshine not included), be sure to check out my ‘available for local sale’ page for more details.

I like the color combo for the legs, and your step-by-step instructions on that, and on the way you finished the top of piece, are great helps! Thank you
LikeLike
You’re welcome Laura! Thanks for your comment 🙂
LikeLike
Wow, it really looks great! Nice job!
LikeLike
Thanks Vonda!
LikeLike
I love how your make-overs progress organically instead of trying to force a pre-conceived vision. I think it helps to be aware of the amazing new products from which to choose (and thanks for introducing us to this Grunge Wax!). This table top does indeed have the delicious weathered look of something that lingered outside, but without the resulting dry, chapped, even splintered wood. No snagged socks to mar a lazy Saturday coze with the papers and a cuppa. And the chippy, color-layered legs are the perfect match to the top.
LikeLike
I love that description Kim! You’re such a great writer. I like the idea that my ‘make-overs progress organically,’ I’m going to remind myself of that the next time I work on a piece that just doesn’t want to comply with my initial vision 😉
LikeLike
I love this table. Great colors. I really like the gray top. Thanks Linda for the info. 😊
LikeLike
You’re welcome Monica!
LikeLike
Love how this turned out!! Simply beautiful… 🙂
LikeLike
Thanks Teri!
LikeLike
Love this table! Beautiful work!❤
LikeLike
Thanks Debra!
LikeLike
Love how this turned out!! Awesome work!
LikeLike
Thanks Mary Ann!
LikeLike
Another great makeover in Quandieville. Loving how “soft” these colors/finishes look together.
LikeLike
I also like the combo of the soft greyish blue of the Shutter Gray with the Grunge waxed top!
LikeLike
What a cute table!! Love how beachy it turned out 🙂
LikeLike
Beachy weather is just around the corner, so I was planning ahead with these color choices!
LikeLike
This is incredible! You did such an amazing job!
LikeLike
Thanks so much Maya!
LikeLike
Nice idea! It turned out great.
LikeLike