

Hey, I bet you guys thought I forgot all about Photo Finish Friday!
With all of the hubbub over milk paint madness week, it sort of fell to the bottom of the priority list. But it’s back!
My first photo finish Friday blog post was all about composition, while today’s photo finish subject is white balance. White balance is a very important part of photography, especially so when you want to correctly represent colors in your photos. It’s also something that I struggle with all of the time. I am constantly correcting, and re-correcting, the white balance in my photos!

All light is not created equal. In fact, lighting has color depending upon its source. Lighting from an incandescent bulb will be more yellow or orange, while fluorescent lighting will be bluer.
We can also talk about light in terms of temperature. Incandescent lighting is warm, fluorescent lighting is cool. Outdoor lighting changes throughout the day depending on the angle of the sun, whether or not it is overcast, or things it reflects off of (like snow, or the side of a big red barn).
However, our eyes (or maybe technically it’s our brains) have the magical ability to automatically adjust the white balance of what we are looking at without us even being aware of it. That ends up being one of the trickiest aspects of white balance. Sometimes our brains adjust for it and we don’t even notice that the white balance in our photos is off. So be sure to take the time to really scrutinize your photos.
There are two easy ways to control white balance; using the white balance settings on your camera and using photo editing software to adjust the white balance of your photo in post processing.
Let’s start with setting the white balance on your camera. Most cameras will have a white balance setting. Even my smartphone, which isn’t all that smart because it’s ancient, has a white balance setting. If you don’t know how to change the white balance on your camera (or whatever you are using as a camera), now is the time to figure that out. I recommend googling it. For me that’s the easiest way to get a quick answer on where a setting might be located on my camera.
Typically your camera will have an automatic white balance setting and a few settings for specific lighting conditions both indoors and out. Those usually include incandescent (or Tungsten), fluorescent, cloudy, sunny, shady and possibly a few more. Most cameras I’ve seen use the same, or similar, icons for their white balance settings.

The incandescent setting is best for traditional household light bulbs. The fluorescent setting will prevent the green cast common to photos taken in fluorescent light. The cloudy setting will add a bit of warmth to the light; the shade setting adds a slight pink tone to eliminate the blue cast that shadows take on in open shade; and sunny option sets the color temperature to something typical of mid-day sun.
For the most part I keep my camera on automatic white balance. My camera will do its best to determine the current lighting condition and adjust for it. However, the camera doesn’t always get it right. When I notice that happening I will try one of the other settings to try and improve the white balance.
But when I fail to get the white balance right in the camera, I still have a chance to correct it in post-processing.
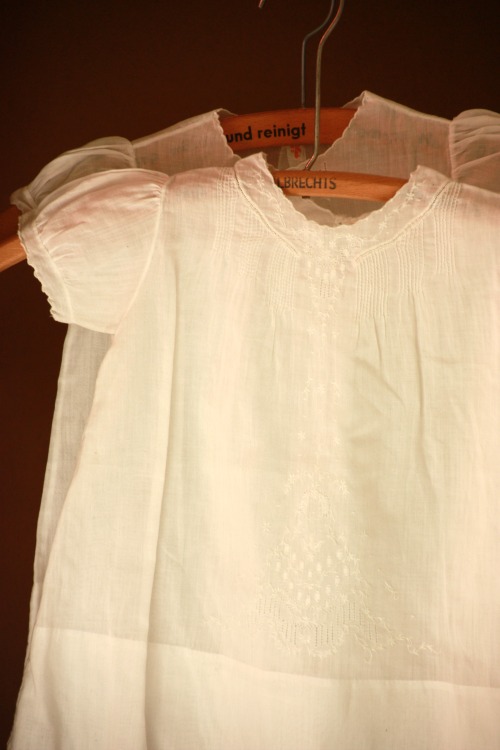
Here’s an example of a photo I took with the automatic white balance.
And here it is after I adjusted the white balance in PicMonkey.

PicMonkey is a photo editing software that used to be free, but unfortunately it isn’t free anymore. There are lots of options out there for photo editing software ranging from basic to really technical, and from inexpensive to really expensive. I haven’t tried very many of them, and in fact two that I’ve used regularly in the past have become defunct (Picasa and Window Live Photo Gallery) leaving me currently with just PicMonkey. Because I’m a renewing customer, I recently paid $48 for another year of PicMonkey. However, new customers pay a little more.
For the moment I’d rather pay my $48 and not have to learn something new.
Correcting the white balance in PicMonkey is relatively easy most of the time. Under ‘Basic Edits’ you click on ‘Colors’ and then ‘Auto Adjust’ and PicMonkey takes its best shot at correcting the color for you.
I didn’t necessarily think this next photo needed to be adjusted …

But I tried ‘Auto Adjust’ anyway, and this is the result …
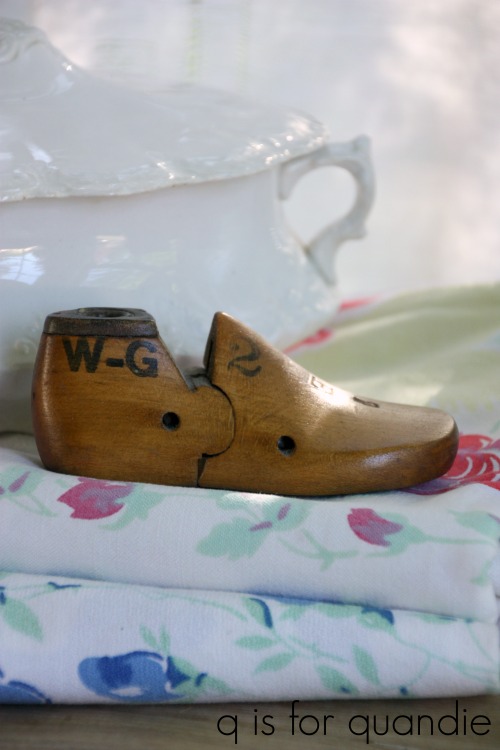
See how it warmed up the colors giving the photo more of a pink cast? Honestly, I’m not really sure if that is an improvement or not.
The ‘Auto Adjust’ doesn’t always get it right, especially if there are multiple sources of light or multiple shades of white in your photo. In that case, you may have to choose the spot on your photo that you think represents the best neutral shade. In PicMonkey you can do that by clicking on ‘Neutral Picker’ instead of ‘Auto Adjust’, then use your mouse to position the little pointer over the spot you want to base the white balance on.
I tried that again with the same photo, positioning the neutral picker over the ironstone tureen.
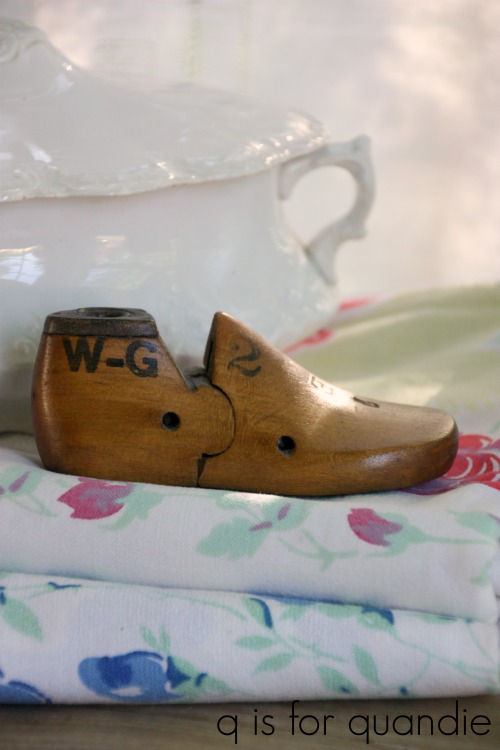
Hmmmm. Now it’s really pinkish.
Next I positioned the neutral picker over the folded tablecloth at the bottom of the photo.

That really warmed up the color.
Choosing a sunny spot on the curtain in the background gave this result.
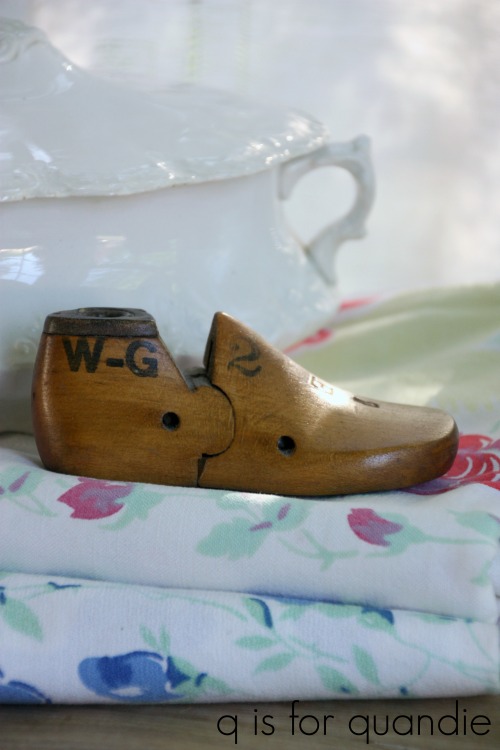
But which one is right? I’m not sure of the answer to that question. Beauty is in the eye of the beholder, or perhaps it really depends upon the color settings on your computer screen.
Regardless, I try to choose the white balance that I think best represents the colors on the item I’m featuring in my photo. Especially if I’m taking photos of a piece of furniture I’ve painted. I want the paint color to be as accurate as possible.
Is my custom Blue Alligator color more blue …
or is it a tad more green?

That difference might be important to a potential buyer.
It’s well worth your time to take a few extra minutes to get the white balance right in your photographs. I hope you’ve learned a bit about white balance and how to adjust it today.
Now get your camera out and play around with the white balance this weekend!

Ugh….who knew lighting was so complicated!? Your perfect photos look effortless and make your blog the gem that it is.
LikeLike
Thank you Kim!
LikeLike
And these types of details are what make your blog perfection! Thanks for all the info!
LikeLike
Thanks so much for your comment Ginette!
LikeLike
Is there nothing you are not an expert at. I wish I had of known all these thing years ago. Being 82 there is really not too much I need to learn about painting as I would probably forget it two weeks later. But I do love to read about it and your pictures are fantastic. My I pad pics are pretty good though 😝 lots of laughs. Luv to you, Mom and Sis..from Betty in freezing rain Ontario.
LikeLiked by 1 person
Wow. Thank you. Great information. I never have tried to use the white balance on my camera. I always feel a little intimidated by all the different symbols and their uses. Guess I had better learn.
LikeLiked by 1 person
What kind of camera do you use and are you happy with that?
Yanina
LikeLike
Currently I am mainly using an Olympus OM-D E-M10 and I do really like it. You can read more about it here.
LikeLike
Thanks so much for your speedy reply. Looks like a good camera. I enjoy your blog! Yanina
On Mon, Apr 16, 2018 at 10:19 PM, q is for quandie wrote:
> Quandie commented: “Currently I am mainly using an Olympus OM-D E-M10 and > I do really like it. You can read more about it here.” >
LikeLiked by 1 person