
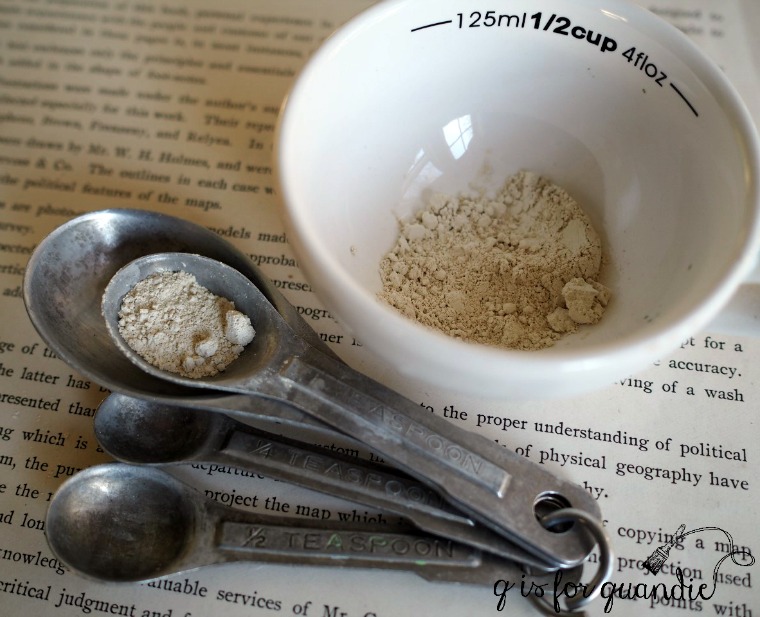
I really enjoy mixing my own custom colors with milk paint. Of course you can also do the same thing with Fusion’s acrylic paint and also with chalk paint, but somehow measuring the different powders and mixing them up with water is so much more fun. It’s a little ironic since I have absolutely no interest in baking. I definitely get far more use out of my vintage measuring spoons with paint than I ever would if I used them for baking.
So far my all time favorite custom mix is the Blue Alligator that I came up with last month for this dresser …
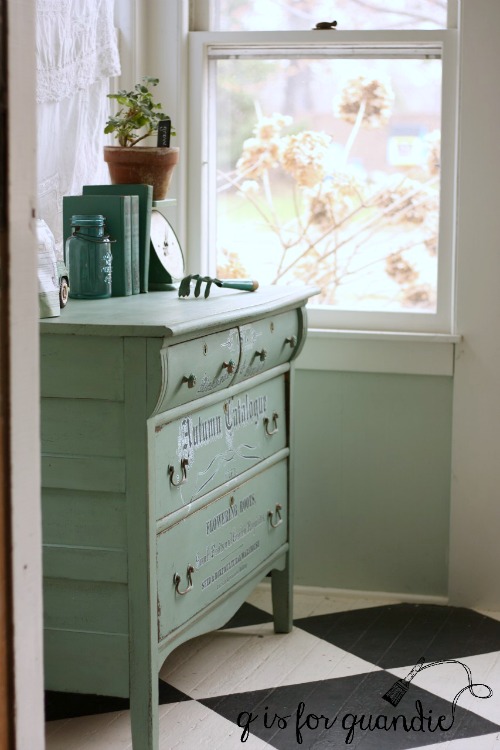
The recipe for Blue Alligator is equal parts Miss Mustard Seed Kitchen Scale, Homestead House Upper Canada Green and Homestead House Loyalist.

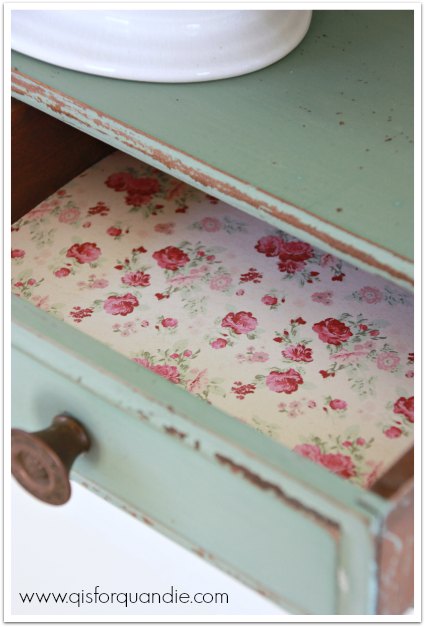
A close second for favorite status is a color I called Robin’s Egg Blue. I mixed this one up way back in April 2014 and used it on this dresser …
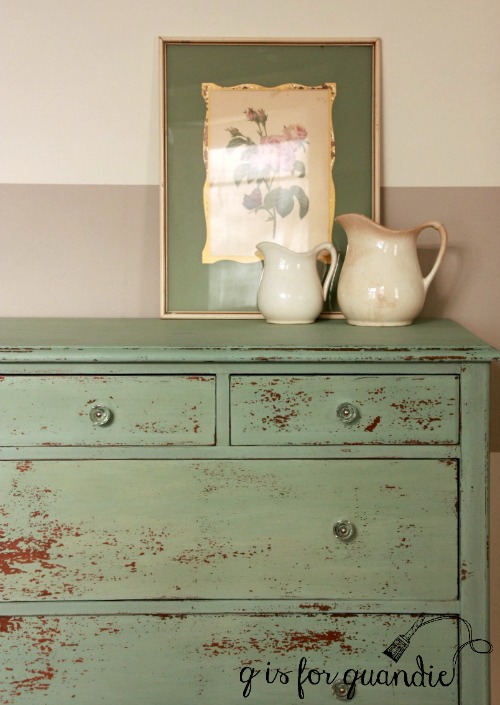
The recipe for this one is a little more complicated than some of the others I’ve done.
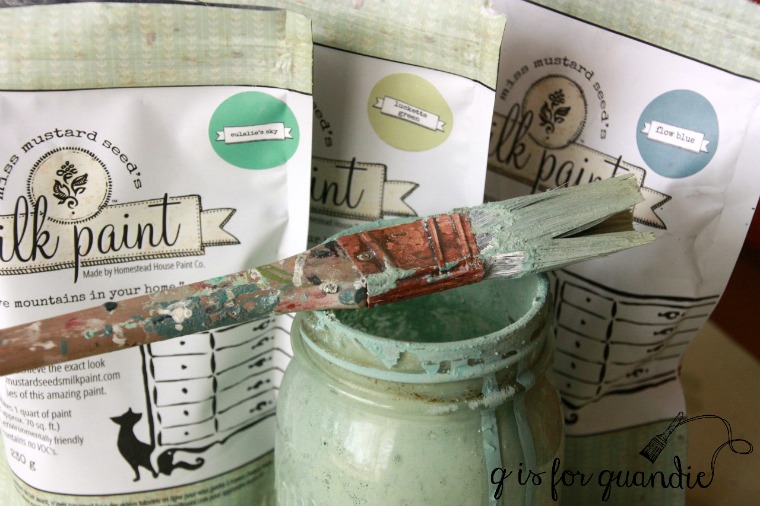
I used 1/4 cup of MMS Luckett’s Green, 1/2 cup MMS Eulalie’s Sky and 2 T of MMS Flow Blue mixed with 3/4 cup of water. This quantity was enough to paint two coats on the dresser, plus there was enough left over for a mirror frame.
Another pretty combo is one that I copied from Miss Mustard Seed and used on this chippy little table.

This color is a mix of equal parts Shutter Grey, Eulalie’s Sky and Layla’s Mint (all Miss Mustard Seed milk paint).
Tropical Island is a a mix of 3 parts MMS Luckett’s Green to 2 parts MMS French Enamel. I used it on this little wall shelf.
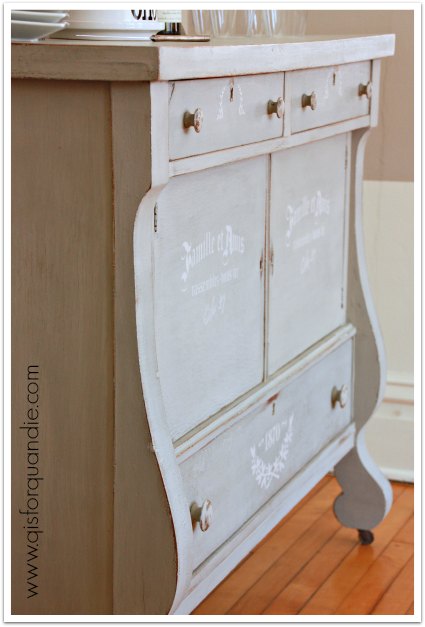
It really easy to lighten up a color by adding some white. When I painted this empire style buffet I wanted a pale grey, so I went with 1 part MMS Trophy to 2 parts MMS Ironstone which gave me the perfect shade of grey.
Back in July 2014 I created my own Minty Fresh green by mixing together some MMS Luckett’s, Eulalie’s Sky and Grain Sack. Grain Sack is a white with very grey undertones and I love using it to both lighten and to tone down a color.

If you are thinking about creating a custom mixed color of your own, I have a couple of tips for you.
First of all, be sure that you mixed enough color to finish the job. If you run out of paint halfway through your final coat, you are not going to be able to mix more that exactly matches. That kind of precision is not something you’ll ever achieve with milk paint.
I know that it can be difficult to predict exactly how much paint you’ll need. It’s something you’ll get a feel for over time, but at first you may struggle with it. So, I have another tip for you just in case you didn’t get the quantity right. Always pay a little bit of attention to how much paint you mixed up at the start, let’s say it was about 1 cup. Then when you’ve completed your first coat, take a look at how much paint is left. Do you still have at least half a cup left? If you think you might be just a tad short, can you add just a little water at this point and go with a thinner 2nd coat? If that’s not going to work, or if you think you may even end up needing a third coat, now is the time to mix more paint before you start your 2nd coat. If the color is a little off, it won’t matter if you paint a full 2nd coat in this new mix.
My final tip; be sure to mix your paint thoroughly and then let it sit at least 15 minutes or so before you start painting. This gives all of the pigments time to dissolve properly. I don’t use any fancy mixing tools (like a whisk or blender), I just super cheap craft sticks and a red solo cup and then I toss them after each project. I know, that’s not very ecologically sound of me. When I first started using milk paint I used glass canning jars so that I could shake my paint to mix it, but cleaning those jars was a pain (just ask Mr. Q, he usually ended up with that job).
As always with milk paint, be sure you mix the paint frequently as you are using it to keep your color well blended and consistent throughout.
Do you have any favorite custom mixes of milk paint that you’d like to share? If so, be sure to leave a comment!

I don’t have a particular mix to share but I have found another perfect way to mix MMS. I buy Talenti gelato occasionally. It comes in the most perfect container with a lid. You can shake and store and again, toss when you are done if need be. You would be tossing or recycling the container anyway after you finish the gelato. Bonus: in addition to getting a free container, you get to have yummy gelato!
LikeLike
I know Q has used those Gelato containers also. We both enjoy the original contents very much as well as my daughter too. Had real gelato in Italy which was much better but it is a little harder to get.
LikeLike
Yes I have! Those Talenti containers are perfect for mixing milk paint!
LikeLike
How old are your measuring spoons? I have the exact same ones, they were my grandmother’s and they are at least 60 years old! I cannot bear to part with them and use them everyday.
LikeLike
Sorry that answer will probably have to wait until Q gets back from her trip but I bet they came from a garage sale and she won’t know how old they are.
LikeLike
Yep, Debbie is correct. I bought them at a garage sale. But I am betting they are the same age as yours are Paula. I think that style was very popular in the 1950’s. My mom has similar measuring spoons and I bet she got them when she and my dad got married in 1960. And I actually have two sets of them. One I use for actual cooking and one that I use for measuring paint!
LikeLike