Well, I guess it must be do-over week.
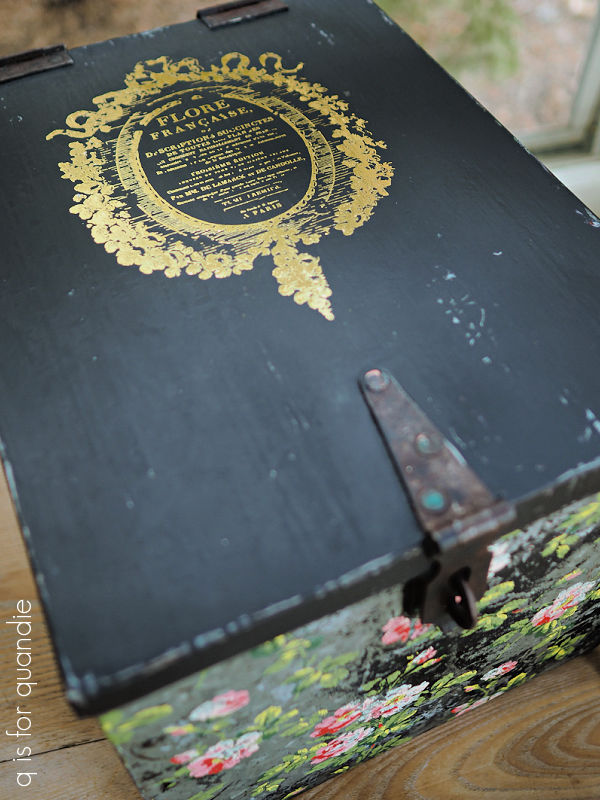
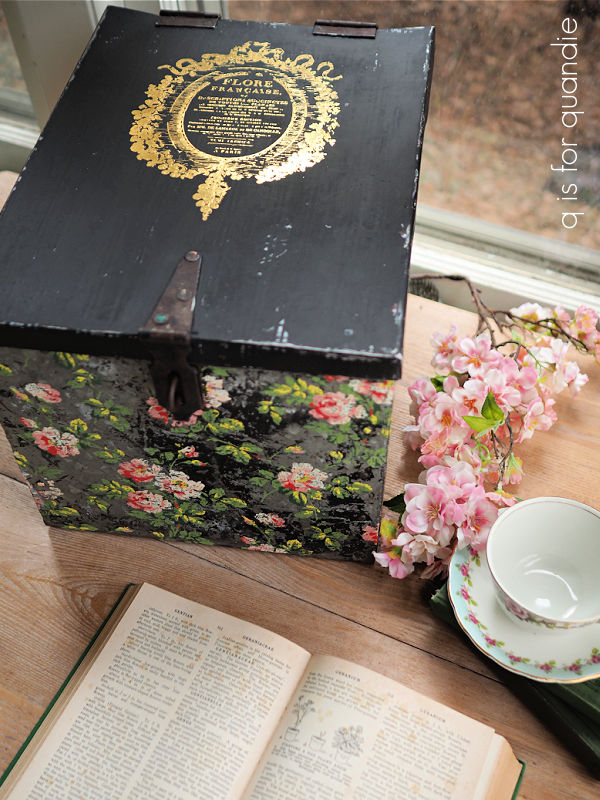
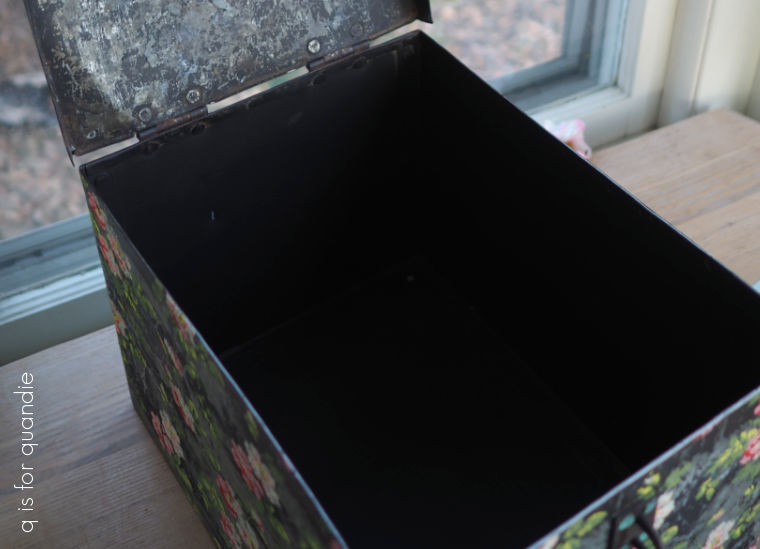
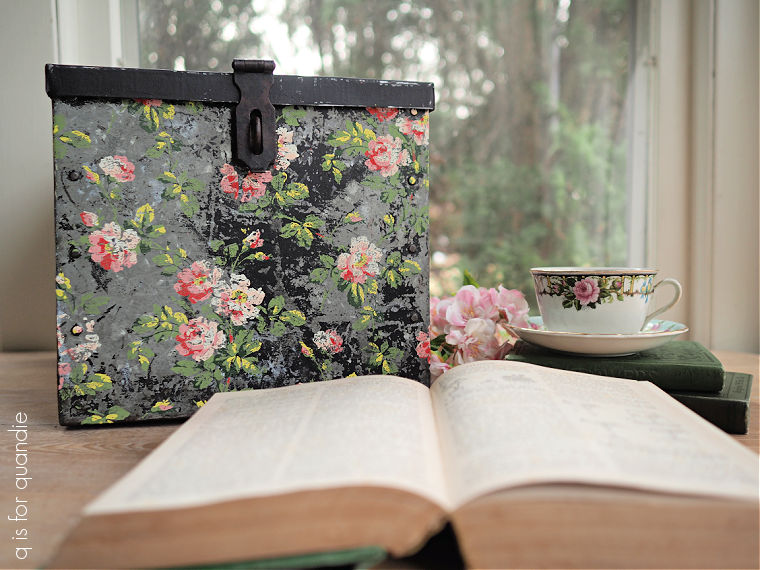
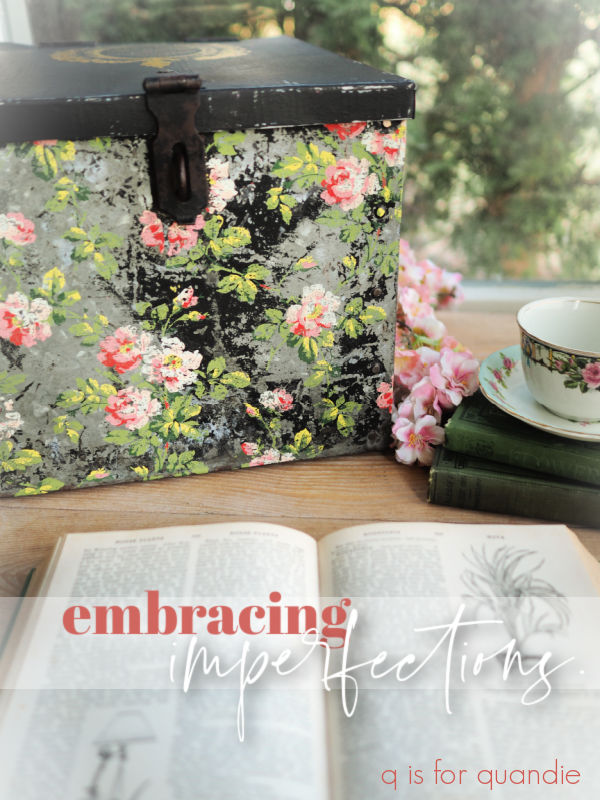
On Monday I shared the do-over of a big metal box.
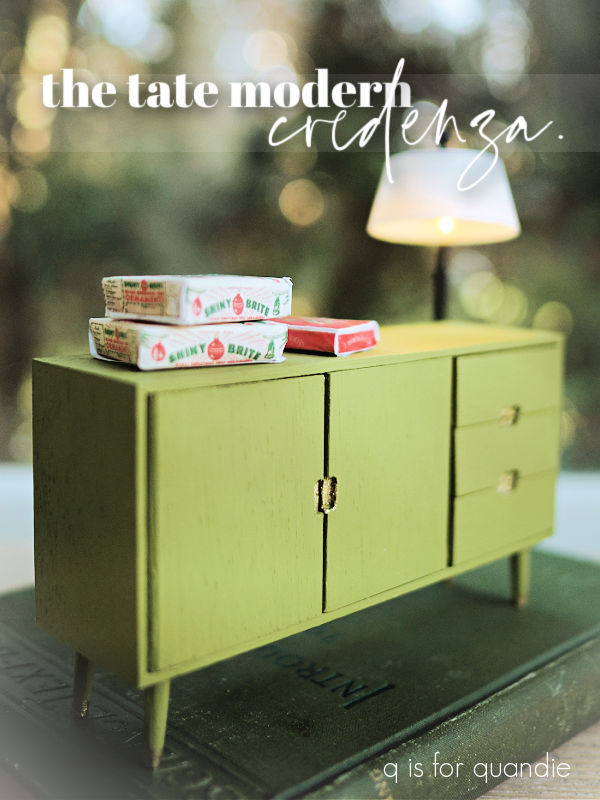
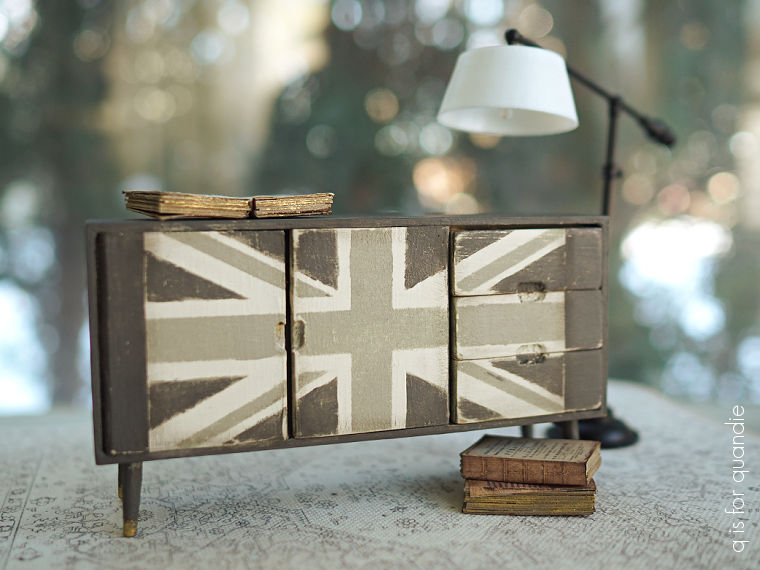
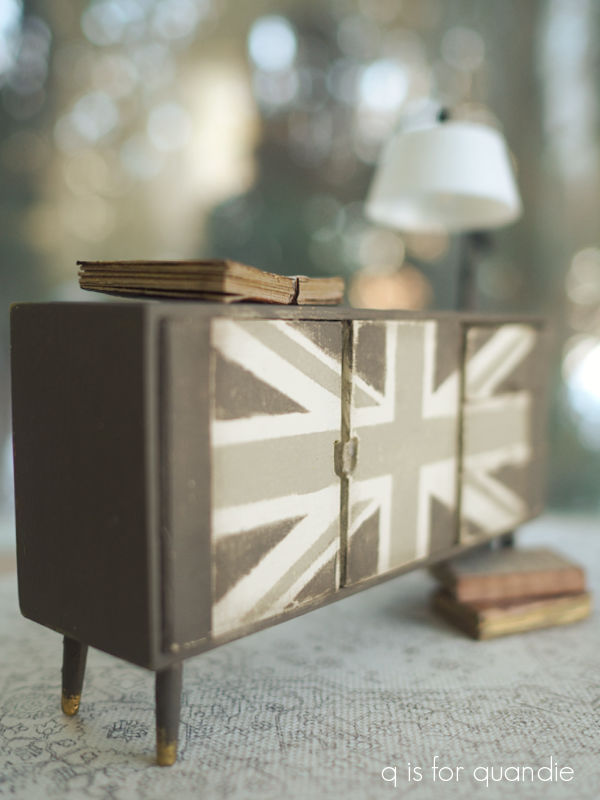
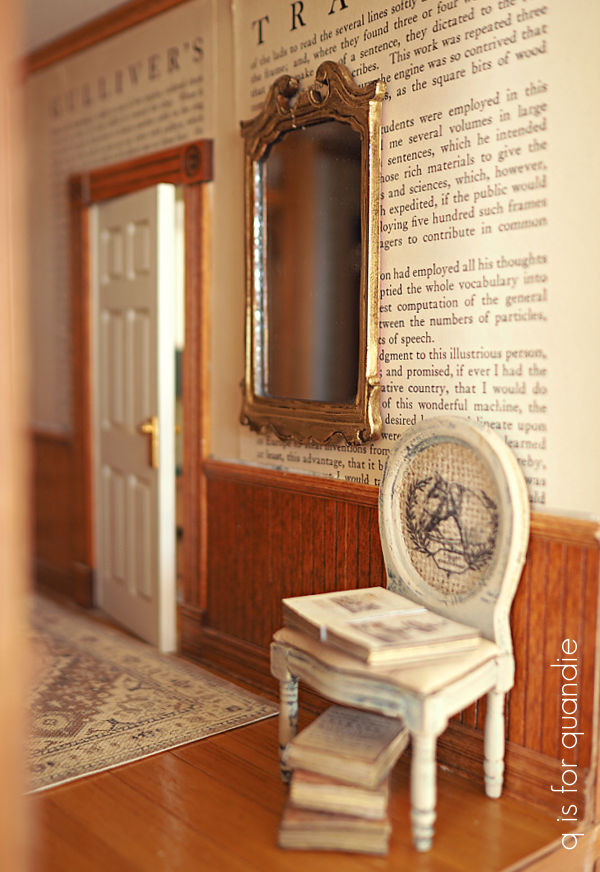
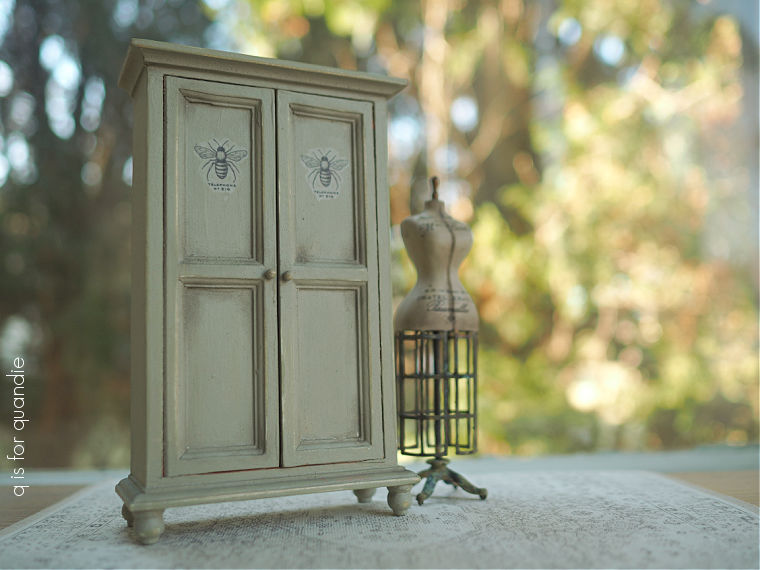
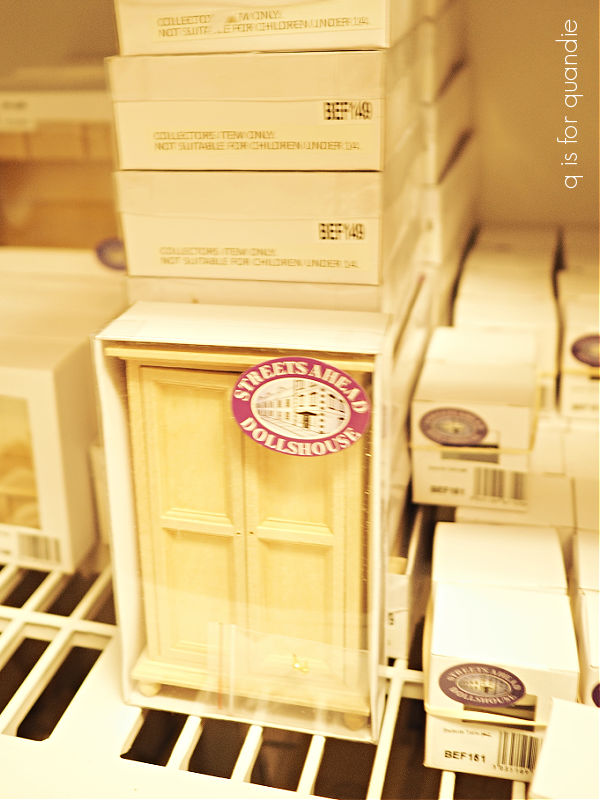
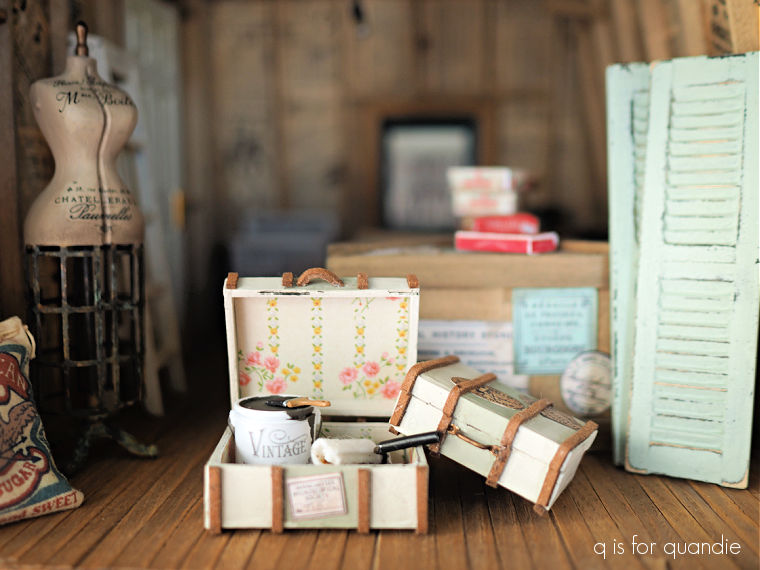
Then on Wednesday I shared the do-over of a miniature credenza.

And FYI, one of my readers kindly pointed out that I put the Union Jack flag upside down. I’m pretty embarrassed to have gotten that wrong, I hope no one took offence. But that means I’ll need to do-over my do-over. Luckily this is a miniature piece of furniture and not a full sized one!
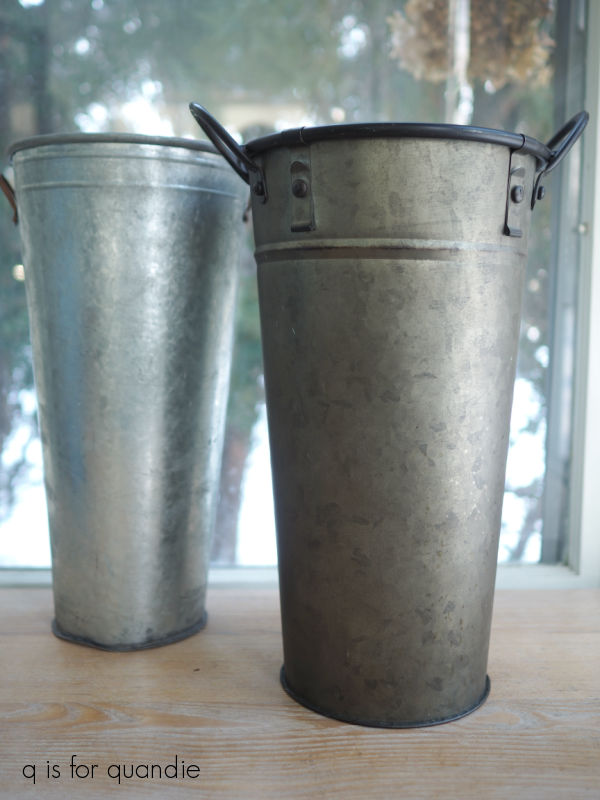
Today I’m sharing the do-over of this bucket.
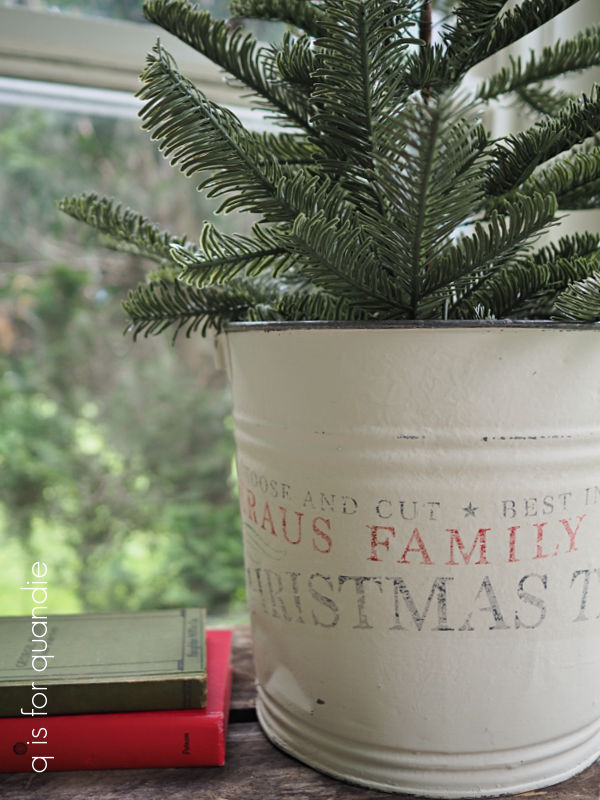
I painted that up last year for my Carriage House sale and I added an I.O.D. paint inlay to it.
This was my 2nd use of that particular inlay, and as you can see the result was rather faint. For comparison purposes, here is how the first use of that inlay looked …
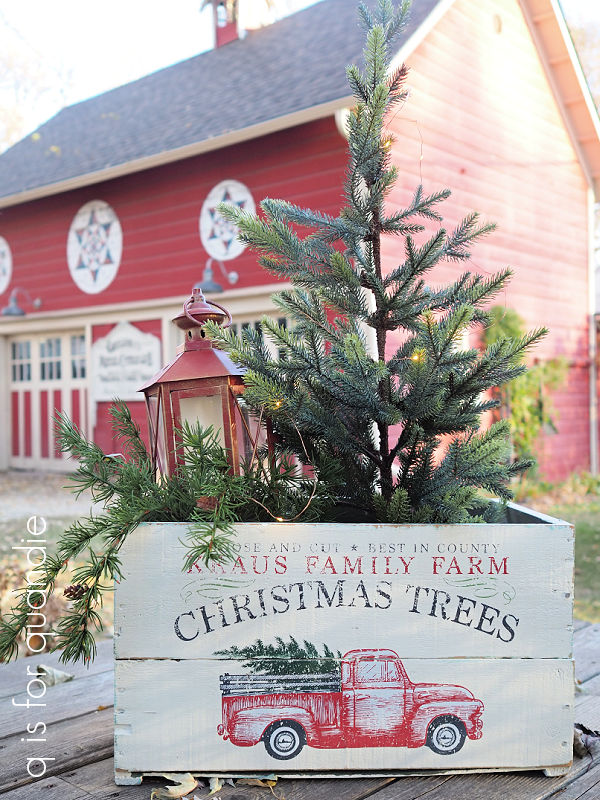
That crate was quite nice, but the bucket really turned out just a bit blah. The inlay wasn’t really a good fit for it.
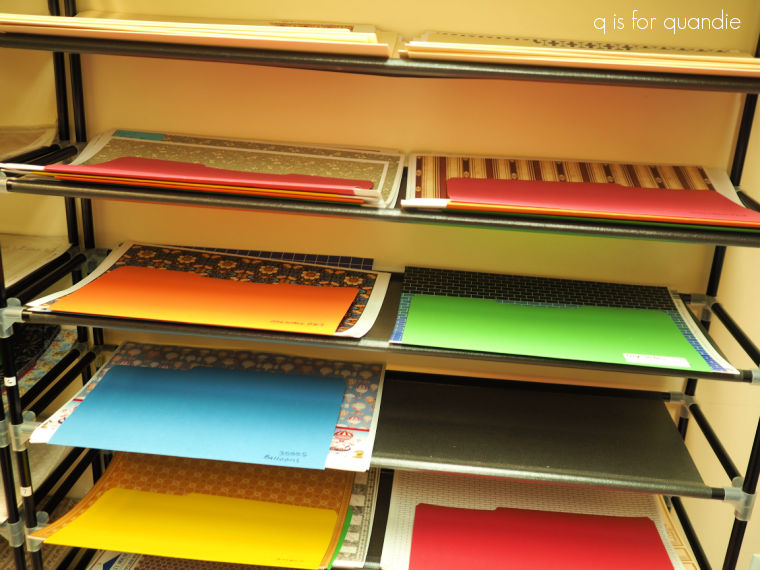
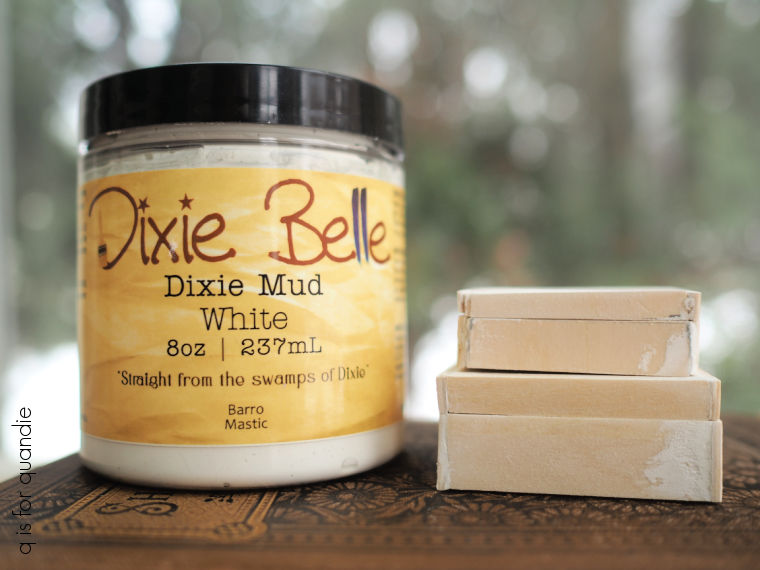
So I decided another do-over was in order. After painting over the inlay with a couple of coats of Dixie Belle’s Drop Cloth, I went through my stash of transfers. I definitely need to start using up some of the transfers that I have on hand and stop buying more new ones!
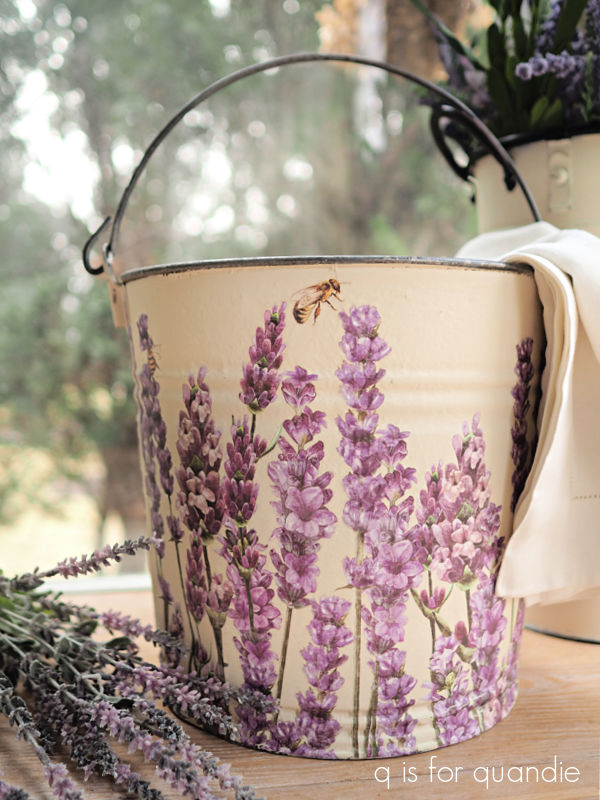
I ended up pulling out the Champs de Lavende transfer from re.design with prima. I’d purchased this one a couple of years ago and I always planned to put it on the front of a dresser or something, but I just never did.
So even though I knew that using it on this bucket would mean cutting off about half of the transfer and discarding it (because the transfer is 24″ tall, way taller than my bucket), I decided to go for it anyway.
Before adding the transfer though, I gave the inside of the bucket a couple of coats of Dixie Belle’s Secret Path.
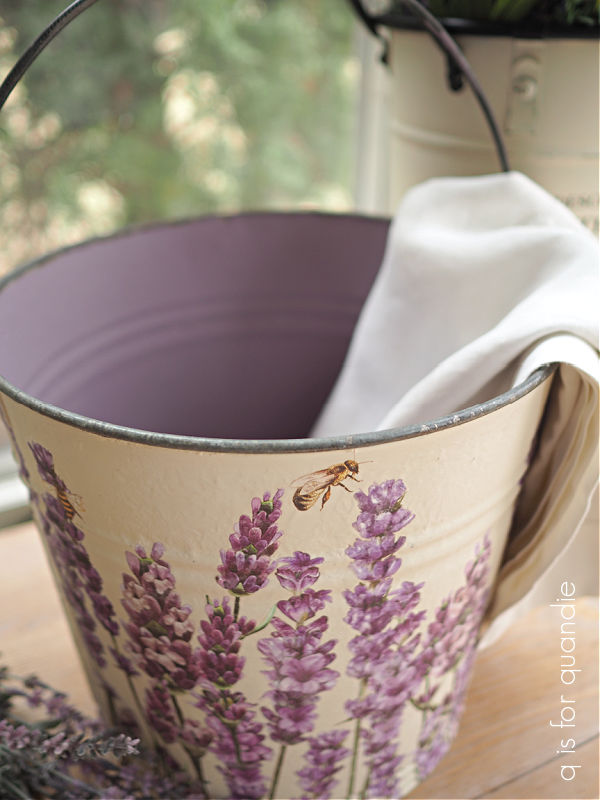
Then I added the Champs de Lavende transfer all the way around the outside of the bucket.
![]()
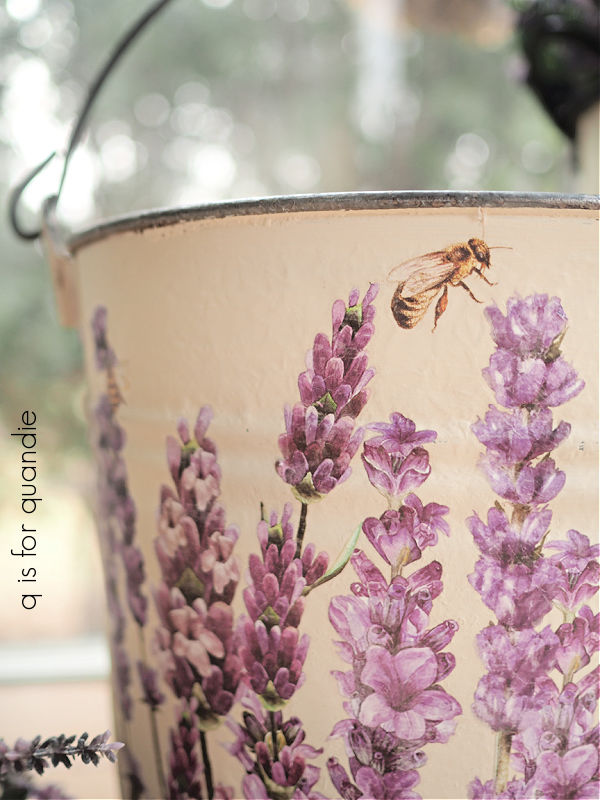
I just love the detail of that little bee.
Once I had all of the transfers applied, I gave the bucket a couple of coats of Dixie Belle’s flat clear coat on both the inside and outside.
Now, you might be thinking ‘what in the world is one supposed to do with this bucket’? Obviously it’s not going to be used for scrubbing the floor.
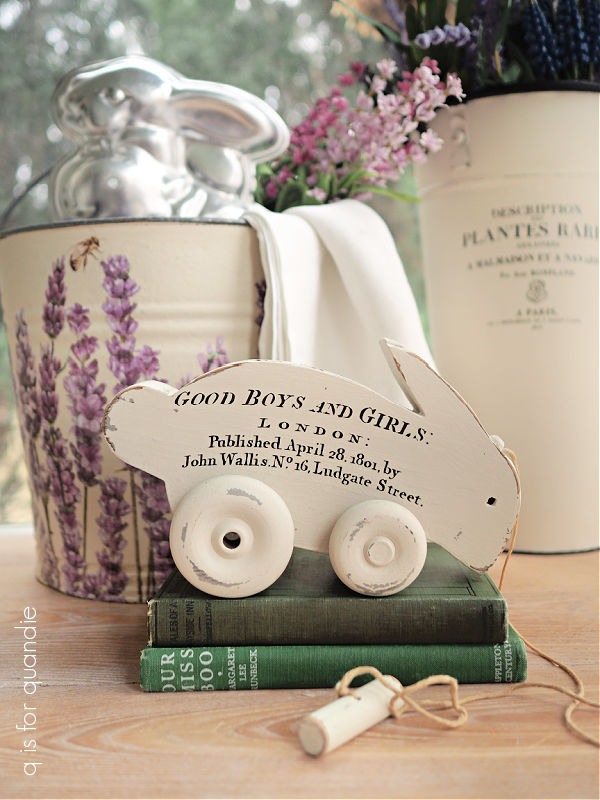
But I think it would be adorable as an Easter basket. Fill it with faux grass, a giant chocolate bunny and colorful Easter eggs.

OK, so I didn’t actually have any of those things on hand to fill the bucket for a photo, so I made do with an aluminum bunny mold and some faux flowers. But you get the idea.
And speaking of bunnies, I have one last do-over for you.
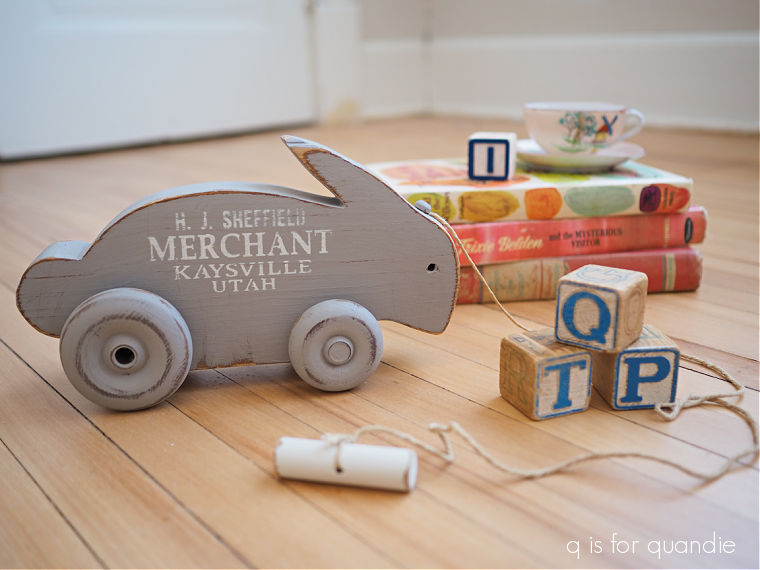
I painted up this bunny pull toy back in February 2023.
I brought him to the shop back then, but he didn’t sell.
To be honest, I sort of forgot that I even had him. But I came across him while looking for anything at all to put in that bucket and decided to give him a quick makeover as well.
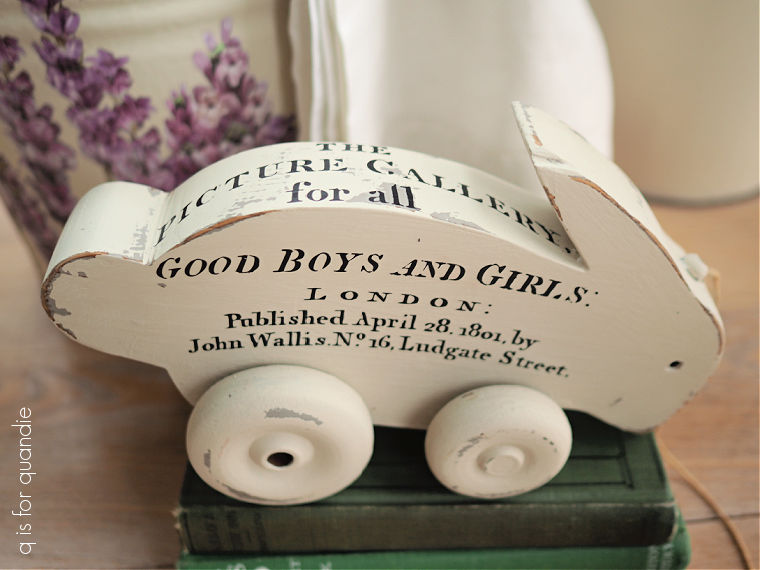
I gave him a fresh couple of coats of Dixie Belle’s Drop Cloth, then after a good sanding to distress the paint, I added that section of the I.O.D. Traditional Pots transfer.
Perhaps the warm white will appeal to a buyer more than the former grey color did. We’ll see.
I did take all three of these items, the bucket and the two bunnies, into the shop where I sell on consignment this week (Reclaiming Beautiful in Stillwater, MN). So if any of you locals need to get out this weekend, be sure to stop by and check them out!