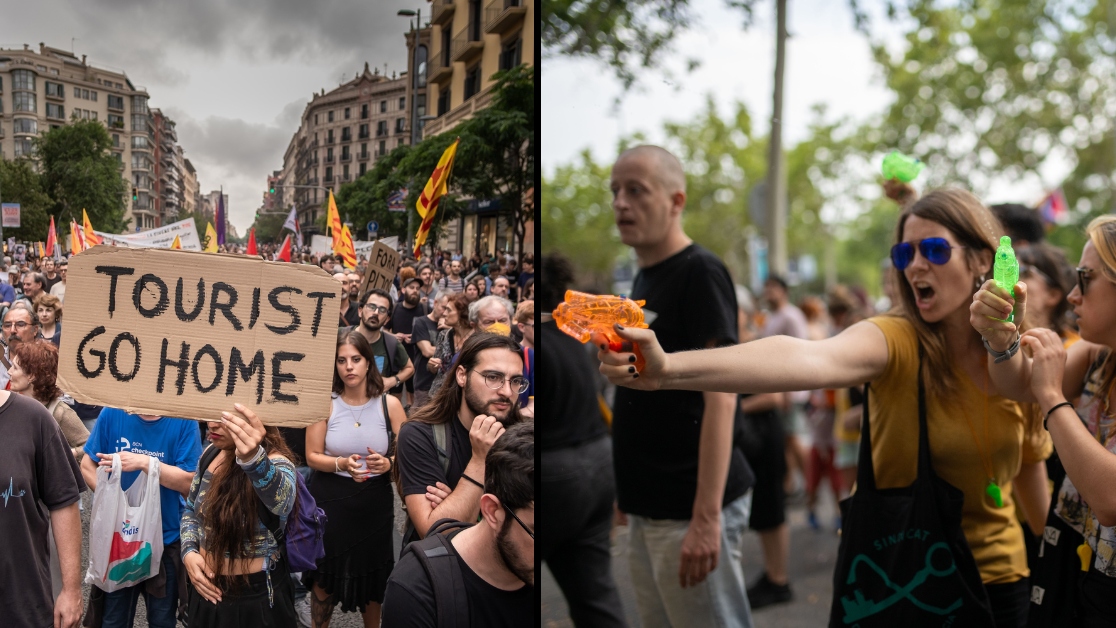
Lately one topic that has been getting a lot of press is over-tourism. So many of the most popular tourist destinations have become overrun with visitors; places like Venice, Barcelona or Amsterdam.
Perhaps you’ve seen news footage of locals spraying tourists with water pistols in Barcelona.
There is so much to unpack in any conversation about this situation and I don’t want to get into that here other than to say that I’m not keen on the idea of going somewhere where I’m not welcomed. Although that being said, I have been to all three of those cities and had a perfectly wonderful time.
But today’s post is about a little known place that has precisely the opposite attitude towards tourists called Saint Pierre and Miquelon.
Saint Pierre and Miquelon is an archipelago of eight islands off the coast of Newfoundland. However, it’s not part of Canada. While France gave up most of its territories in North America after the French and Indian war, it held onto this one because its fishing industry was so important for keeping French citizens fed. To this day, Saint Pierre and Miquelon is still a French territory, or more correctly, a ‘French overseas collectivity’. The official language is French, and the official currency is the Euro.
In other words, it’s a little bit of France in North America.
Unfortunately, the economy of this small collectivity suffered greatly with the decline of the fishing industry and the 1992 Canadian cod moratorium. As a result, there is now an ongoing push to promote tourism in an effort to boost their economy.
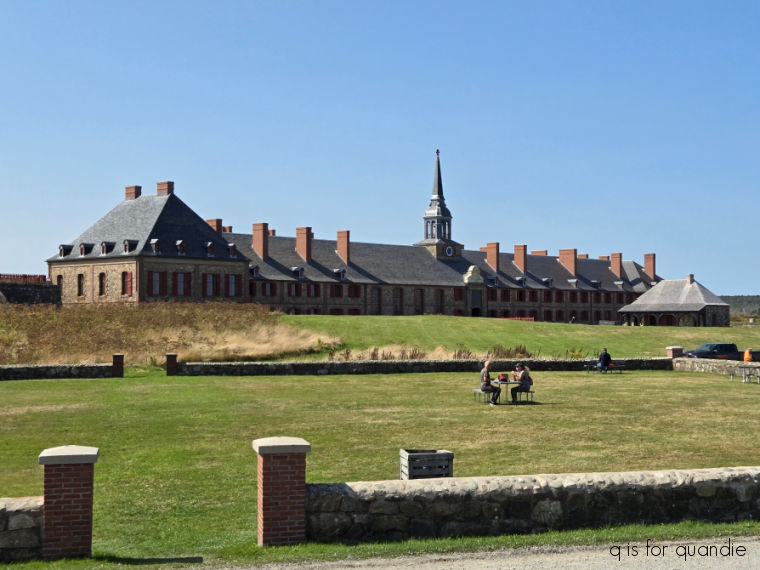
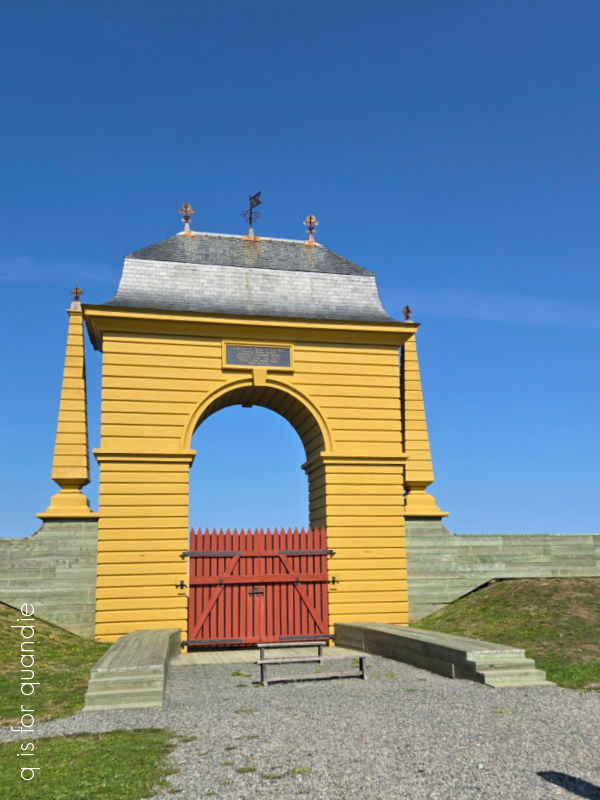
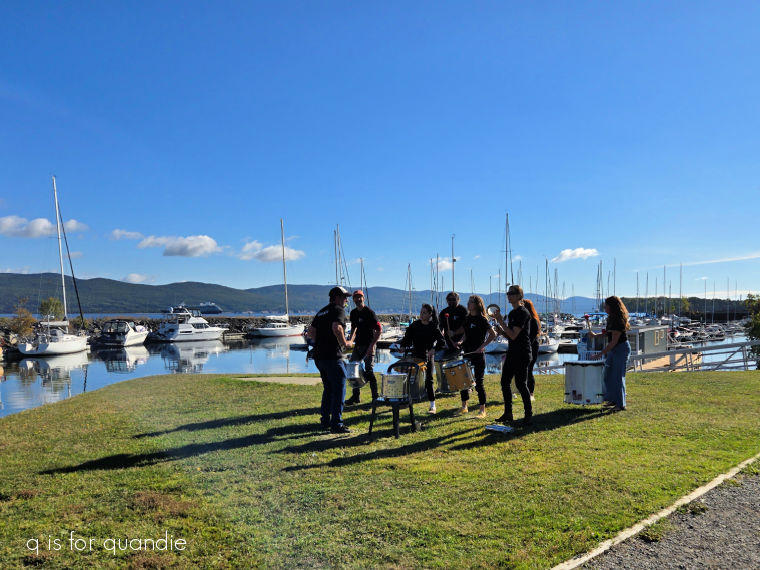
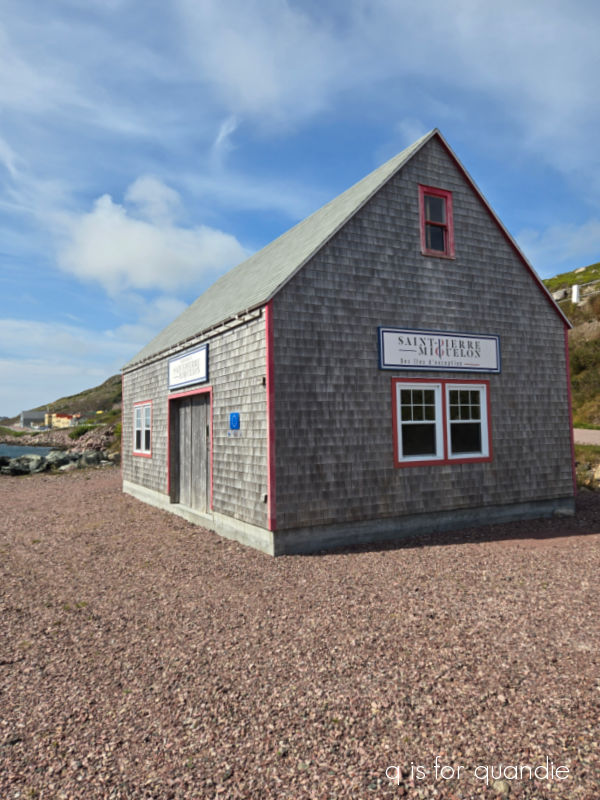
We took a guided walking tour on our visit, and although there wasn’t a whole lot to see, it was very interesting and informative.
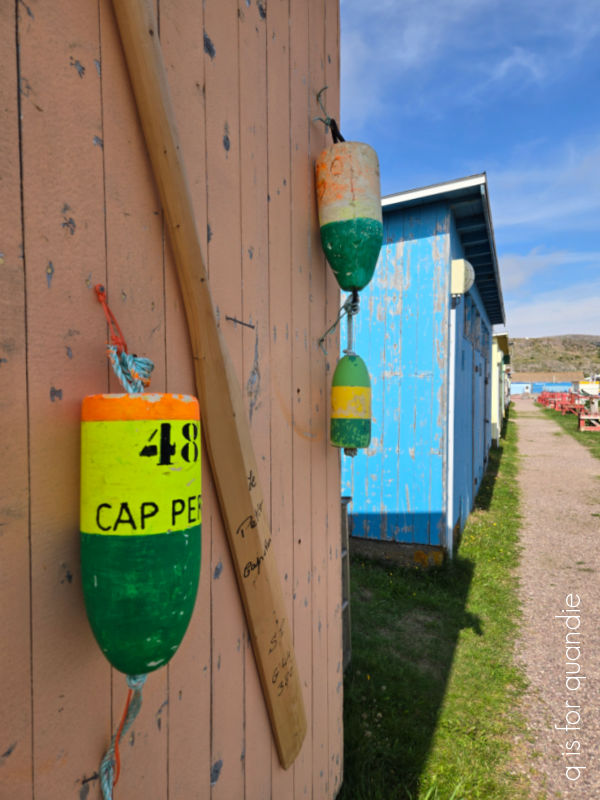
We learned about the fishing industry that remains, and the Saint Pierre working dory.

These are flat-bottomed fishing boats that are unique to Saint Pierre.
We also learned quite a bit about what it means to be a French overseas collectivity. They are semi-autonomous, having their own local government, while the French government retains authority over areas such as justice, defense, and university education. Our guide told us that many of the college age residents go to university in France.
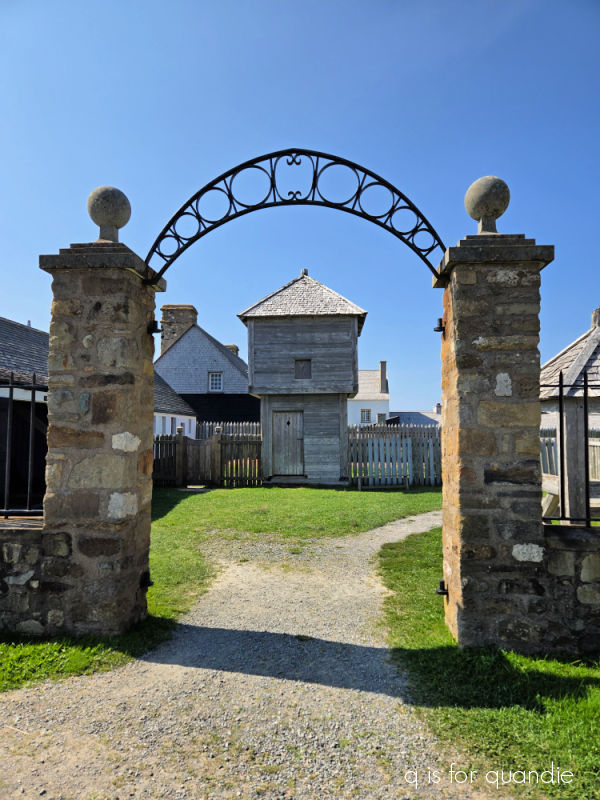
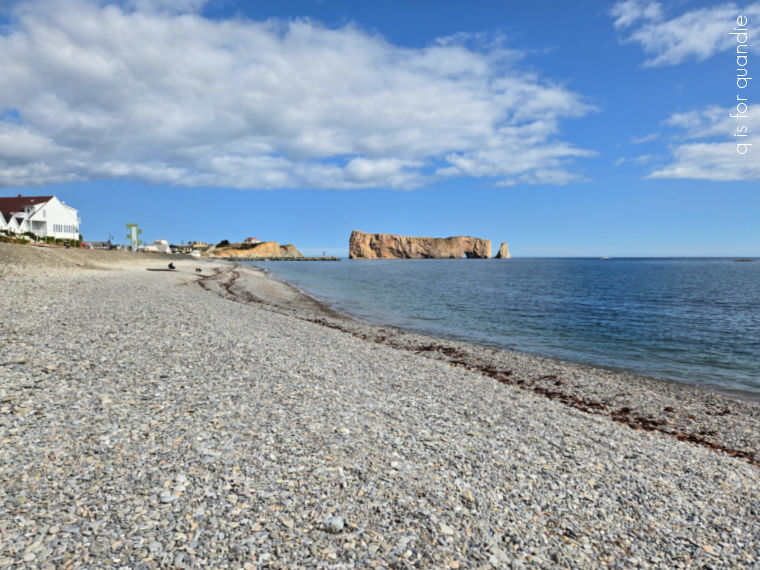
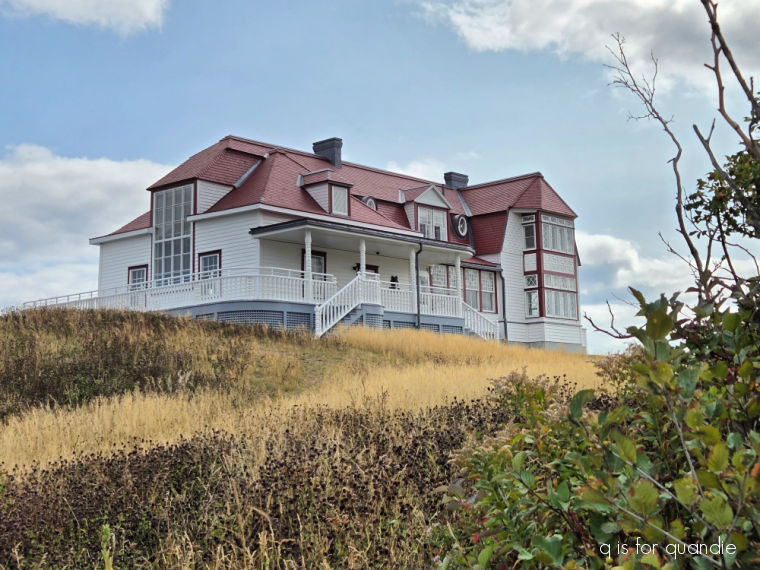
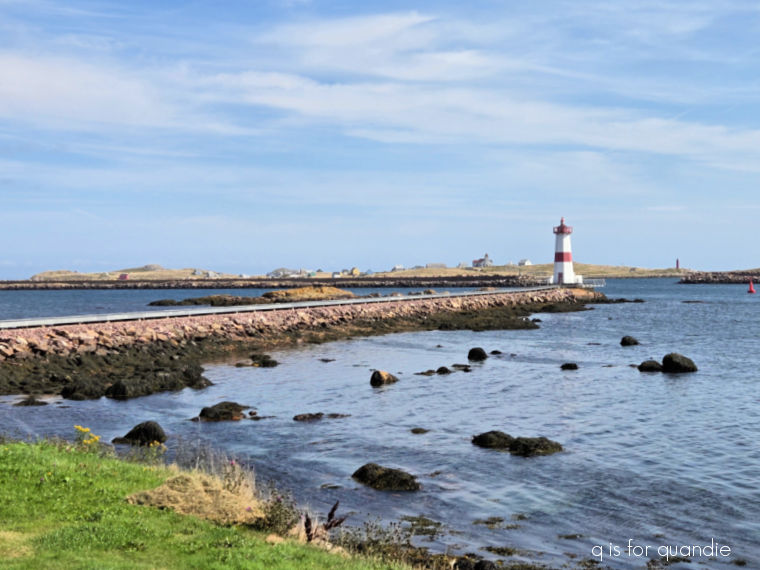
What I really wanted to know more about though was the Île aux Marins, or Sailor’s Island.

Doesn’t that look like the perfect spot to film a murder mystery?

Actually, there is a Canadian crime drama called Saint-Pierre, and it is filmed on location, but I’m not sure if any of it has been filmed on Sailor’s Island. It airs on the Canadian network CBC. I may have to figure out if I can stream it somewhere online.
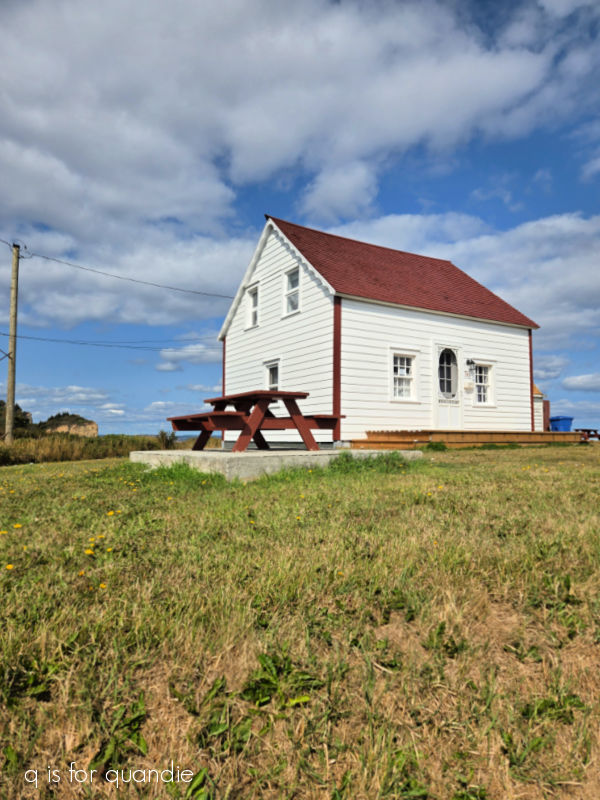
But back to Sailor’s Island itself, it is a small island just a few hundred yards off the coast of St. Pierre that was once a fishing village. However, it was abandoned completely in 1963. It has now been turned into an open air museum (and you know I love a good open air museum).
Unfortunately, as I mentioned when I returned from this trip, I came down with Covid about mid-trip and this particular day was when I first started feeling unwell. So I just didn’t have it in me to get up early, figure out how to get over there, and visit it, all before our previously scheduled 1 pm walking tour.
I have to say, I really regret not making more of an effort to visit it. Although I’m not entirely sure it would have even been possible. I never saw any boats heading over that way, so I do wonder if it was closed for the season.
We sailed away from Saint Pierre at 3 pm, so once our walking tour concluded we had to get right back to the ship and weren’t able to do any additional exploring.

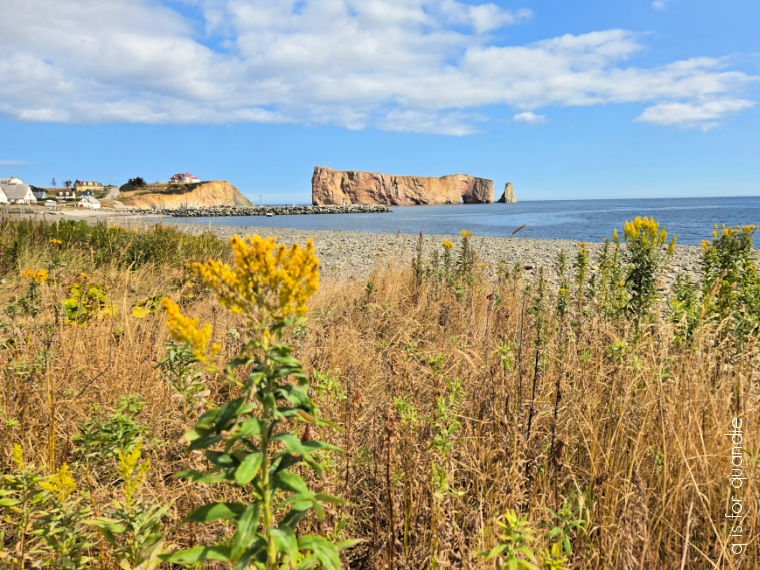
It was a beautiful afternoon, perfect for heading back out to sea.
Have any of you been to Saint Pierre and Miquelon? Did you even know that there was a little bit of France still located just off the coast of Canada (I didn’t)? Leave a comment and let me know.