
Over the past several years I’ve sort of accidentally started a new Christmas tradition for myself. Each year I create a new theme for my holiday gift wrapping.
Last year I kept the colors really neutral and I used some Deer transfers from re.design with prima.
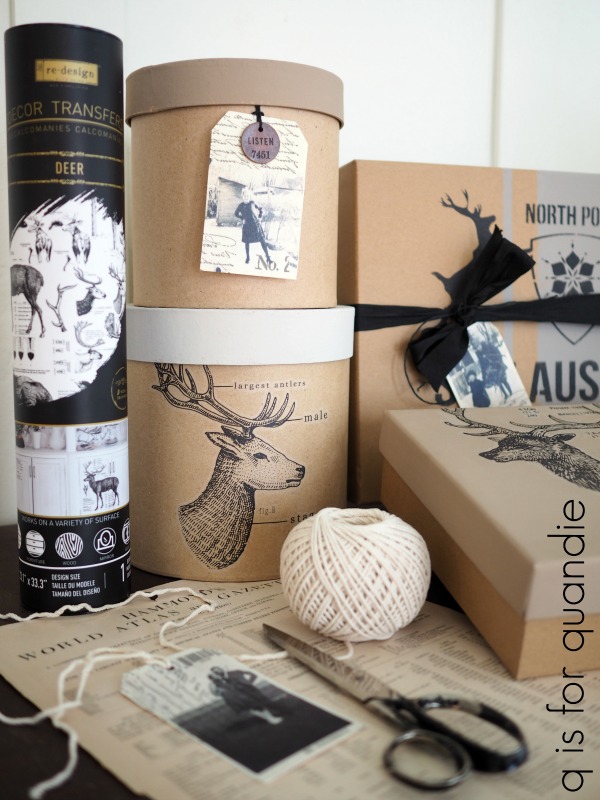
I also made gift tags using photocopies of old black and white family photos.

In 2018, I was inspired by a recent trip to a velvet making factory in Venice and I stenciled my own wrapping paper to simulate the look of their beautiful fabrics.

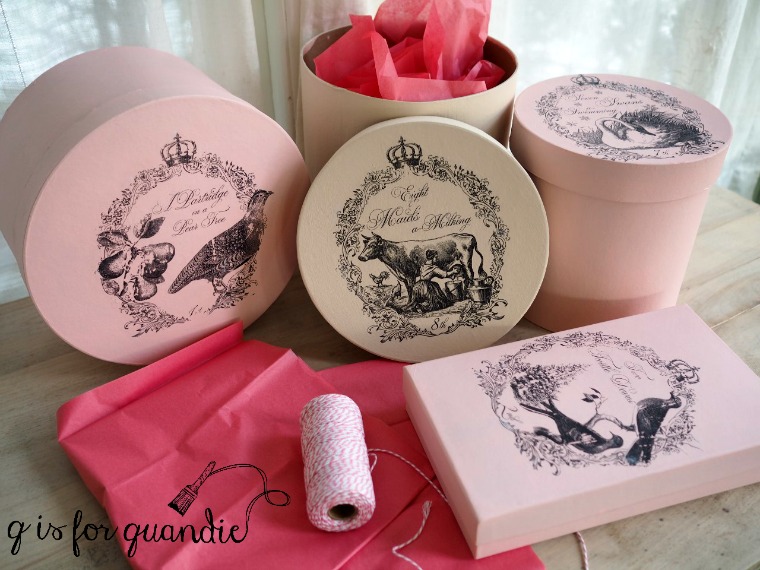
In 2017 it was a pretty in pink Christmas. I painted boxes pink and used Fusion’s transfer gel to apply some 12 Days of Christmas graphics to them.
Back in 2016 I used Fusion’s Copper paint and old rolls of player piano music to create some unique Christmas gift packages.

I started this 2020 holiday season feeling a little bit stumped about what I was going to do.
Then I remembered this set of IOD Crockery stamps that I purchased a while back.

I absolutely love the designs on these, but here’s the thing … I really think it’s difficult to use rubber stamps effectively on anything other than paper. I’ve used them on fabric in the past, and also on painted furniture, but I didn’t like the results well enough either time to repeat the experience. I’ve also seen people use them on curved surfaces, but to me the results always just look sloppy. In my opinion, it’s extremely difficult to get a crisp look with a stamp on anything other than a flat surface. It’s also entirely possible that I am just a tad too picky about these things 😉
What I wouldn’t give to have some transfers in these designs, they’d be gorgeous on jars, plates, clay pots, the possibilities would be endless (come on IOD, make these as transfers!). Unfortunately you can’t get anywhere near this level of detail with a stencil, or that would be awesome too.
Anyway, despite the fact that they aren’t Christmas-y at all, my idea was to somehow use these stamps to create some holiday gift wrapping. I made up a shopping list for the craft store and planned to get some supplies and see what I could come up with.
I was literally in the process of putting makeup on so I could go out in public (to Hobby Lobby) on Black Friday when I decided that I really didn’t want to go to a crowded store. I’d just avoided going to my in-laws for Thanksgiving, and that would have been just six of us. How could I possibly justify going to a crowded store on Black Friday of all days?
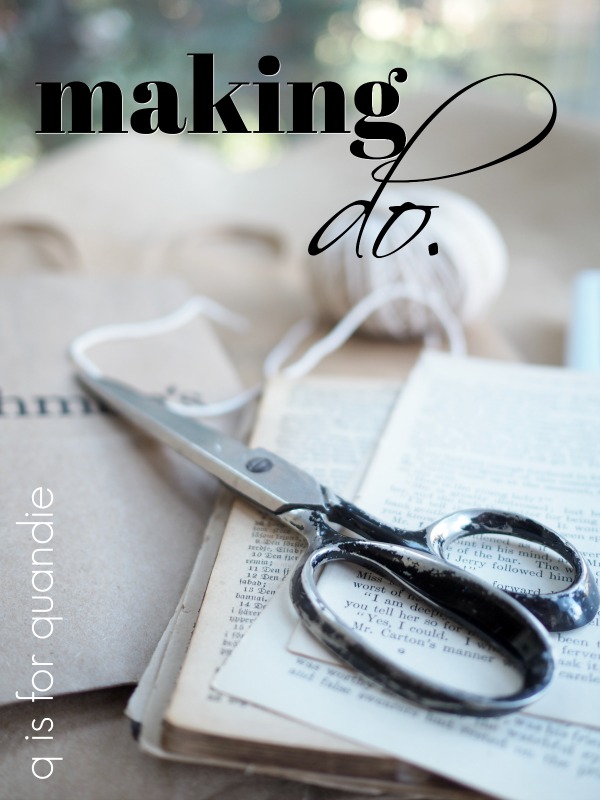
Instead I decided to just make do with things I already had around the house.

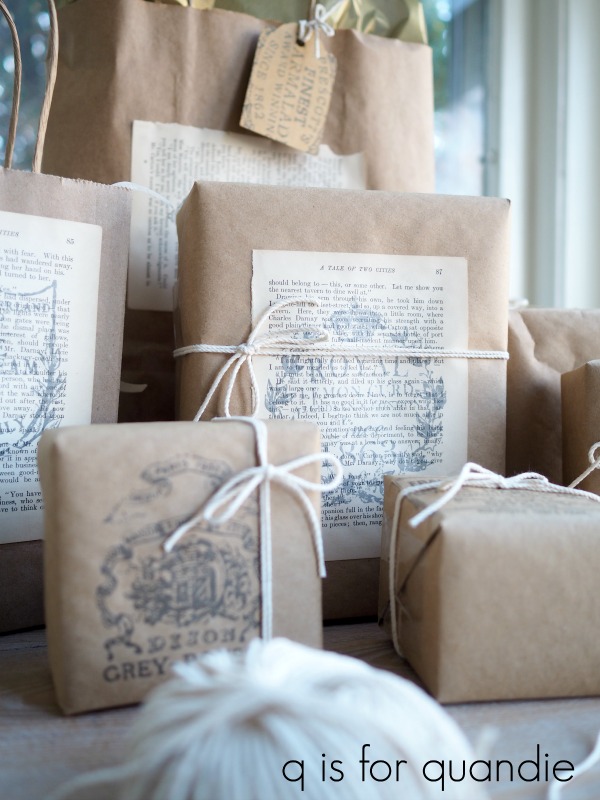
I had a roll of brown craft paper, and some brown paper shopping bags. I also pulled out some book pages and some simple shipping string.
I started with the bags. I needed to cover up the store logos, so that’s where the book pages came in. I wasn’t sure if I’d like the look of the stamps over a book page, but I gave it a shot.

Always make sure you have a firm, flat surface underneath your paper when stamping. I used a large clip board on top of my drop cloth covered piano.

Turns out that I did like the look of the stamps over book pages, so I made up a couple and glued them to the bags to cover up those store logos.
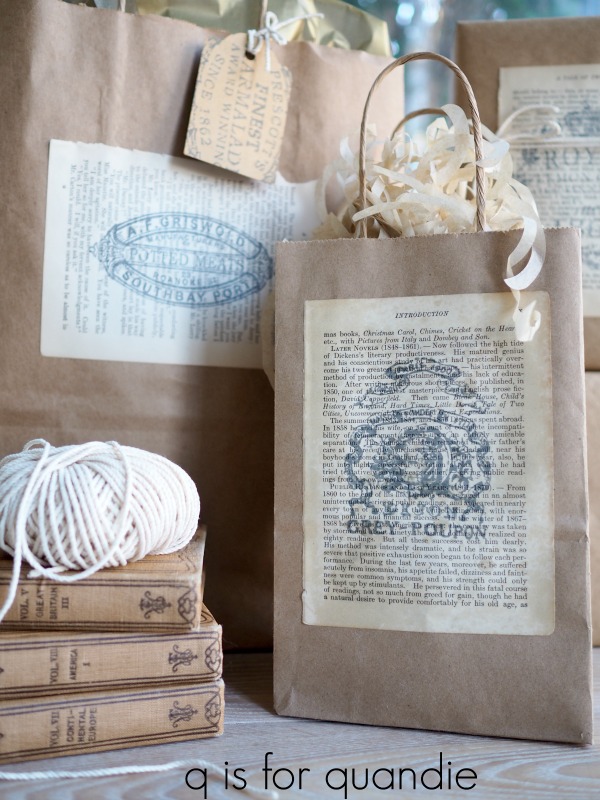
And then I wrapped some boxed gifts in craft paper and added book pages to them as well.

If you aren’t a fan of the book page look, or if you simply can’t bear ripping apart an old book, you could also just use plain paper. Or in this case some paper that was tea stained to make it look old.

But the look that ended up being my absolute favorite was to just stamp right on the brown craft paper. This was a little tricky because I stamped on the paper first, then had to keep that design semi-centered while wrapping the gift. You could try stamping after wrapping, but again, you need that firm hard surface to get a good result. If your gift box has some give, you’ll not get a crisp image.

But seriously, how adorable are those?! Totally worth the effort.

The best things come in small packages!
I needed some tags to go with my packages, so I used my Creative Memories tag punch and cut some out of cardstock.

Even though the stamps are a bit larger than the tags, I still think they worked.

I have to admit, I feel quite a bit of satisfaction that I was able to make do with things that I already had to create my gift wrap this year.
Who says you have to spend money? Just dig through your craft stash to see what you can come up with this year. Then again, you might just have to splurge on the Crockery stamps 😉
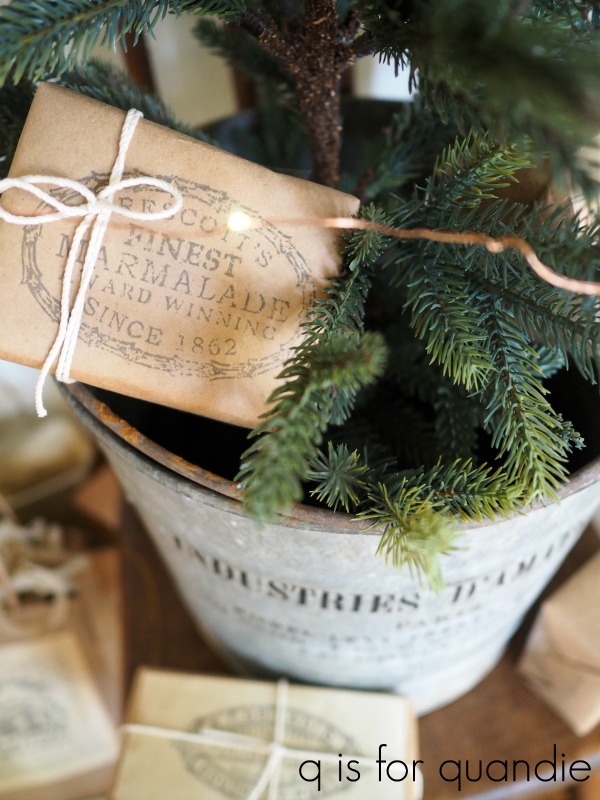
I mentioned in a previous post that I’ve decided not to put up a full sized tree this year, but I do have a little tabletop sized tree and these packages work perfectly with it.
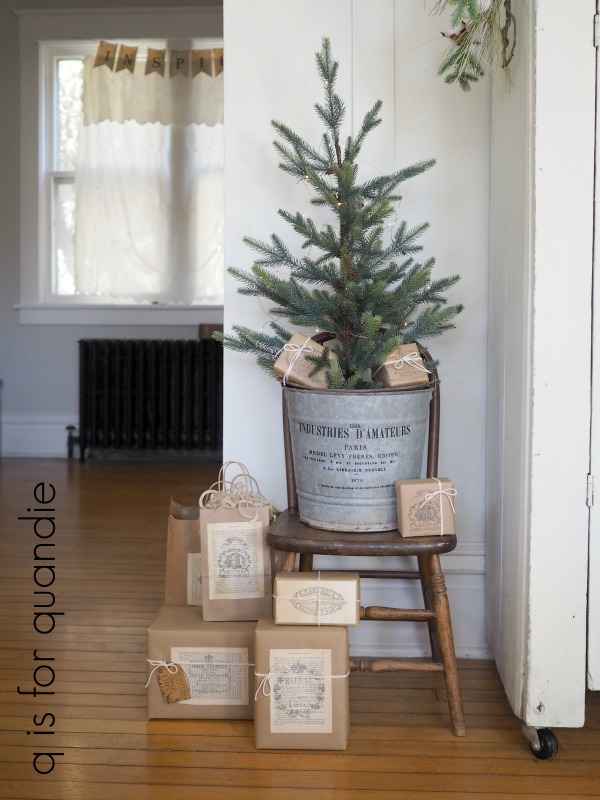
So that’s another idea you can take away from this post. If you don’t have time to fancily wrap all of your Christmas gifts, just wrap up some small boxes to use as decorations!
I hope you are all staying safe and healthy this holiday season. If you’re stuck at home (or just choosing to stay home like me), challenge yourself to see if you can make do with stuff you already have on hand.

Making Do…sums it up for this year! This is simple and beautiful!
LikeLike
Thanks Michelle!
LikeLike
Love this so much! I actually am more inspired when I have less to work with, it challenges you to think creatively! These are really lovely Linda!
LikeLike
I think you are right about that Meggan!
LikeLike
I too have been making do with things I have on hand to decorate for Christmas and to wrap gifts. The challenge brings out more creativity and I have found it to be quite fun. This was a great post on how to get creative with wrapping which is one of my favorite things to do. This year I also had to get creative with the gifts since I resorted to money for my four grandchildren. I found a youtube video on folding five bills into a five pointed star. I then attached the stars to a strand of greenery that is included with an artificial tree meant for wrapping around the stem.(Just the right size for the stars) To that I added small jingle bells, tiny ornaments, narrow ribbon etc. Rather than tissue paper, I used white batting stretched apart to look more like clouds. I still have to make the tags and I may steal your idea of using photos. No need for names. Each of them will easily be able to identify their gift by a photo of themselves when they were younger.
LikeLike
Sounds awesome!
LikeLike
You definitely are the “craft queen of ideas!” I love what you put together. You have always been so creative. I enjoy seeing what you come up with. Thanks Linda for sharing 😊
LikeLike
Thanks so much Monica!
LikeLike
Love this post! Beautiful ideas!
LikeLike
Thanks Laura!
LikeLike
Very nice. Can’t wait to see which is mine.
LikeLiked by 1 person
There are a couple in there that are for you!
LikeLike
Your ideas are endless and much appreciated 😊
LikeLike
Thanks Kathy!
LikeLike
Beautiful, organic and simple. I might also add recyclable! I am inspired.
LikeLiked by 1 person
True! Very recyclable 🙂
LikeLike
Those are adorable! I have those stamps and brown paper so it’s a win win for me! Thanks for the inspiration!
Smiles, Alice
LikeLike
So you truly can make do with what you already have on hand 😉
LikeLike
I always love to see your Christmas wrapping and can’t believe it’s 2 years since you stenciled your own wrapping paper to simulate the look of the beautiful Venetian fabrics! Where did that time go? Loving your wrapping for this year. You make it all look so professional and so easy! It’s really beautiful.
By the way, your reference to having some IOD Crockery stamps as transfers to use on jars, plates, and clay pots made me think of The Graphics Fairy. Check out her website at https://thegraphicsfairy.com/
I think she shows you how to make your own with her ‘downloadables’!
LikeLike
Really, where does the time go?!
LikeLike
I adore every single thing you did! I like it even more that you made do. Due to my husbands heart condition, we have literally been nowhere in almost 9 months. Not even Church! I go out 2 times a month and get a Walmart pick-up order. I was raised to be frugal and make what was needed. My mom was the best at that! Boy have I cranked that up into high gear the past months. And I’m so very thankful mom taught me to “make do”.
LikeLike
Oh my goodness Debbie. I hope you are hanging in there!
LikeLike
Hi Linda, I loved the family photo tags, but couldn’t see where you explained how to make them. I guess it should be self-explanatory, but alas, not for me……! Could you please give us a link to that? Thanks!
LikeLike
They are at the same link as last year’s wrapping (which is here). I don’t really give a lot of instruction on making them, but they are basically photocopies of old photos, glued to shipping tags, trimmed off and then I embellished with various rubber stamps. Easy peasy.
LikeLike
Love these! They look so pretty and I love the subtle colors of the blue and cream. Every year you come up with something so different and out of the box!
LikeLike
Another inspiring idea to try our creativity and make something useful and unique …and a great year to remind us we can use what we have. The stencils are lovely and I love the neutral theme. Thank you!
LikeLike