
Having been a tad under the weather recently, I haven’t been terribly energetic. Which means I haven’t exactly jumped into working on my next piece of furniture. That’s OK though, January doesn’t tend to be a great month for furniture sales anyway.
Instead I’ve been playing around with some awesome products that Prima Marketing has sent my way. So I thought I’d share a few of those with you today starting with these wooden plates.
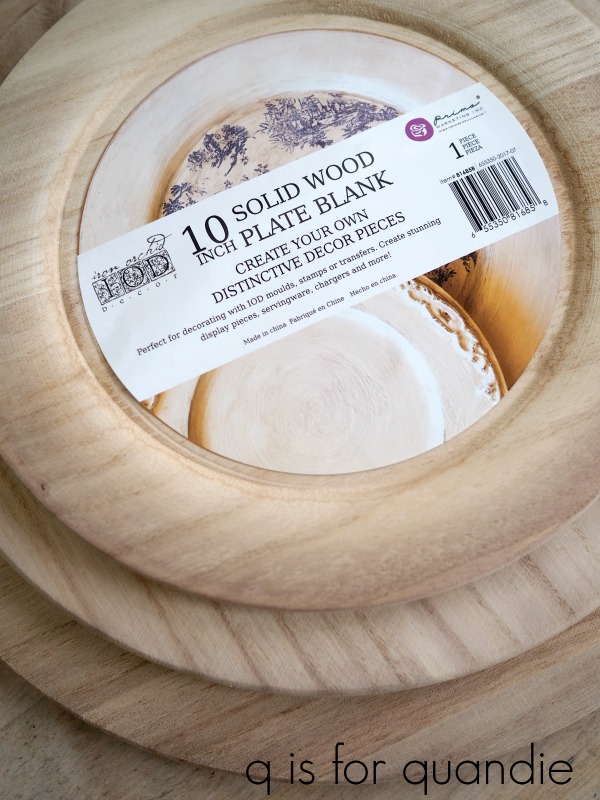
They come in three sizes, 10″, 12″ and 14″ and they are basically a blank canvas for getting creative. Once finished you could use them as chargers, display them in a china cabinet or maybe just hang them on the wall. I have another idea for them too, but I’ll be sharing that in a separate post.
But for today’s project, I started by painting a pair of them with Dixie Belle’s Drop Cloth, which is a fantastic warm creamy white. Once they were painted I pulled out a few of my favorite Prima Marketing transfers including Never Ending Story and Simplicity.
I covered the entire surface of each plate with these.

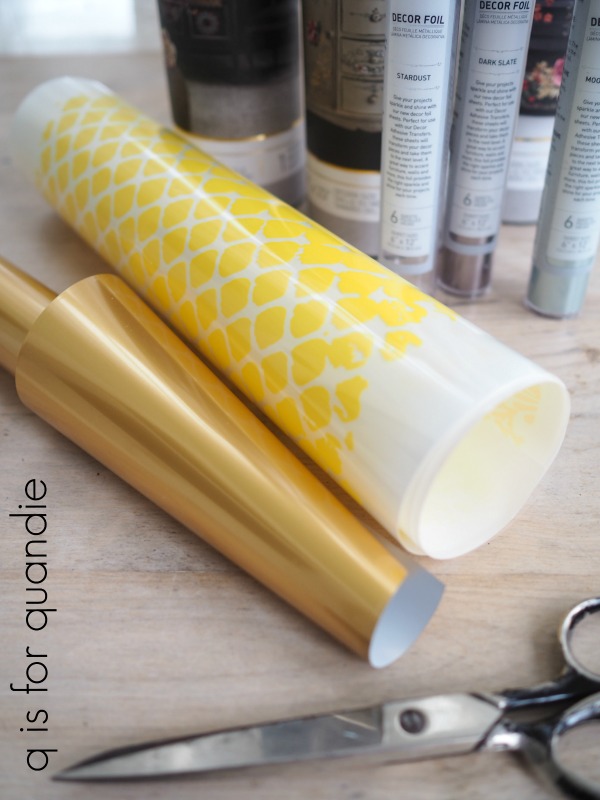
Then I thought it would be fun to try the new Adhesive Transfers and Decor Foils that Prima Marketing has come out with.
![]()
These work a bit differently than their other transfers. The Adhesive Transfer itself is bright yellow and is sticky on both sides. The Decor Foil is then used over the adhesive transfer. This gives you some versatility since you can use any of the different colored foils with any of the different transfers.
So, let’s go over the process step by step.
Step 1. Choose the portion of the adhesive transfer that you want to use. These transfers have multiple designs in each package and they retail for around $20 or so. For example, here is the sheet that comes with the Nature & Scripts set.
![]()
I’m going to use that floral section in the upper right on my first plate so I cut that section out from the rest of the transfer.

Step 2. Apply the transfer using the flat stick that is provided just like you would any transfer (see this post if you don’t know how to do that).

Yep, at this point it’s bright yellow. It’s also sticky on top.
Step 3. Choose a Decor Foil. They come in lots of pretty metallic colors such as Relic Copper, Dark Slate and Moon Water. There are six 6″ x 12″ sheets of foil in each tube and the tubes sell for less than $6. I chose to use Stardust which is a matte gold.
Step 4. Place the Decor Foil metallic side up over the sticky yellow adhesive transfer. Press the foil into the adhesive using that same flat stick you used with the transfer.

Step 5. Pull away the sheet of Decor Foil leaving the foil behind where it adheres to the sticky adhesive transfer. It’s important to note here that you may not get complete coverage with the first pass. See …
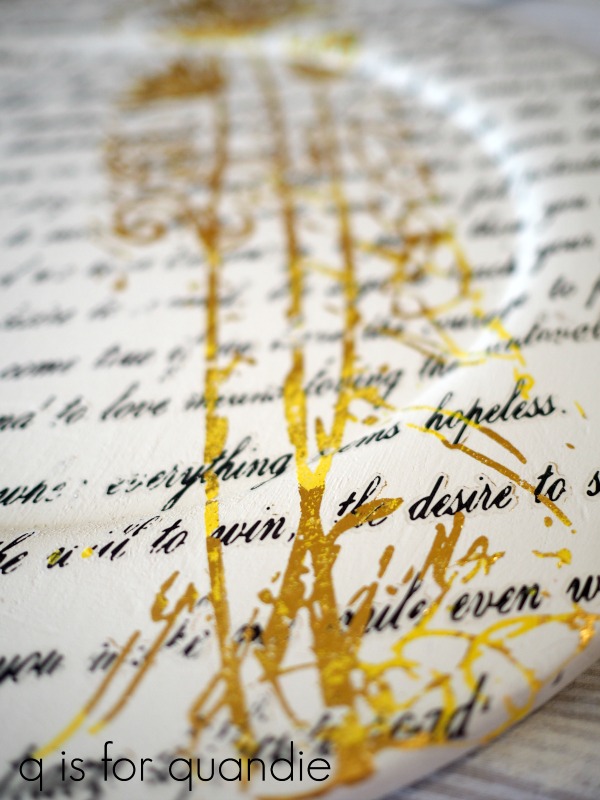
Any spots that still show as bright yellow need more of the foil applied. It’s super simple to just keep going over those areas by pressing unused sections of the foil into them with your fingers or the stick until they are fully covered.

By the way, I used the script portion from the same set of adhesive transfers for the smaller plate.
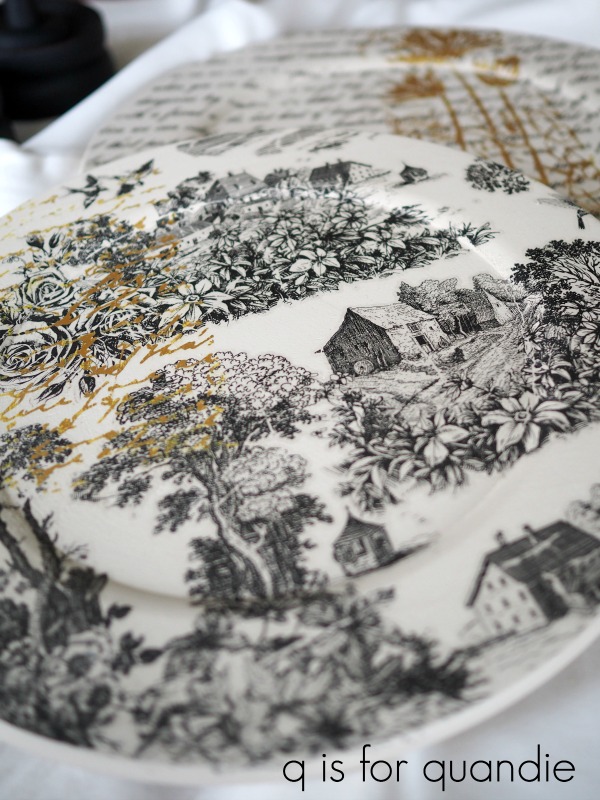
I think the Decor Foils have a look similar to gold or silver leaf, and I love how they look layered over the black and white transfers.
This look would translate well to furniture. I can see doing something like this on the drawer fronts of a dresser or vanity. I will warn you though, I used Miss Mustard Seed’s furniture wax as a top coat over my finished plates and that did not work well over the Decor Foil. It seems to rub away some of the foil and make it sticky. I would suggest either skipping a top coat, or using a water based top coat like Miss Mustard Seed’s Tough Coat or the Real Milk Paint Co’s Finishing Cream instead.
If you’re wondering where to purchase the Prima Marketing products, check out their ‘where to buy’ page.
Prima Marketing has been so generous in sharing these new products with me, so I want to pay it forward by giving away the Spring Radiance Adhesive Transfer set along with the Decor Foil in Boudoir Rose today.

The basic rules: to be eligible to win today’s prize leave a comment of any kind on this blog post. Your comment must be left on the blog, not on Facebook or Instagram. You are not required to follow my blog, although it would be awesome if you did!
Normally I make a point of answering every comment left on my blog. If someone takes the time to leave a comment, I like to acknowledge that. I usually only get 10 to 20 comments so it’s easy to fulfill that promise. But I suspect I’ll get a few more comments on this post so I’m going to warn you up front that I may not be able to answer each one, so I hope you guys will cut me some slack on that.
I will randomly draw the name of a winner for today’s prize from all of the comments left on this post by Sunday, January 20, 2019 at the stroke of midnight (U.S. Central time).
The fine print: no purchase necessary, you must be 18 years of age or older to win, void where prohibited by law, the number of eligible entries received determines the odds of winning, approximate retail value of prize is $25, if the prize is not claimed by Friday, January 25, 2019 another name will be drawn at random to win, blah, blah, blah.
Good luck!

I have found a really inexpensive way to upgrade chargers as well. I had multiple styles of the cheap (plastic) chargers found in any craft store for under $3.00 each. Painting them first with chalk paint, which adheres to anything, and then decorating with stencils, etc. and finishing with wax or a poly finish. Voila! Anything you want and you can re-do when the mood strikes you! Have fun with it.
LikeLike
Great idea Debra! I often find the heavier-weight chargers at the thrift store too, and those would be fun to change up as well.
LikeLike