
You all know my opinion on matched bedroom sets, or as they called them back in the day, a bedroom suite. I’m not a fan. To be more specific, I’m not a fan of keeping them together and using them in one room. On the other hand, I’m a big fan of buying them and separating the pieces. It can be a tremendous value.
Even though I’ve already shared the ‘afters’ of most of the pieces in this set, I thought it would be fun to put them all together in one post so you can see just how far it went.
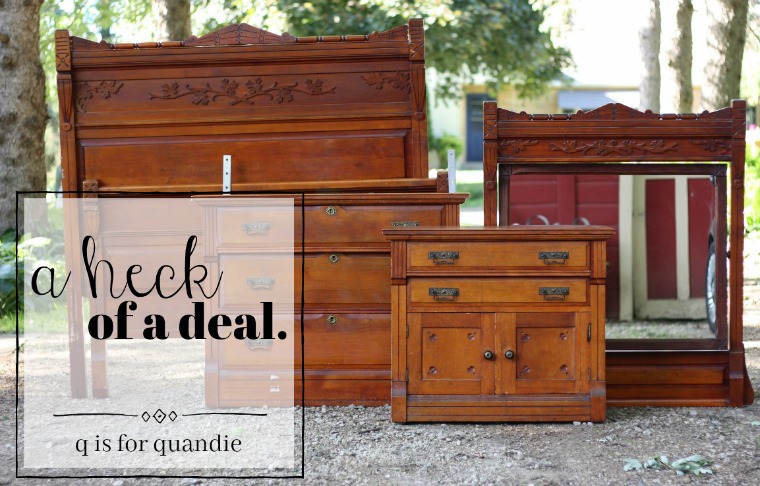
Funny enough, when I first looked at the ad for this set I was specifically trying to decide whether or not I liked the bed well enough for my own room. I debated back and forth with myself on it for a while before I had one of those smack your forehead, duh, sort of moments when I realized that this set was a heck of a deal regardless of whether or not I was going to keep the headboard. If I ended up deciding I didn’t like the headboard, I could still sell it along with everything else.
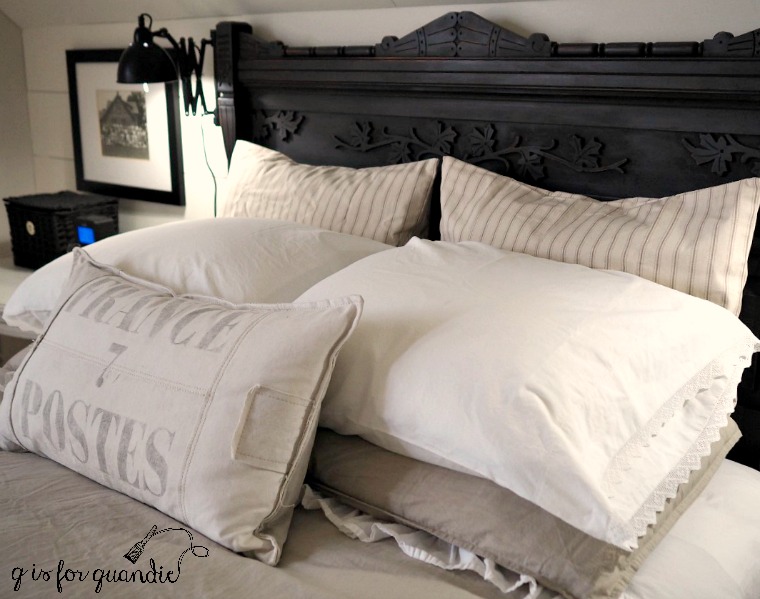
As it turned out, I loved the headboard and it is perfect in my master bedroom. I altered it to fit my queen sized bed (read that post here).
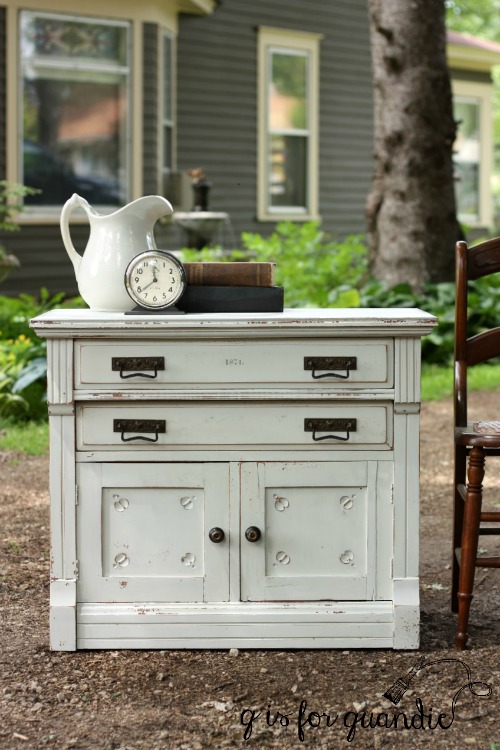
I also love how the little nightstand/washstand turned out. If I didn’t already have a similar piece that came from my grandparents, I would have been tempted to keep this piece myself.
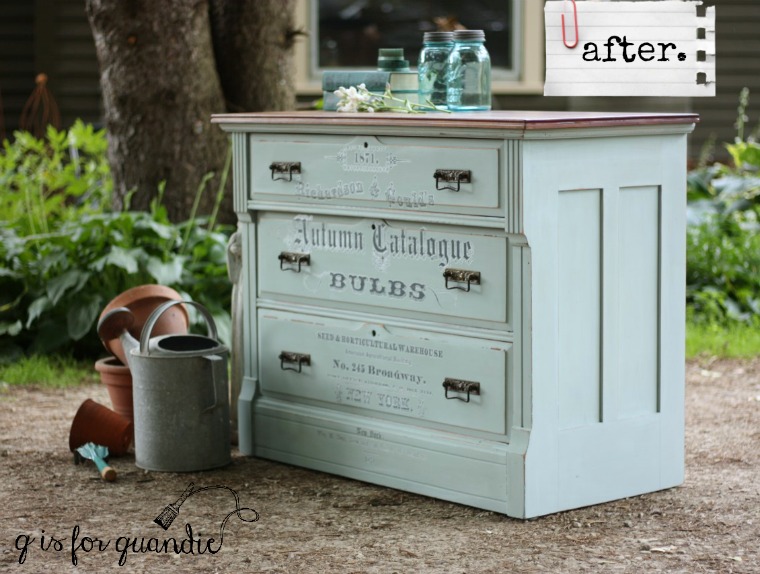
I separated the mirror from the dresser, painted the dresser and added an IOD transfer.
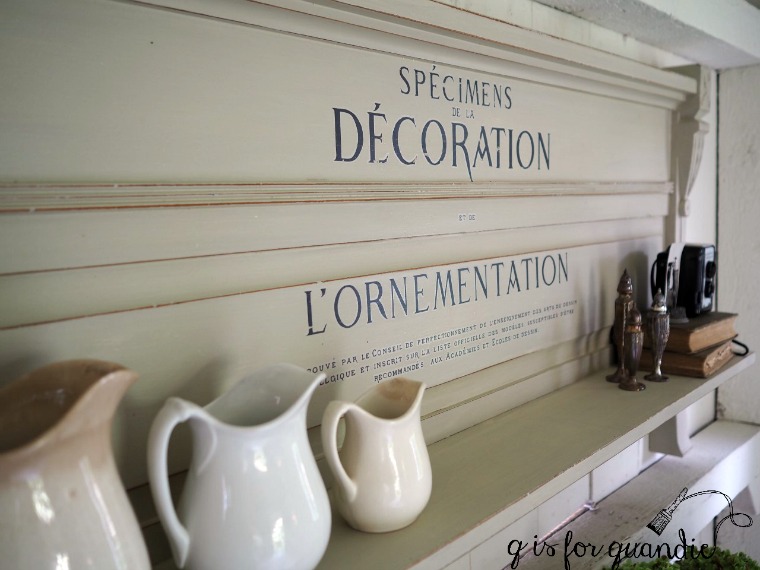
Since I couldn’t use the foot board after converting the headboard to fit a queen sized bed, I decided to ask Ken to use one of the side rails to add a shelf to it. I’d done this once before with a headboard and it was a great success. This one turned out pretty awesome as well.
I made a Farmers’ Market sign out of the remaining side rail. I currently have this hanging in my dining room, but it’s also listed on my ‘available for sale’ page because I don’t think it’s perfect for this spot. I’ll continue to keep an eye out for just the right thing for my dining room wall.

Finally, I turned the mirror frame into a chalkboard.
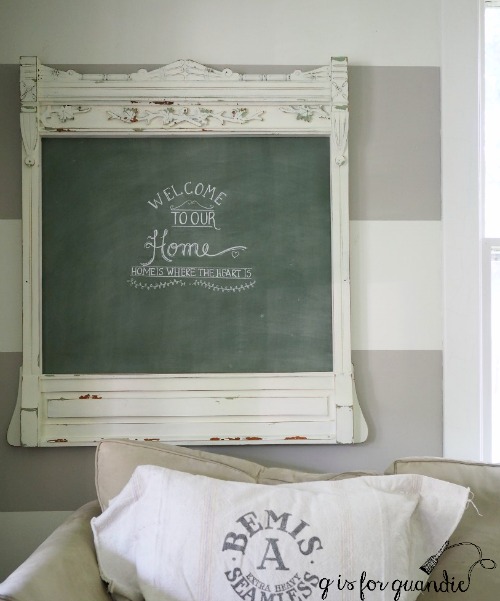
I didn’t share that makeover here on the blog since I’ve done several of these in the past and blogged about them here and here. Usually I have Ken add a shelf to these, but this one didn’t have a good spot for the shelf because it has that raised panel at the bottom.
Here’s a close up so you can see the chippy, layered finish I achieved with milk paint.

That is a base layer of Homestead House Upper Canada Green milk paint with HH Limestone over it. I used my secret weapon for perfect chipping, adding some HH Salad Bowl Finish (or Miss Mustard Seed Beeswax Finish, same stuff) between the layers of paint.
I finished with a top coat of Low Sheen Finishing Cream from the Real Milk Paint Co.
Currently this piece is hanging in my living room, but I don’t think this will be its permanent home either.
So, if you’re keeping track, I took this one 3-piece bedroom set and made six individual pieces out of it. And technically I still have the mirror itself, which has a pretty frame. I’m debating whether to turn it into a chalkboard also, or leave it a mirror. So really, I will have 7 pieces in the end. Like I said, a heck of a deal!

It was a heck of a deal and I like the way every single piece turned out.
Especially fond of the headboar. It almost persuades me to change the trajectory in my bedroom. (Since you liked that phrase thought I could use it one more time) Ha!
Hope you have plans for a great holiday weekend.
LikeLike
LOL … still love ‘change the trajectory’. It seems that I am changing my trajectory every other day with my decorating split personality!
LikeLike
Headboard of course not headboar…
LikeLiked by 1 person