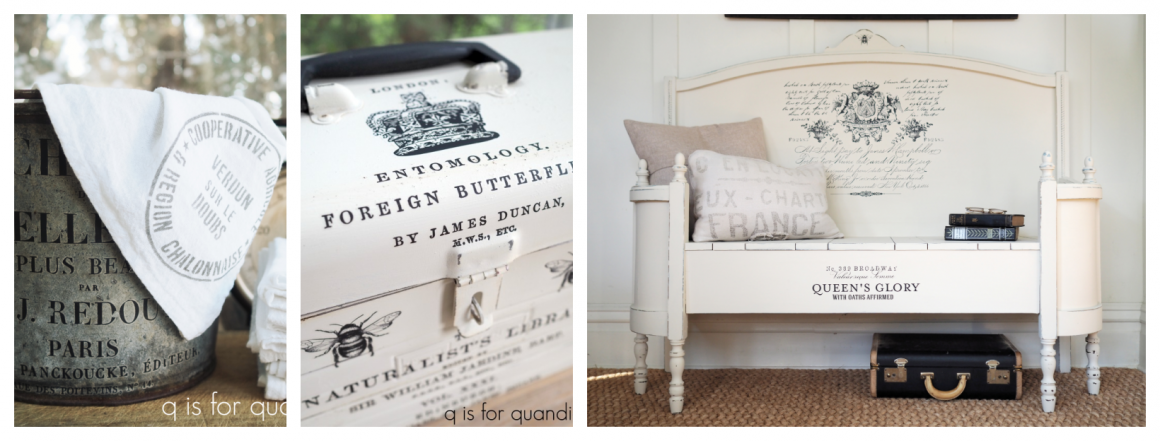
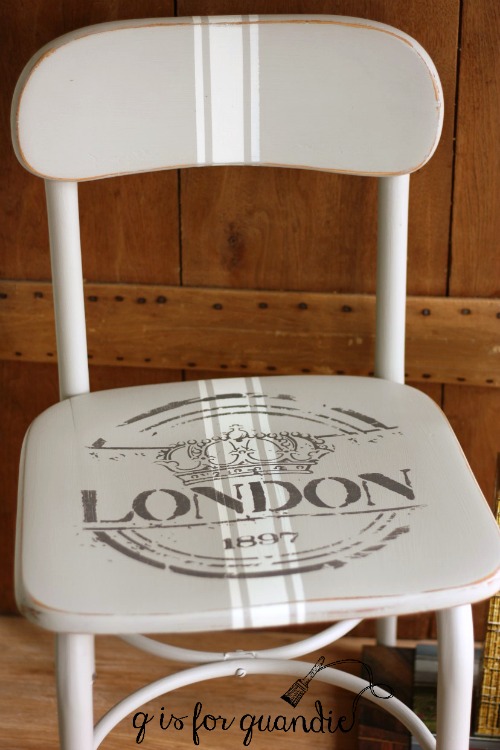
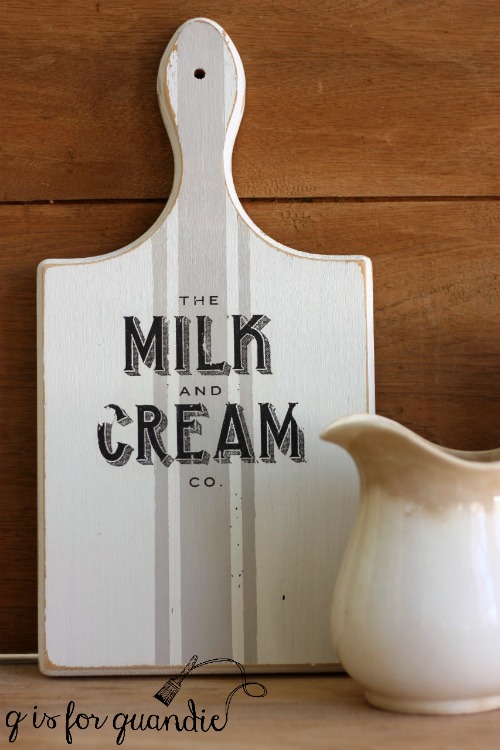
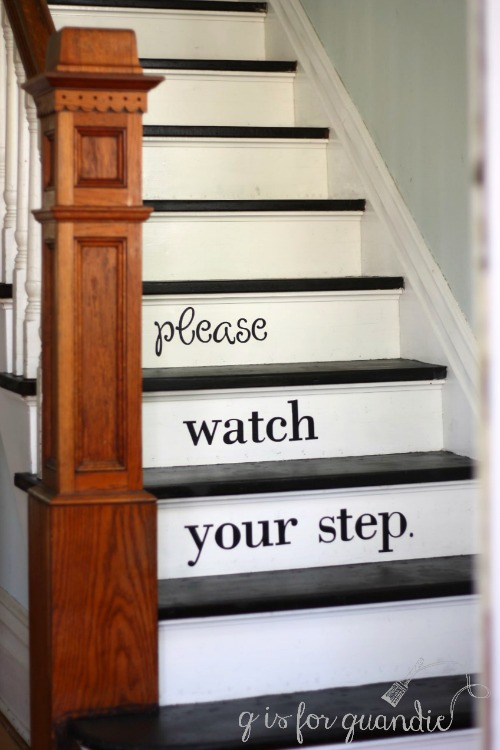
After reading some of the comments on Monday’s post about my ‘specimens de la decoration’ cabinet, I realized that a post comparing rub-on transfers, gel transfers, stencils and hand-painting might be worthwhile.
Are you a fan of adding words or other graphics to furniture? Or even perhaps to your walls or other items of décor around your home?
I’m sure I’ve already established that I am definitely a fan, and I think I’ve tried just about every method there is to get them on there. There are pros and cons to each.
Are you familiar with the project management triangle?
The theory behind it is that you can’t have all three things on the triangle at once; fast, good and cheap. You can only achieve two out of the three on any one project. You can have cheap and fast, at the expense of quality. You can have quick and high quality at the expense of low cost. Get the concept? It applies well here. The cheapest options are also the most time consuming. The most expensive are the easiest and produce the highest quality result. But let’s go ahead and evaluate each one, shall we?
Rub-on transfers.
Not to be confused with gel medium transfers, which I’ll discuss in a minute, a rub-on transfer is a ‘dry transfer’ that is on a ‘backing material such as paper or plastic sheeting much like a transparency’ (Wikipedia). They are applied by placing the sheet with the transfer down over your intended surface and rubbing the sheet with a tool of some kind until the transfer is adhered to your surface. Rub-on’s will give you a high quality appearance and are fast to apply, but they cost more than other options.
Pros: I think rub-on’s have the most professional look. The designs can be much more highly detailed than stencils; in fact they are absolutely gorgeous. They are easy to apply. You can use them on painted surfaces, wood, metal, glass, plastic, paper … have I missed anything? Until now I was only aware of rub-on’s for small craft projects, but I’m thrilled to have found large transfers for furniture!
Cons: They are expensive and can only be used once each. There is a little bit of a learning curve if you’ve never used them before because you have to get used to making sure the entire design is properly adhered before you remove the backing. I wouldn’t use a rub-on transfer on a surface that will get a lot of wear such as on the seat of a chair or a table top. I don’t think it would hold up well under that kind of use.
Stencils.
Stencils are usually made out of a piece of Mylar with the design cut out of it, although sometimes they are made with heavy paper or even metal. They are applied by placing the stencil over your intended surface and using a stencil brush and paint with a pouncing motion to fill in the design. Stencils will also give you high quality and fast, but not cheap.
Pros: Stencils also have a very professional look when done well. They are very quick and easy to apply. You can re-use them over and over and over, thus lowering the cost per use. You can easily use a painted stencil design on a chair seat or table top as it will wear the same as any other paint treatment.
You can get creative with stencils using just a portion of the design, or pairing up multiple stencils to create a larger design. Another big plus to stencils is that you can use them on fabric, one of my favorite techniques.
Cons: Stencils are also rather expensive. Especially if you are only going to use it once on a specific project. In addition to the cost of the stencil itself, you’ll also need to purchase a stencil brush and paint. The price of stencils really only makes sense if you are going to be able to use them multiple times. In addition, there is a bit of a learning curve with stencils. Some people I’ve talked to claim they have never been able to develop the knack for getting a clean line with a stencil. It does take some practice. A sloppily done stencil is not a good look. Also, stencil designs aren’t quite as delicate or detailed as a rub-on can be.
Gel transfers.
A gel transfer is made by printing a mirror image of your intended design onto paper with a LaserJet printer, then applying transfer gel to it and placing it face down on your surface being careful to eliminate any bubbles or creases in the paper. You wait 12 hours, then use water to gently remove the paper leaving the design behind. This method is cheap and creates a good quality transfer, but it isn’t fast since you have to basically wait overnight before removing the paper.
Pros: This is a very cost effective way to add transfers. A container of the transfer gel is under $20 and will last quite some time. I haven’t even gotten halfway through my jar of Fusion Transfer Gel and I’ve done countless projects with it. I’ve had the best success using transfer gel on freshly painted surfaces such as wood, cardboard, or metal. I’ve read that you can use this method to transfer images onto fabric as well, but I’ve never tried it.
Cons: I’ve also had some failures trying to use transfer gel on metal. It always works over freshly painted metal, but I’ve had the gel peel right off both unpainted metal and metal with an old paint job taking the design with it. It would also not work on unpainted cardboard or paper, or anything else that can’t get wet. I’ve read that people use it on glass, but I’ve never tried it (do any of you have experience with this?), I wonder whether the gel can peel off the glass in the same way it did for me on unpainted metal. Transferring a design larger than the letter or legal size available on your home printer will require having it printed at a Kinko’s or other print shop, adding a little bit to the cost and a bit of extra time to the process.
Tracing and hand-painting.
There are two ways to trace a design onto your surface and then hand paint it. The first is to print your design on paper, then use tracing paper (in either white or black depending on the color of your intended surface) to trace the entire design onto your surface. Then go back with a small artist’s brush with paint and fill in the design. The second option is to print your design on a letter sized piece of paper, then use an overhead projector to project the image onto your intended surface. Trace the design using a pencil, then go back and fill in with paint by hand.
Pros: If you happen to already own a projector and you have excellent painting skills, this is a cost effective way to add a graphic. Using a projector is also a good way to add a really large graphic to a piece of furniture and be able to size it correctly. The alternative tracing paper method is very cost effective. I still use this method for chalkboard designs, to be filled in with chalk, but I almost never use it for painting a design anymore.
Cons: Back in the day though, this was the way I did all of my graphics. Can you imagine? Looking back I am astounded at how time consuming it was, and I was never entirely happy with the end result. If you don’t have a steady hand and a couple of spare hours, this option is definitely not for you.
Cutting vinyl.
I almost didn’t include this option because it’s not exactly a ‘transfer’, but since I tend to use it fairly frequently I decided I should throw it in. I use a Cricut machine to cut adhesive backed vinyl, but there are other types of machines out there as well like a Silhouette.
Pros: Once you’ve made the initial investment in a machine, it’s relatively inexpensive to buy the adhesive vinyl and then the sky is the limit for the quantity of stuff you cut out. Once you’ve learned how to use your machine, it’s relatively easy and quick to do. The vinyl will adhere to painted surfaces, glass, metal and plastic. It is flexible as well, so it works well on surfaces that aren’t flat. Also, you can print out any word or saying that you can think of.
Cons: You have to invest in a die-cutting machine like a Cricut or Silhouette, and they aren’t cheap. You also have to spend some time learning how to use it. The investment is not worthwhile unless you are going to do a fair amount of cutting. In my case, with a Cricut that is not attached to my computer, I am limited to designs on font cartridges that I have purchased. The cartridges themselves can be rather expensive. If I was starting from scratch I’m not sure I would invest in a Cricut and multiple cartridges, but since I already had them for scrapbooking I’m now finding that I get a lot of use out of them for home décor projects.
That wraps up my synopsis of the various options available to you for adding graphics to your projects. I don’t have an overall favorite, different projects are better suited to different techniques and aside from tracing and hand-painting I’m sure I’ll continue to use all of them. How about you? Do you have a favorite? Or maybe you have another method that you like to use. If so, please share with a comment.


Great tutorial, Linda. I have used a lot of these methods – mostly because or due to your posts on projects, so thanks for always providing clear, easy to understand information. I am going to get the fusion gel transfer next time I am at the shop that carries it and try it on some projects. I have a silhouette cutting machine and need to just start practicing with it. You have posted a lot of fun projects using the vinyl words. And the large scale fusion rub ons are amazing. I want to find a project for those. So, thank you for the inspiration and knowledge. You do those really well – the reason most of us click on your posts as soon as we get the email!
LikeLike
Thank you so much for this lovely comment Laura! I think you’ll enjoy playing around with the Fusion transfer gel. As for your Silhouette machine, I think you can do some even fancier things with a Silhouette (by downloading designs online?) than with a Cricut, so I hope you have some success with that. By the way, the large rub-on’s are not a Fusion product, just an FYI.
LikeLike
What a great tutorial,thanks. I have used several of these techniques and found your explanation of the others straight forward and easy to follow.Love what you have done over time with your Cricut. I also noted a transfer article recently on “for the love of wood”. Stunning but gives “time consuming” a whole new meaning.
Always a nice start to the day to get an email you have a new post up!
LikeLike
I checked out the post you are referring to (if anyone else wants to check it out, here is a link). I agree, gorgeous but very time consuming. I’m sure I would not have the patience for that technique. At least not with an elaborate, detailed design like she did. I could maybe handle it if it was much simpler. Major kudos to her for pulling it off so beautifully! And thanks so much for your comment Laura!
LikeLike
Thank you, thank you, thank you, Linda, for the great explanations of all of these methods. This novice needed to know the pro’s and con’s of each one. You are a gem. Love your beautiful work. Again, thank you.
LikeLike
You are so very welcome Sheila! Thank you for the lovely comment 🙂
LikeLike
One of my favorite methods (and cheapest) is using freezer paper. I’ve included a link, but please delete if you feel inappropriate. Not trying to hijack … just an information exchange. LOL
http://www.clockworkinteriors.com/freezer_paper_transfer_method/
LikeLike
No worries Cynthia! Thanks for sharing this info with us 🙂 I’ve heard of this method but have never tried it myself. There is something about putting freezer paper through my printer that makes me a little nervous. It looks like it worked beautifully for you though!
LikeLike
Very clear how too’s a d explanations of each of the different methods … i like all of them, especially when you stencil on fabric. Before you did it, I didn’t know you could even do that. And to be able to paint an old chair with Fusion paint is just unbelievable. Good job, as usual…
LikeLike
Thanks for your information. I recently bought and used the ” Specimen” transfer and I loved it. I also used to use my projector for large projects but the transfer is so much quicker. I like the gel medium, but always end up with holes in the finished product. Love your posts.
LikeLike
The transfers save SO much time! I think well worth the money v. having to use a projector. As for the gel medium, it is a little tricky sometimes, but I’ve had really good results with it too. I wouldn’t want to attempt a gel medium transfer of the size of the Specimens transfer though.
LikeLike