
 When I posted the farmhouse chippy cabinet on Monday, I mentioned that I ran out of paint and had to request more from Homestead House to complete my project. When I sent in that request I included a photo of my original chippy mess and explained that I had it nearly under control, but had run out of paint!
When Jennylyn, the president of Homestead House, responded she suggested I try her foolproof method for perfect chipping on my next project and she offered to send me the product she was suggesting I try. To be fair, she didn’t call it ‘foolproof’, I’m adding that adjective on my own.

But wait, what?! Back up a minute. There is a method? And it doesn’t involve clicking your heels together 3 times, or crossing your fingers, or knocking on wood? Sign me up!
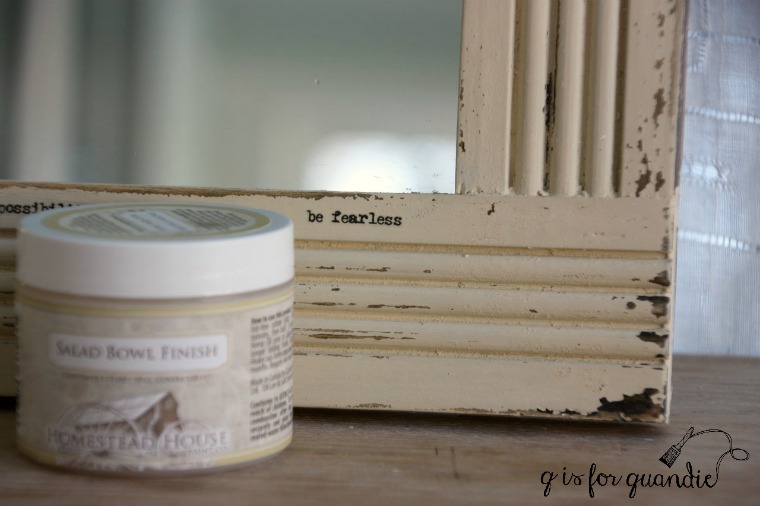
Here is what Jennylyn told me to do. First, prep the piece properly, then apply a very thin layer of Homestead House Salad Bowl Finish (you can also use Miss Mustard Seed 100% beeswax which is the same thing) to the areas you want to chip. Then paint as usual.
Sounds pretty simple, right?
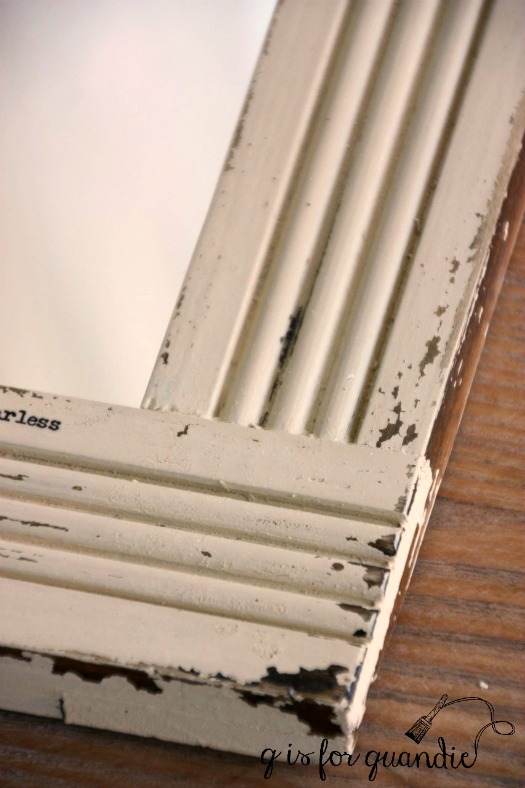
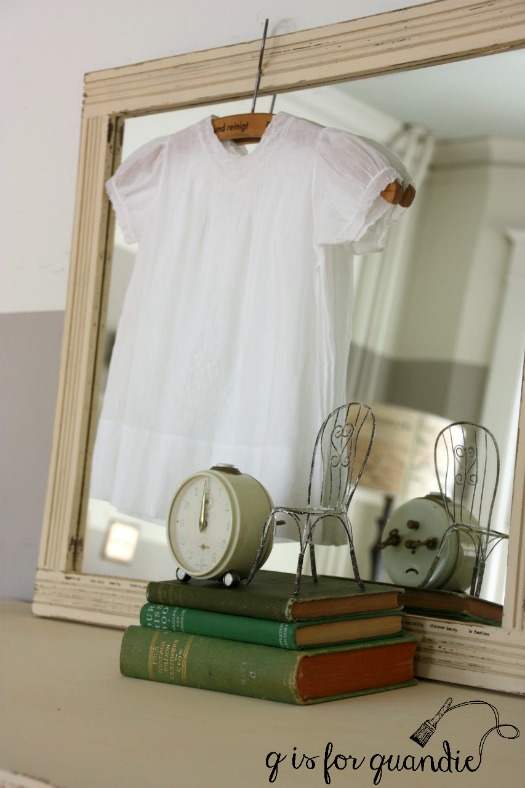
So I pulled out an old framed mirror that I had salvaged from a dresser to do a little experimenting with this method. I remembered back to my high school science class and decided I need a ‘control group’ of sorts, so I used my old method on the outer sides of the frame and just sanded them lightly and wiped them with a damp cloth. On the front of the frame I sanded a little more thoroughly, vacuumed away the dust, and scrubbed it down with a water/vinegar solution. Then I added a thin layer of the Salad Bowl Finish using a cloth, focusing on the edges and the corners where I wanted chipping. Next I painted two coats of Homestead House milk paint in Buttermilk Cream.
Once the paint was dry I could clearly see that the ‘control group’ or the sides of the frame were chipping A LOT. The front of the frame didn’t look terribly chippy at all though.

But then I got out my fine sandpaper and lightly sanded and voila! There were the chips right where I wanted them to be. And they were indeed pretty much perfect.
Although the ‘control group’ area was chippy, it was not a controlled chippy. In fact, the ‘control group’ was a little out of control.
You can also use this method with layers of different colored paints. For example, paint a base coat of French Enamel blue, add some Salad Bowl Finish, then paint white on top of that. Then you’ll see color under your chips rather than the wood.
For a little extra bit of fun on this project, I added a row of rub-on phrases all along the frame just under the mirror.
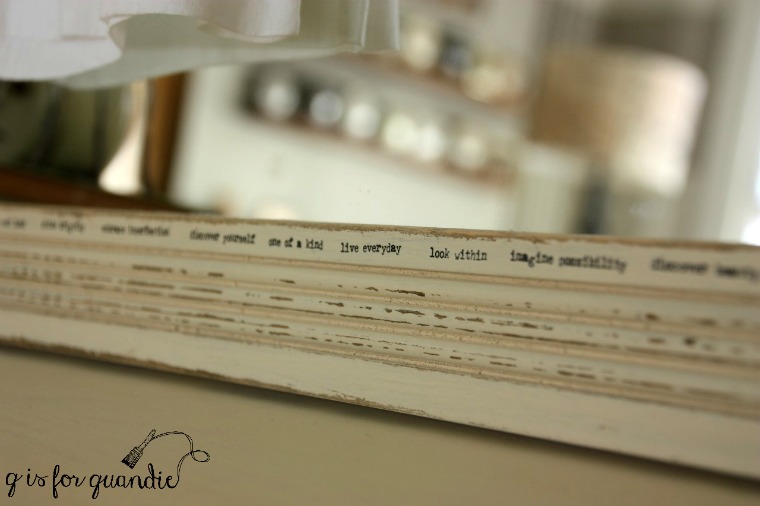
They are tiny and you have to pay attention to notice them. Embrace imperfection, discover yourself, look within, one of a kind, stand boldly.
The next time you are thinking it’s too hard to use milk paint and get just the right chippy finish, be fearless and try the Salad Bowl Finish!

Wow…the President Of the company responded? How cool is that ? I think you havr missed your calling and should be President, CEO and CFO of a company. Wait… maybe you could start your own blog! Oh…..you’ve already done that. Well, congratulations on your promotion to President, CEO and CFO of Q is for Quandie. ..and keep on chipping…love reading your adventures.
LikeLike
Don’t forget Head of Marketing and Lead Painter … 😉
LikeLike
I have been enjoying your furniture posts. You can use this technique with Miss Mustard Seed’s Beeswax as well. As Homestead House is also the manufacturer for Miss Mustard Seed’s paint, I am not stealing any of their thunder.
This technique can also be used with Fusion Mineral Paint, applying it where you want distressing or as a technique to layer paint colours.
LikeLike
Actually, I did mention that in my post (that MMS beeswax is the same stuff and works the same way, 4th paragraph). So no worries about stealing any thunder 😉 I hadn’t thought about using this technique with Fusion paint, I’ll have to try that. I also want to try layering Fusion paint under milk paint, and using some beeswax to get the milk paint to chip. I’ve got a dresser already lined up for that technique, just trying to decide on my color combo. Any recommendations?
LikeLike
I’ll have to stop speed reading ! Yes you did mention that.
LikeLiked by 1 person
I love this and had’t heard of salad bowl finish. I think I need to try this xx
LikeLike
I hadn’t heard of it either. At first I thought Jennylyn just wanted me to eat more salads ;-), which would probably be a good idea too.
LikeLike
Good morning😀I am going to give this a try. Thanks. Love the mirror.
LikeLike
Just keep in mind you will get chipping in the spots where you apply the Salad Bowl Finish, so you can control where you put it.
LikeLike
Where do you get your ‘typewriter’ style rub-on phrases? They sure add cuteness to an already wow project!
LikeLike
They are Tim Holtz rub-ons. I usually find them at Hobby Lobby or Michaels, but you can also order them online. Here’s a link to these exact ones on Amazon.
LikeLike
Beautiful! Perfect chippiness and I especially love the words on the bottom. It feels inspirational for the New Year!
LikeLike
I thought they were all good things to be reminded of while looking in the mirror 😉
LikeLike
This is the PERFECT blog post!! I love it. Sharing on my page!!! Super helpful stuff! xxSada
LikeLike
Thanks so much Sada!
LikeLike
I like that you added the words and I like the idea of controlling the chippyness.
LikeLike
Thanks sis!
LikeLike
your chippy projects turned out great. I love how all your projects turn out no matter what products you use. always perfect!
LikeLike
You are so kind! Thank you so much!
LikeLike
So, did you add bonding agent to the milk paint to prevent the massive unplanned chippiness? Thanks for sharing this very helpful tip!
LikeLike
Nope, no bonding agent was used.
LikeLike
Wow! That’s the most authentically old looking finish I’ve seen created with new products. Pinning it!
LikeLike
That’s why I love working with milk paint. It really does give the most authentic looking distressed finish out there!
LikeLike
Just a question on your method? Do you rub in the beeswax? Or just apply it and then paint over it?
Thanks looks great can’t wait to try it.
LikeLike
I just apply it lightly and then paint over it. And I use just a very thin coat, and only where I want chipping. In other words, I usually only apply along the edges of pieces and around handles and such … spots that would normally be more worn.
LikeLike
Vaseline works well, too, for shipping.
LikeLike
I love your blog because I always learn so much!
LikeLike
Thanks Sugar!
LikeLike
Hi, lovely work! Wondering where to find the rub on phrases? Enjoying your posts. Thanks for sharing.
LikeLike
Thanks Kathy. The small rub-on phrases that I used on this mirror are from the Tim Holtz Idea-ology line. Here in the U.S. I have found them at Michaels and Hobby Lobby (although last time I was at Hobby Lobby I couldn’t find them). I think most of the ones I used on this mirror are from the Word Remnant Rubs (here on Amazon).
LikeLike