
I’m so ahead of myself this year! Last year I waited too long to get my winter window boxes done. As a result, the dirt was frozen solid so everything had to be sort of placed on top of it. That really doesn’t work well at all, so this year I was determined to not let that happen. Maybe I overcompensated just a little, but the weather was so lovely last week that I decided I would get a jump on them.
I think the trick to a gorgeous window box is to fill it chock full, and here is how I make that happen.
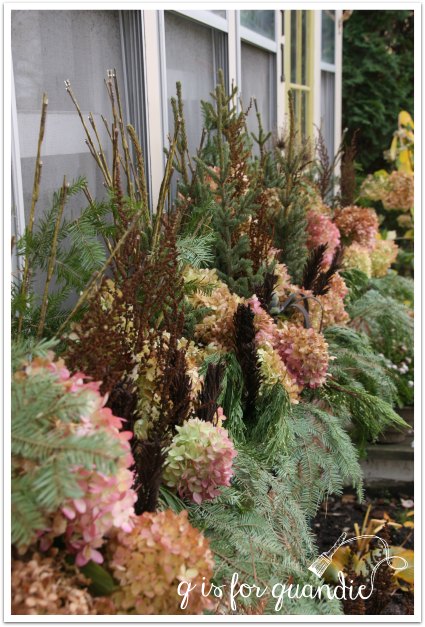
I start by placing in my twig lights, spruce tops and some filler evergreens. I purchased the evergreens from Bachman’s (my local nursery). I spent about $60 for enough evergreens for my front window box, my two galvanized boiler window boxes, a planter on my deck and some small planters that hang on the mailbox post that I share with nnK.
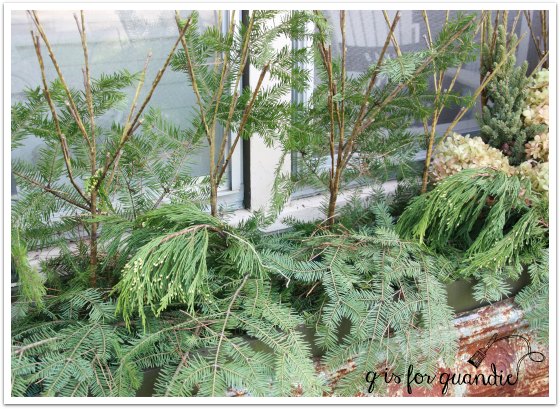
Those twig looking things are my twig lights. Each end has a little light on it. Last year I wasn’t able to use them because the boxes were too frozen to poke them in the dirt. I mentioned this to one of the clerks at Bachman’s and she recommended using a drill (to drill a hole in the frozen dirt) should this happen again. Great idea! But easier in the long run to just get this done before the dirt freezes solid!
Once I have a base of greens I fill in with lots of hydrangeas.
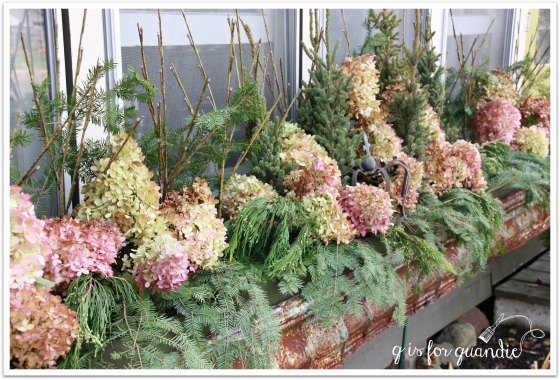
It would cost me an arm and a leg to purchase enough stuff to fill in this huge window box, so I sort of wander around my garden looking for dried plants that might add some interest, like these alium flowers …
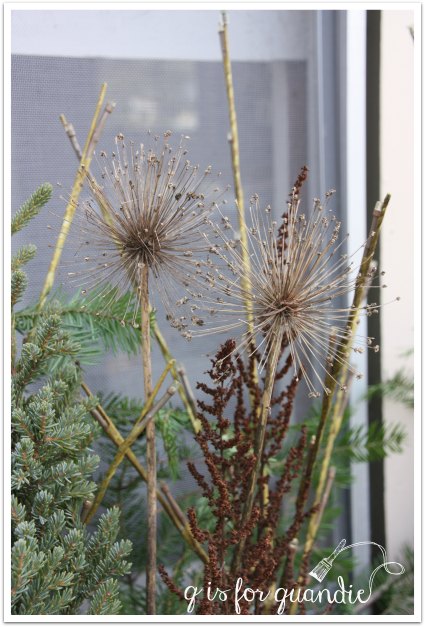
I don’t know what these are called, but they grow from the ferns.
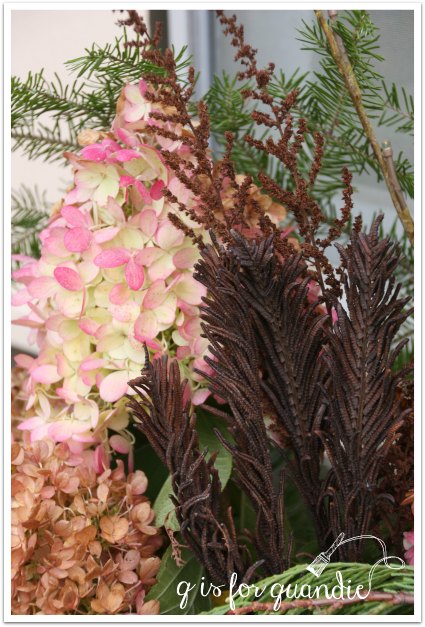
I also added some dried Astilbe flowers.
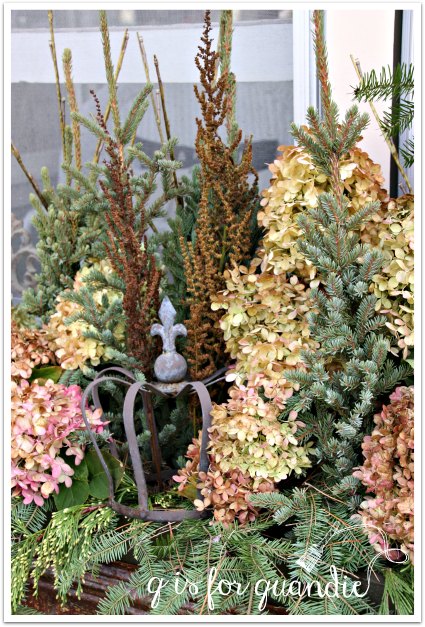
As Christmas gets closer, I’ll add some more festive yuletide touches to the window box, but for now it just has a simple wintery appeal.
I used a similar process on my galvanized boiler turned window box that is hung on the side of the Carriage House.
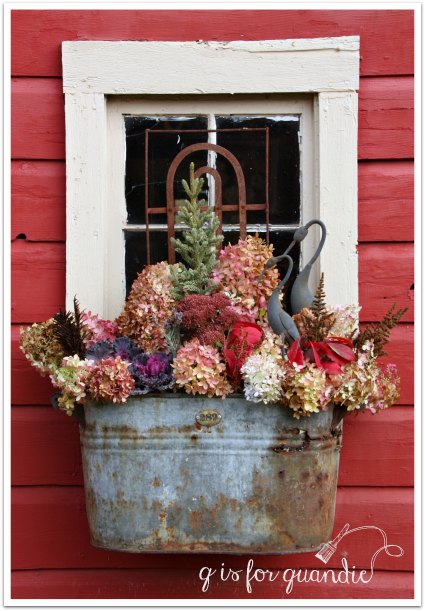
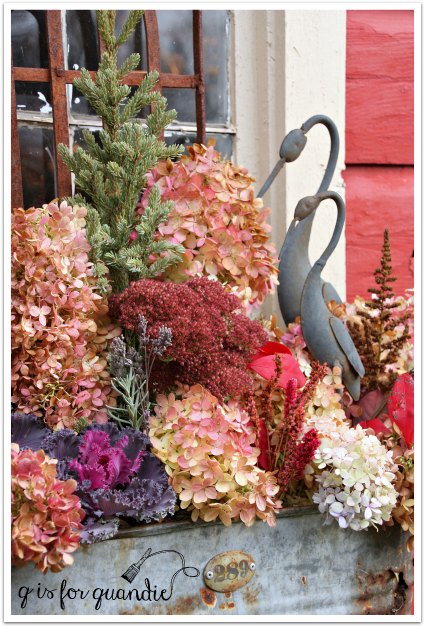
I went with a bit more color in this one though. With the exception of the spruce top and the ornamental kale, everything in this arrangement was salvaged from my garden (well, or nnK’s garden across the street).

I have used hydrangea, sedum, lavender, foam flower and burning bush.

I also tucked my garden cranes in this year. I purchased these at a garage sale several years ago.
I put away most of my garden planters for the winter, but I add a winter arrangement to this large planter so I have something nice to look at when I come home every day.
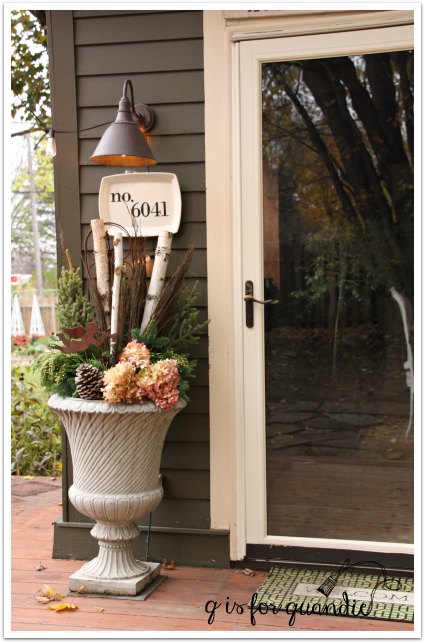
That planter, by the way, is faux. It looks like concrete, but really it’s a Styrofoam like material that is very light. I purchased it at a garage sale (naturally).
This year I decided to add some birch logs to this arrangement. It’s all the rage you know, and I have to say I really love the look.

This arrangement is mostly evergreens with a few hydrangeas in the front. I purchased those tall brush-like things last year and last spring they were still in good enough condition to put away for use again this year. This year I’ll save the birch logs to re-use as well.
You can see that my ironstone platter with my house numbers on it is holding up really well. This is another plate that I did with my Cricut and some vinyl. It has been hanging outside since June and the vinyl isn’t peeling at all.
Well, I hope I’ve inspired you to go gather some things from your garden and put together some winter arrangements whether inside or out.

Wow, just gorgeous. I especially love the boiler planter and the urn by the front door. I’ve been thinking its time to do mine too. You’ve definitely got me motivated.
LikeLike
Thanks Becky! This weekend is the perfect time to get out and do yours!
LikeLike
Absolutely beautiful! You do the arrangements masterfully and make the window boxes look like works of art. Thanks for the beauty and inspiration.
LikeLike
That was the most lovely compliment! Thanks so much Laura!
LikeLike
Beautifully done and I am totally jealous of your boxes. Something I have been wanting to add for years. Never heard of twig lights – I am hoping you will take a snap of how they look lit. Did you purchase the birch branches or did you have that in your yard as well?
LikeLike
I did get some pics of the lights while they were on. I should have included them! They are fab after dark.
LikeLike
Love all of these. I pinned them all! Now I need the motivation to go out and do them this weekend. Thank goodness it’s going to be a little warmer in MN tomorrow.
I have always wanted those birch logs, but don’t want to pay the large asking price for some wood, haha! Every year I say I’m going up to the family property to cut some, but never make it.
LikeLike
This is going to be a perfect weekend for it! I bought the birch at Bachmans and they are the smaller ones. I think they were only $3.99 each, and I am hoping I can save them from year to year.
LikeLike
absolutely gorgeous Linda!
LikeLike
Thanks Darrielle!
LikeLike
I meant to tell you how fabulous those look, you are so ahead of the game! About the frozen planters, there’s an easy solution. You pour boiling water over them and voila! I speak from the experience of waiting too long of course;) It works like a charm.
LikeLike
Thanks Meggan! The hot water is a great idea! I’ll keep that in mind😊
LikeLike
You sure did!
LikeLike
Hope you got out and spruced up (pardon the pun) some winter planters yourself this weekend! We sure had the weather for it.
LikeLike
Well done! I would have never thought of such lovely ideas, and have tgem turn out as beautiful as yours. Thanks for sharing.
LikeLike
I love your galvanized boiler pot turned window box!!! Where can I find one and is the back flush with the wall, or is it totally round? How did you attach it to the window ? I’m definitely a novice at doing this stuff!
LikeLike
My neighbor/handyman Ken helped me turn a typical galvanized boiler into a planter. First of all, the bottom was fairly rusted out already so we already had drainage covered. Ken added some wood slats to the bottom to provide support for the dirt and plants. Then he just mounted it to the siding under the window with some sturdy L brackets. The straight part of the back side of the boiler is flush with the wall, but then of course it curves away at the sides. Does that make sense? I actually have two of these, you can see more of them in this post, and this post.
LikeLike
I loved everything you posted. Even though it is spring here in the far far north, everything you used is gorgeous!! Roxie
LikeLike
Far, far north? Where are you Roxie?
LikeLike
These are beautiful and so many great ideas! Thank you for inspiring me.
LikeLike
How do you preserve your hydrangea to keep that color? Mine always turn brown, especially when out in the weather.
LikeLike
I dry them ahead of time to retain as much color as possible (here’s a post on that), cutting them when the color is at its peak. But they don’t keep their color for more than a month or so. I took those photos in early November so they were still looking pretty good. They’ll be pretty brown by mid-winter.
LikeLike